shivani singh
- October 7, 2021
Steps to Install Checkmk Monitoring Server Tool on Ubuntu 20.04 LTS
Checkmk is a free & open source monitoring server tool, which is written in Python and C++. It can be used for monitoring the infrastructure & system services. We can install checkmk agent on every system that we want to monitor. Using Checkmk, we can monitor web & database servers, and also monitor cloud server infrastructure such as Azure, & AWS.
There are few steps to install & setup Checkmk on ubuntu:
Step 1: Update the System.
apt-get update
Step 2: Download the Checkmk.
wget https://download.checkmk.com/checkmk/1.6.0p27/check-mk-raw-1.6.0p27_0.focal_amd64.deb
- Here is the command output.

- Install the Checkmk on system.
dpkg -i check-mk-raw-1.6.0p27_0.focal_amd64.deb
- Here is the command output.
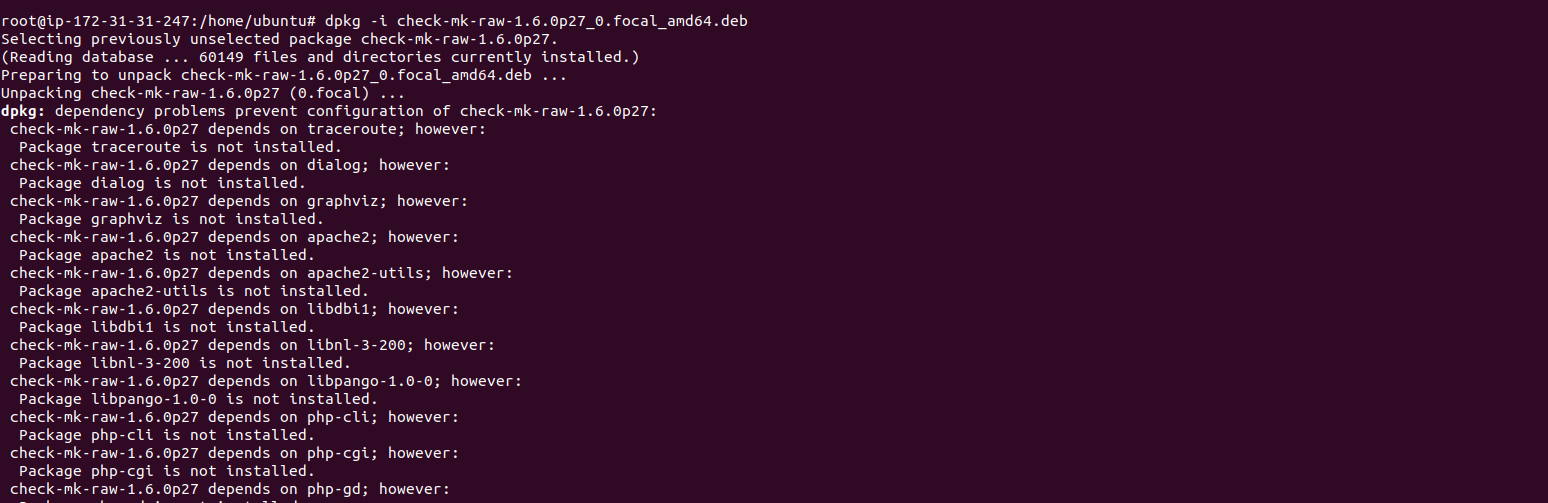
Step 3: Install the required packages.
apt-get install -f
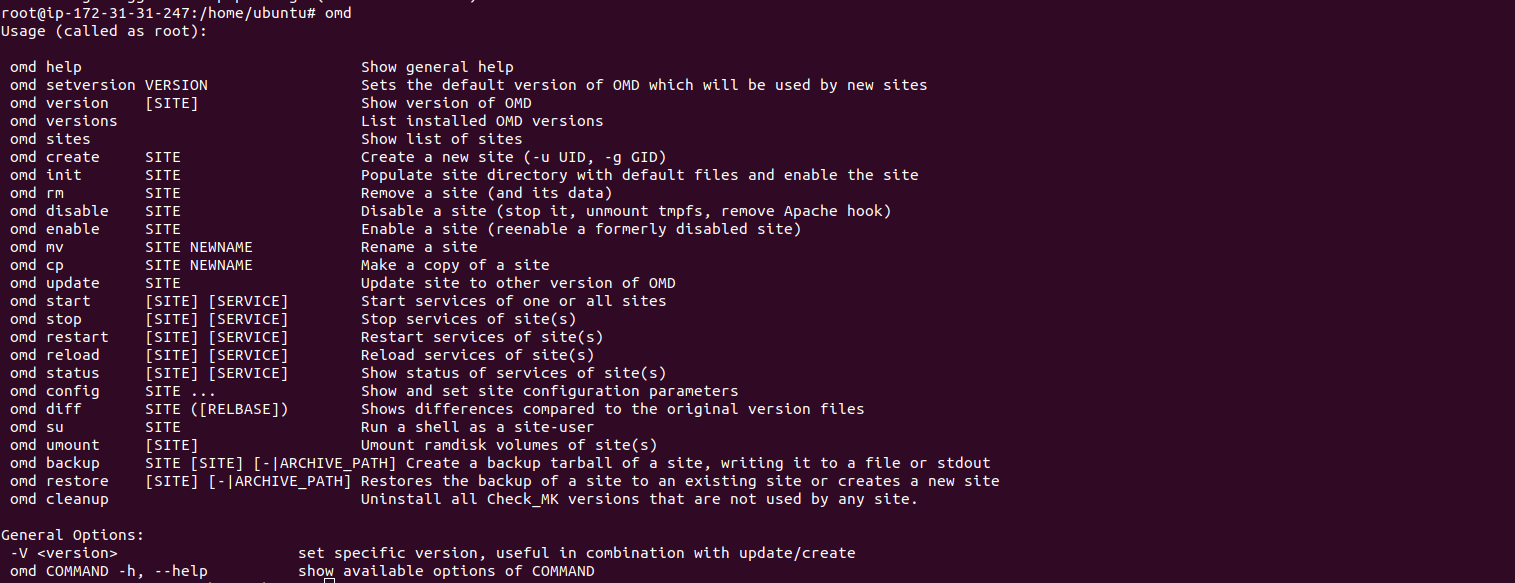
Step 4: To list the available command with Checkmk.
omd
- Here is the command output.
Step 5: To create a monitoring server.
omd create monitoring_instance_name

omd create testing
- Here is the command output.

- Please note down the Checkmk login credentials such as Username & password from above output.
Step 6: Start the Server.
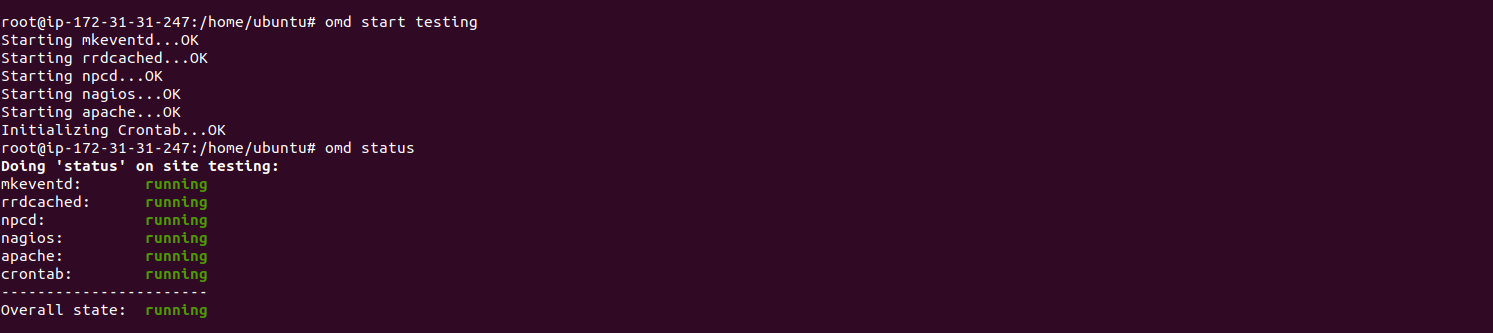
omd start testing
- To check the server status.
omd status
- Here is the command output.
- Check the omd version.
omd version
- To list all the monitoring server.
omd sites
- Here is the command output.

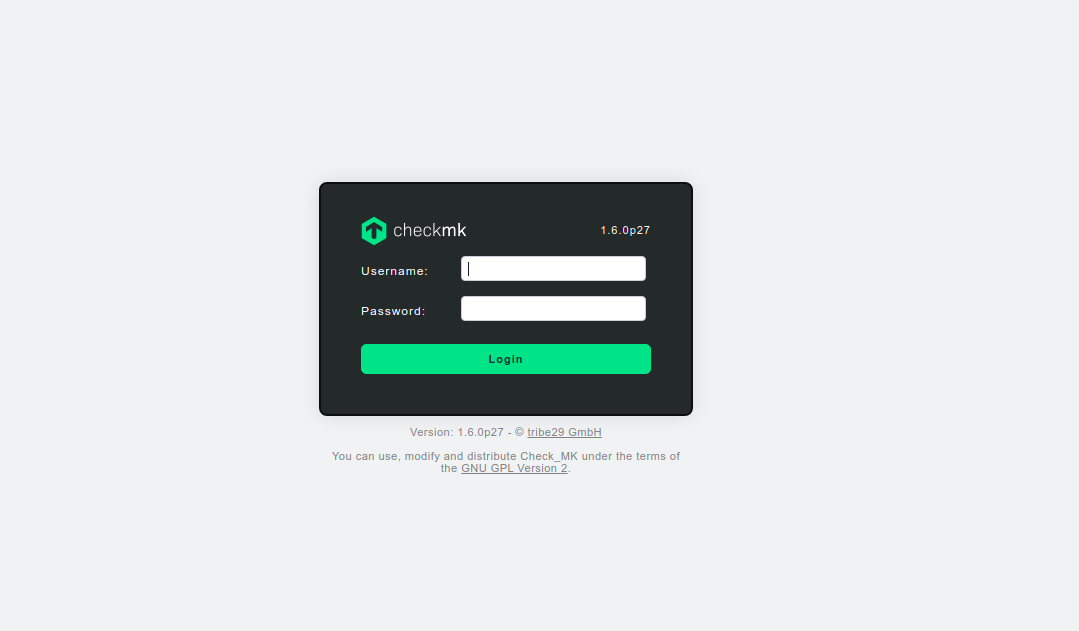
Step 7: Access Checkmk web interface.
http://server-ip/monitoring_server_name

http://server-ip/testing
- Here is the output.
- Provide the username & password.
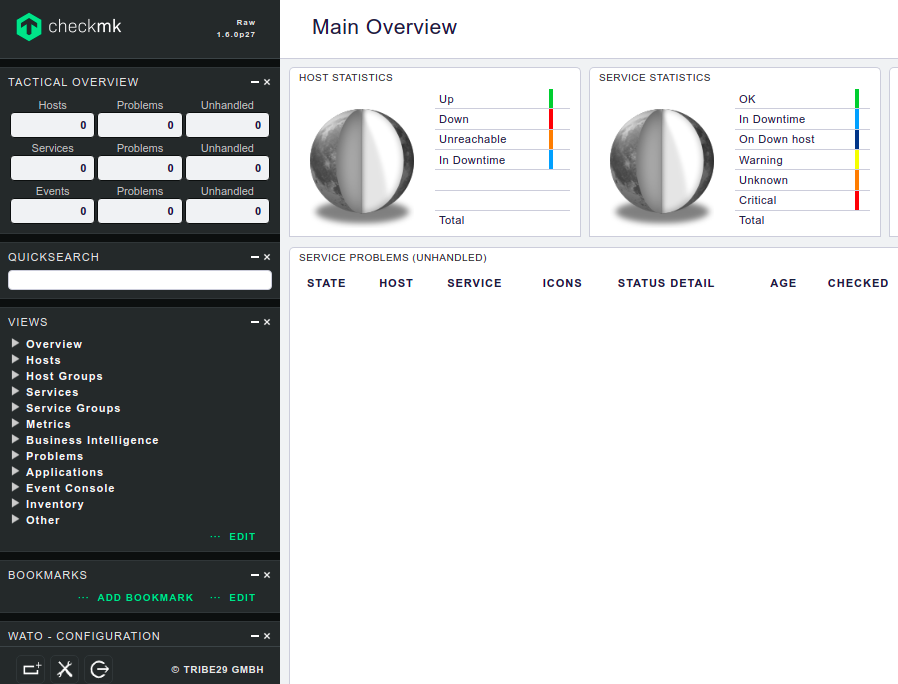
- Now Checkmk monitoring server is Ready.
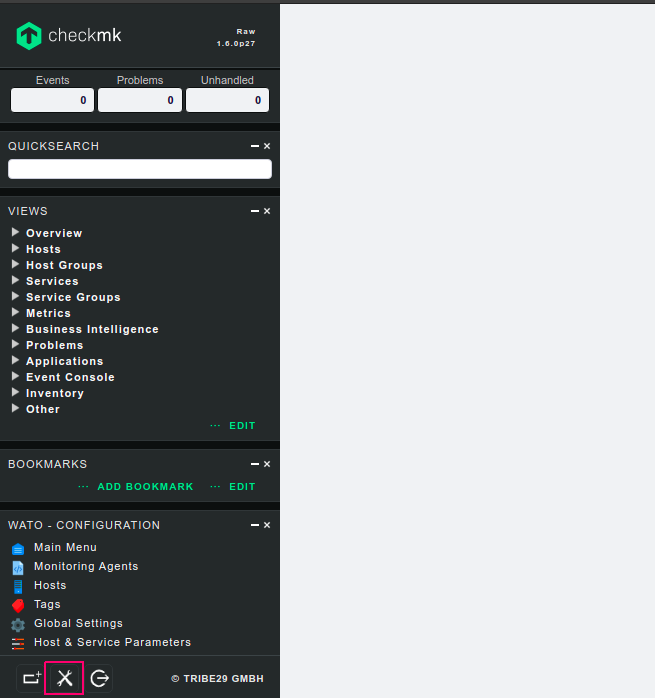
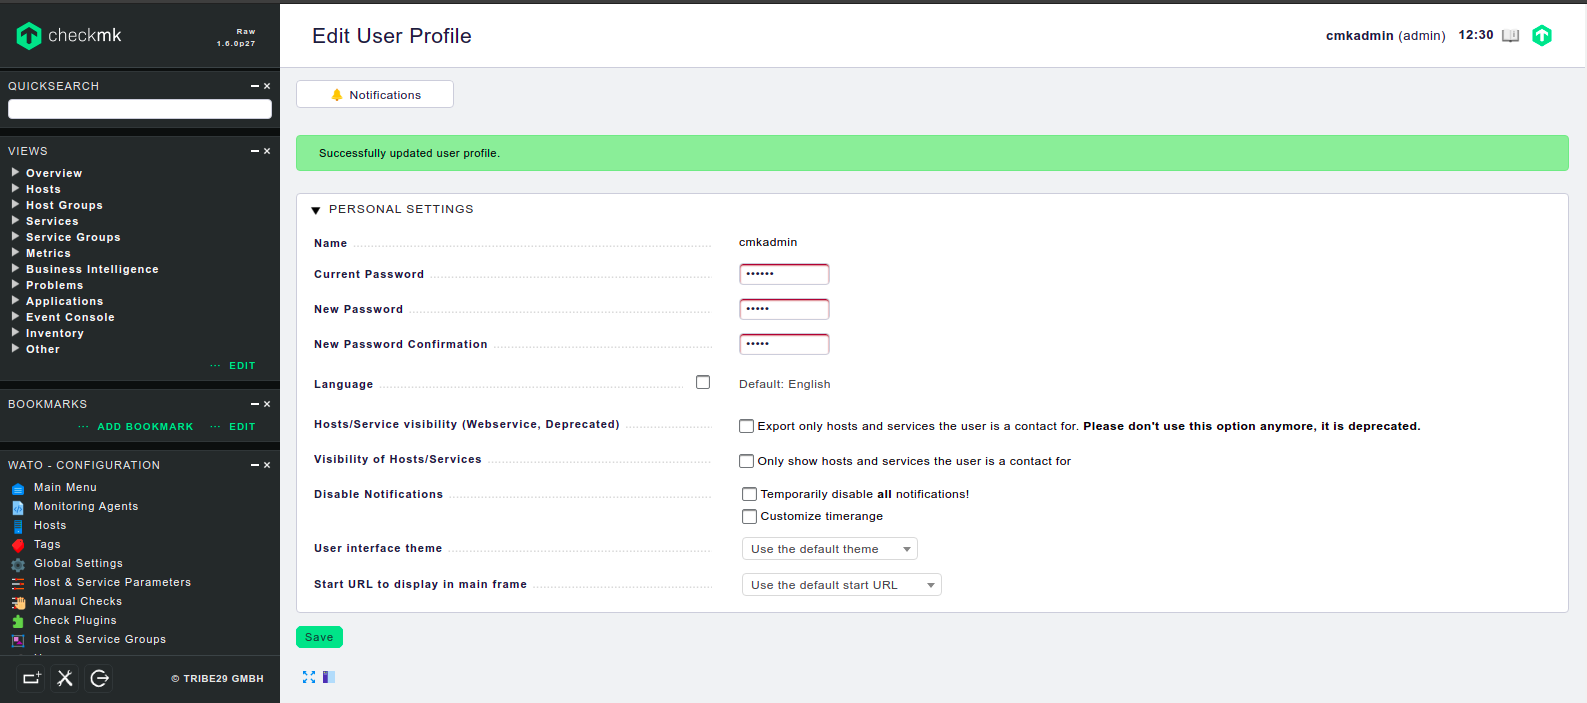
- To Change the password,click on edit personal setting option.
- Provide the Current & New password.
- Click on Save.
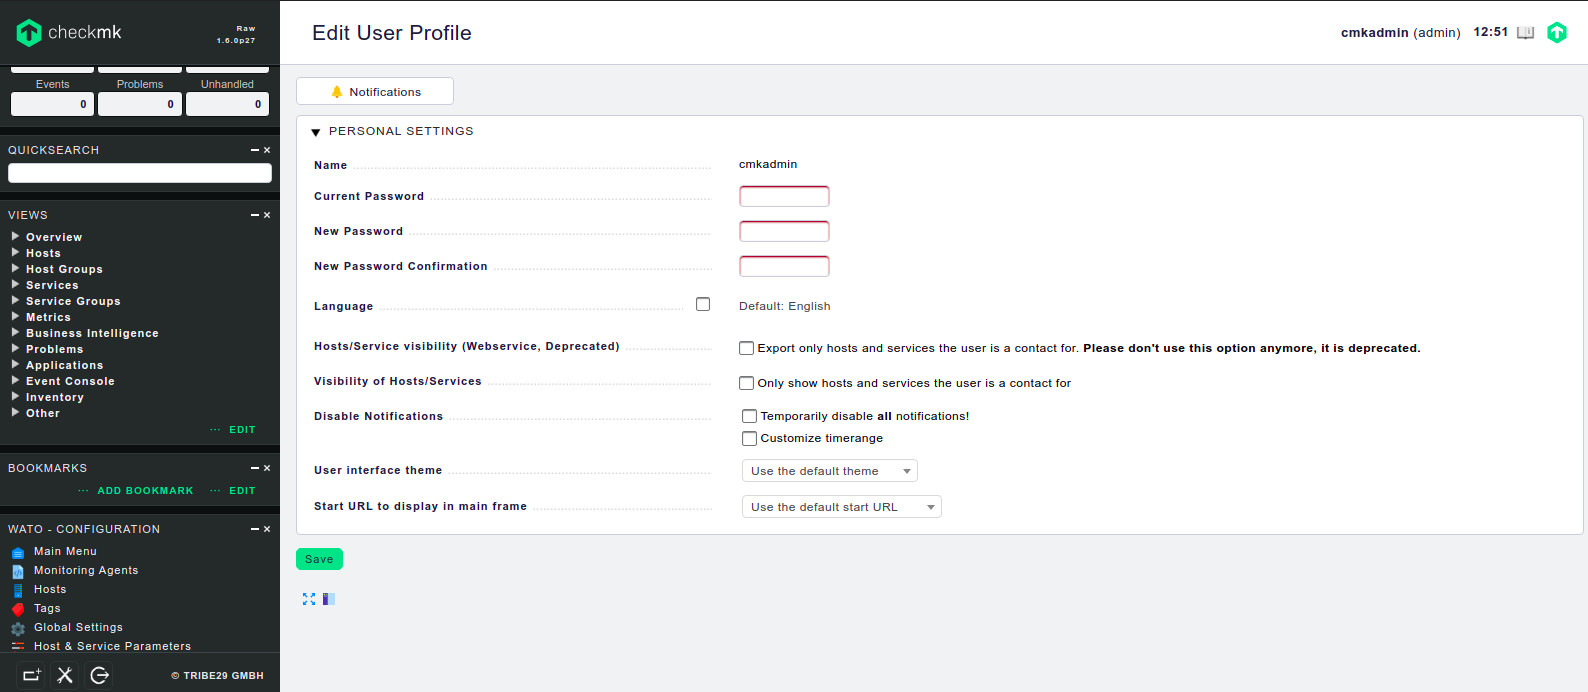
- New password successfully updated.
Step 8: To create a monitoring Host.
- Click on Monitoring Agent option on Checkmk web interface.
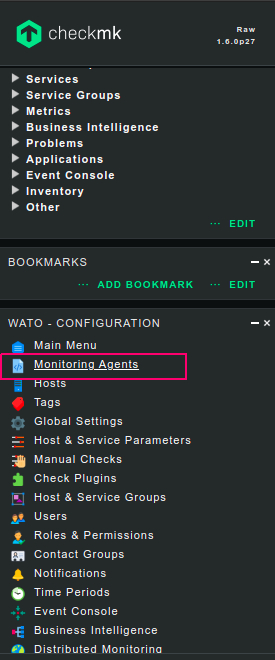
- Here is the Monitoring Agent.

- Download the Monitoring agent by using command line.
wget http://54.232.29.157/testing/check_mk/agents/check-mk-agent_1.6.0p27-1_all.deb
- Here is the command output.

- Install the agent package.
dpkg -i check-mk-agent_1.6.0p27-1_all.deb
- Here is the command output.

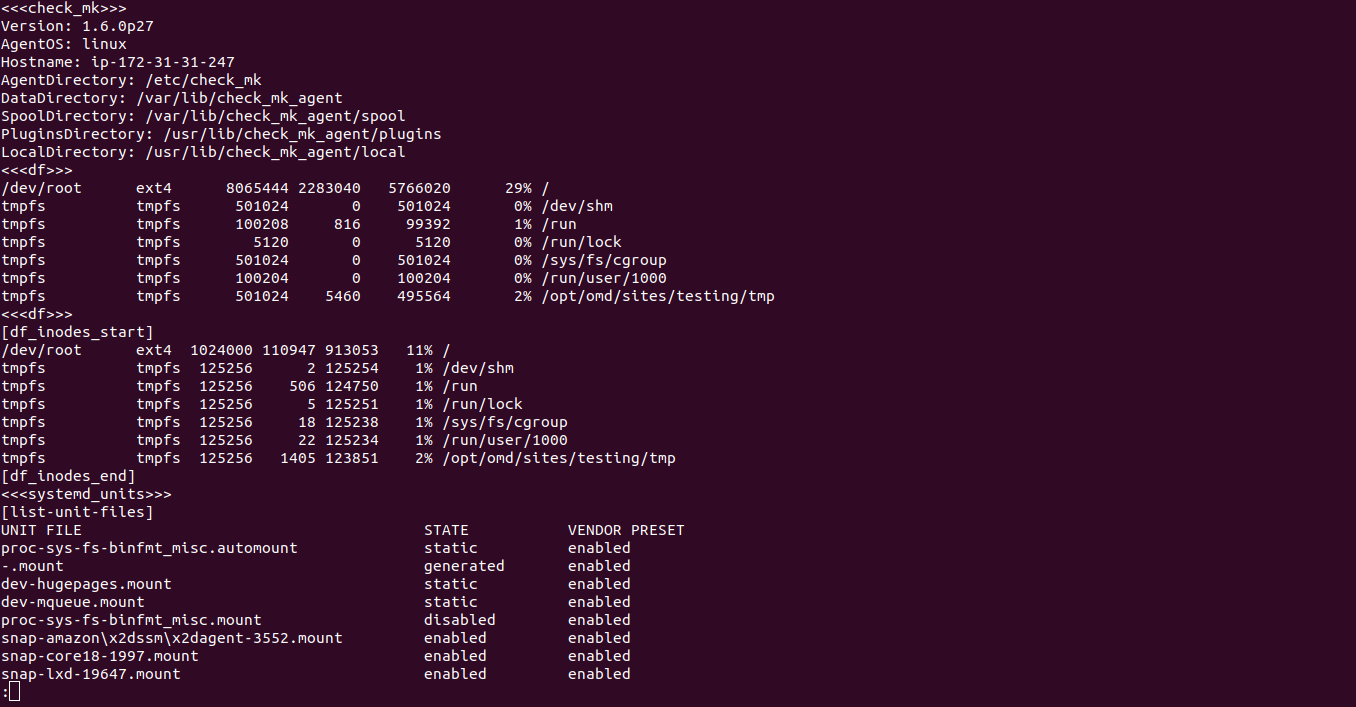
- To verify the installed Agent packages.
check_mk_agent | less
- Here is the command output.
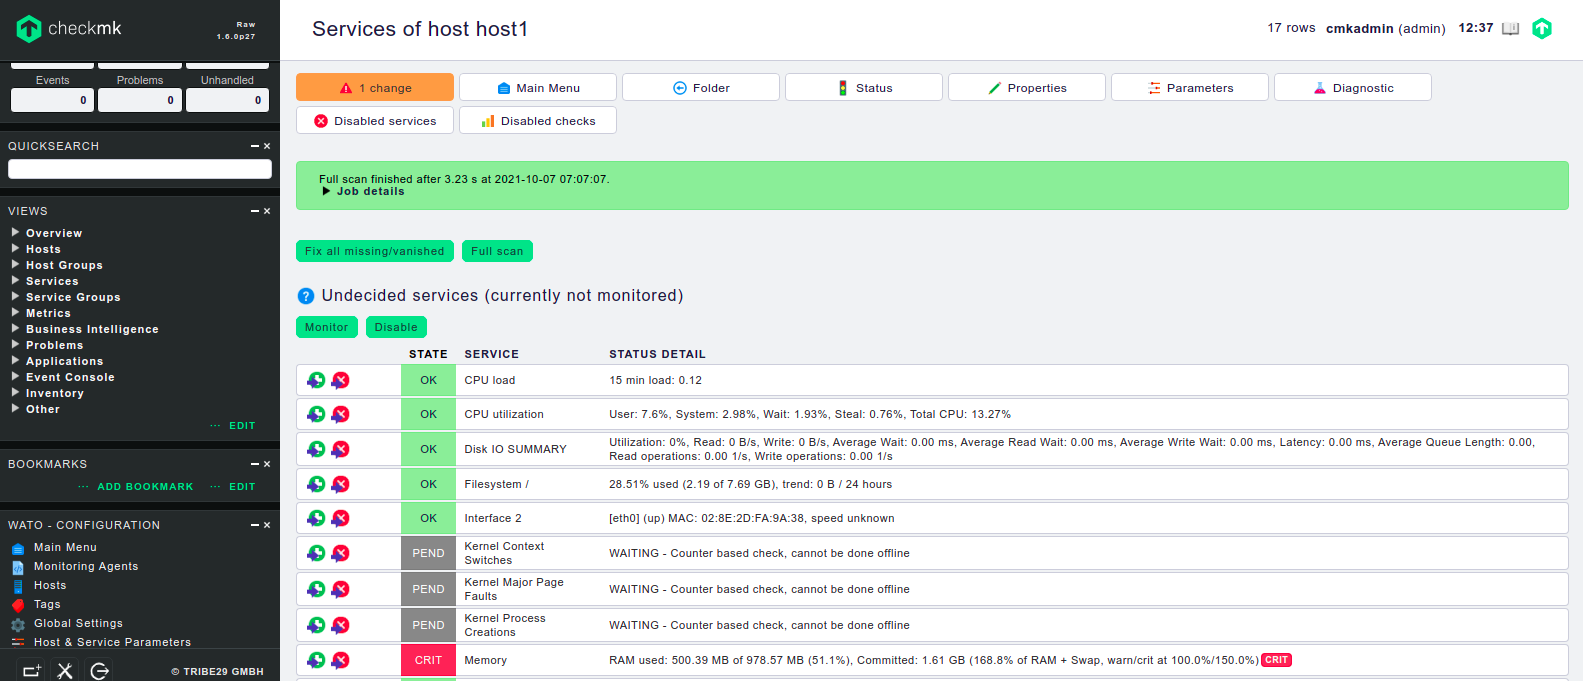
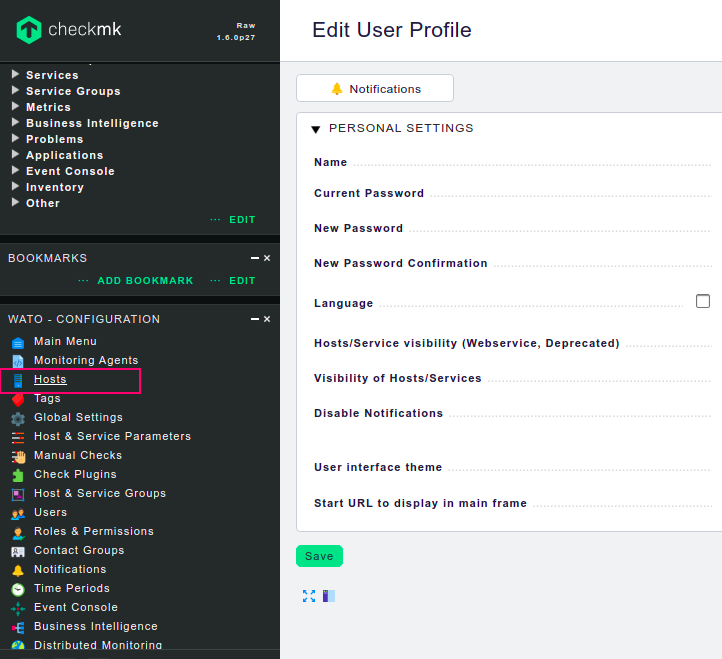
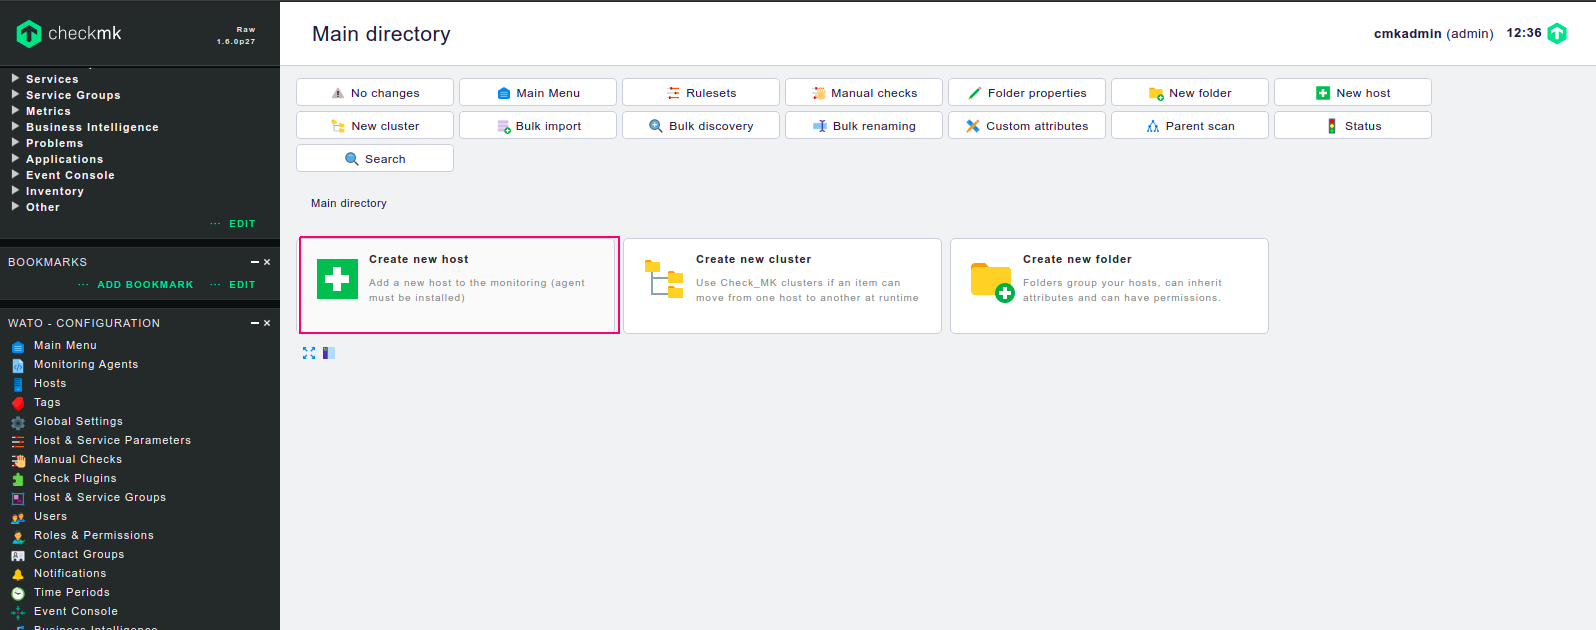
Step 9: Create a Host on monitoring server.
- Click on Hosts option on WATO – configuration.
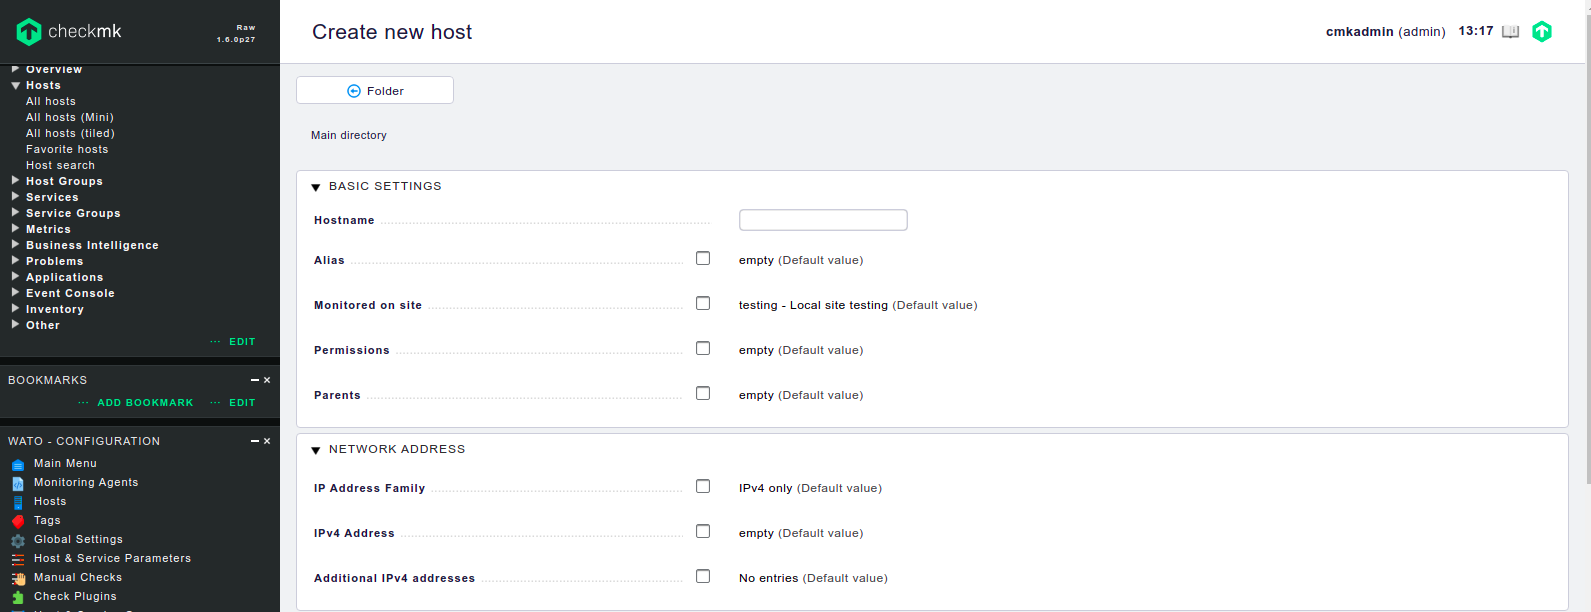
- Click on Create New Host.
- Provide the Host name.
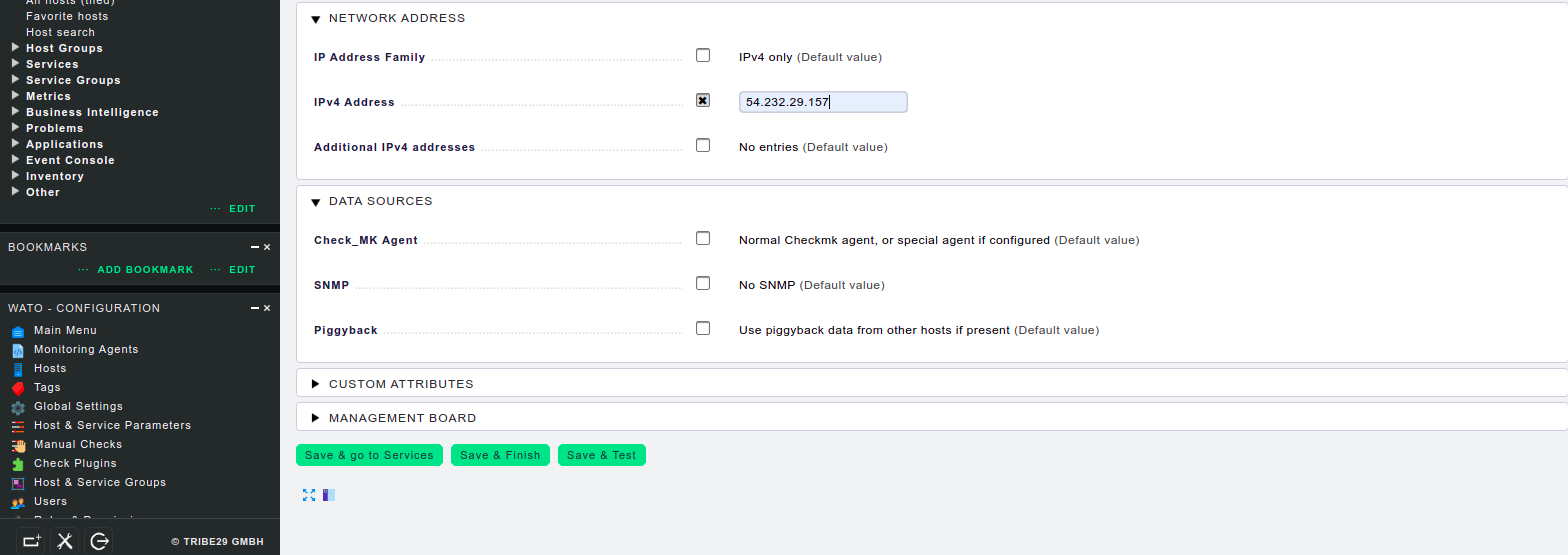
- Click on IPv4 address.
- Provide the server-ip.
- Click on Save & Go to services.
- Here is the all services details.