 shivani singh
- September 21, 2021
Step by Step to install TCPdump (Capture Packets) on Ubuntu 20.04 LTS
TCPdump is a free & open-source packet analyzer tool & command-line utility. It is used for capturing the packets & inspect the network traffic going to & from our system. It is basic used for troubleshooting network issues & security testing. We can capture Non-TCP traffic such as UDP, ARP or ICMP.
There are some steps to install TCPdump on system:
Step 1: Update the System.
apt-get update
Step 2: Install TCPdump on system.
apt-get install tcpdump
- Check the TCPdump version.
tcpdump --version
- Here is the command output.

Step 3: TCPdump syntax & Examples.
tcpdump [options] [expression]
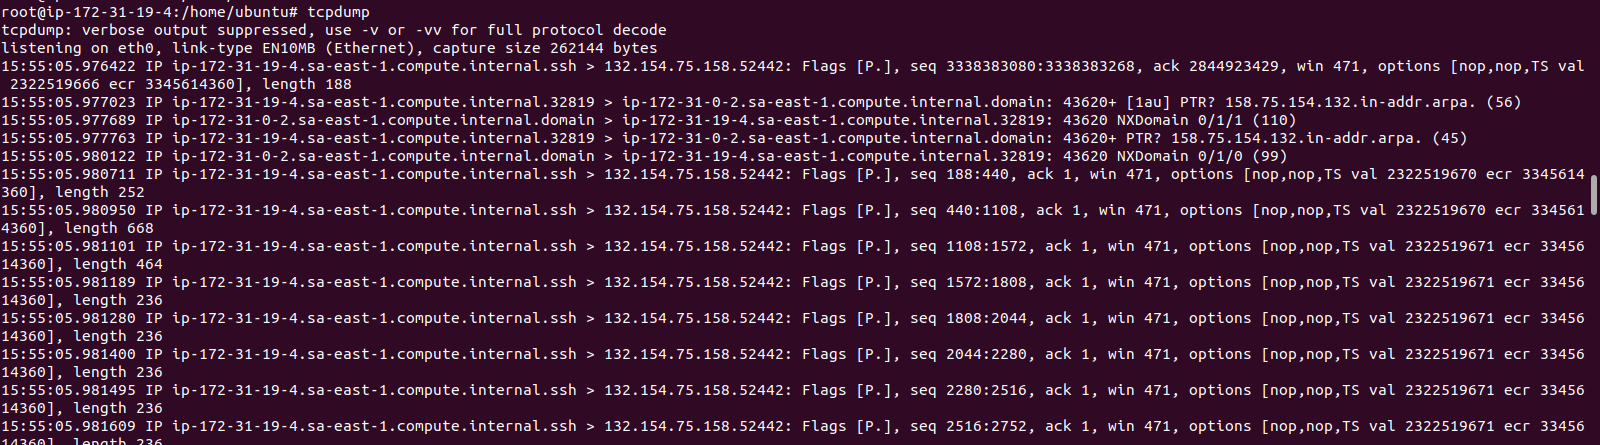
- To capture all packets.
tcpdump
- Here is the command output.

- To capture packets from a specific interface.
tcpdump -i eth0
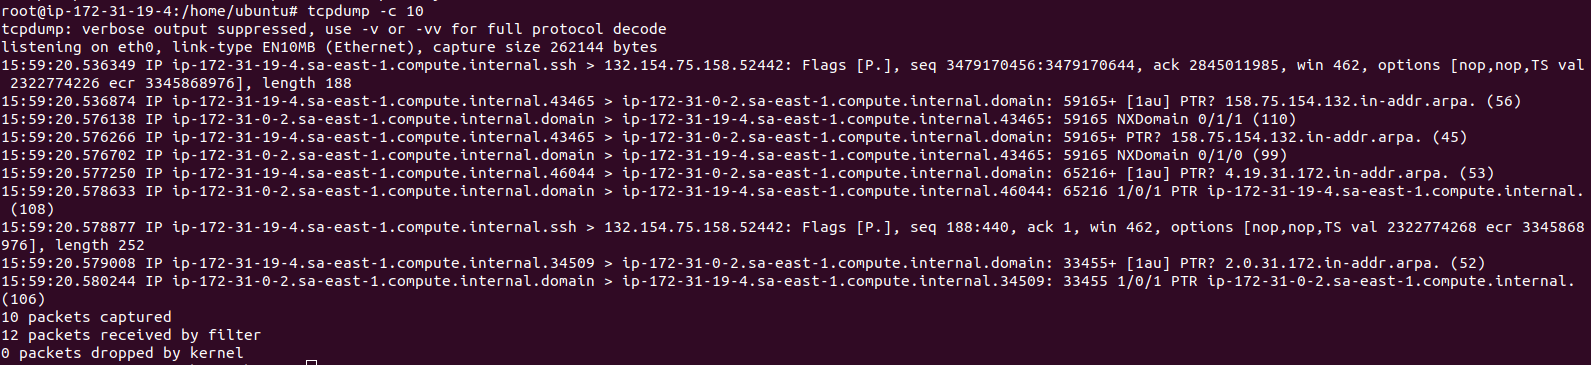
- To capture only 10 packets.
tcpdump -c 10
- Here is the command output.
- To list all the available interface.
tcpdump -D
- Here is the command output.

- To capture packets from any interface.
tcpdump -i any
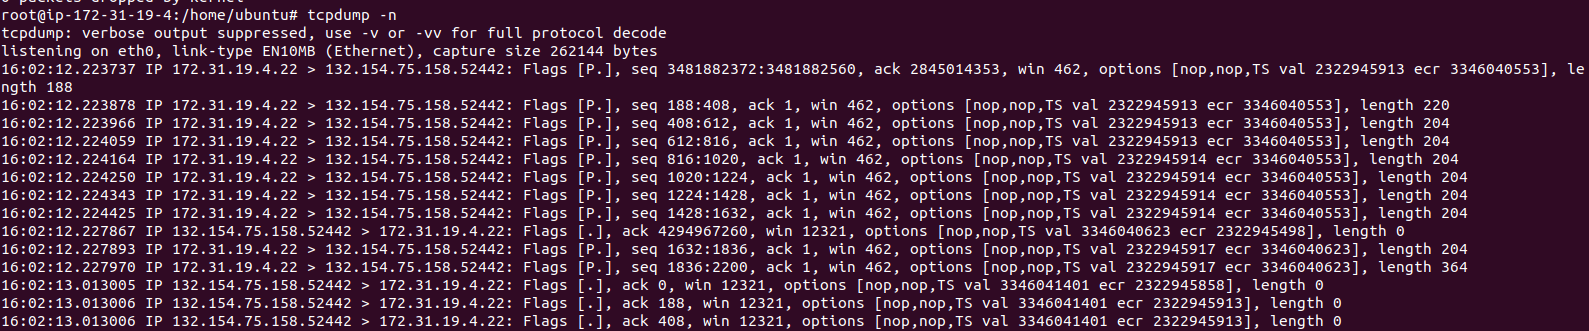
- To use -n option to disable the translation.
tcpdump -n
- Here is the command output.
- To store capture network interface packets into a file.
tcpdump -n -i any > file.out
- To display the capture packets while saving to a file .
tcpdump -n -l | tee file.out
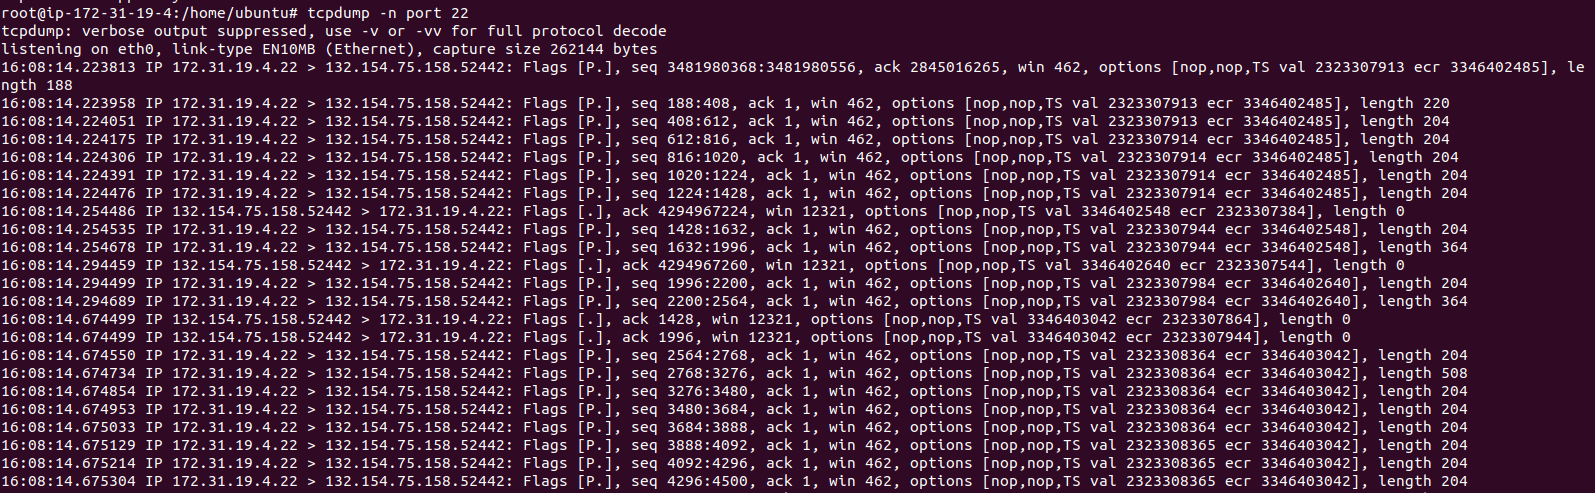
- To capture packect from a specific port number.
tcpdump -n port 22
- Here is the command output.
- To capture packets from a source ip.
tcpdump -n src host ip-address
- To capture the traffic coming from any source to port 80.
tcpdump -n dst port 80
- To capture all HTTP traffic coming from a source IP address.
tcpdump -n src ip-address and tcp port 80
- To capture traffic in a range of ports.
tcpdump -n portrange 110-150
- To capture packets only packets related to 10.10.0.0/16.
tcpdump -n net 10.10
- To show each packet in ASCII.
tcpdump -n -A
- To show each packets in HEX and ASCII.
tcpdump -n -X