shivani singh
- February 7, 2022
Steps to Setup & Configure Rancher on Amazon Linux
Rancher is a free & open source container management platform. It helps to create & manage containers. We can easily add the host on rancher server. Rancher enables organizations to run containers in production.
There are some steps to Setup Rancher on AWS EC2:
Prerequisites:
- 2 Aws ec2 system with sudo privileges.
Install Docker on Rancher (Master) Node & Worker Node:
Step 1: Update the System.
yum update
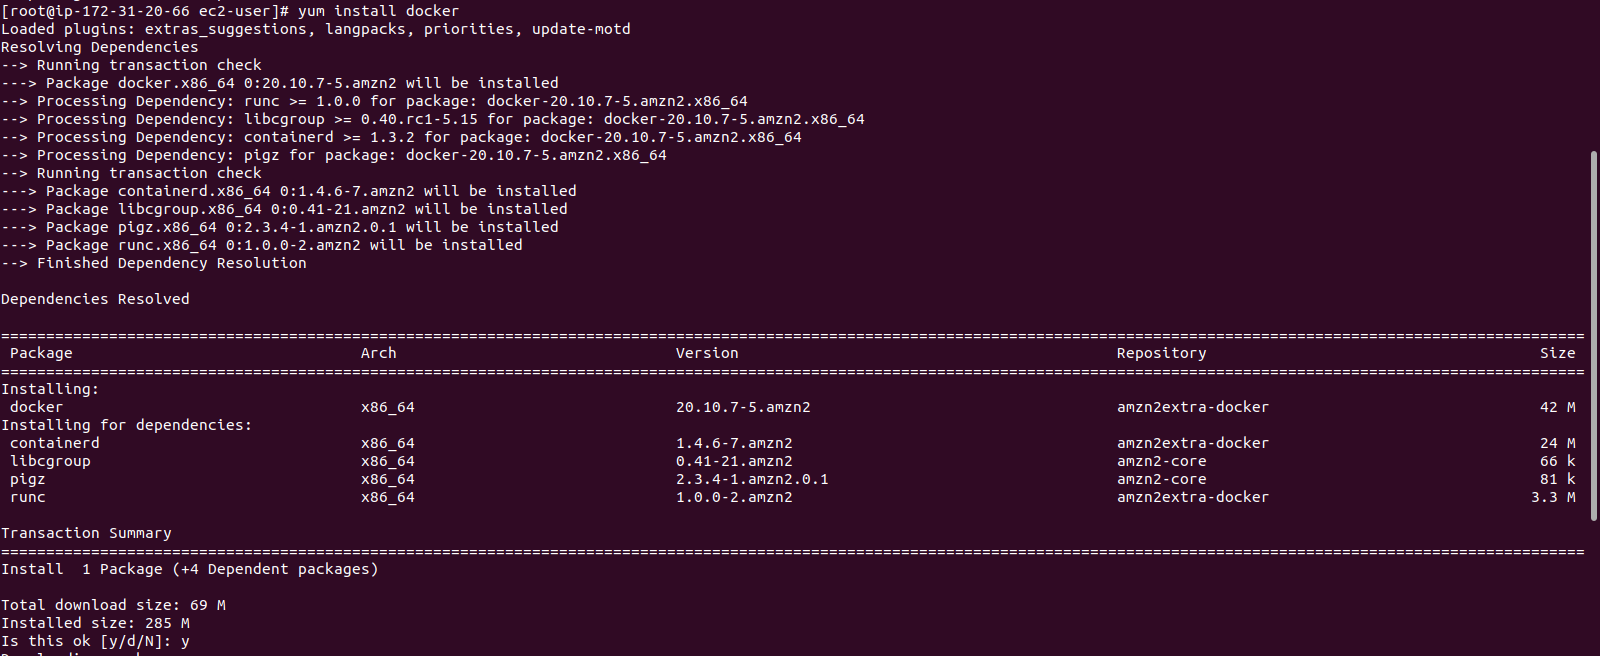
Step 2: Install docker on Amazon Linux.
yum install docker
- Here is the command output.
- Press y.
- Check Docker version.
docker --version
- Here is the command output.

- Start & Enable the docker.
systemctl start docker

&&

systemctl enable docker
- Here is the command output.

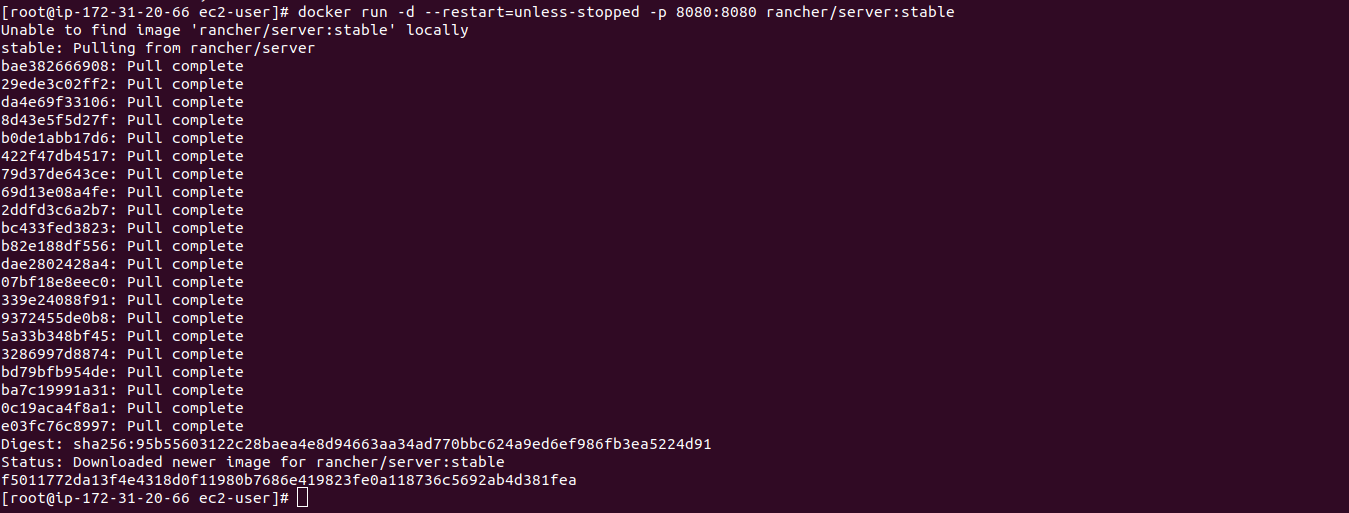
Step 3: Install & Run Rancher server using docker on Master node.
docker run -d --restart=unless-stopped -p 8080:8080 rancher/server:stable
- Here is the command output.
Step 4: Open Rancher web interface.
http://server-ip:8080
- Here is the output.
- Note: Please wait for sometime Or refresh the browser page 2-3 times.

- Now,Welcome page opened.
- Click on Got it.
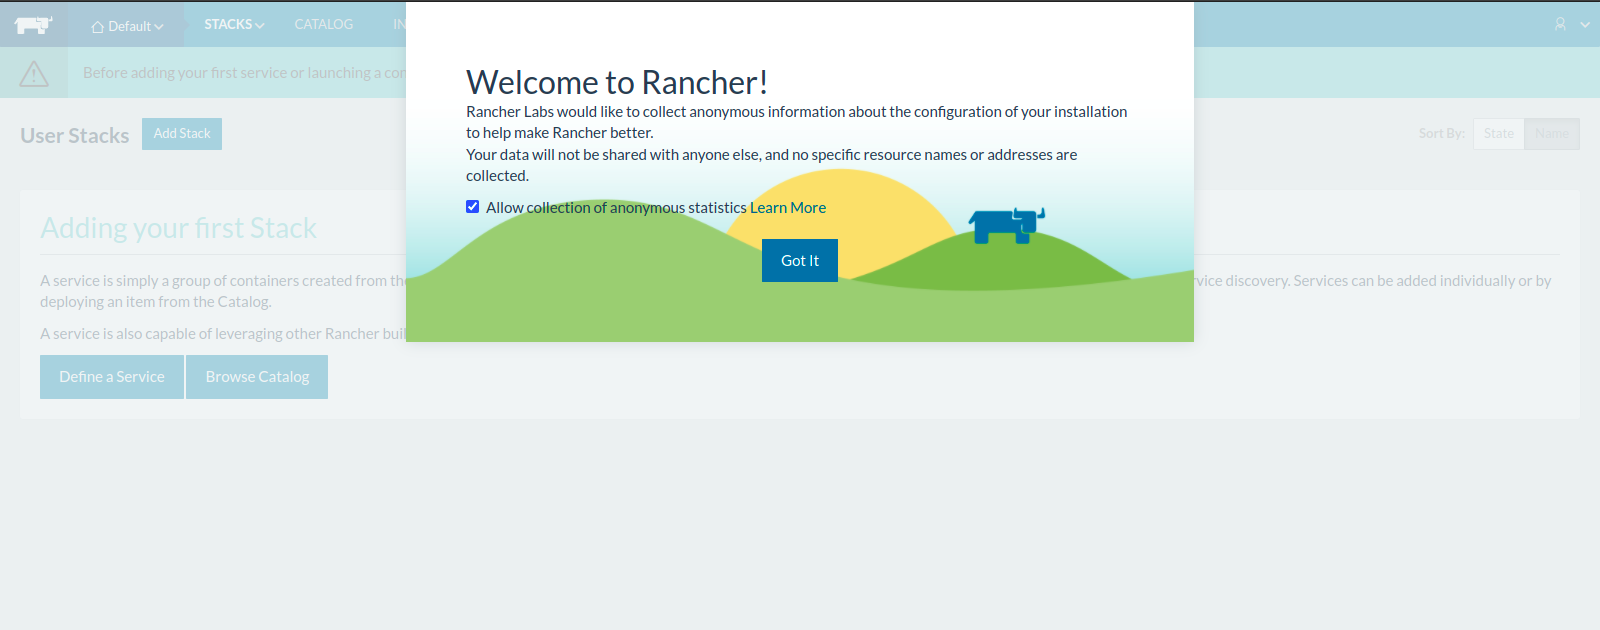
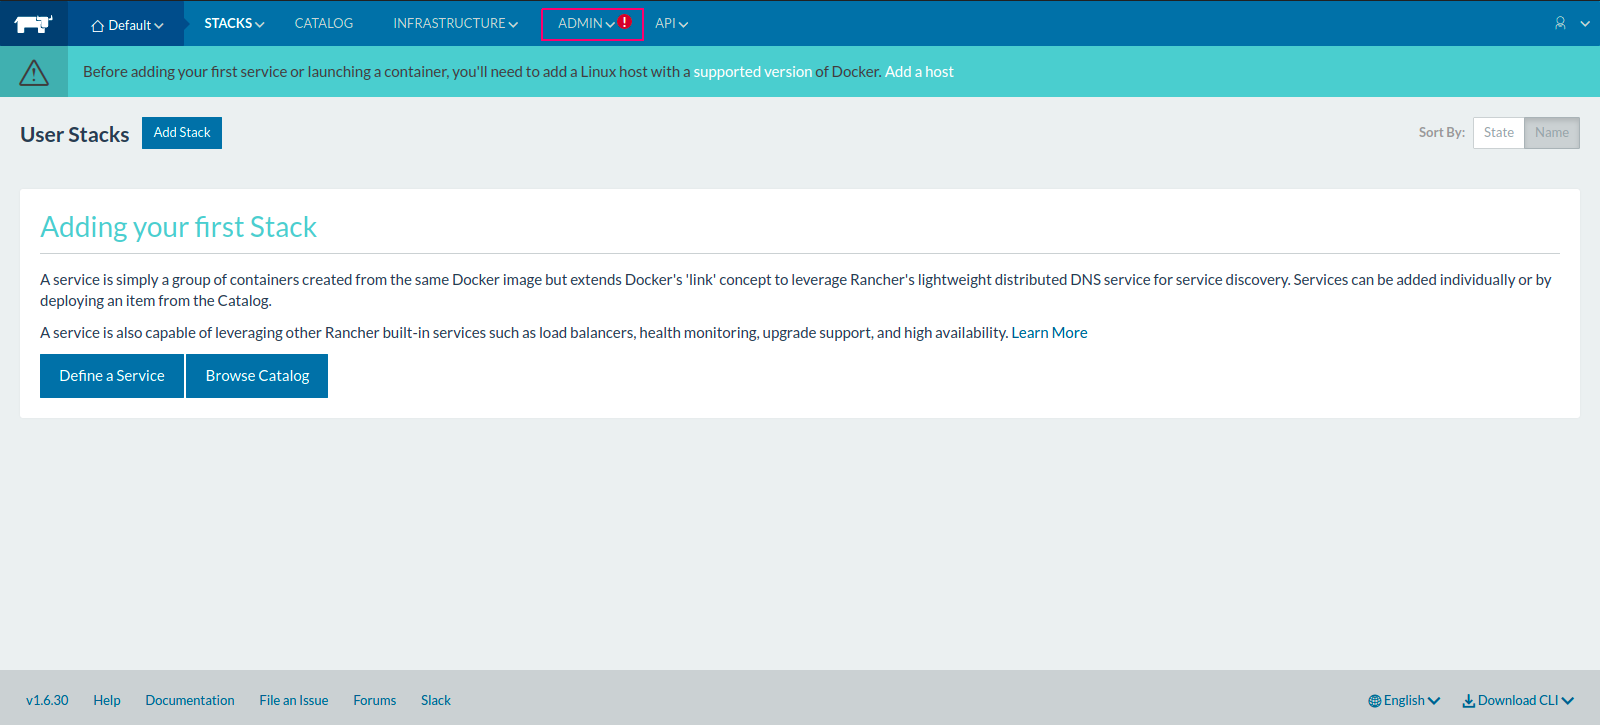
- Rancher is Ready for configuration.
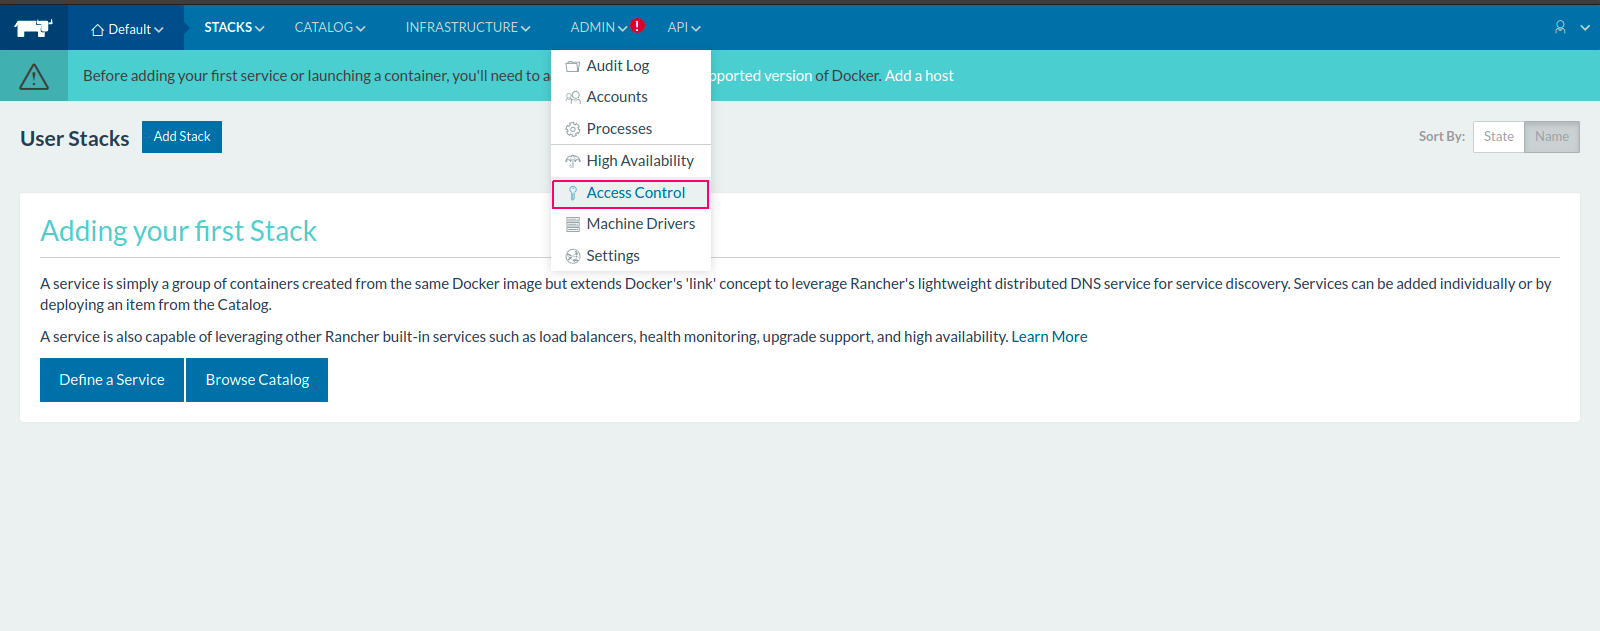
- Click on ADMIN option.
- Select Access Control.
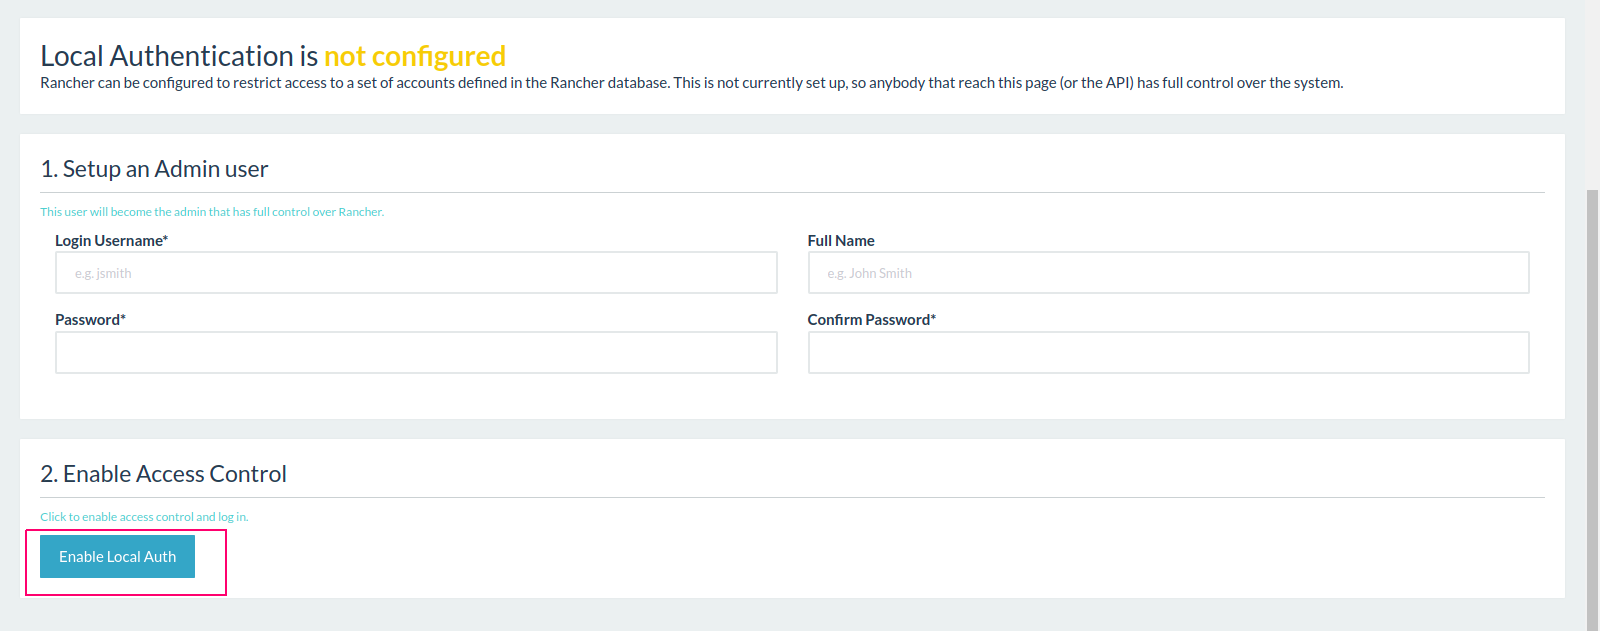
- Access Control page is Opened.
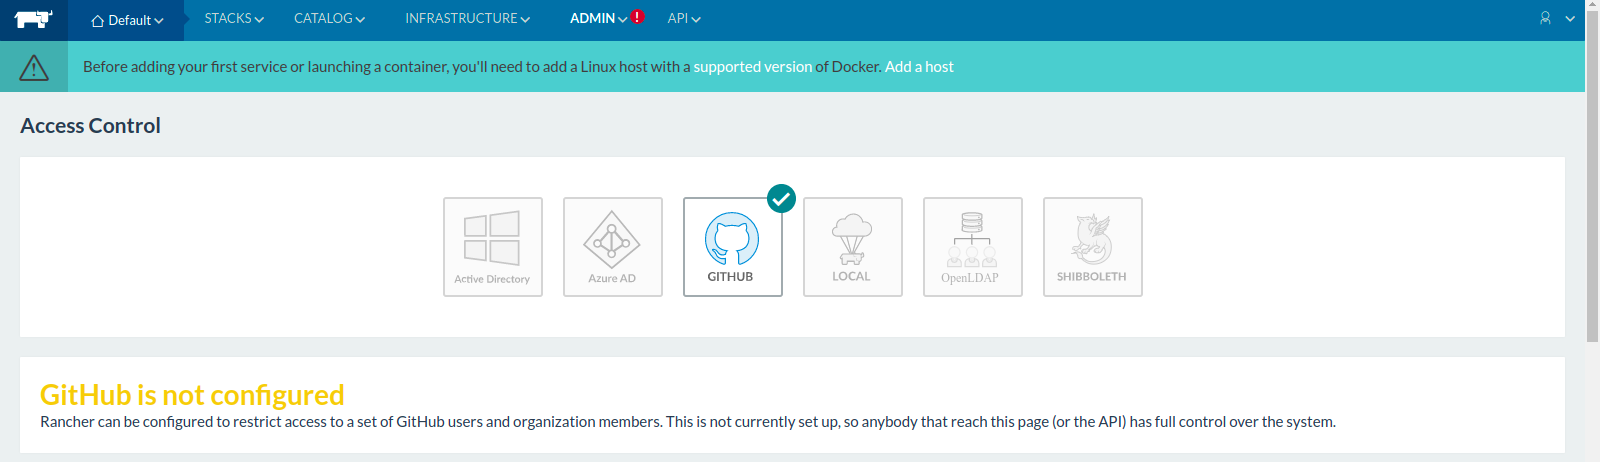
- Select Local Access control.
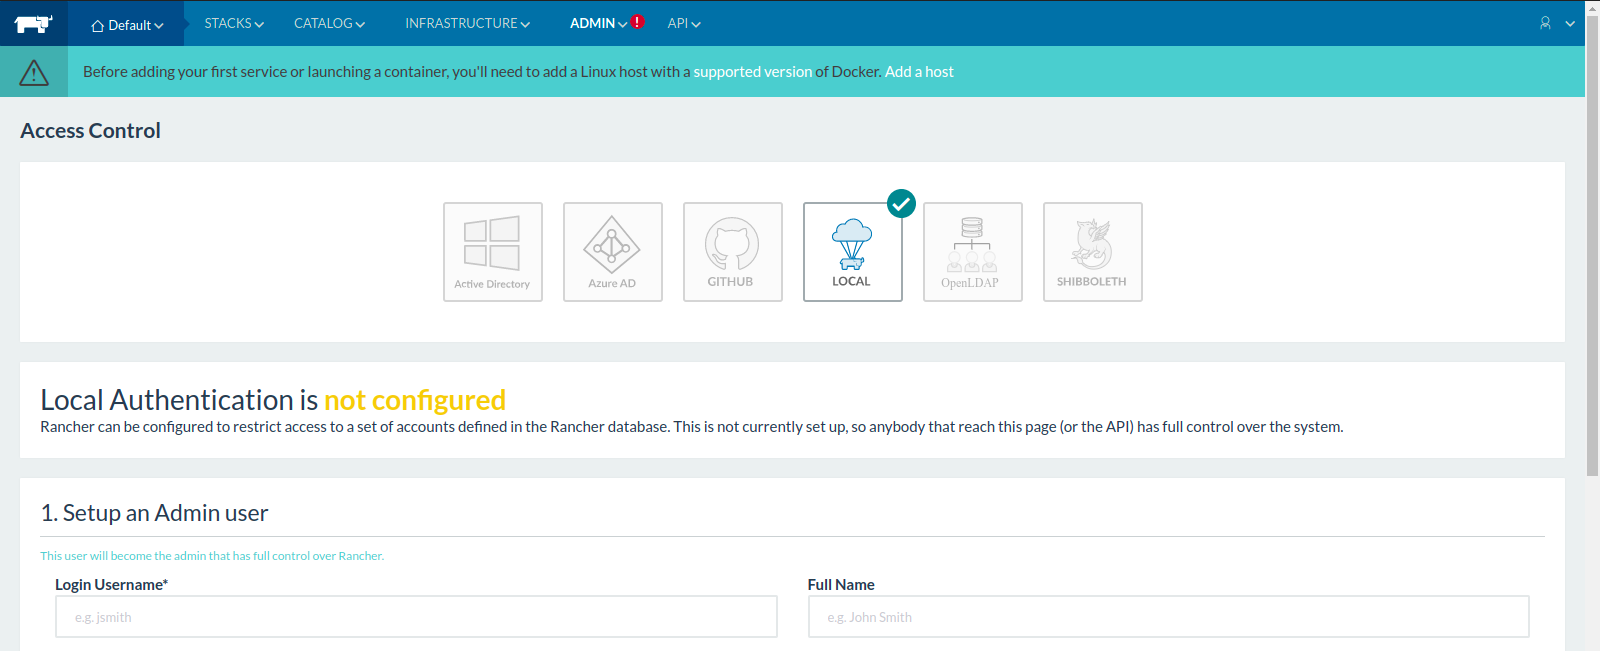
- Provide the Login credentials such as Username,first name & Password.
- Click on Enable the Local Auth.
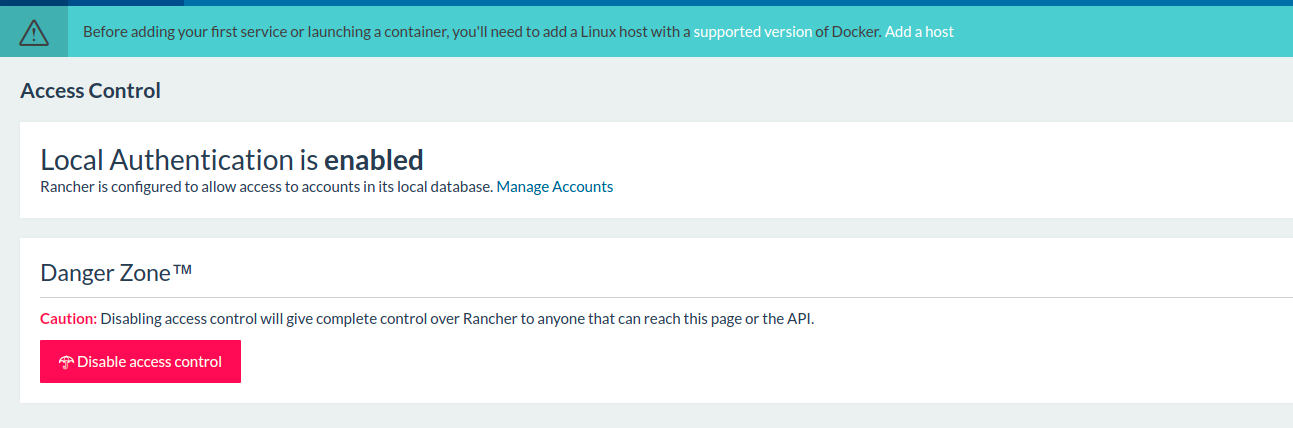
- Now, Local Authentication is Enabled.
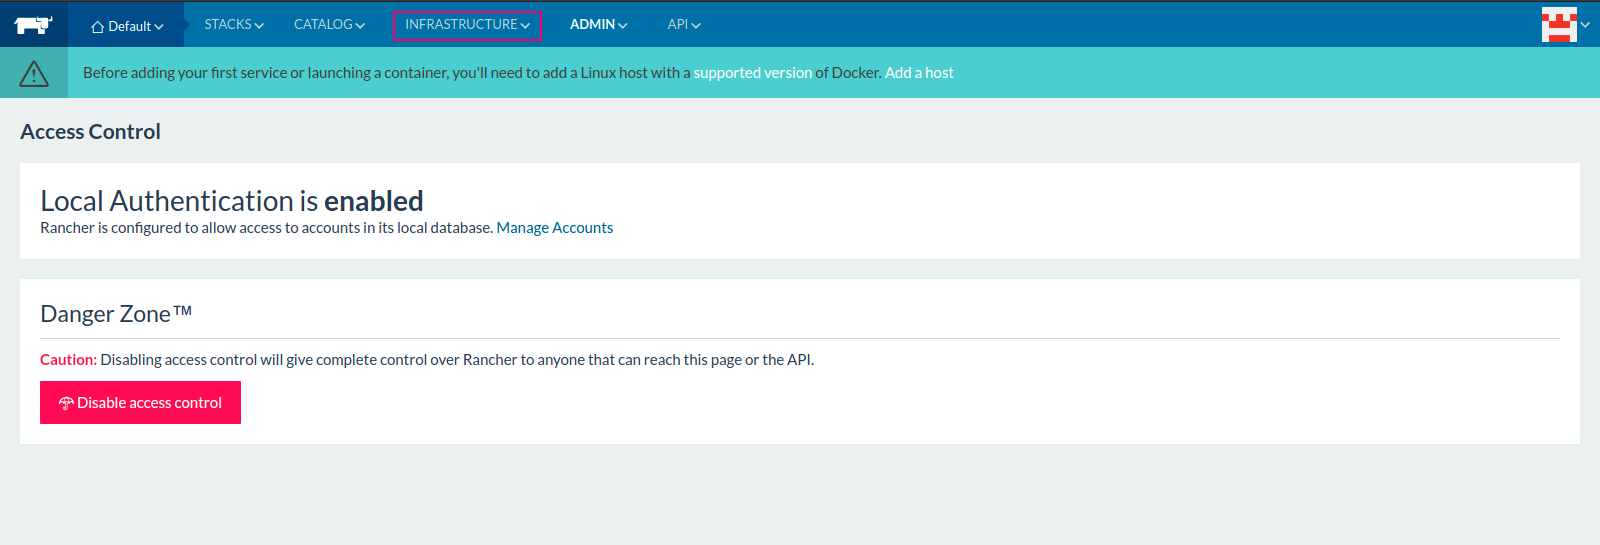
To Add a Host in Rancher
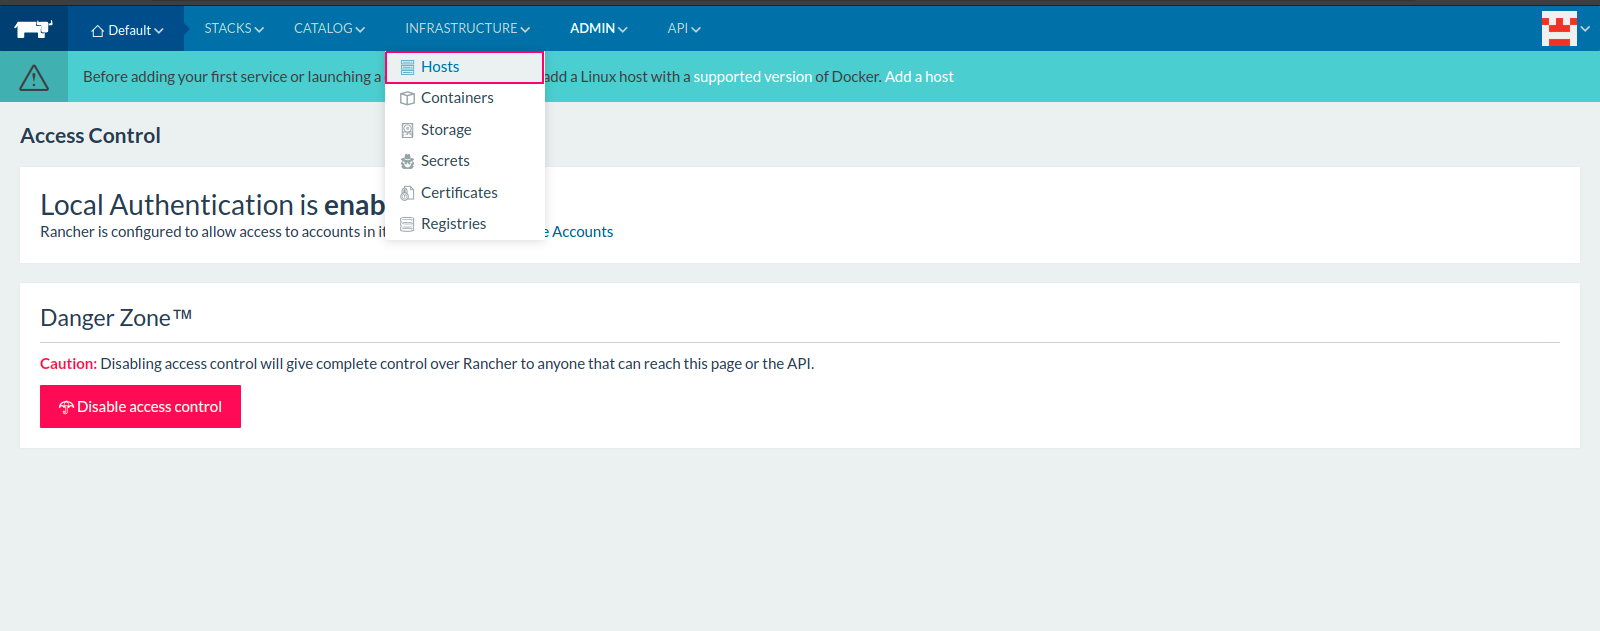
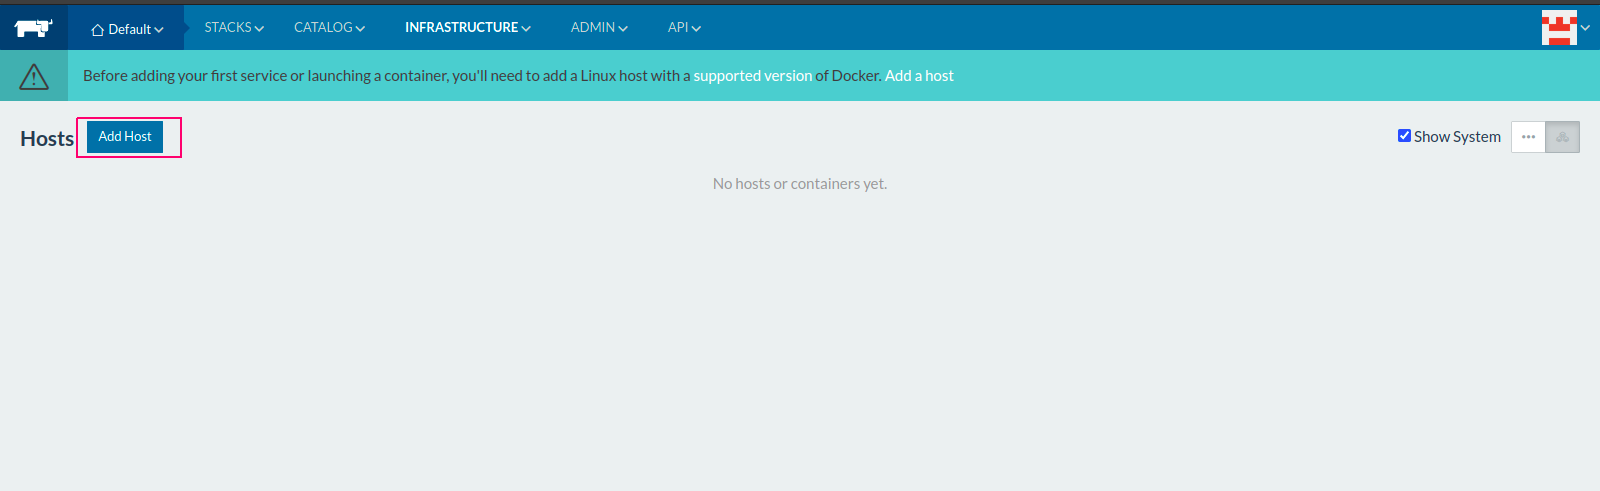
- Click on Infrastructure.
- Click on Hosts.
- Click on Add Host.
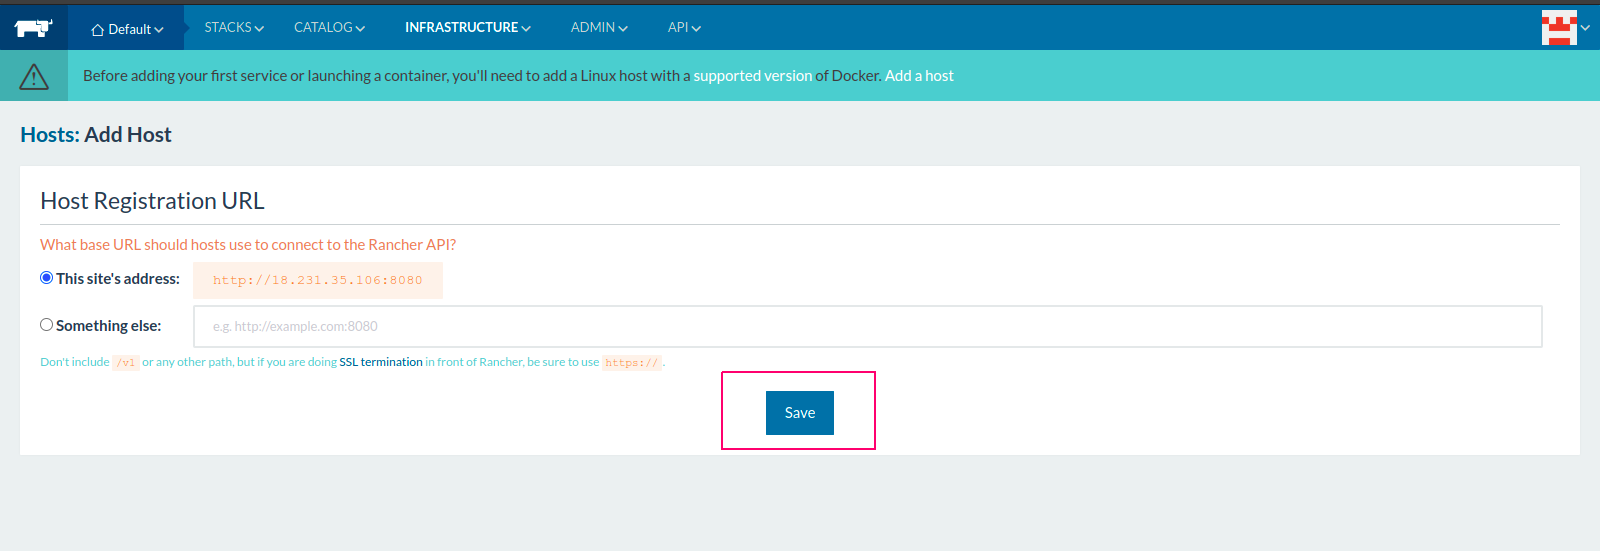
- Leave the option or provide the URL to connect to Rancher API.
- Click on Save.
- There are multiple options to Add host in Rancher.
- Select Custom.
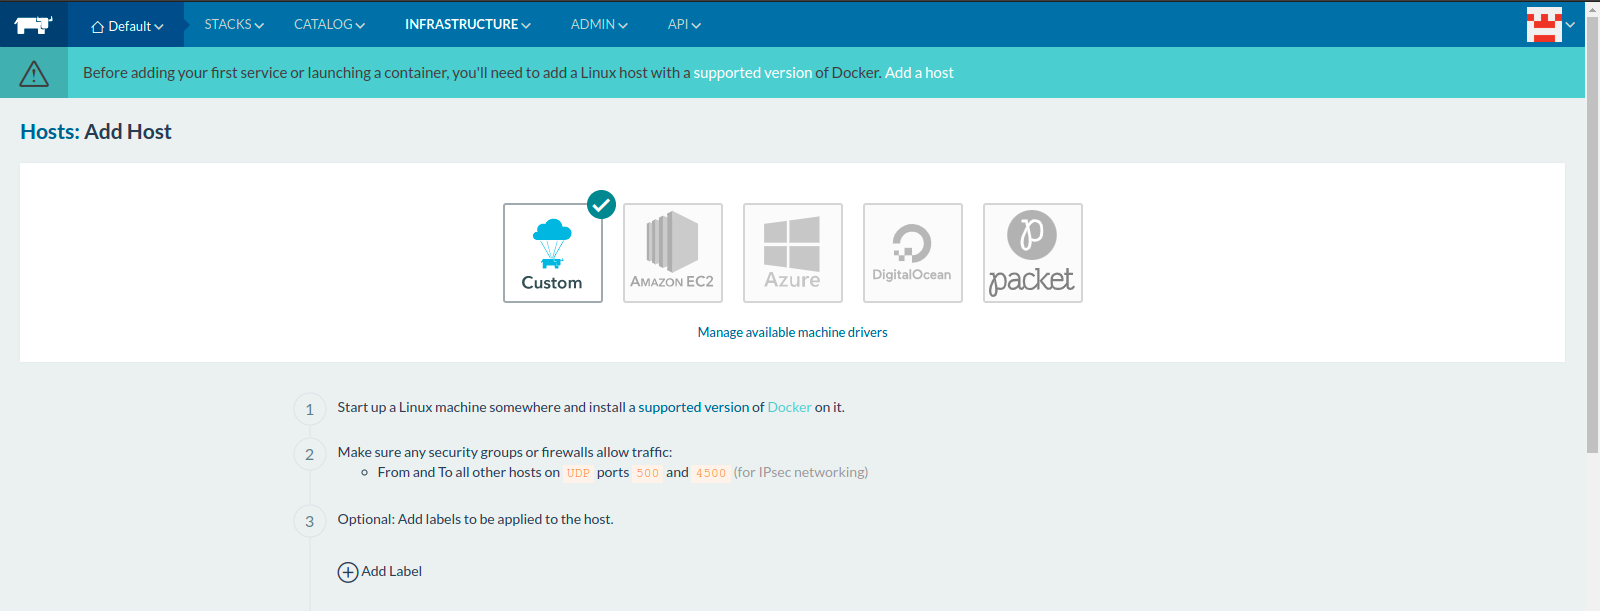
- Provide the Worker Node IP address in option 4.
- Copy the command to register host with Rancher from option 5 & Paste on Worker Node Server.
- Click on Close.

Worker Node Server
- Here is the Command output.
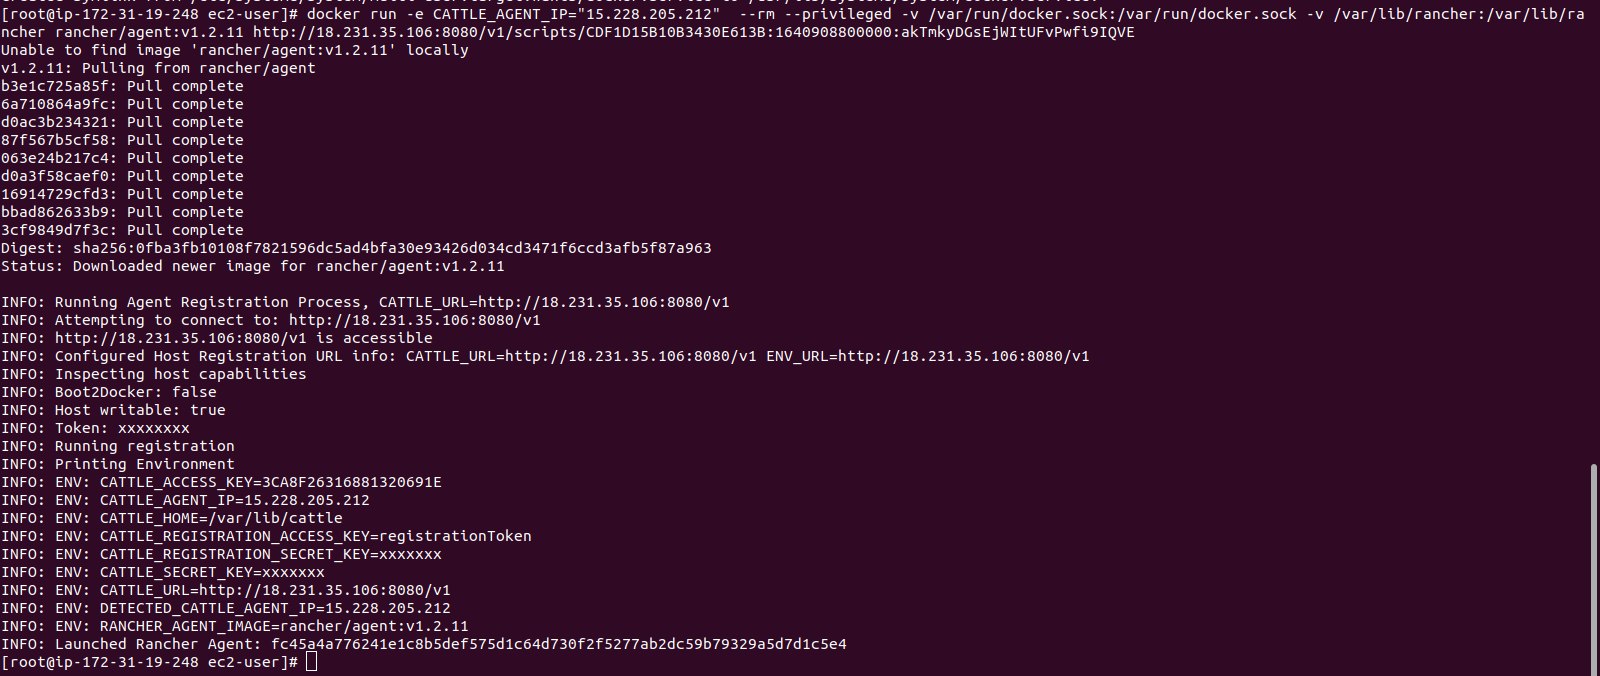
- Host is successfully Added.
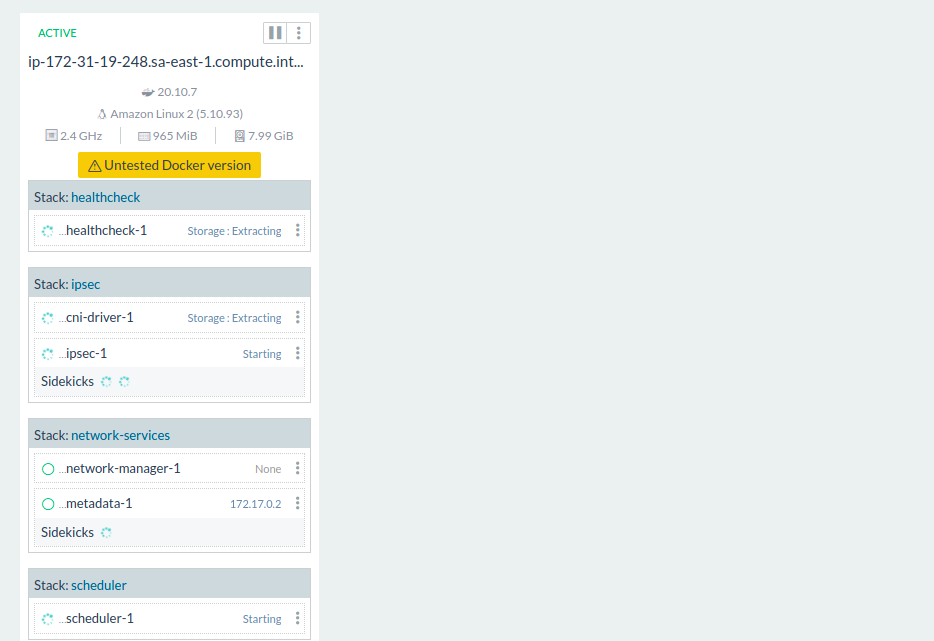
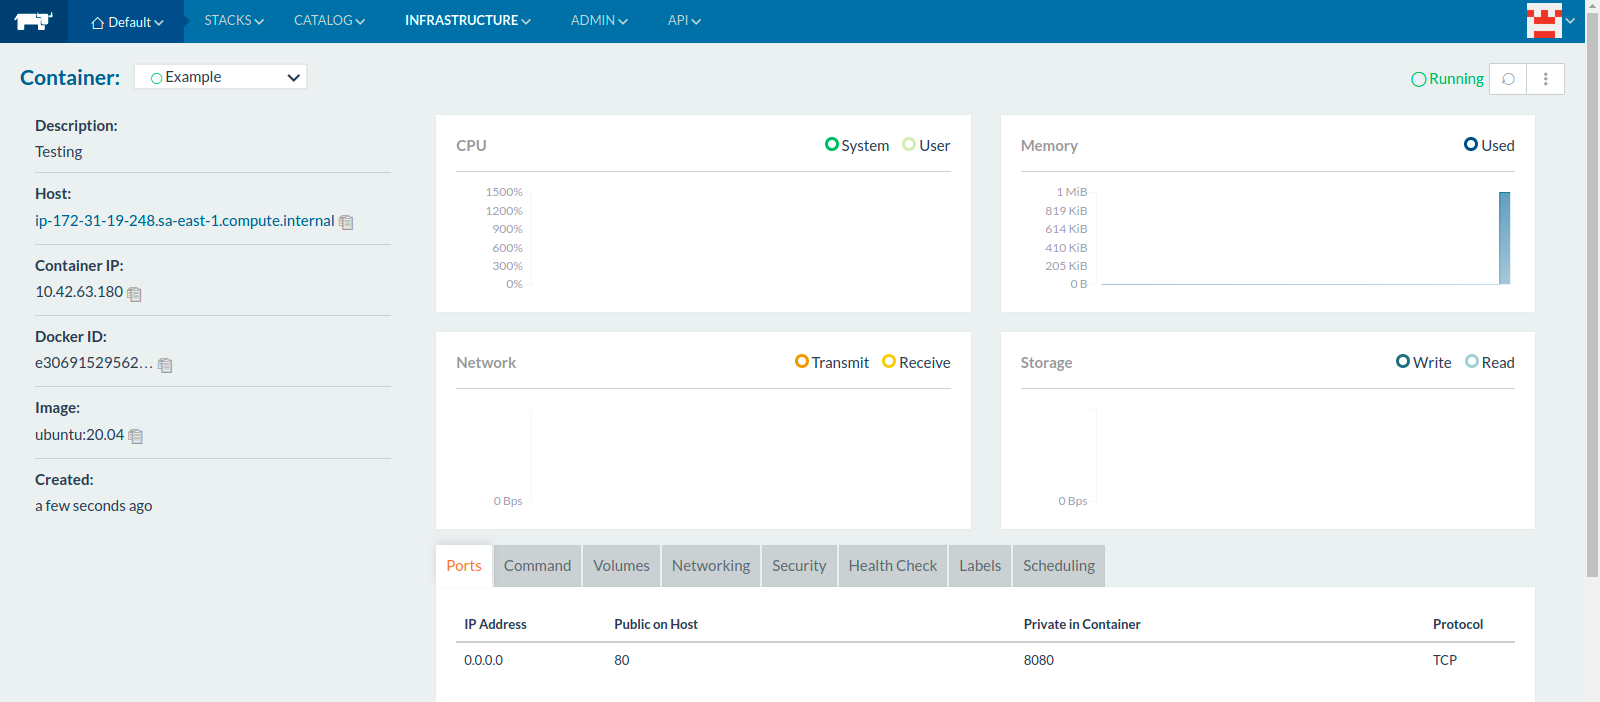
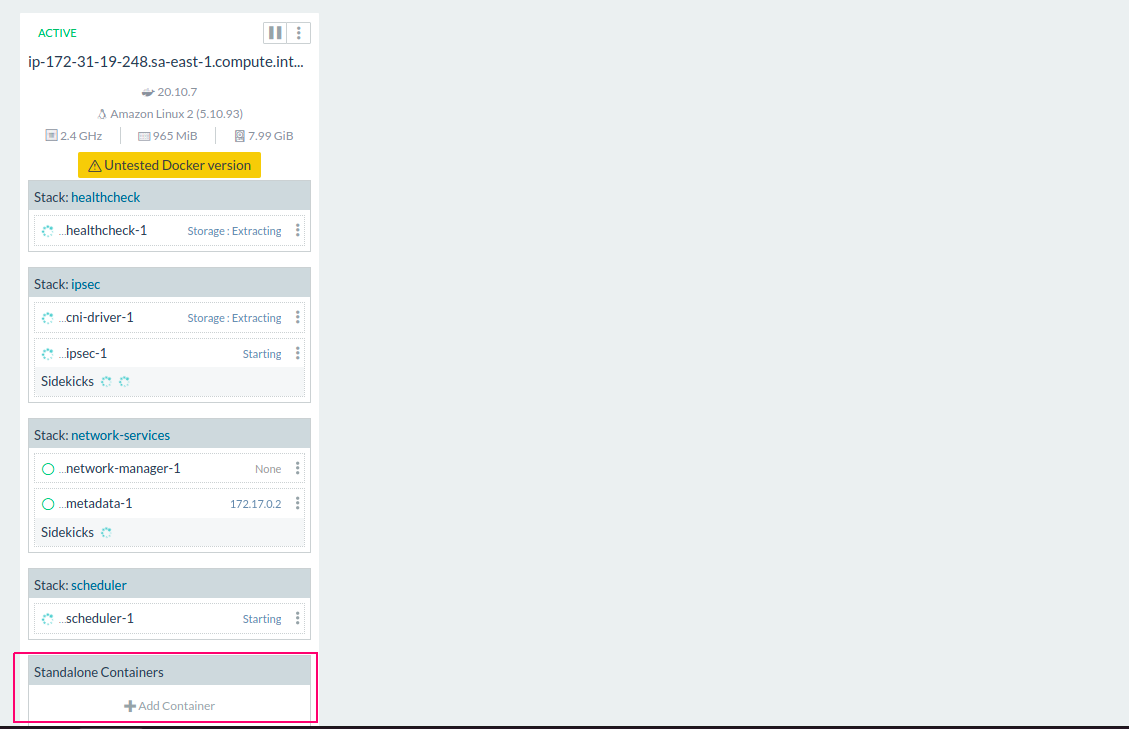
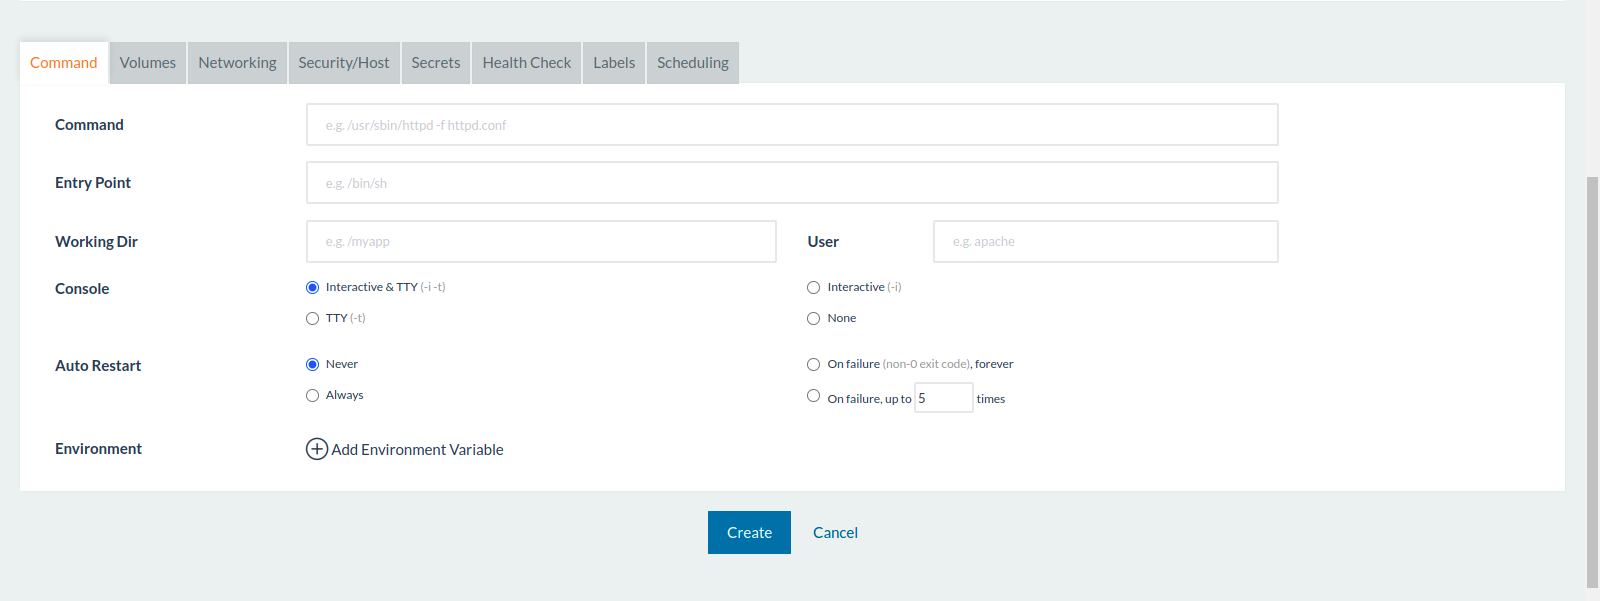
Create a Containers
- Click on Add Containers.
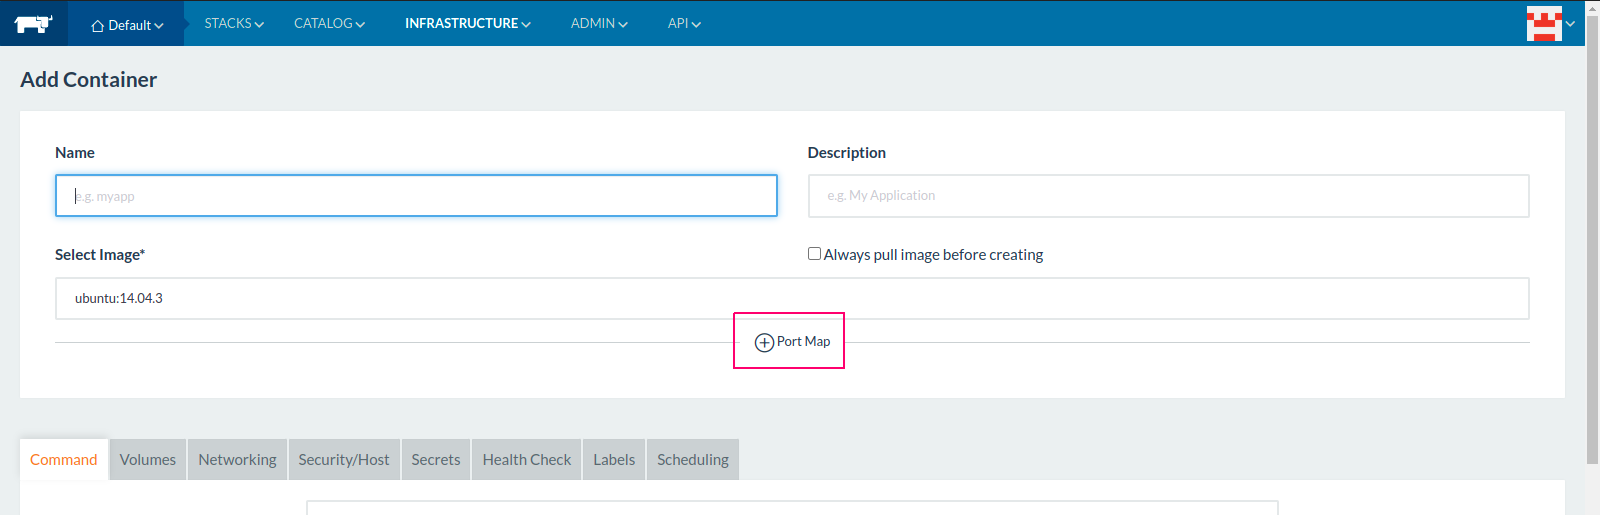
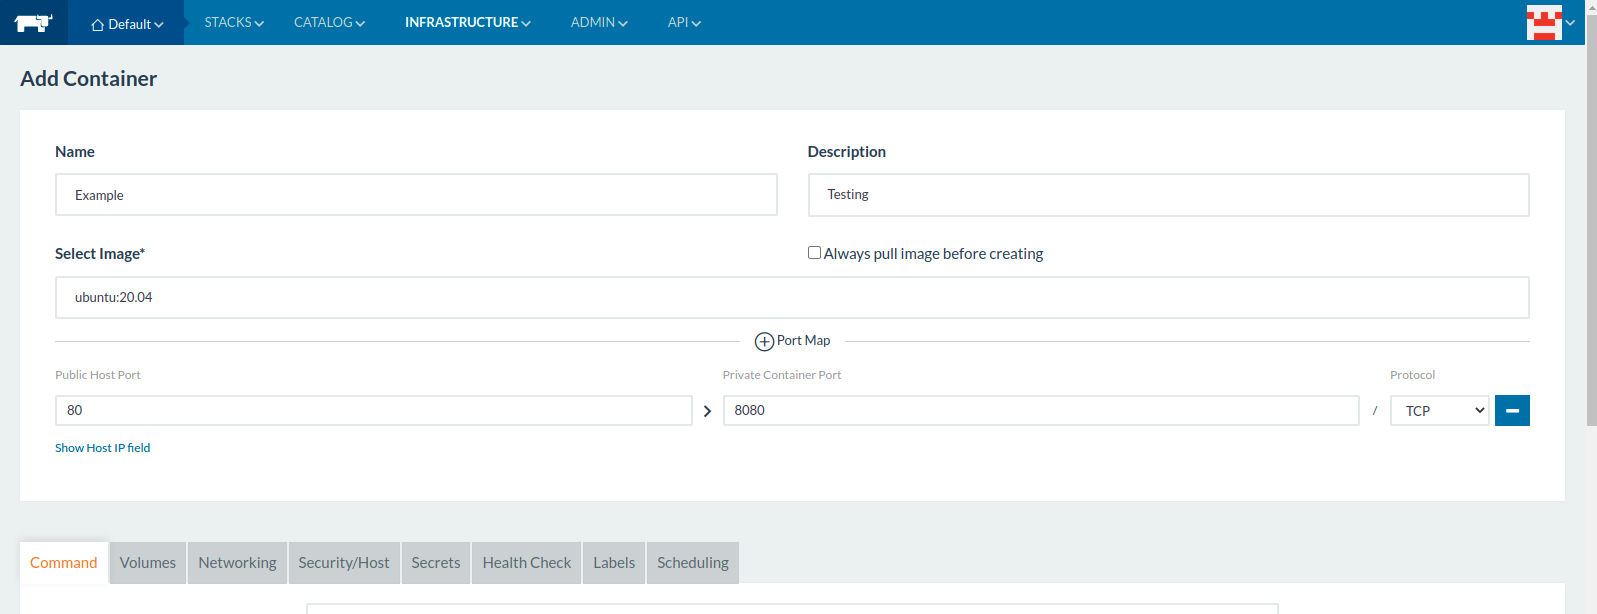
- Provide the Container Name,Description.
- Provide the Image.
- Click on Port Map.
- Provide the Public Host port & Private Container Port number.
- Here,multiple options are available.
- Select the options as per requirements or leave the options.
- Click on Create.
- Now Container is Running Mode.