 shivani singh
- June 27, 2022
Steps to Install & Configure Active Directory Federation Service in Window Server 2019
Hello,In this blog we are installing & configure the active directory federation service (AD FS) in window server 2019 base.It provides users with single sign-on access to systems and applications.
There are some steps to install & configure AD FS in window server 2019 base:
- Login to window server 2019 Base.
- First we need to install Active Directory Domain Service so click on link https://www.hackerxone.com/2022/05/30/steps-to-install-configure-active-directory-domain-service-in-window-server-2019
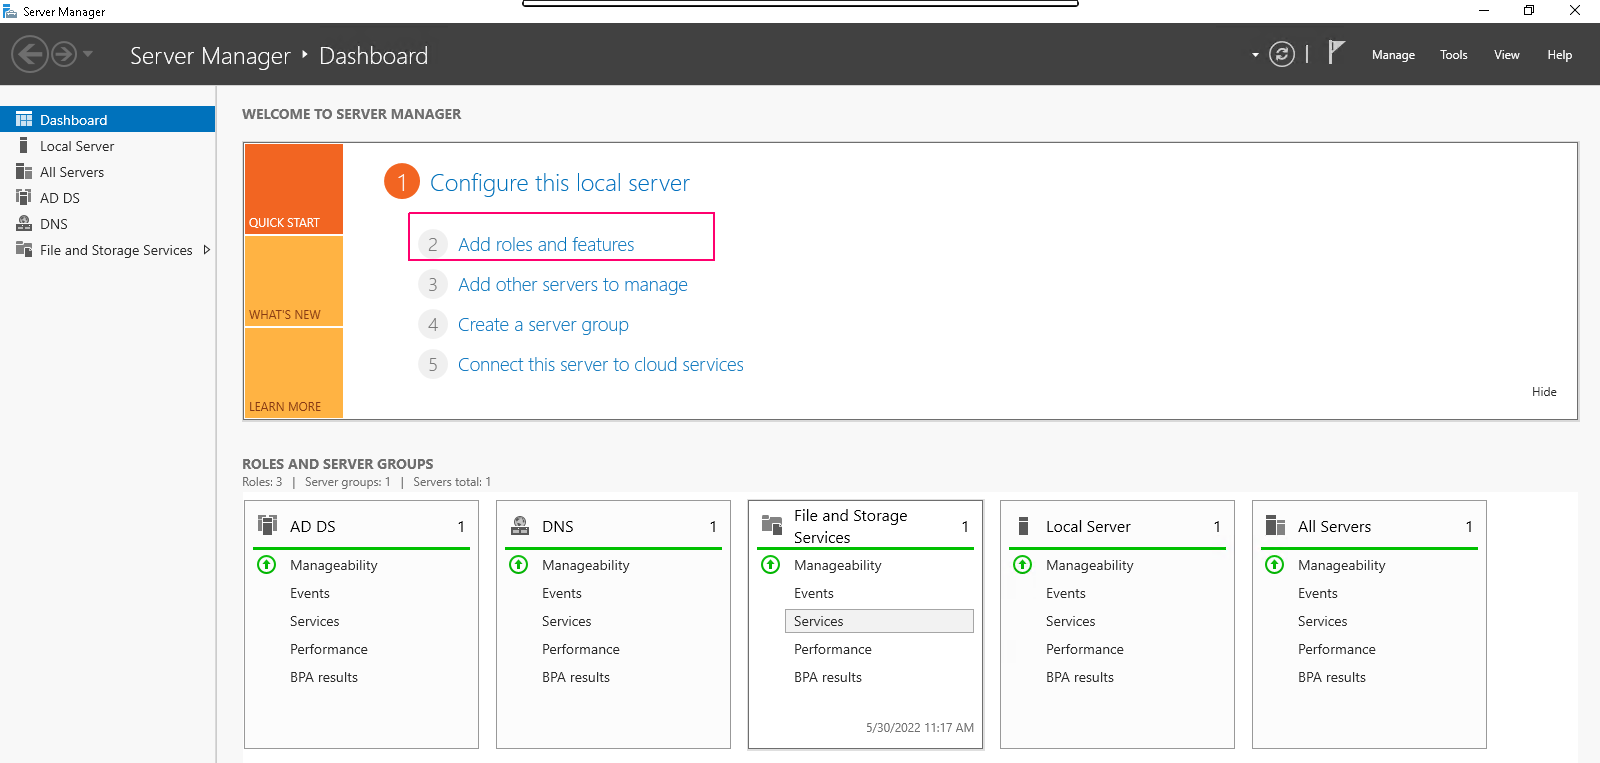
Install Active Directory Federation Service
- Click on Add Roles & Features.
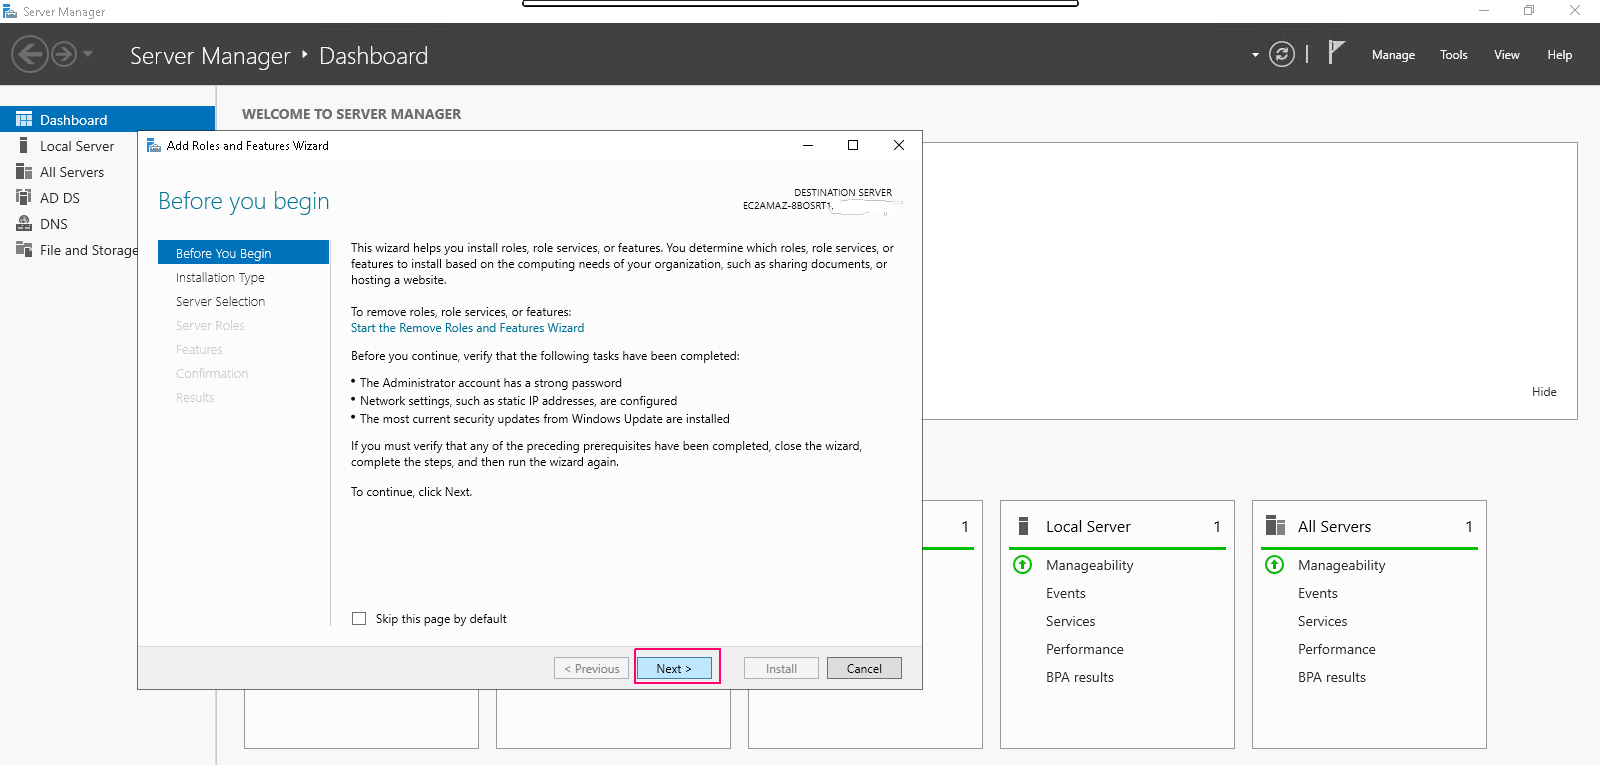
- In the Before you begin page,this wizard helps you install roles,features & role services.Click on Next.
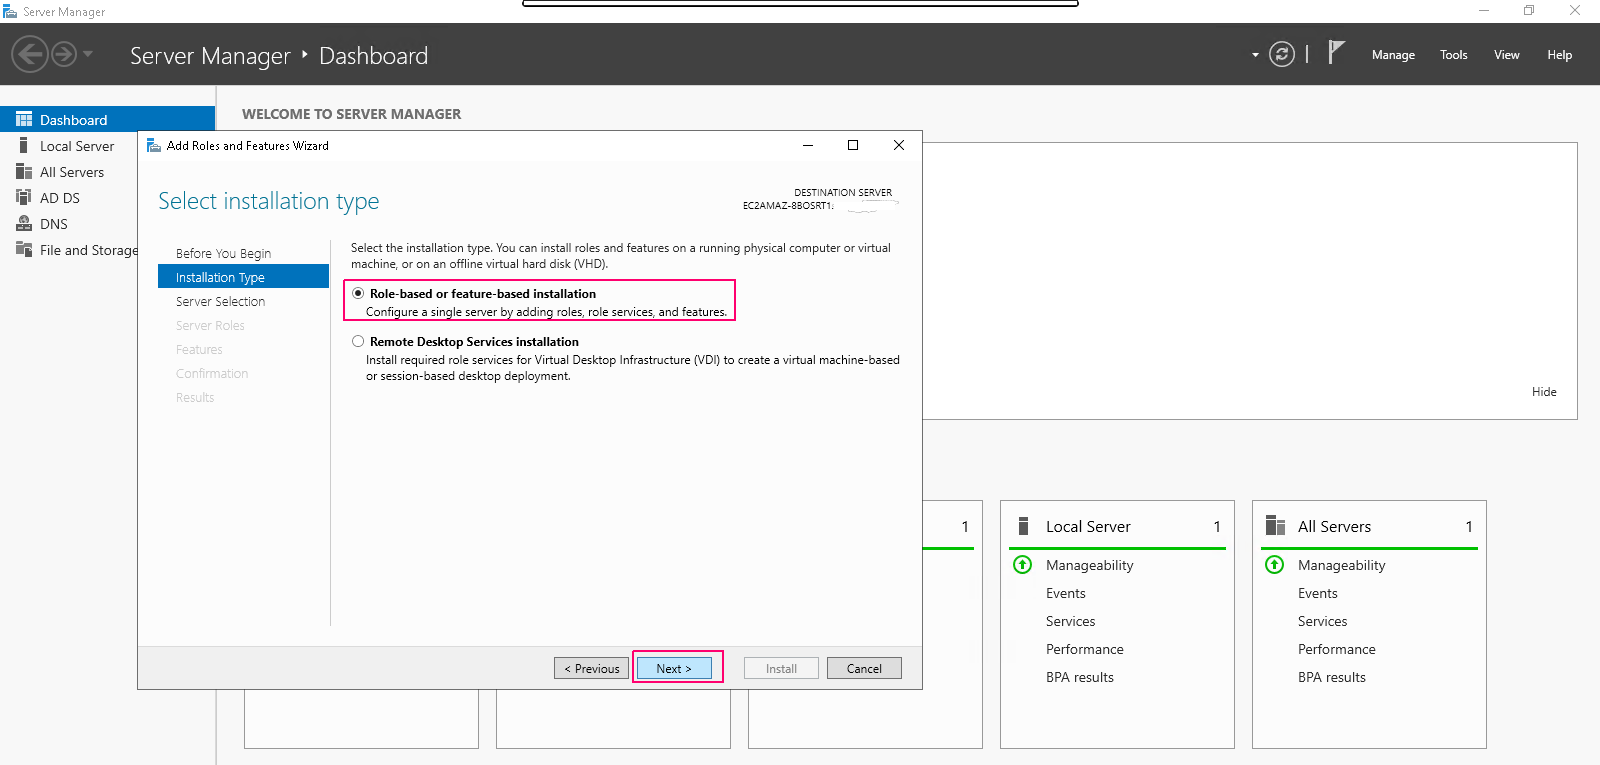
- In Installation type page,Select Role-based or Feature-based installation.Click on Next.
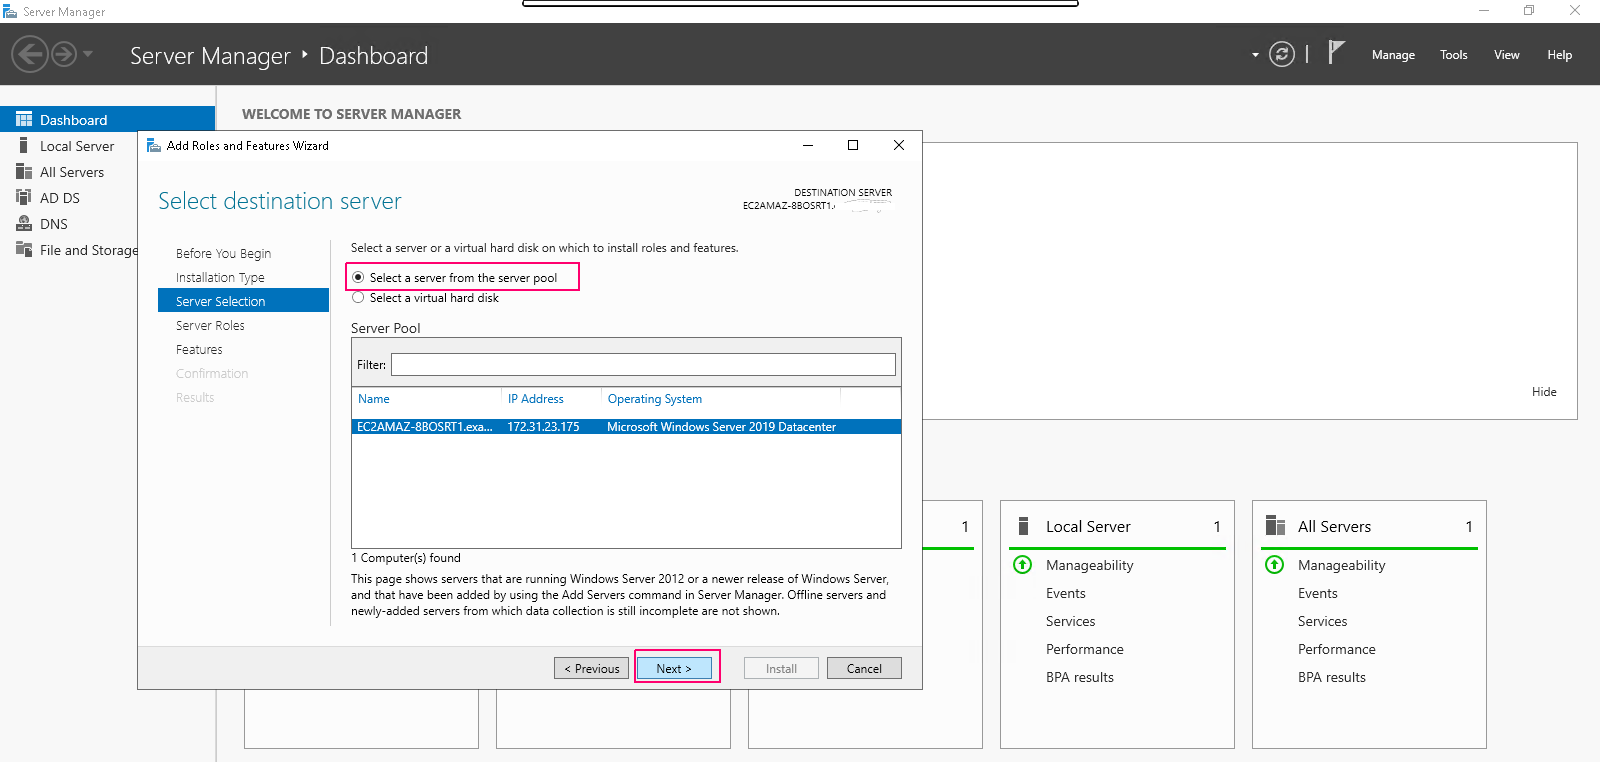
- In Server Selection page,select “select a server from the server pool”. Click on Next.
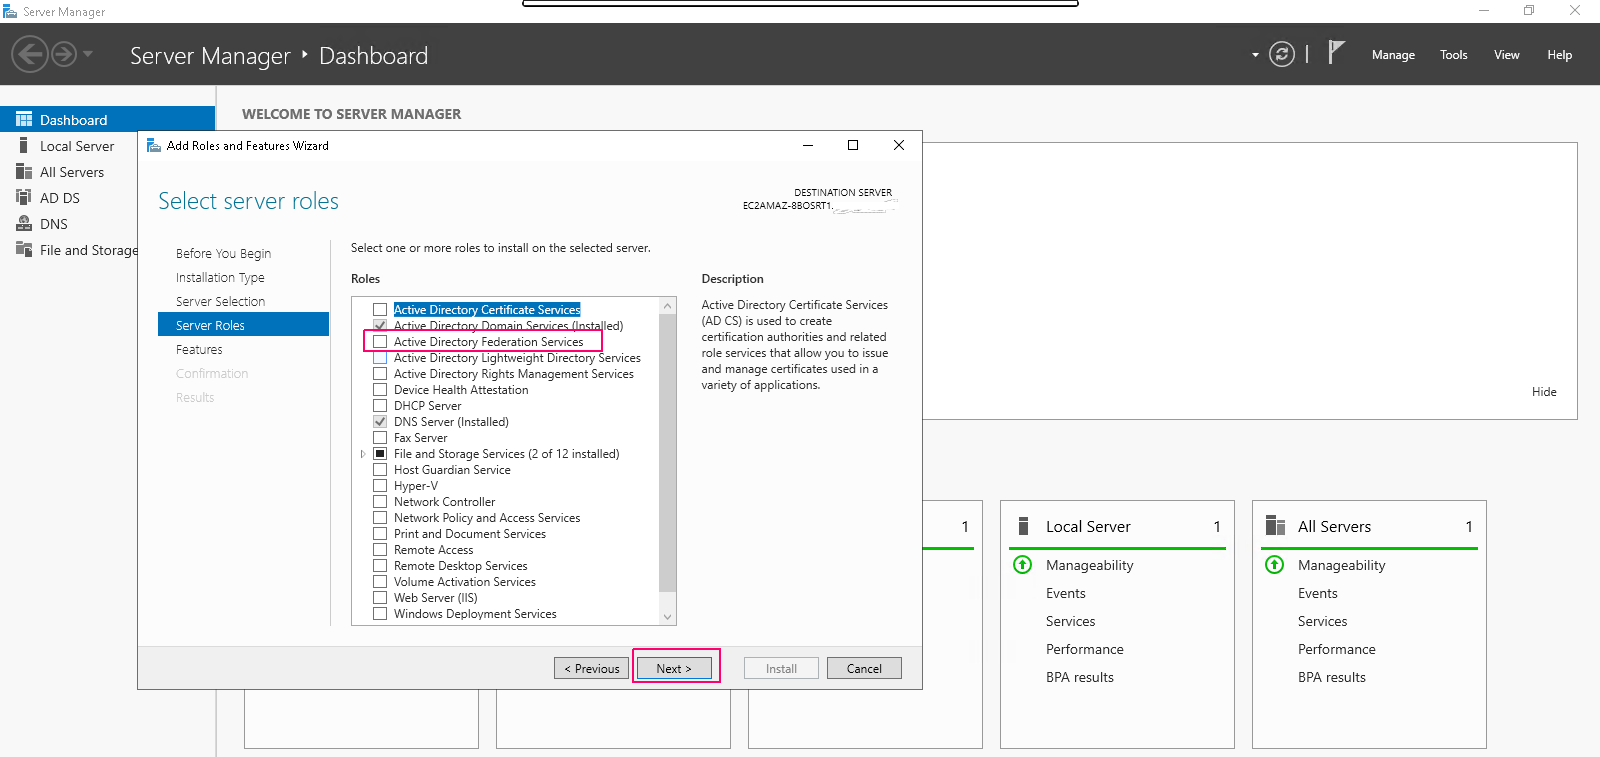
- In Server Roles page,Select the Active Directory Federation Services role.Click on Next.
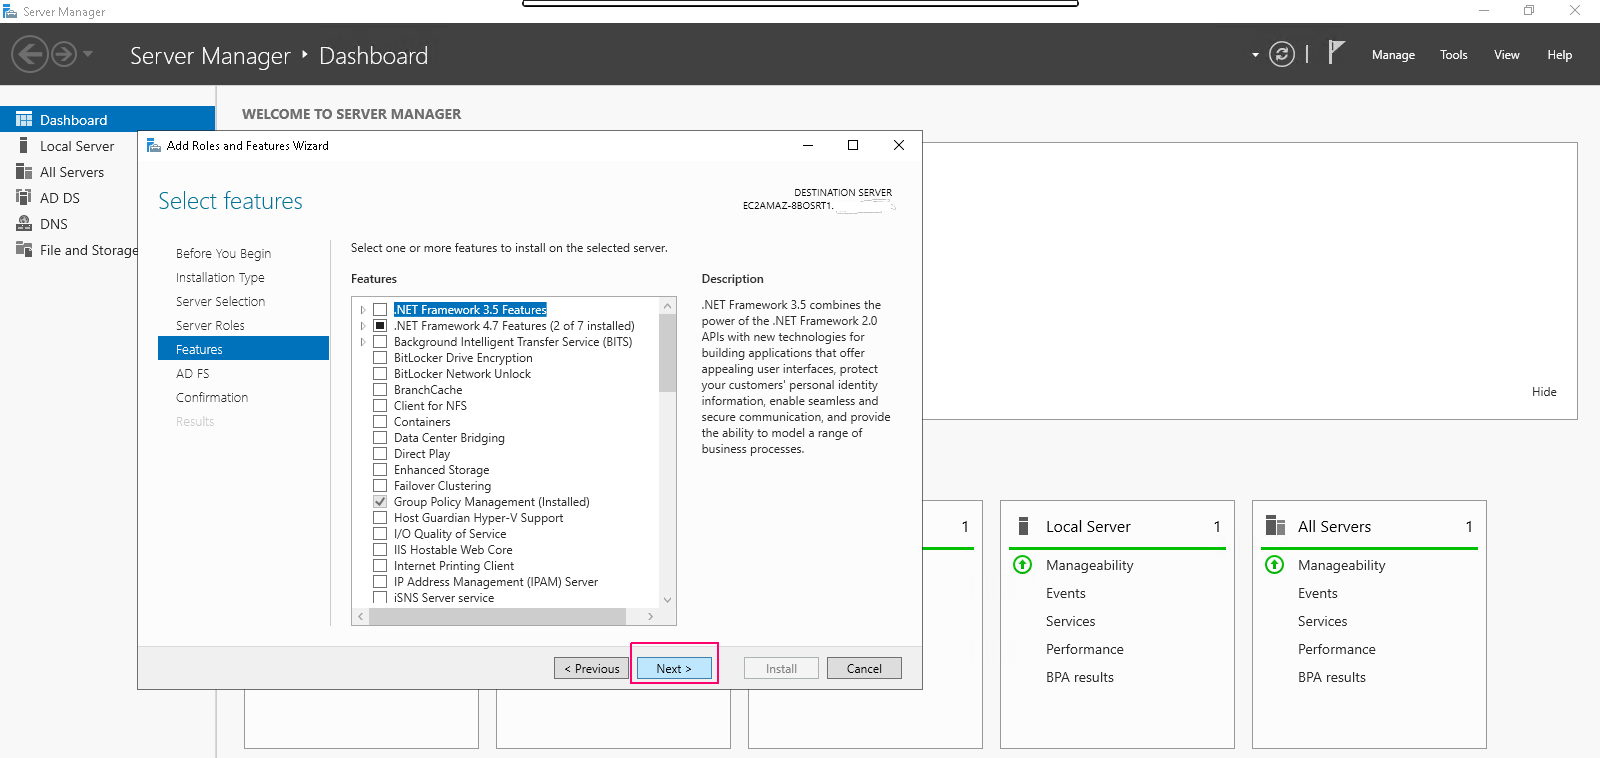
- In Features page,select features as per requirements.Click on Next.
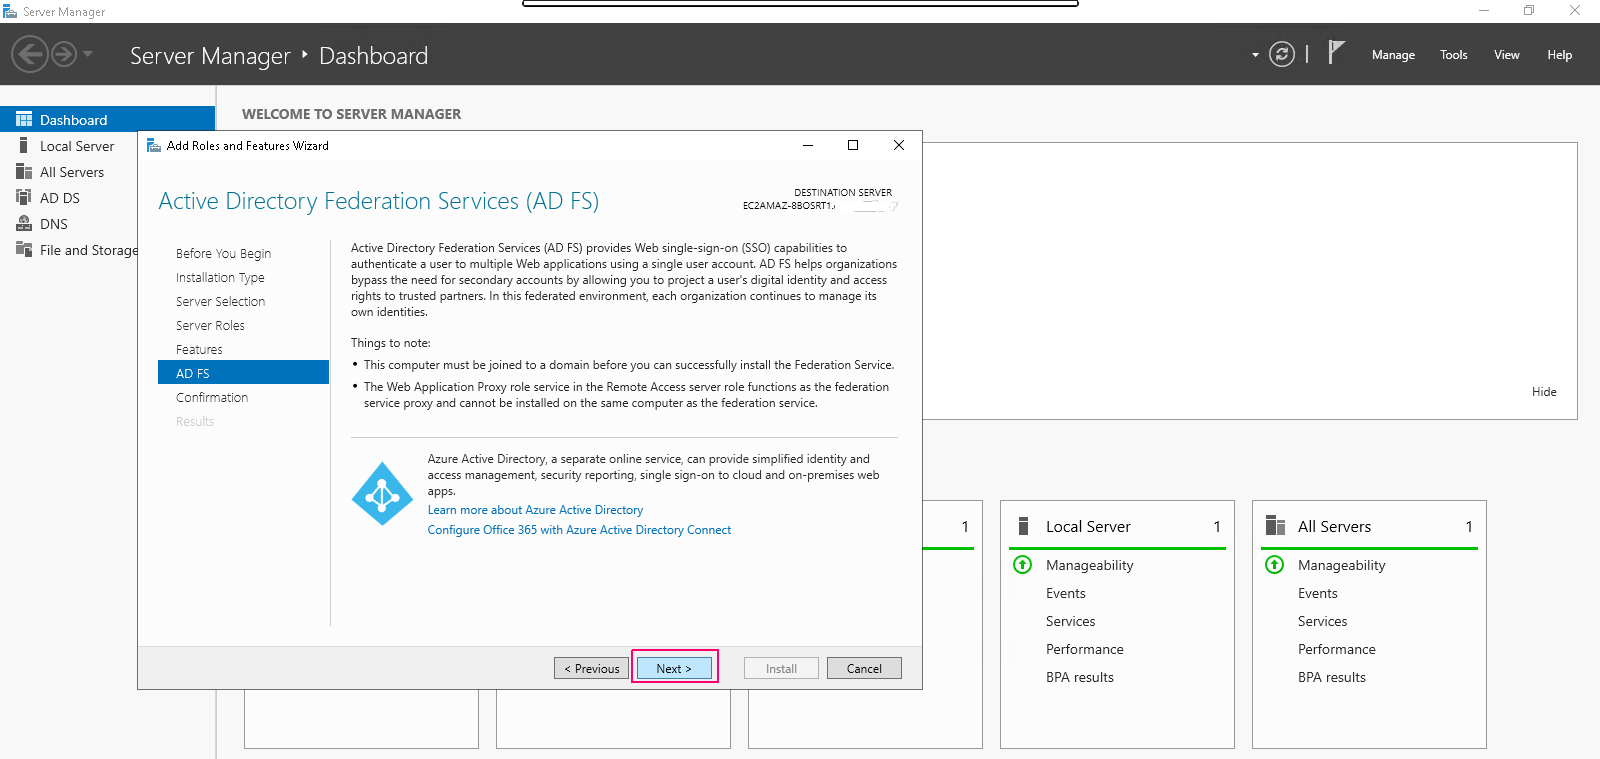
- In AD FS page,Click on Next.
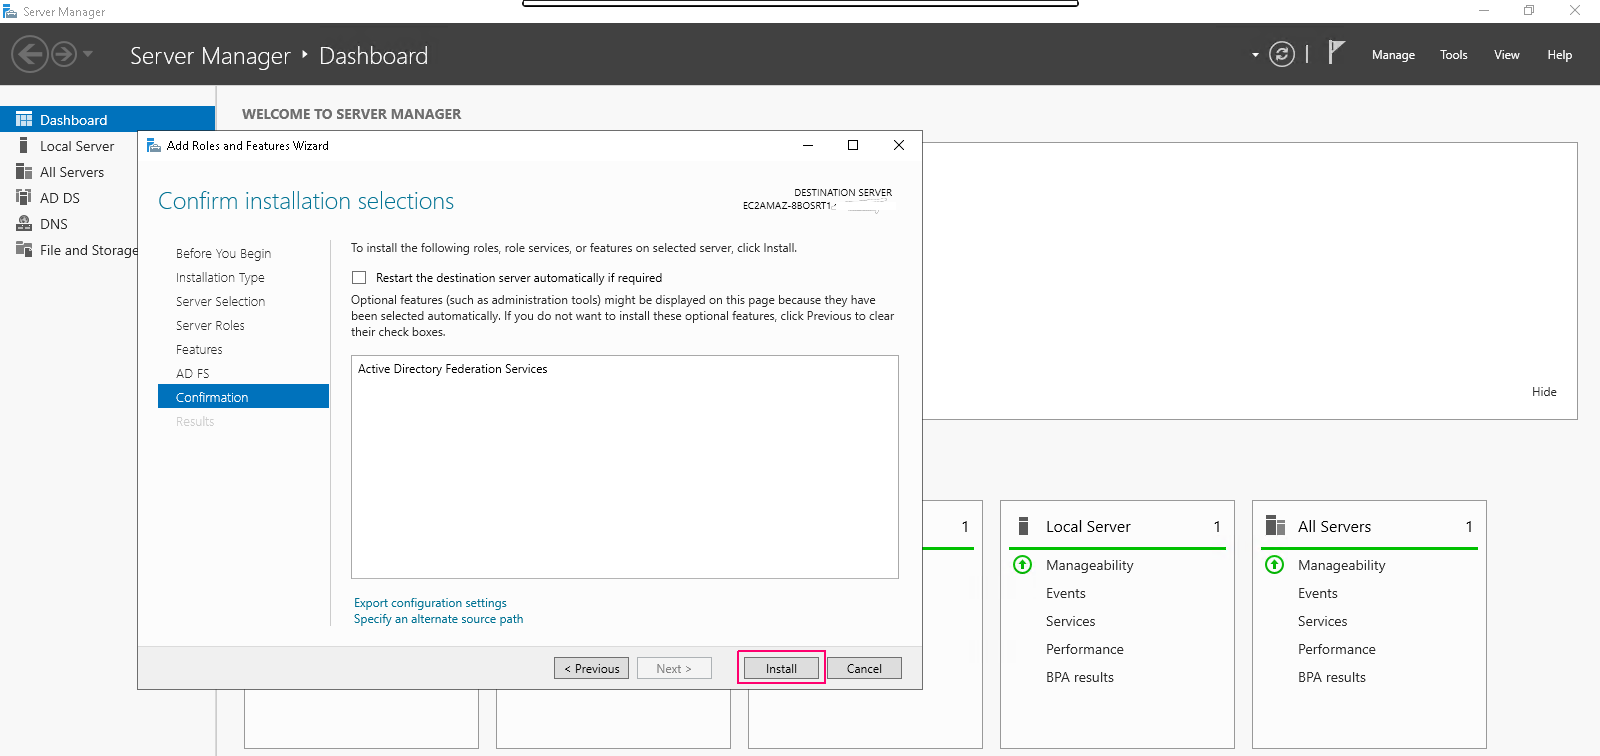
- In Confirmation page,review the added roles & features then click on Install.
- Once installation is done,click on close option to “Close the Add Roles & Feature wizard”.
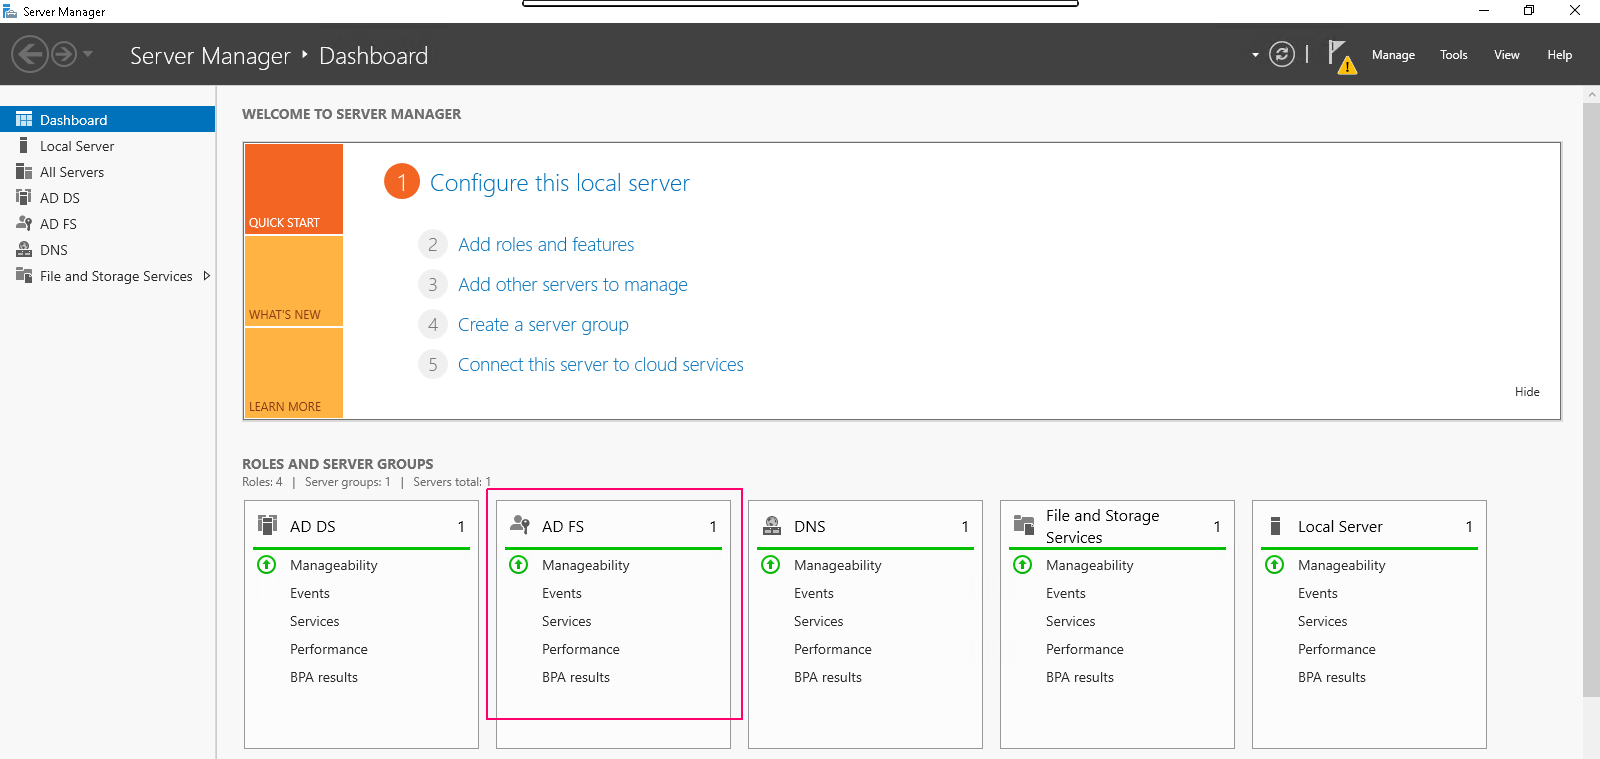
- Now, we can easily see the added roles & features on Server Manager wizard.
Configure Active Directory Federation Service
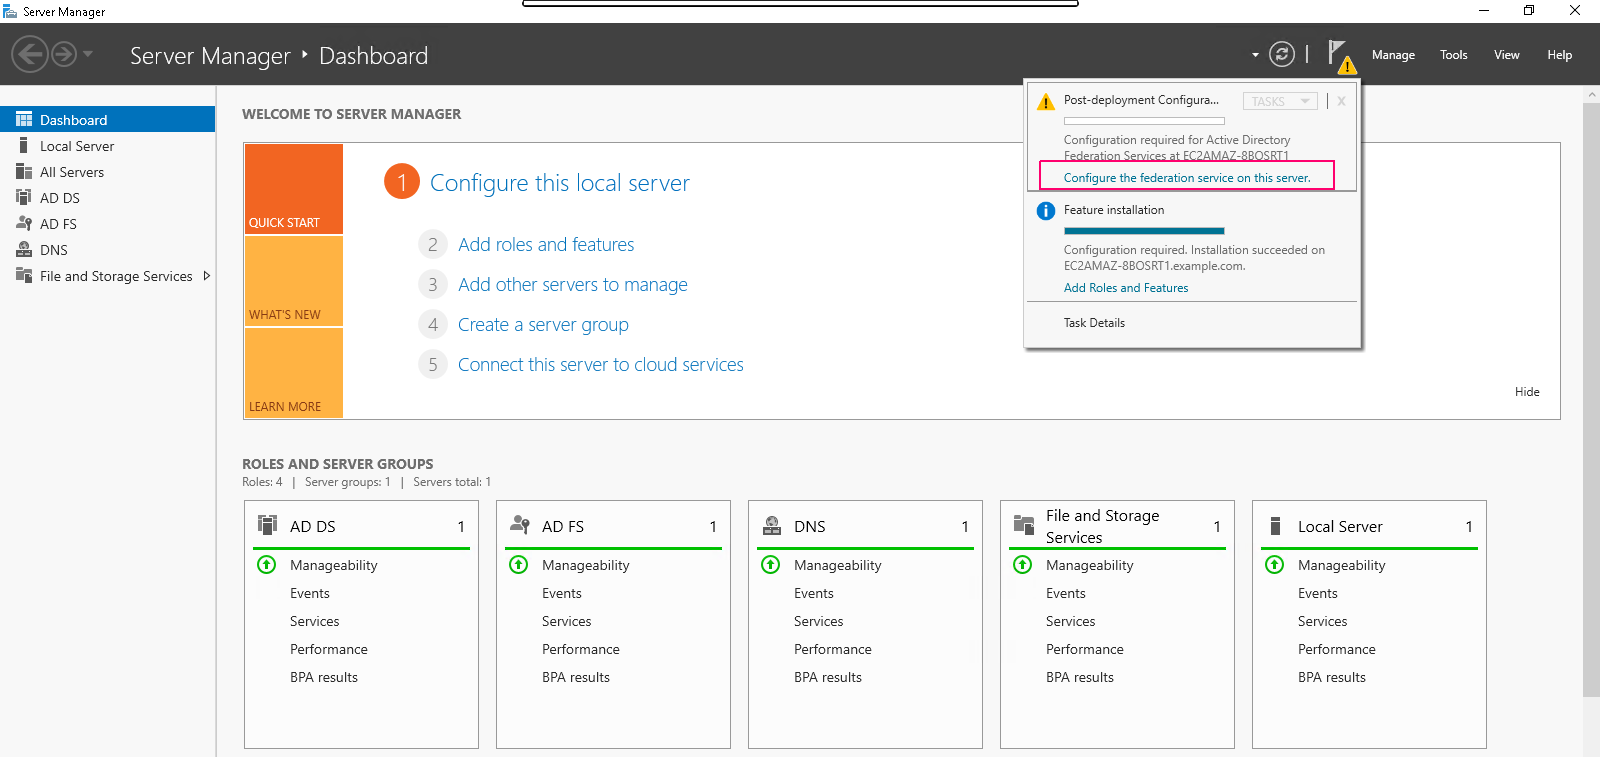
- In Server Manager wizard,click on Notification icon.
- Click on Configure the federation service on this server.
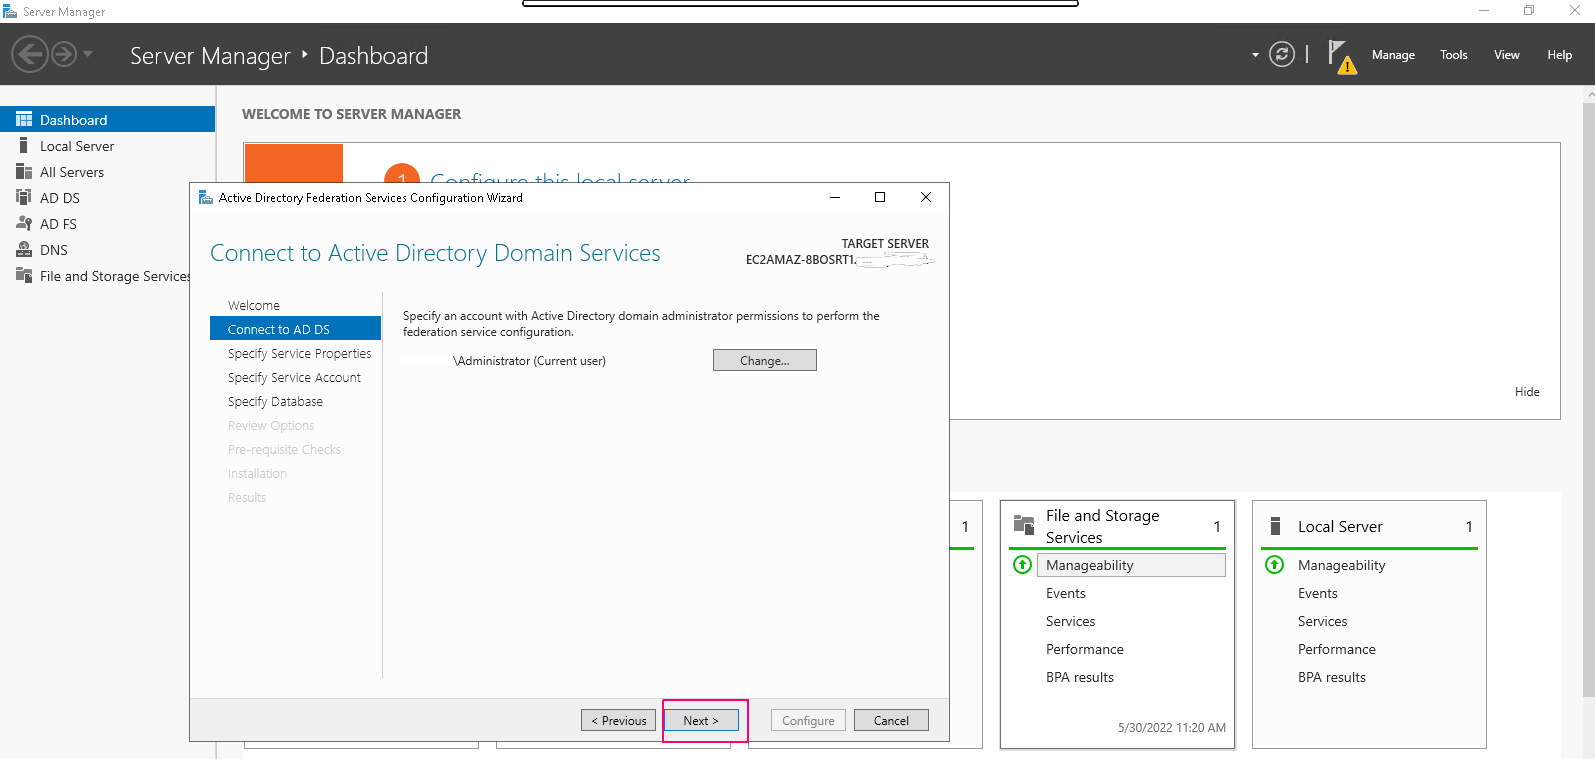
- Select “Create the first federation server in a federation server farm”. Click on Next.

- Provide an account with Active directory domain administrator permission to perform the federation service configuration.
- Click on Next.
- In the Specify Service Properties page,import the SSL certificate,enter a name for federation service & enter a display name for federation service.Click on Next.
- In Specify Service Account page, enter a service account. We can either create or use an existing group Managed Service Account (gMSA) or use an existing domain user account.
- In the Specify Configuration Database page, provide an AD FS configuration database.We can either create a database on this computer by using Windows Internal Database (WID), or provide the location and the instance name of Microsoft SQL Server.
- Click on Next.
- In Review Options page,verify the configuration selections, and then click Next.
- Verify that all prerequisite checks are successfully completed, and then click Configure.
- Once configuration is completed successfully,then close the open wizard.