 shivani singh
- July 14, 2022
Steps to add & configure Web Server IIS role in window server 2019 base
Hello,here we are discussing about for web server(IIS) role.In window server,we can easily add the web server (IIS) role & features.Web server provides a secure & easy-to-manage platform for hosting websites, services, and applications.
There are some steps to add web server (IIS) role in window server 2019 base:
- Login to Window Server 2019 Base.

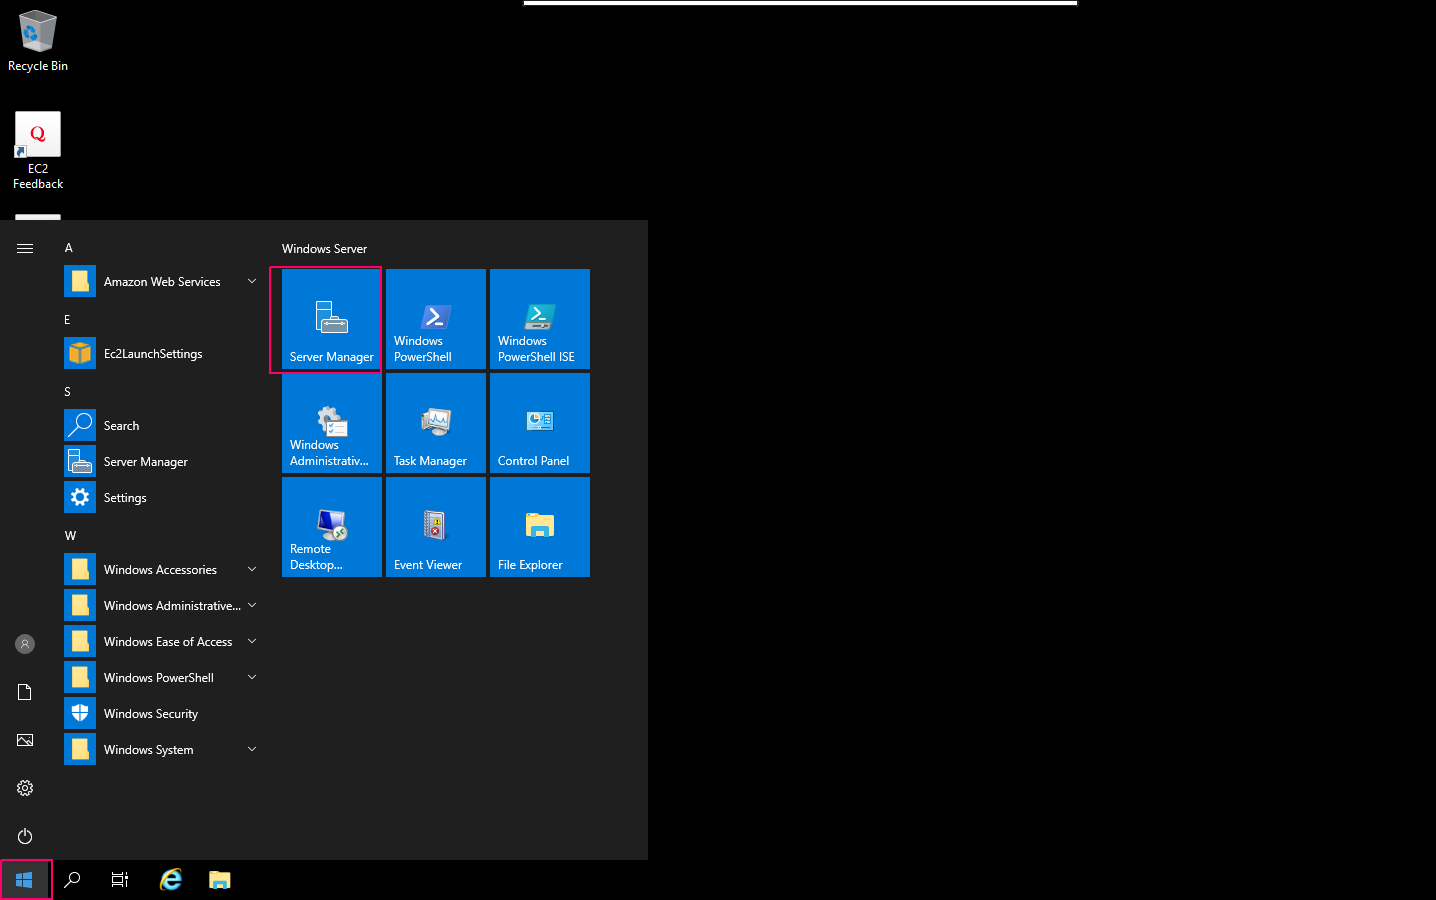
- Click on Start Button then click on Server Manager.
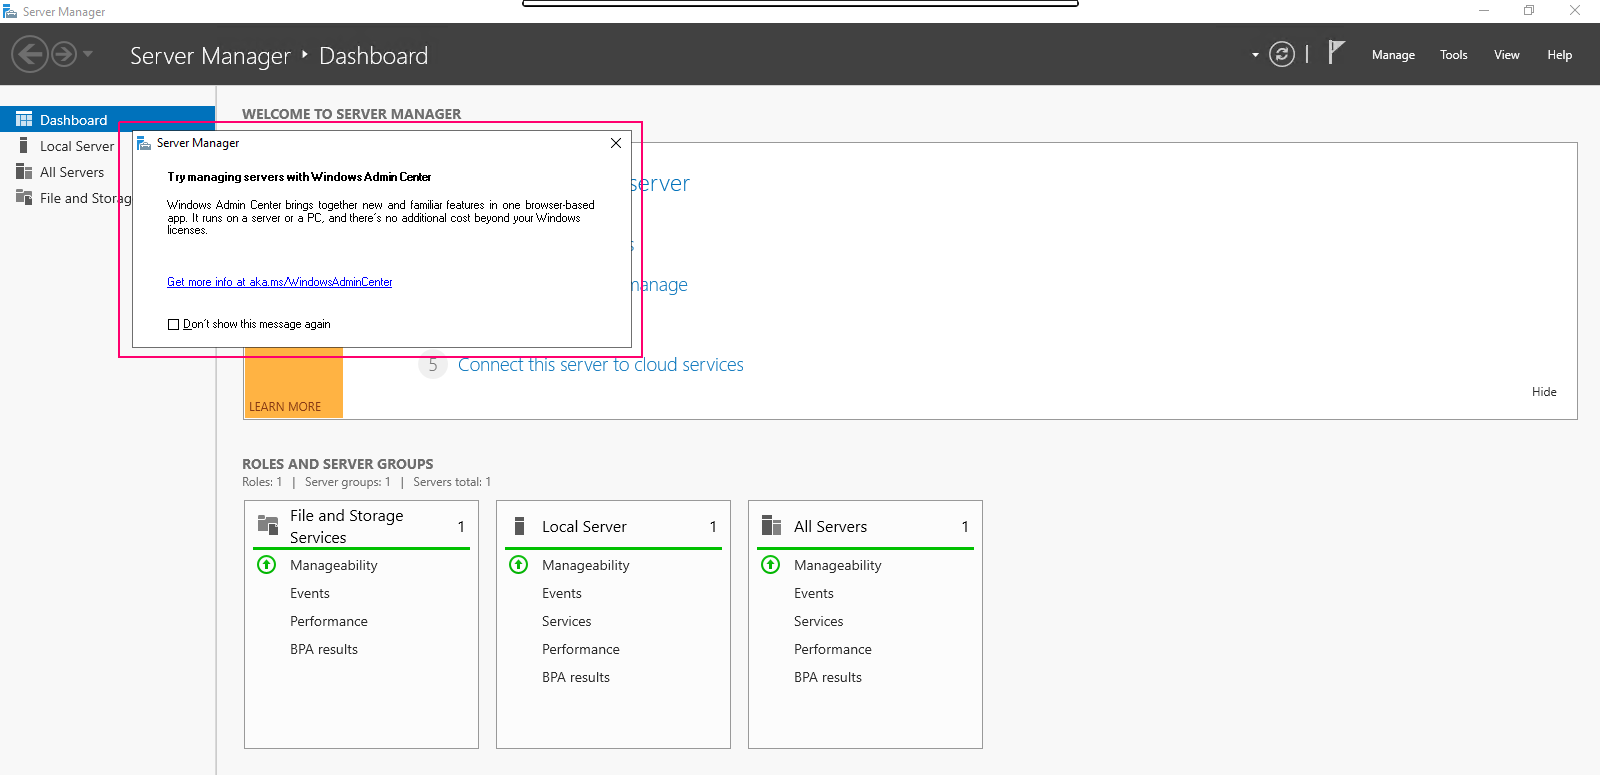
- Close the open wizard.
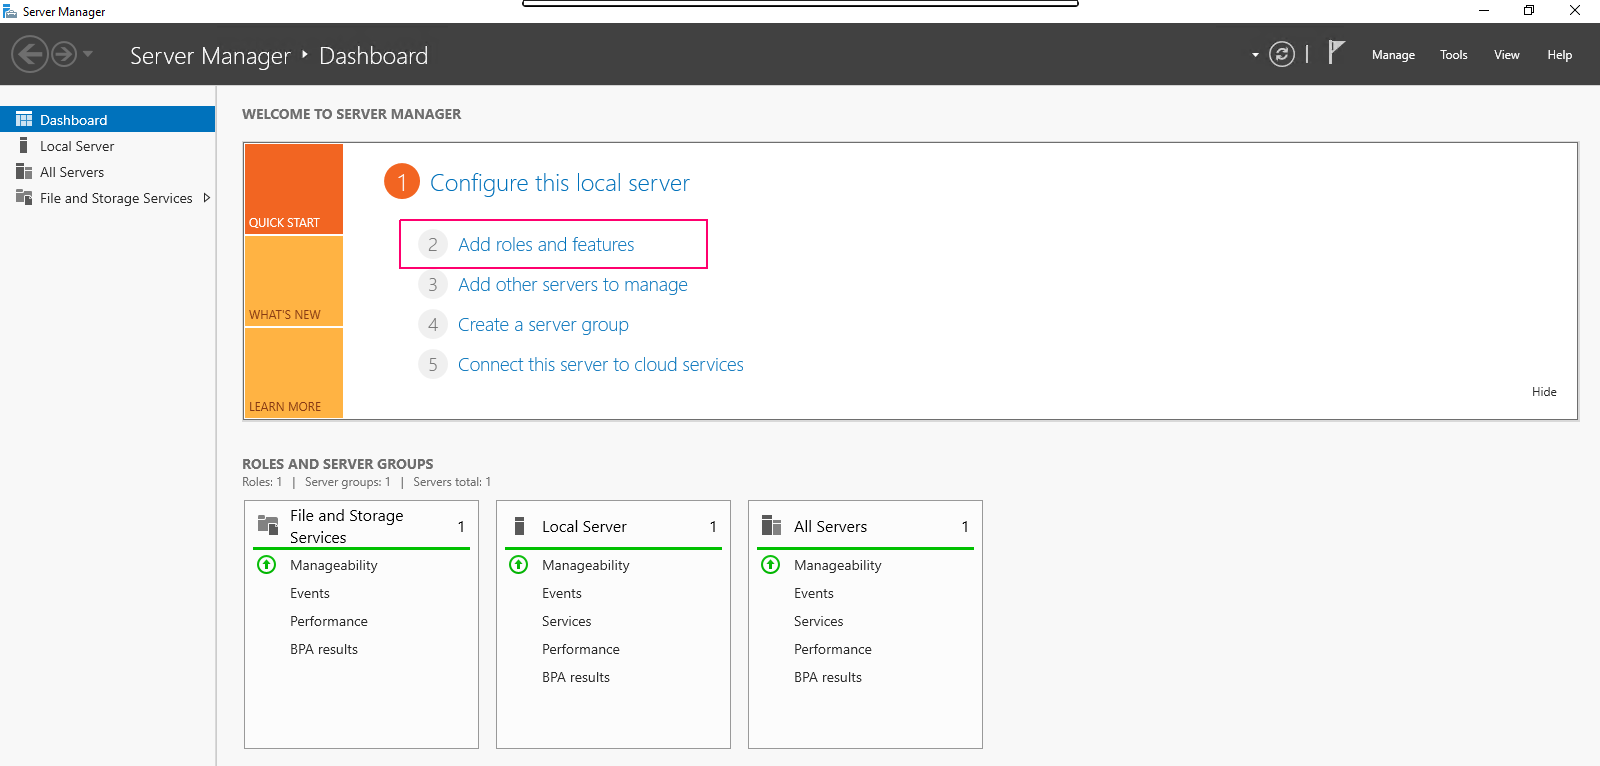
- Click on Add Roles & Features.
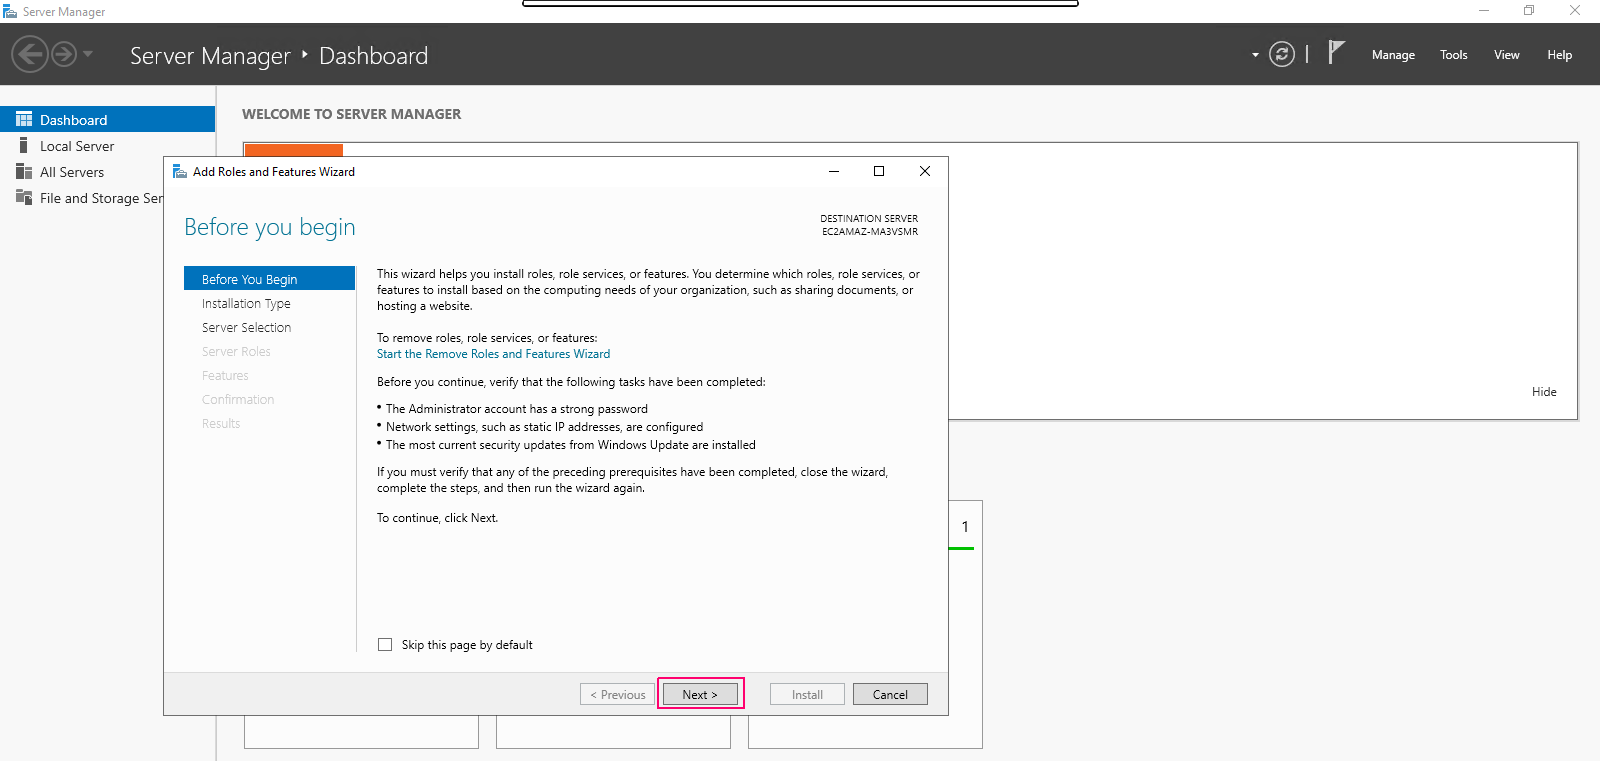
- In the Before you begin page,this wizard helps you install roles,features & role services.Click on Next.
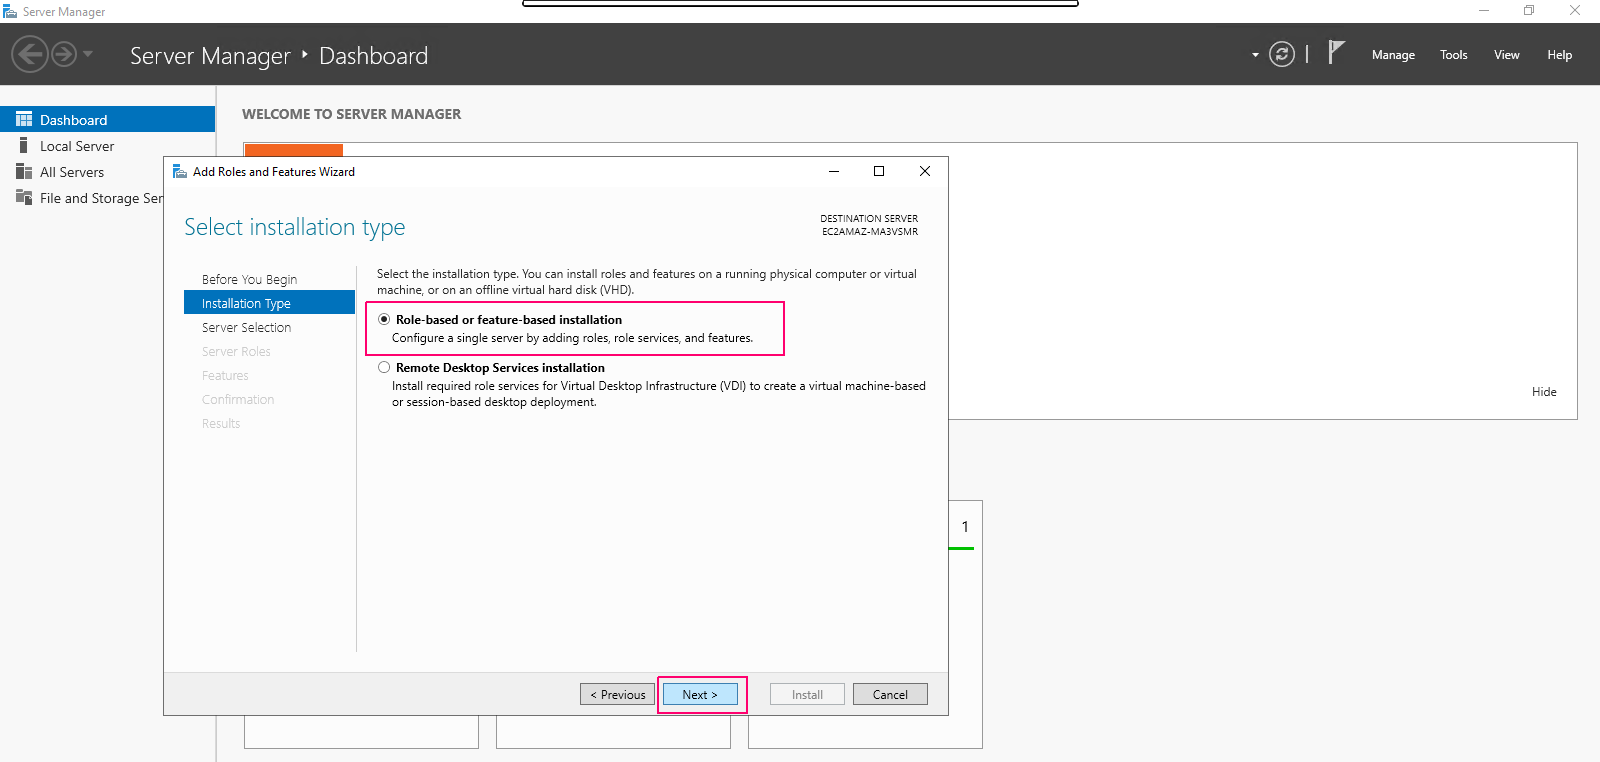
- In Installation type page,Select Role-based or Feature-based installation.Click on Next.
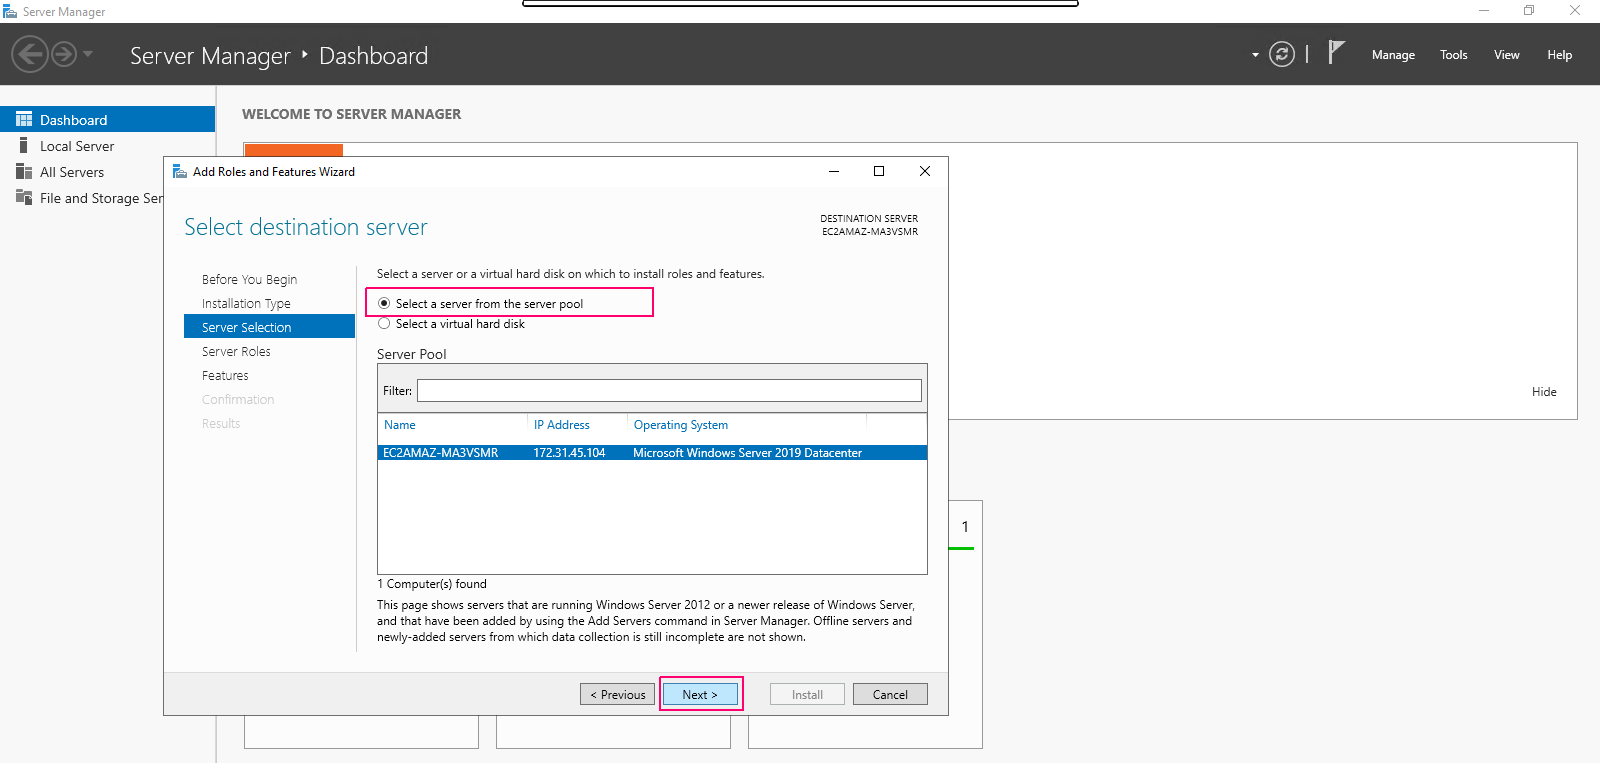
- In Server Selection page,select “select a server from the server pool”. Click on Next.
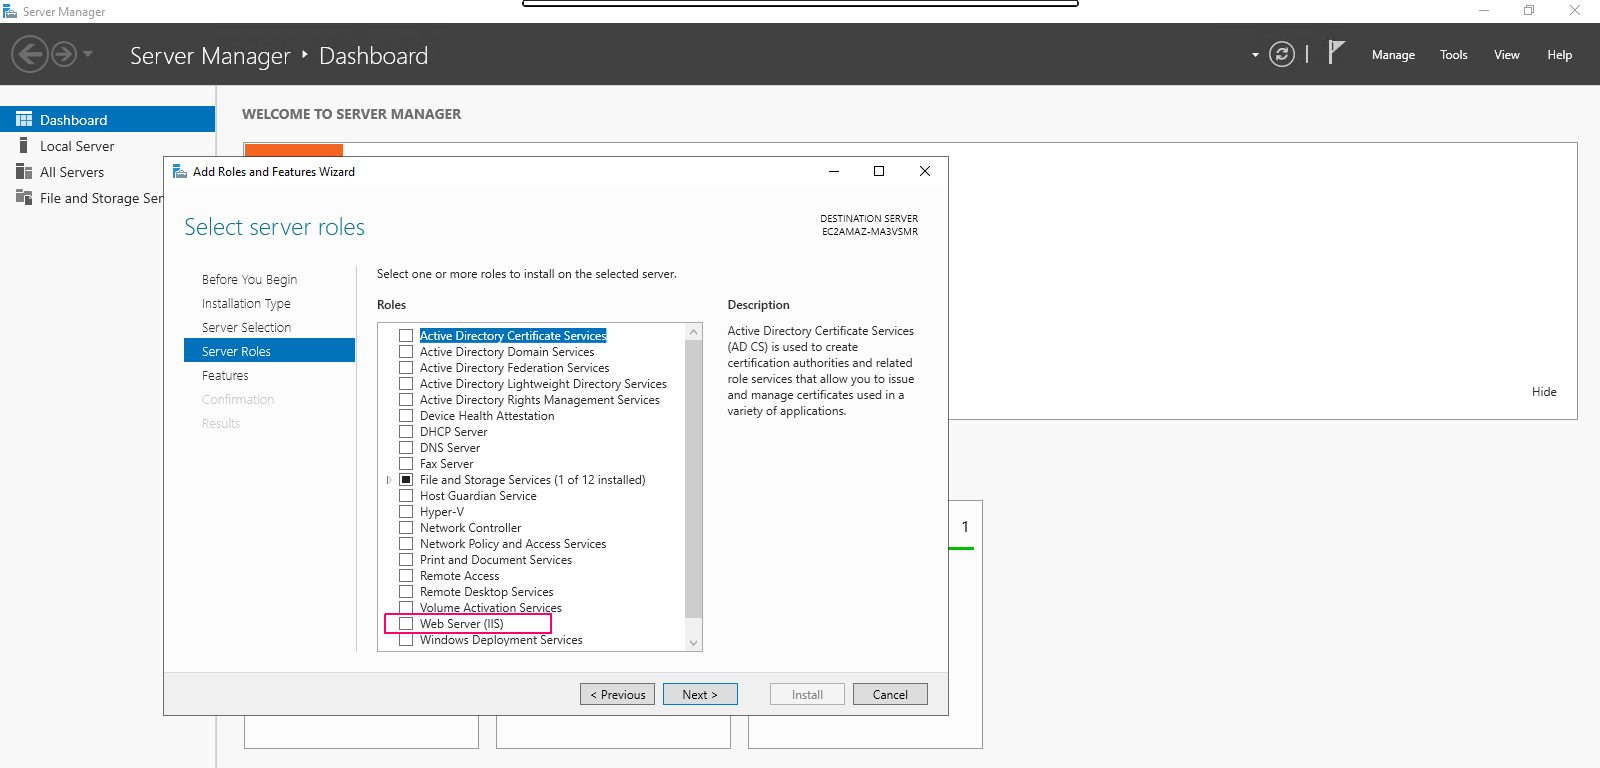
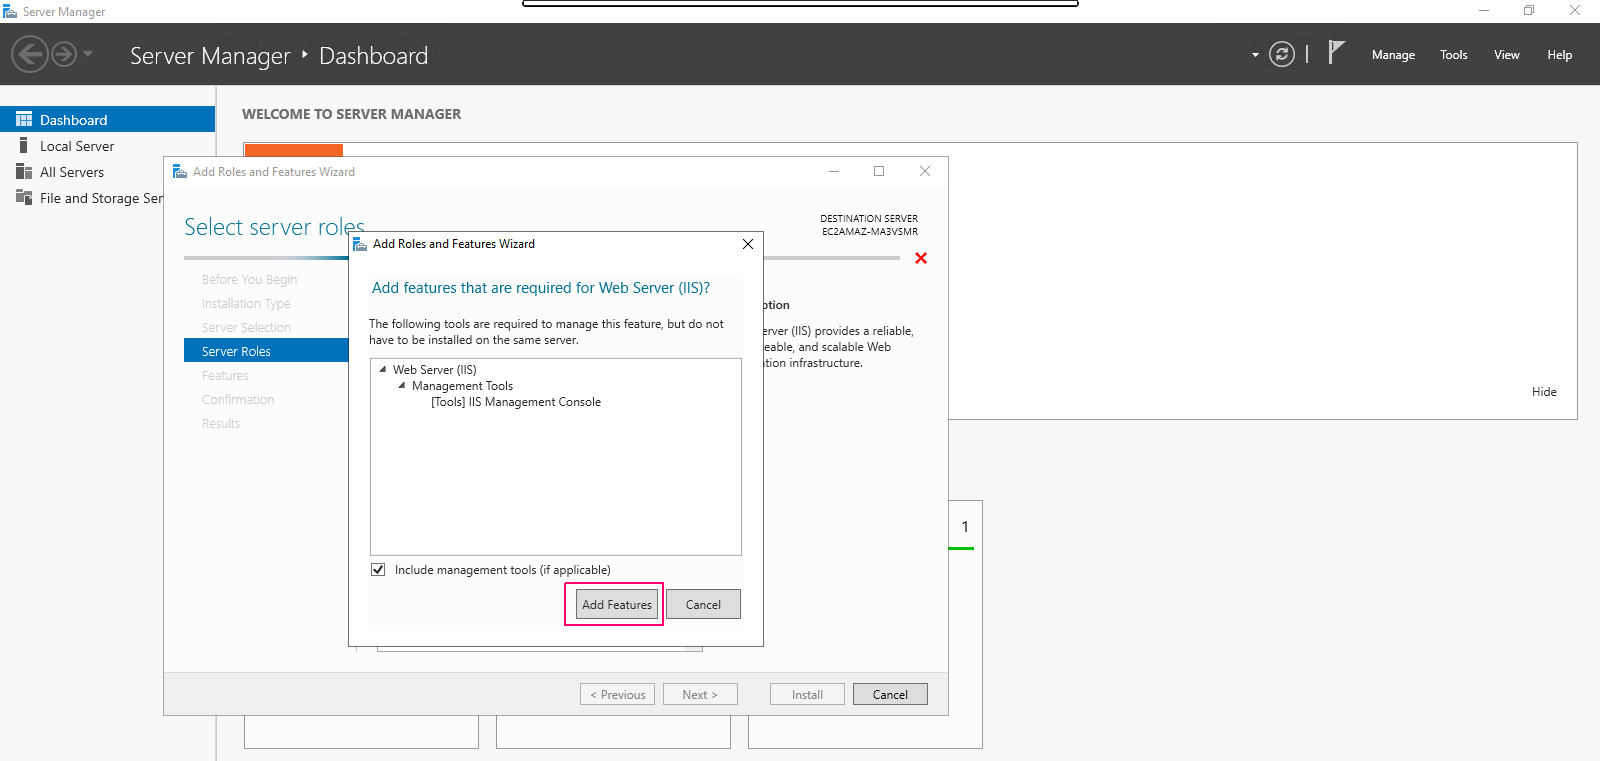
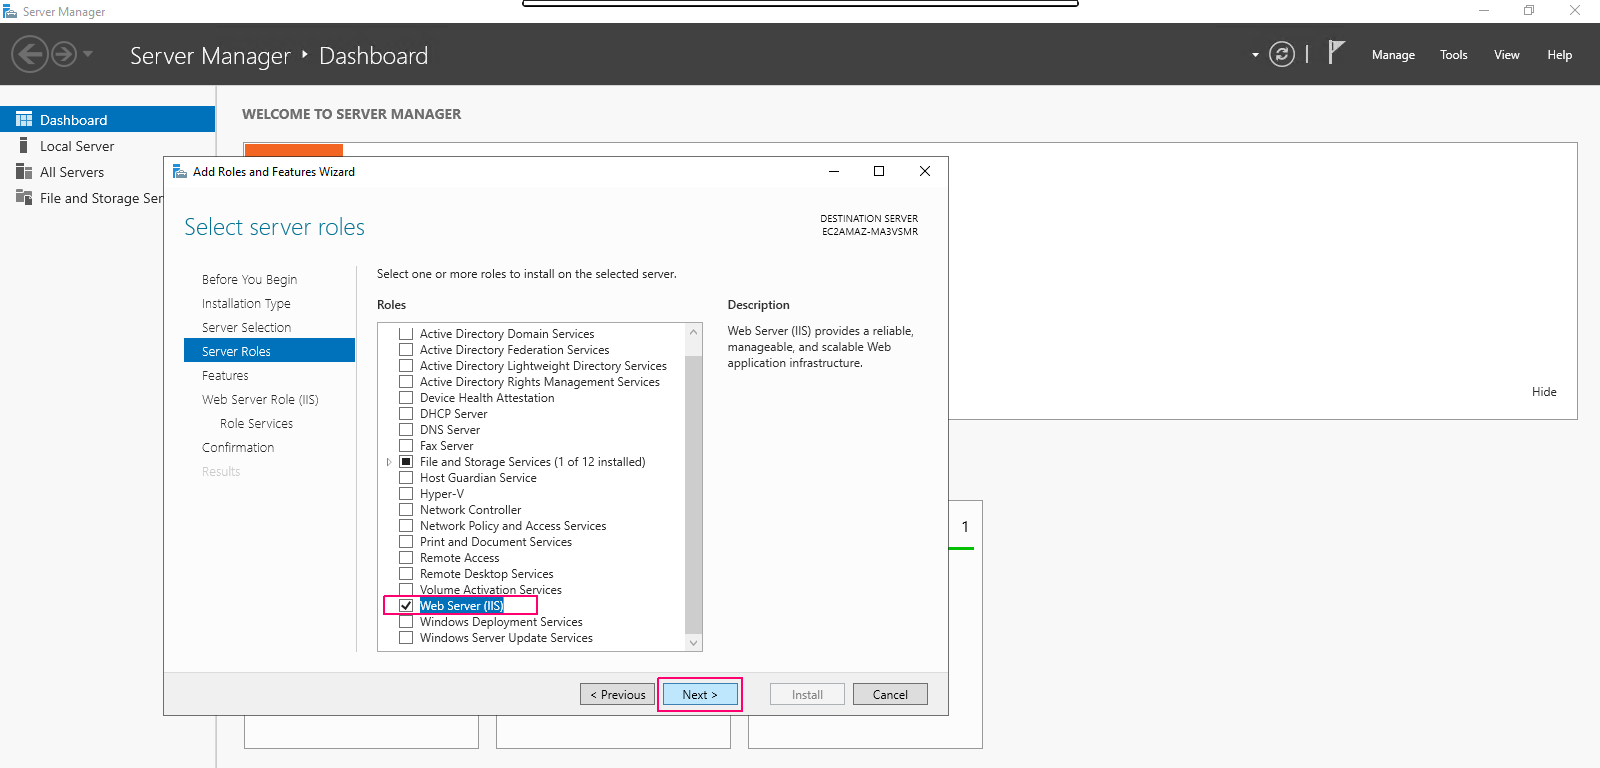
- In Server Roles page,Select “Web Server (IIS)” role then Click on Add Features.
- Click on Next.
- In Features page,no needs to select features.Click on Next.

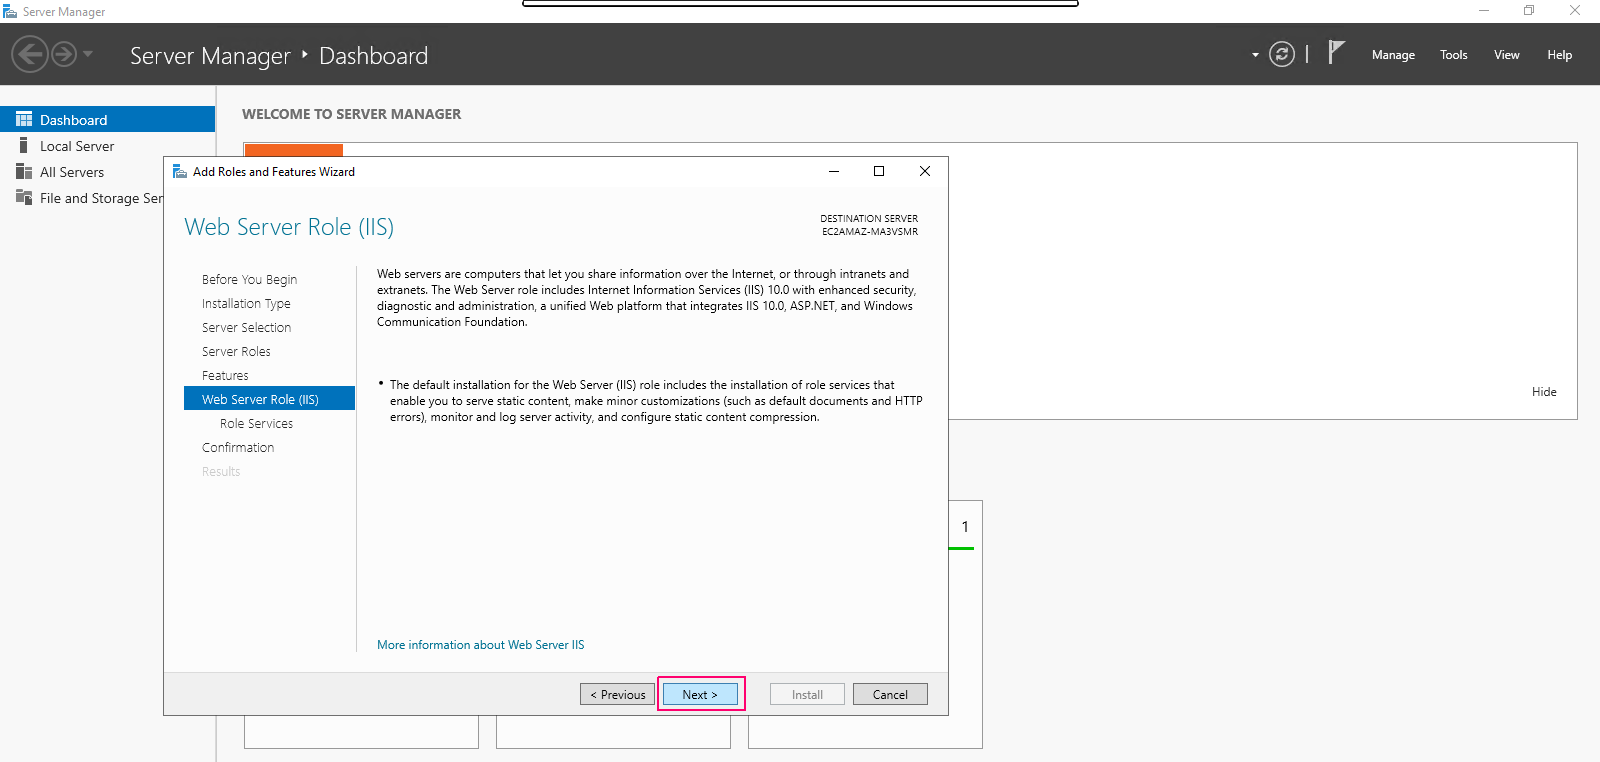
- In Web Server Role (IIS) page,Click on Next.
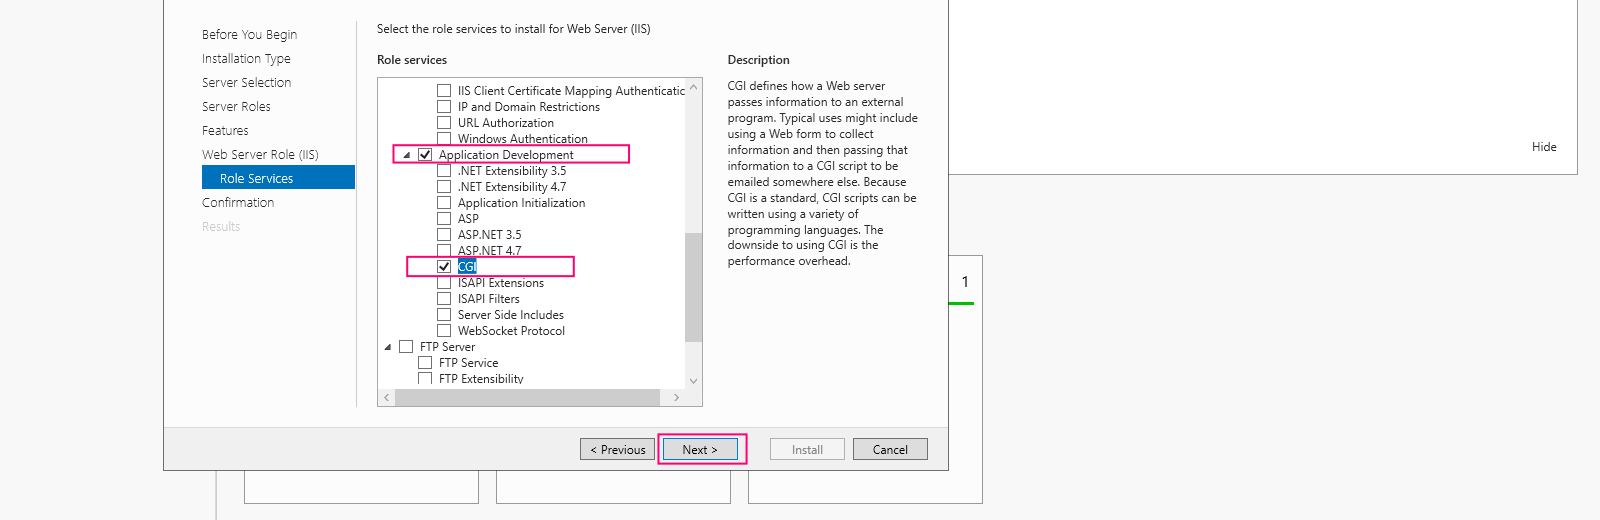
- On Role Services page,Under Application Development select CGI then click on Next.
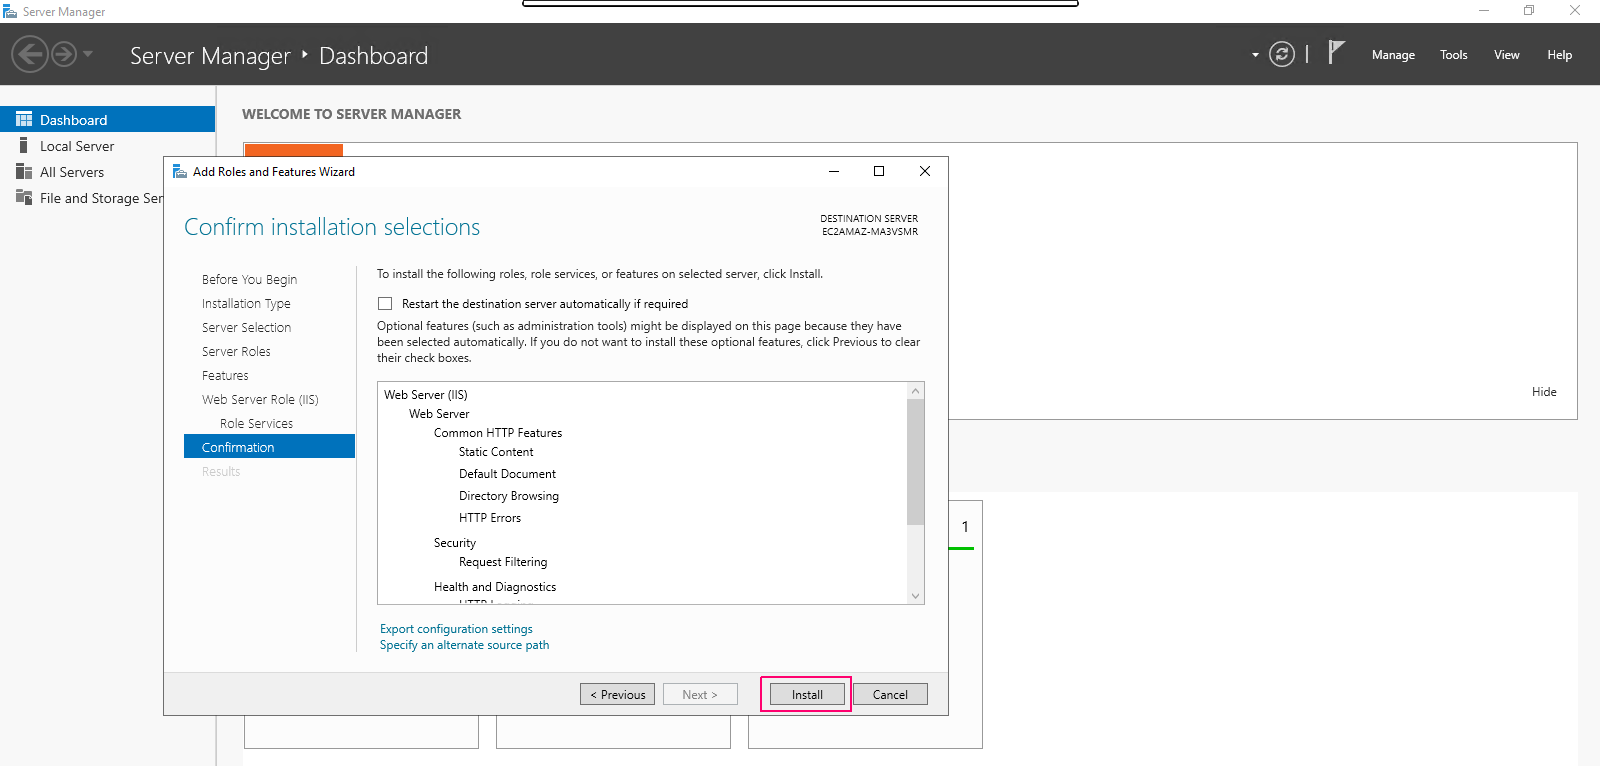
- In Confirmation page,review the added roles,role services & features then click on Install.
- Once installation is done,click on close option to “Close the Add Roles & Feature wizard”.
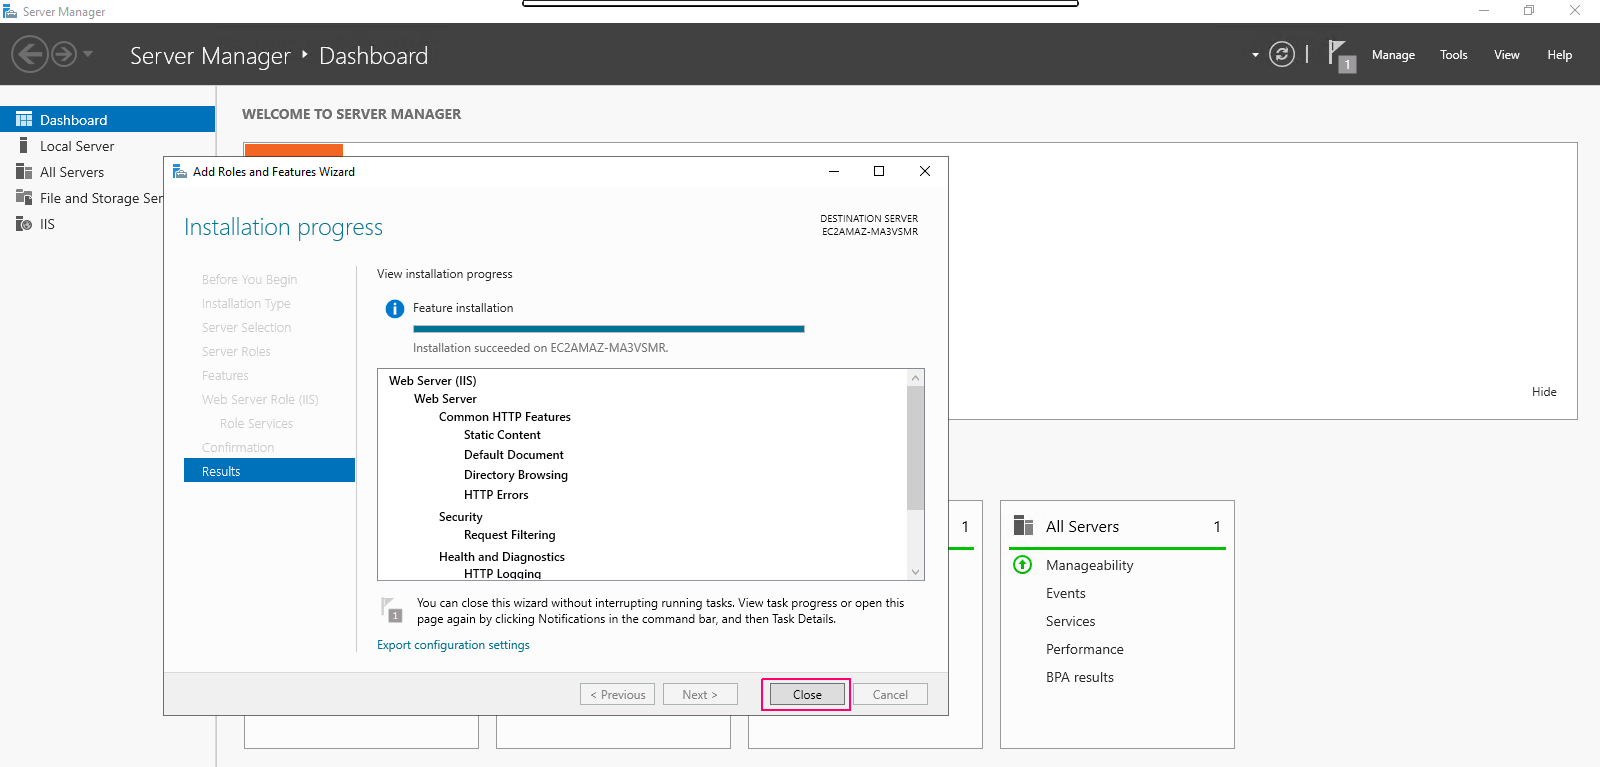
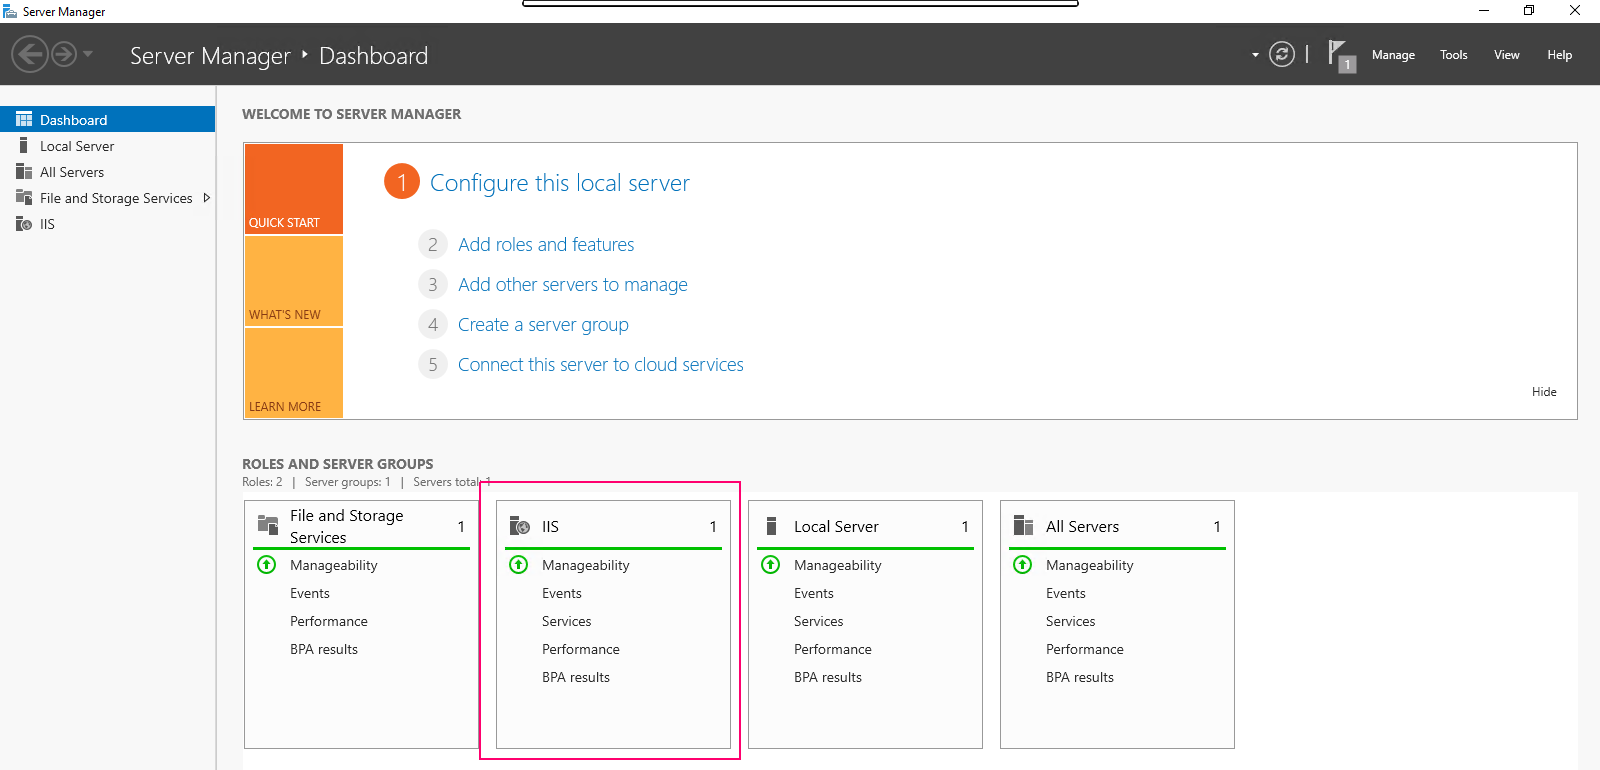
- Now, we can easily see the added roles & features on Server Manager wizard.
Open the Default Page of Web Server
Method 1:
- Go to Browser then type the IP address of server or localhost in the URL search box.
http://server-ip
or
http://localhost
- Here is the output.

Method 2:
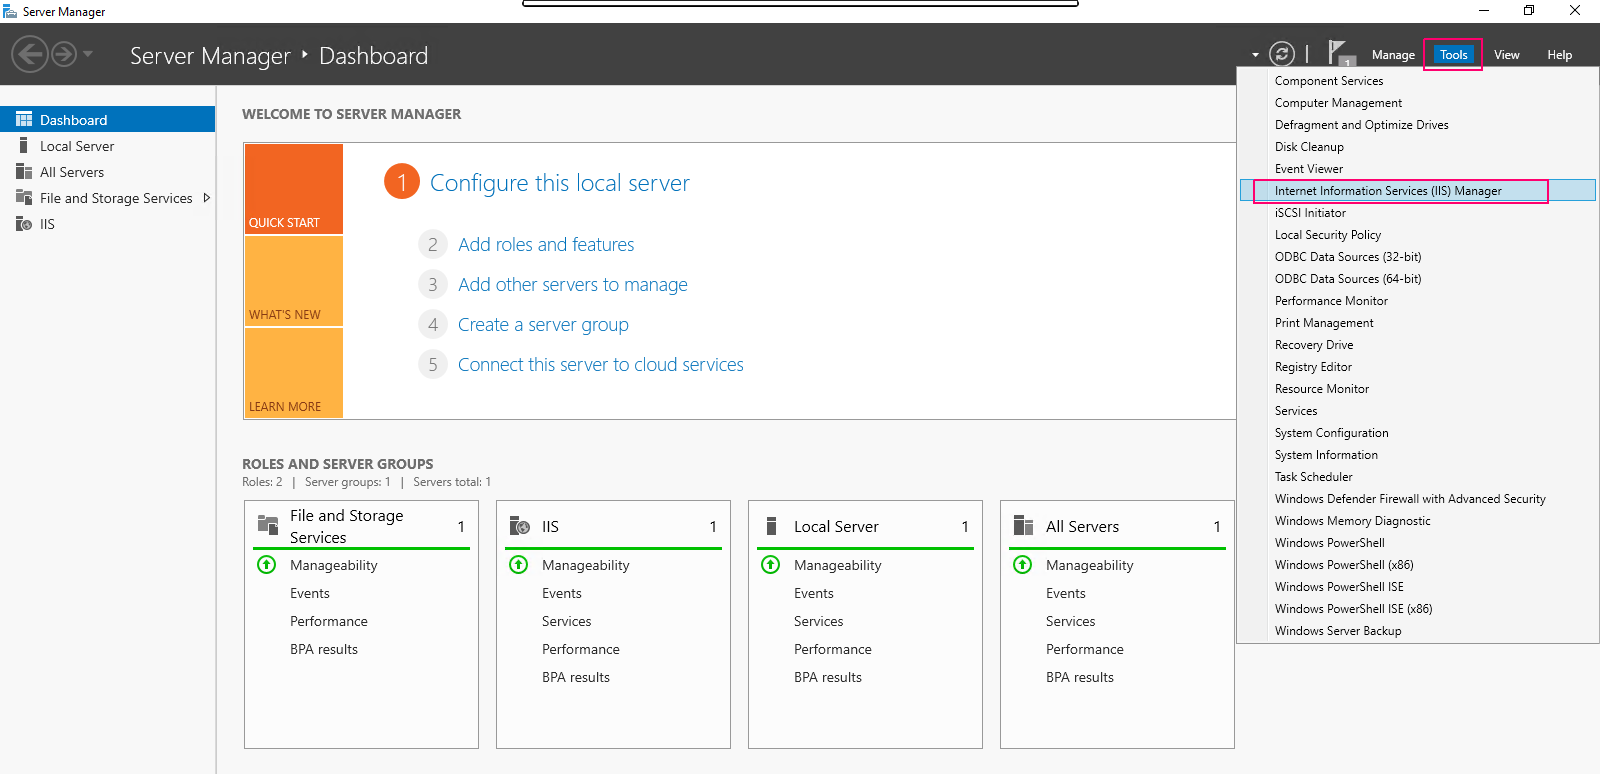
- In Server Manager Wizard,click on Tools then select Internet Information Services (IIS) Manager.
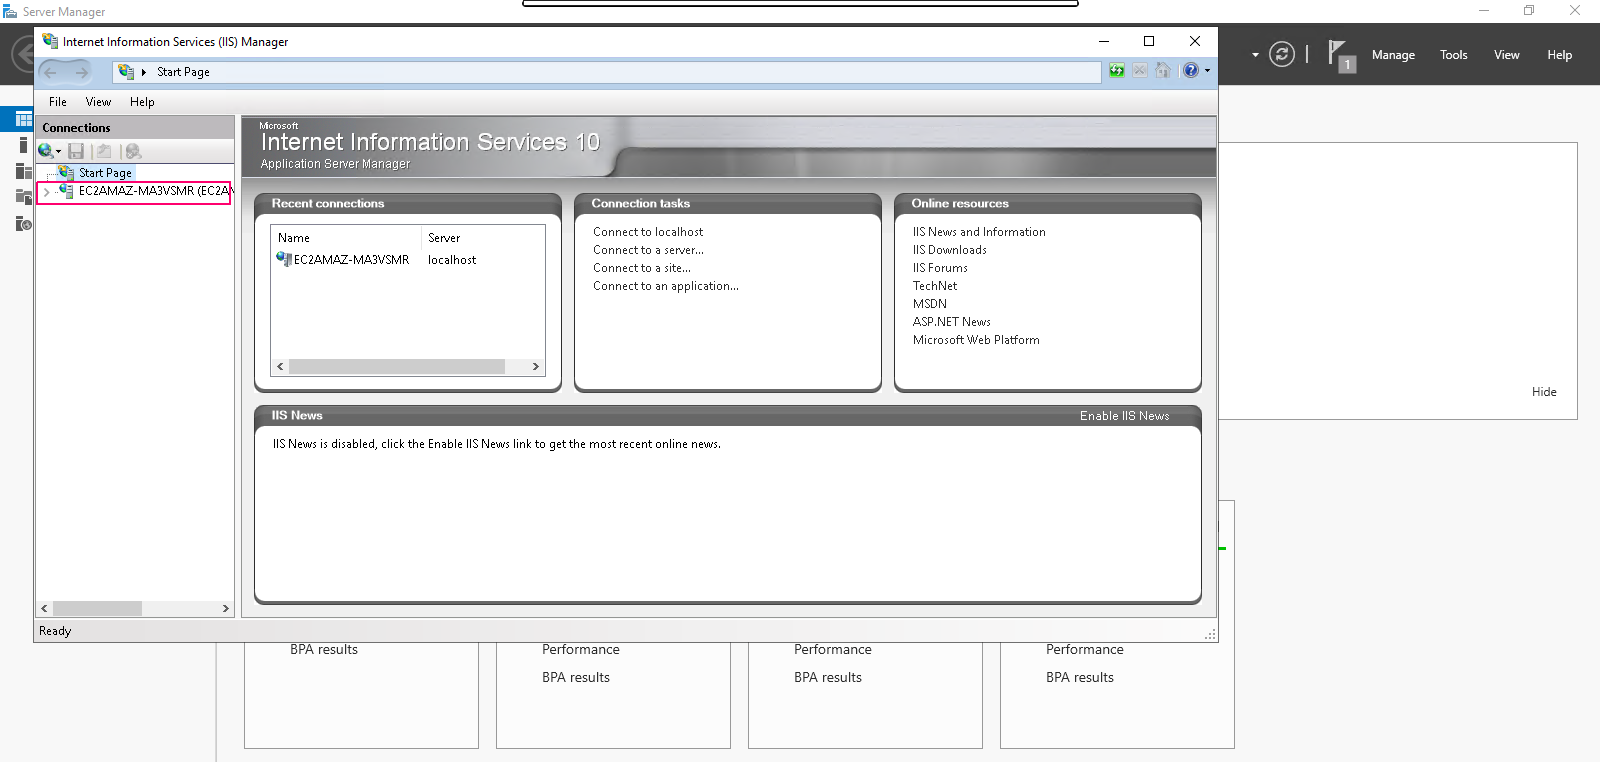
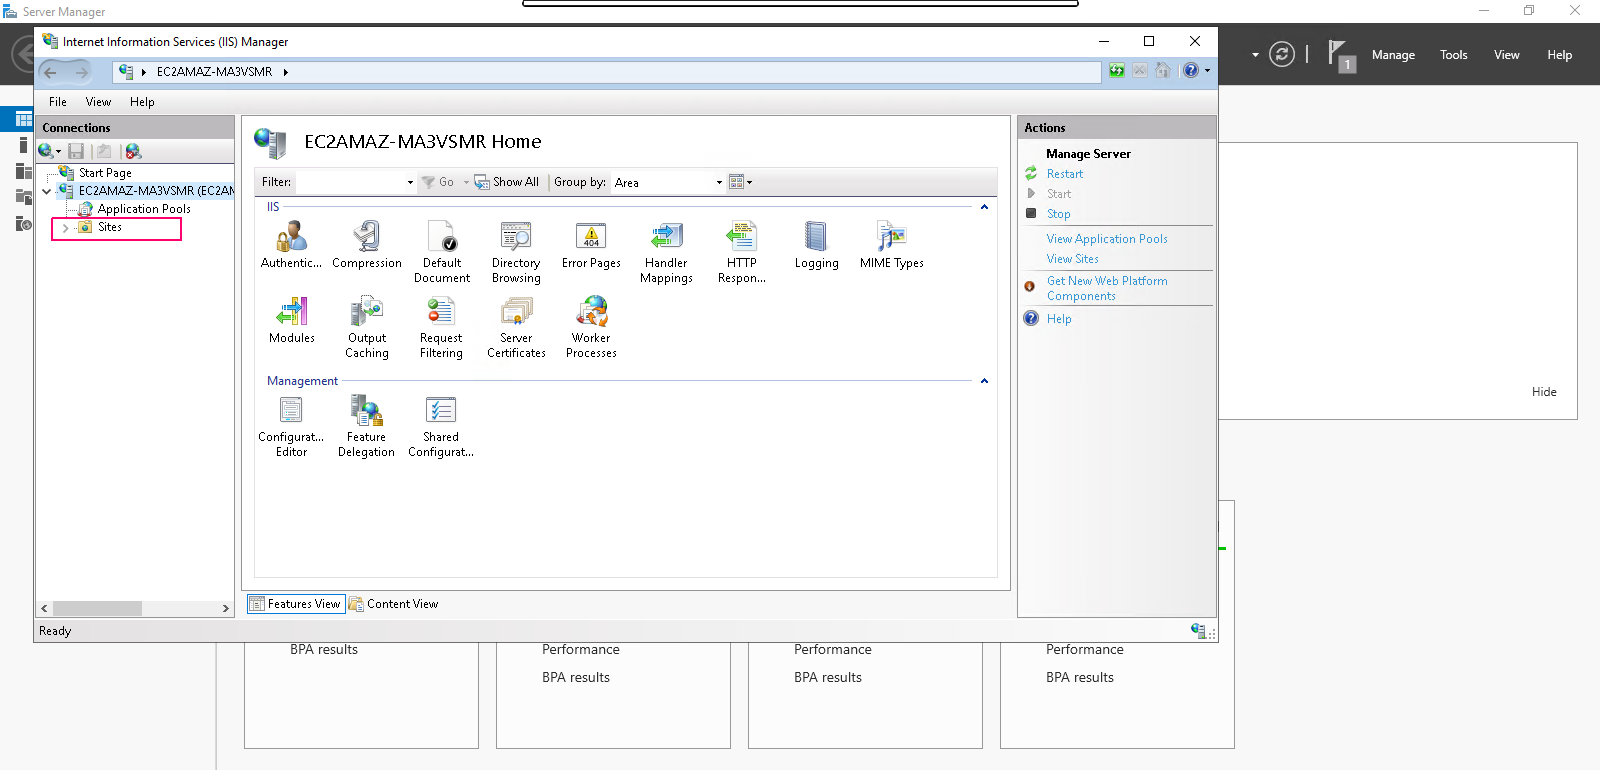
- In IIS Manager wizard,in the left side click on server name.
- Click on Sites.
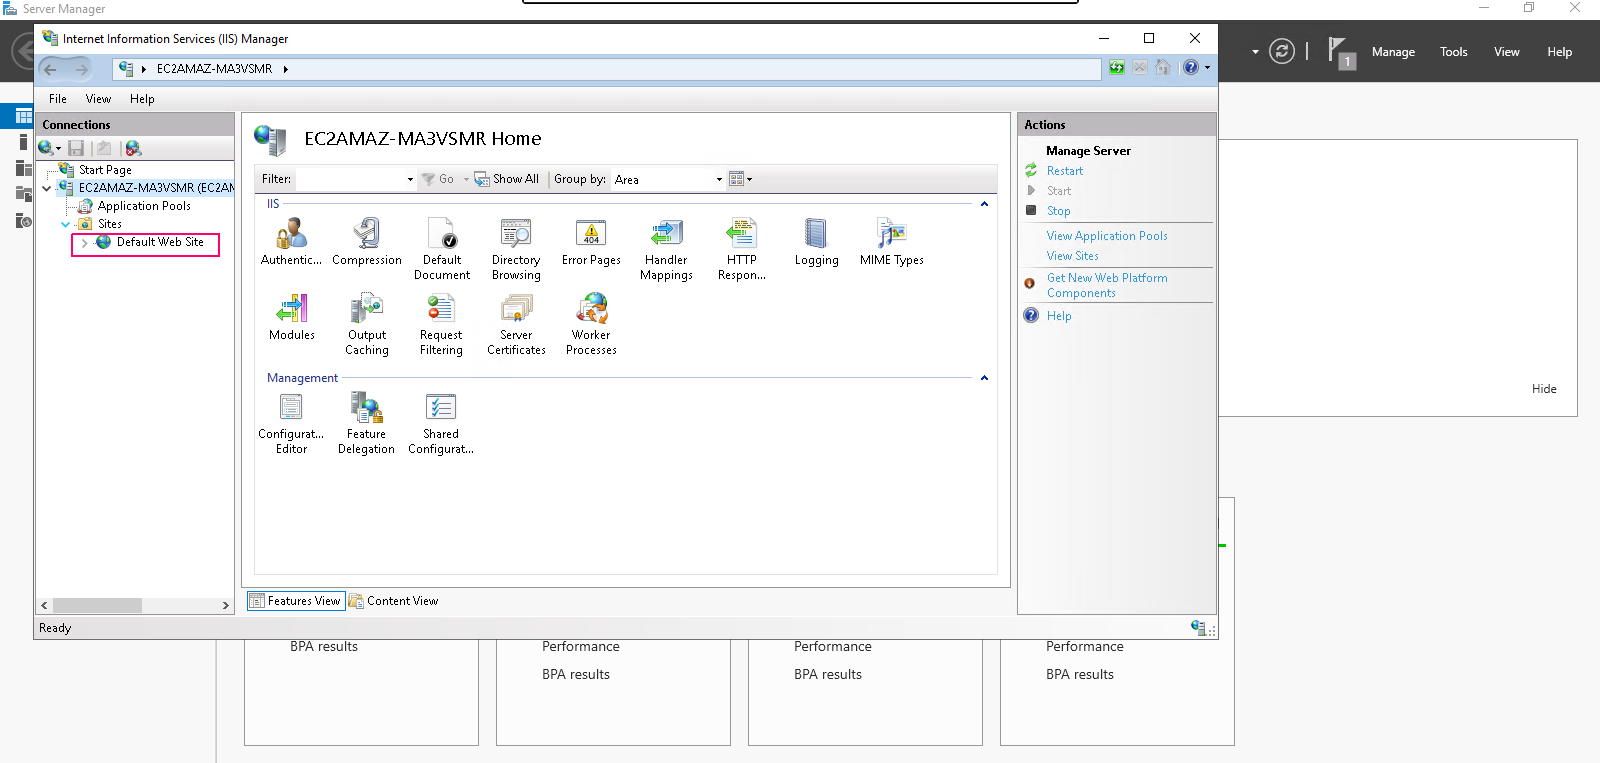
- Click on Default Web Site.
- On Default Web Site,click on Browse *.80 (http) then default web page will open.
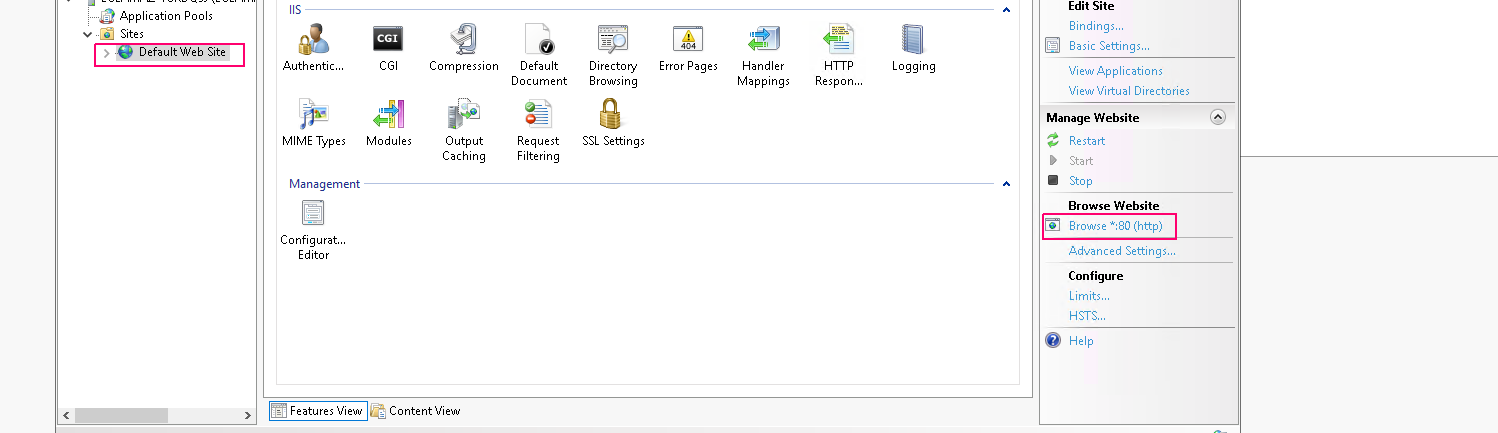
- Here is the output.
