Priya
Priya- August 26, 2022
Step By Step to install & configure Java on window server 2019 base
Hello,In this blog we are installing & configure JAVA 18 on window server 2019 base.Java Development Kit (JDK) is used for Java programming,includes the compiler and class libraries & allowing developers to create Java programs executable by the JVM and JRE.
There are some steps to install & configure java on window server 2019:
Install Java on server 2019
- Login to window server 2019 base.
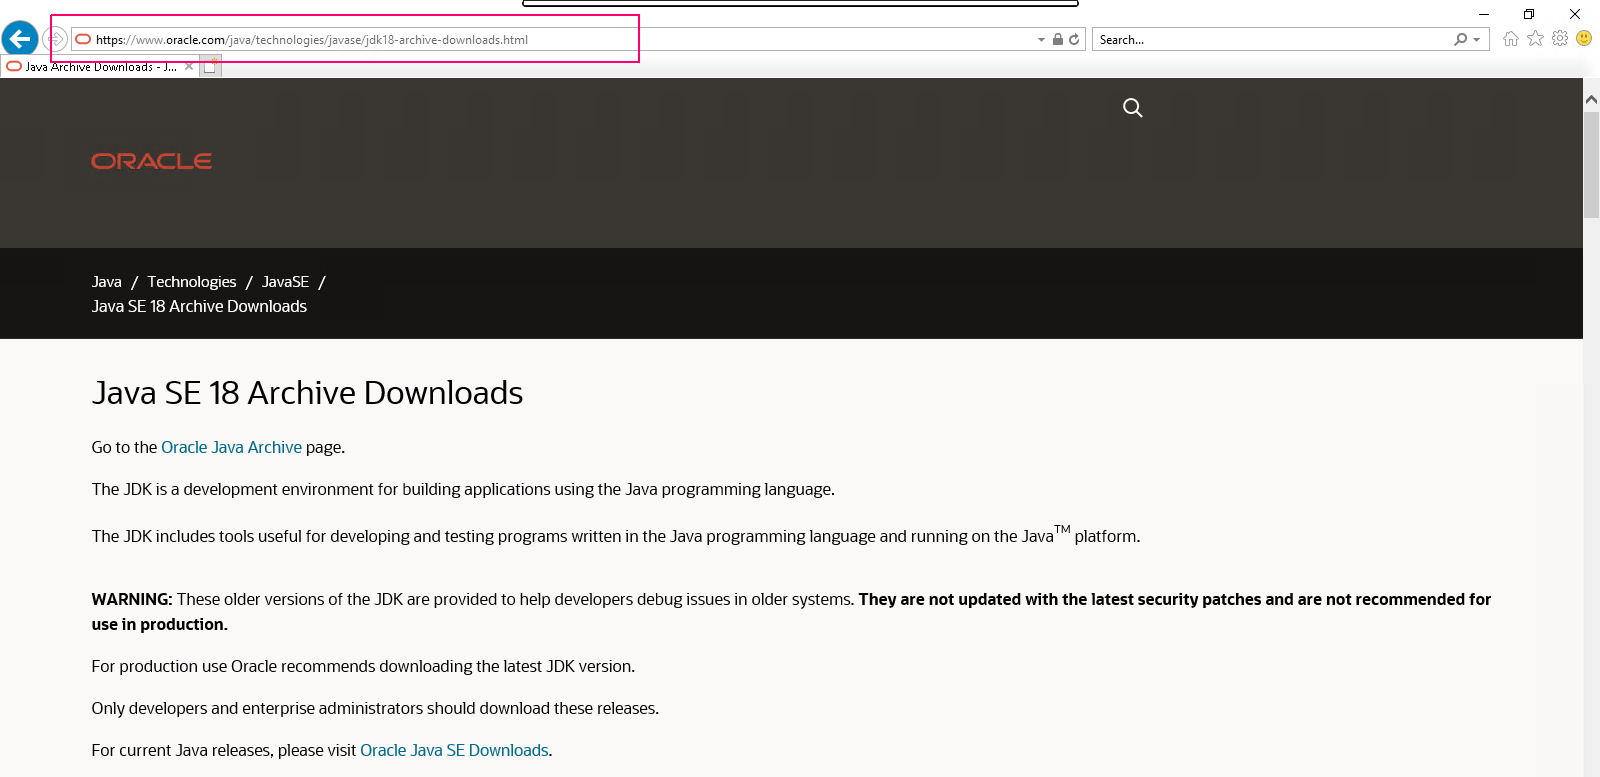
- Go to Browser.

- Search the following link :
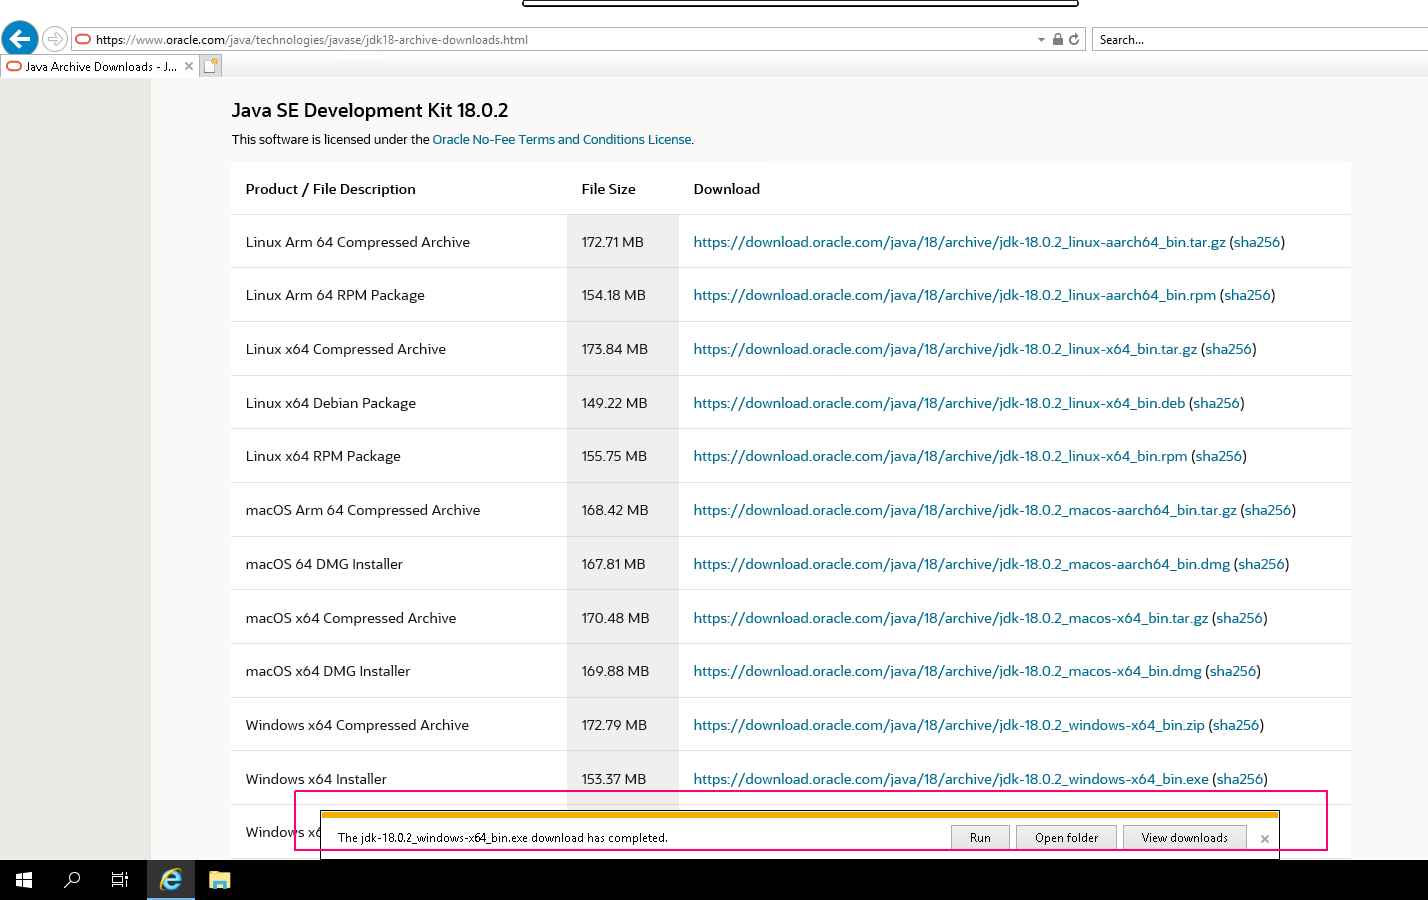
https://www.oracle.com/java/technologies/javase/jdk18-archive-downloads.html
- Java Download page will open.
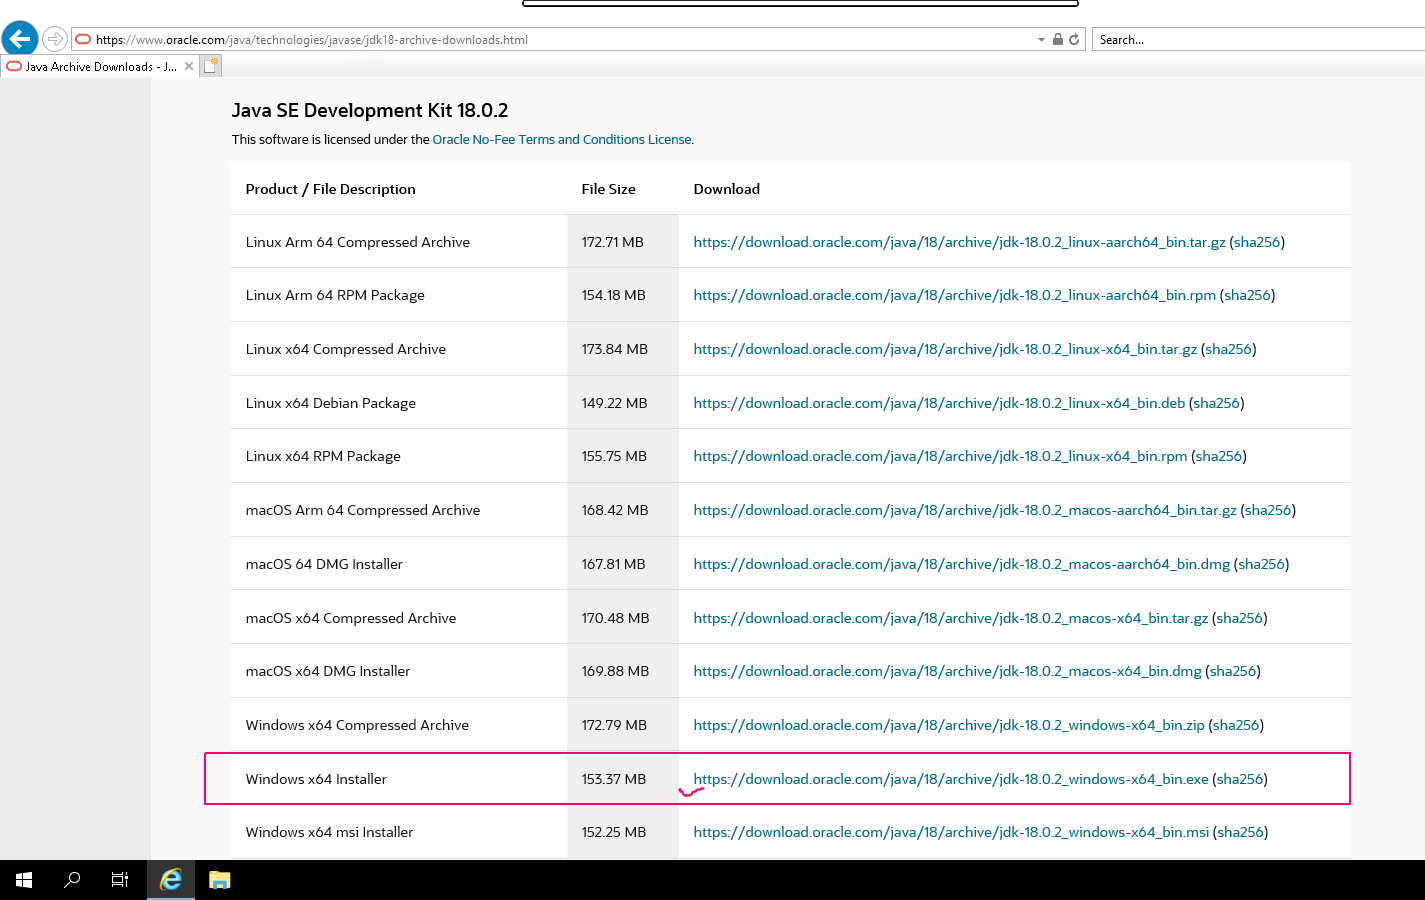
- Scroll down the page.
- In Window x64 Installer,click on link.
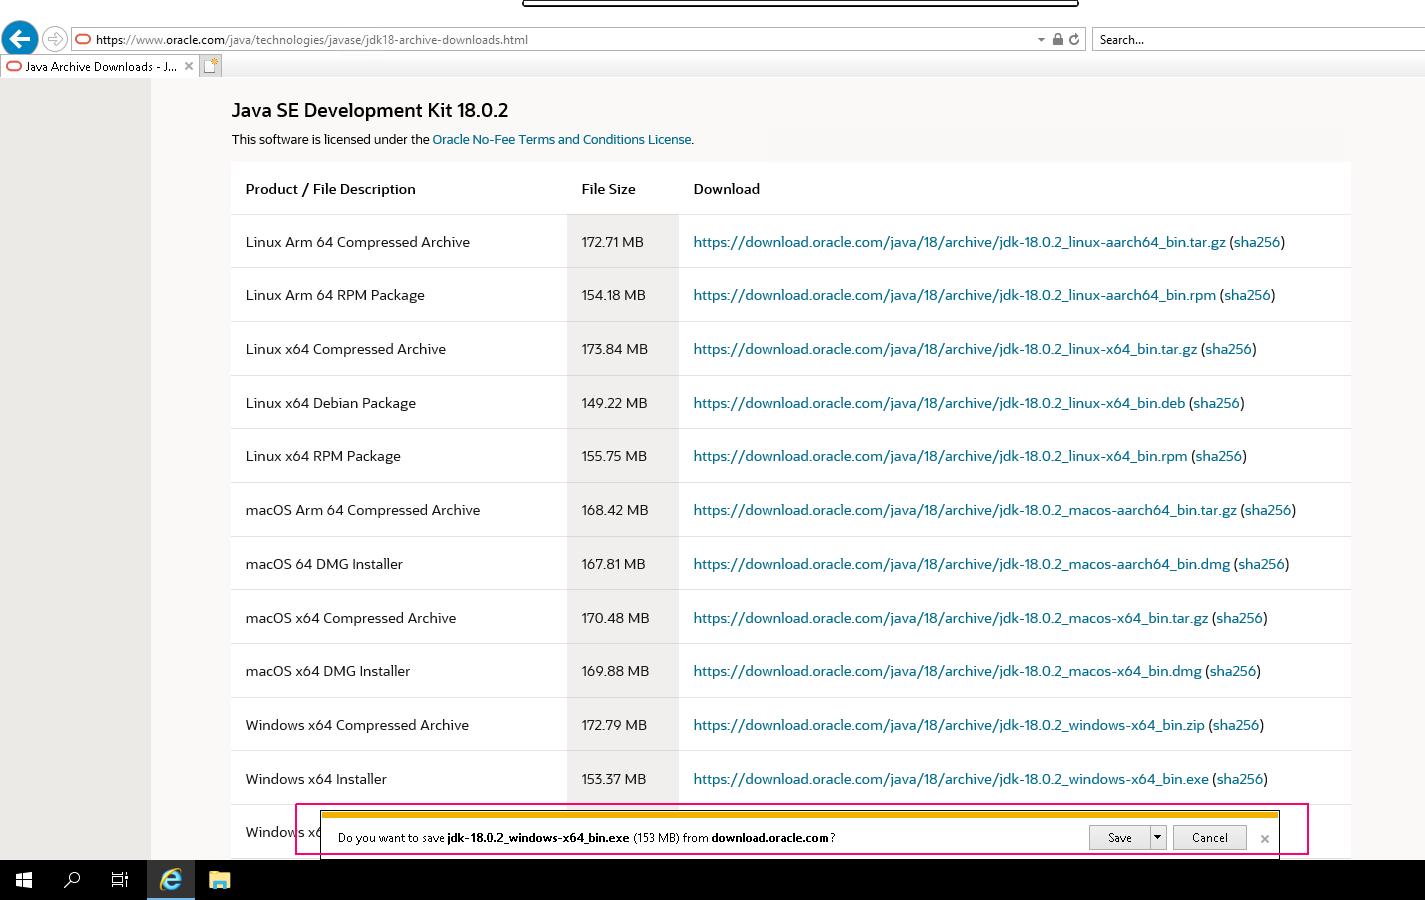
- Click on Save.
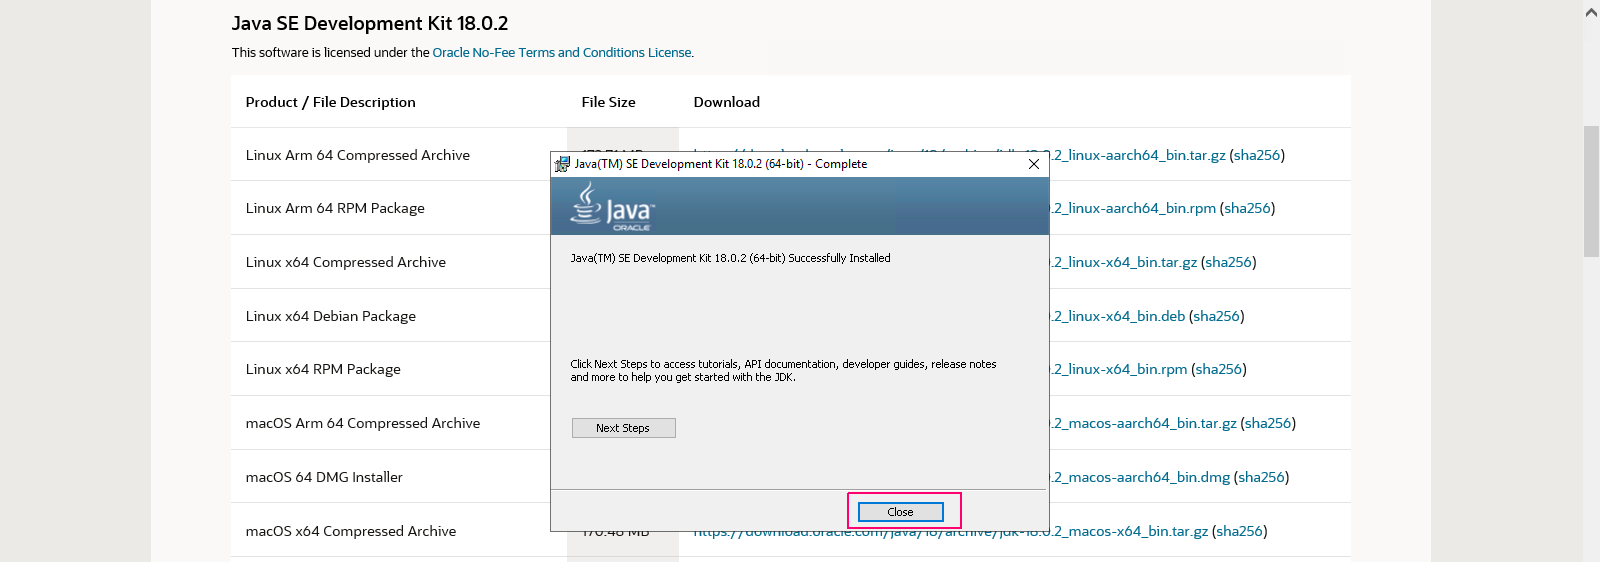
- Once downloaded,click on Run.
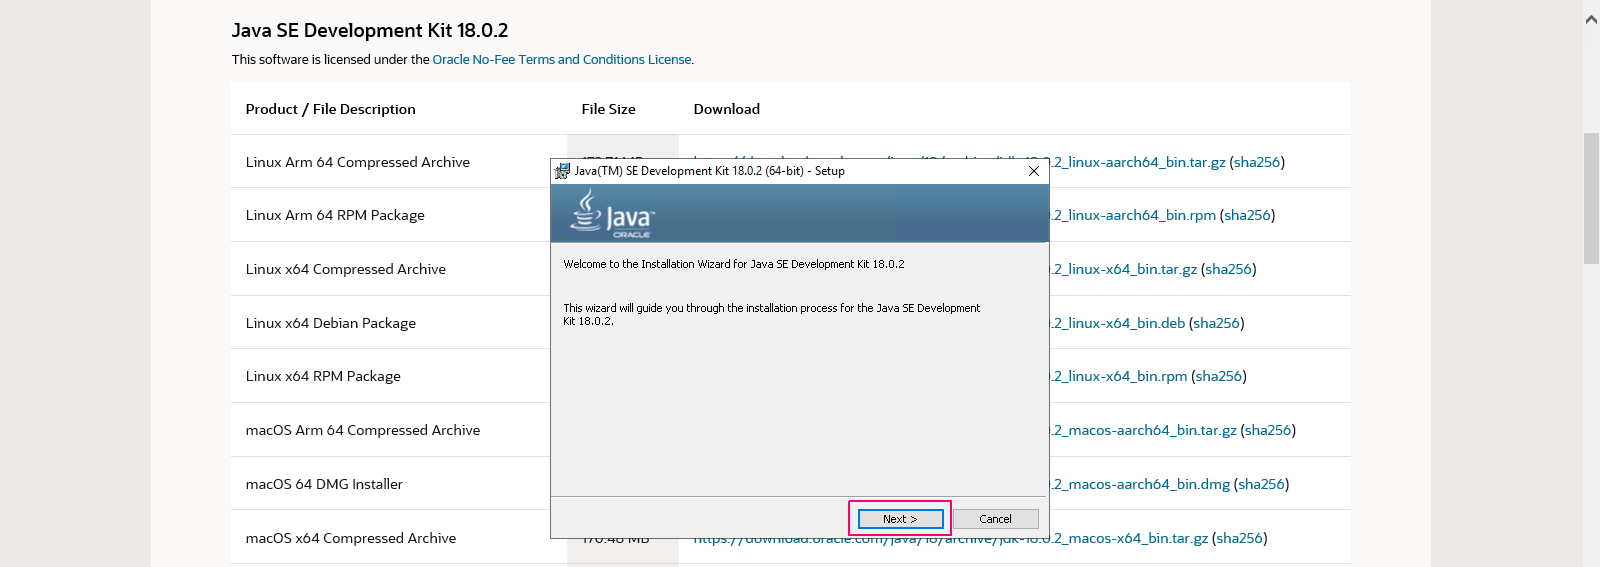
- Welcome page will open.Click on Next.
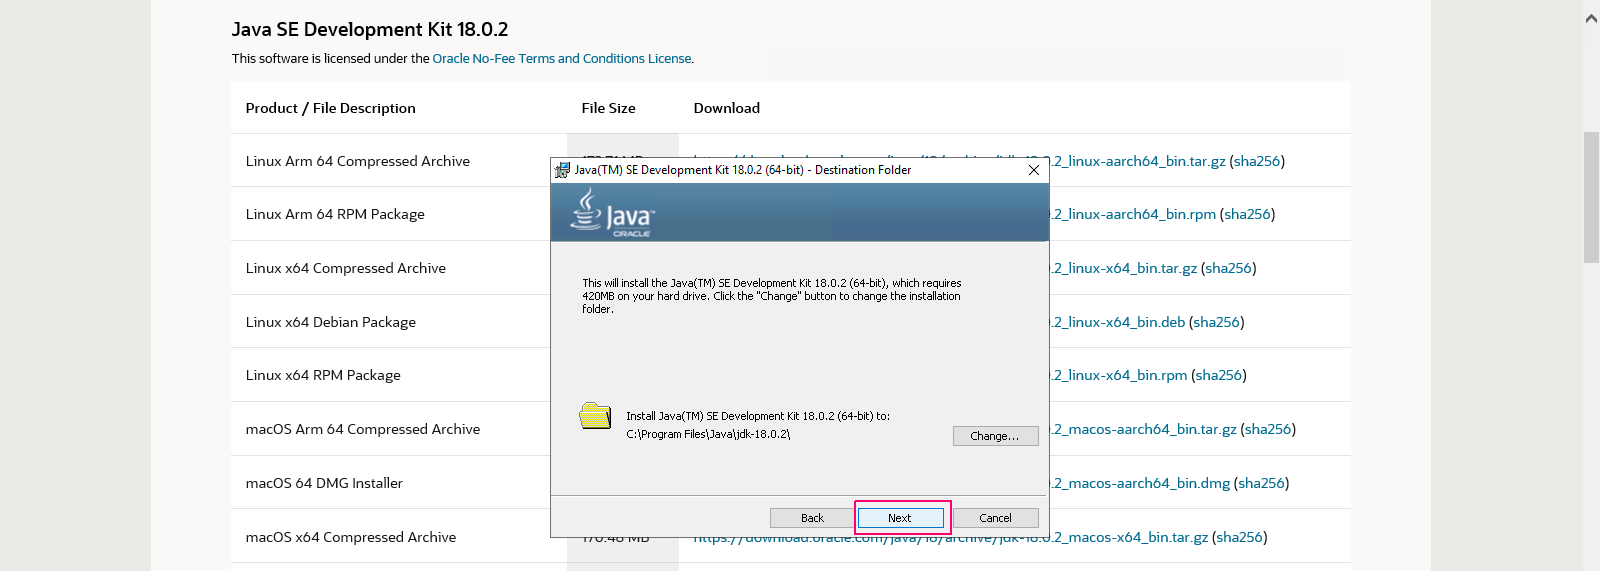
- Select the default folder,click on Next.
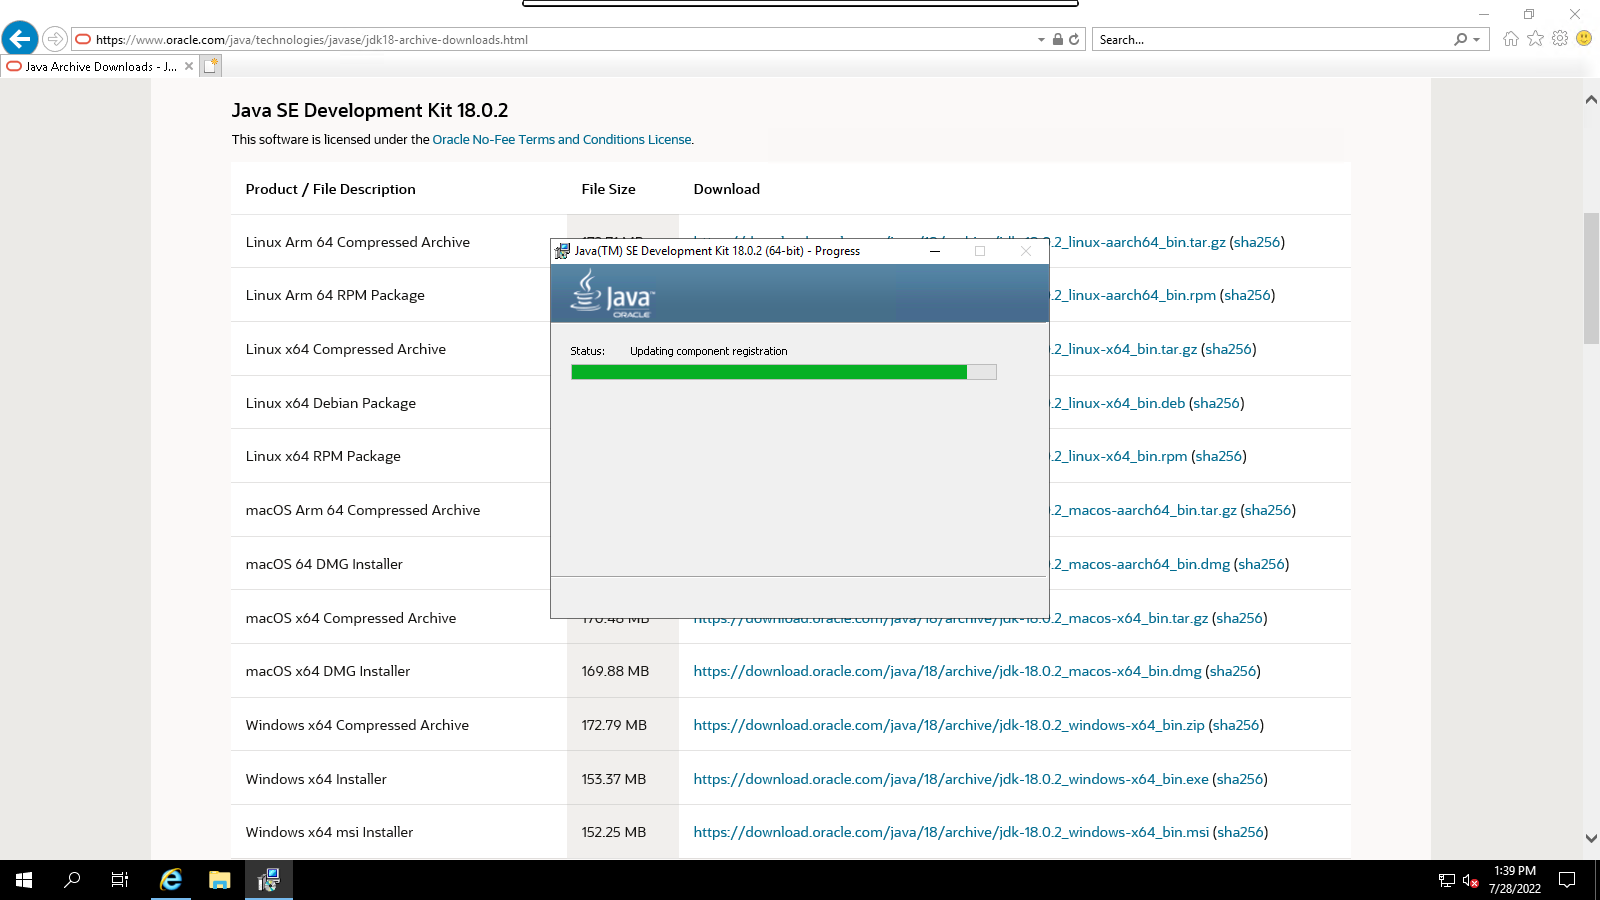
- Now Java is installing.
- Once java is installed,click on close.
Configure Java on server 2019
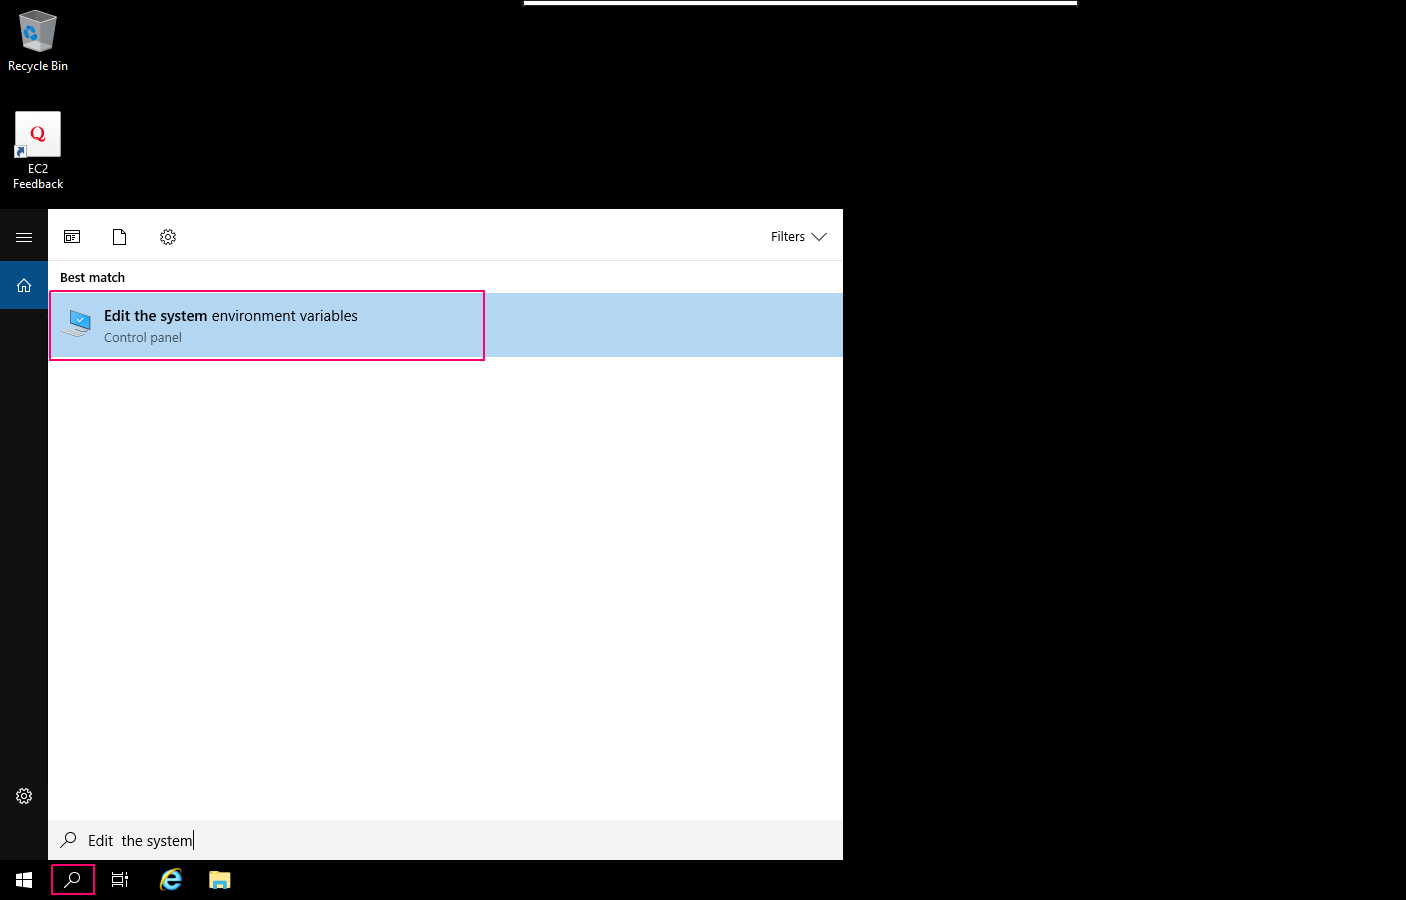
- Click on Search icon & type “Edit the system environment variables”.
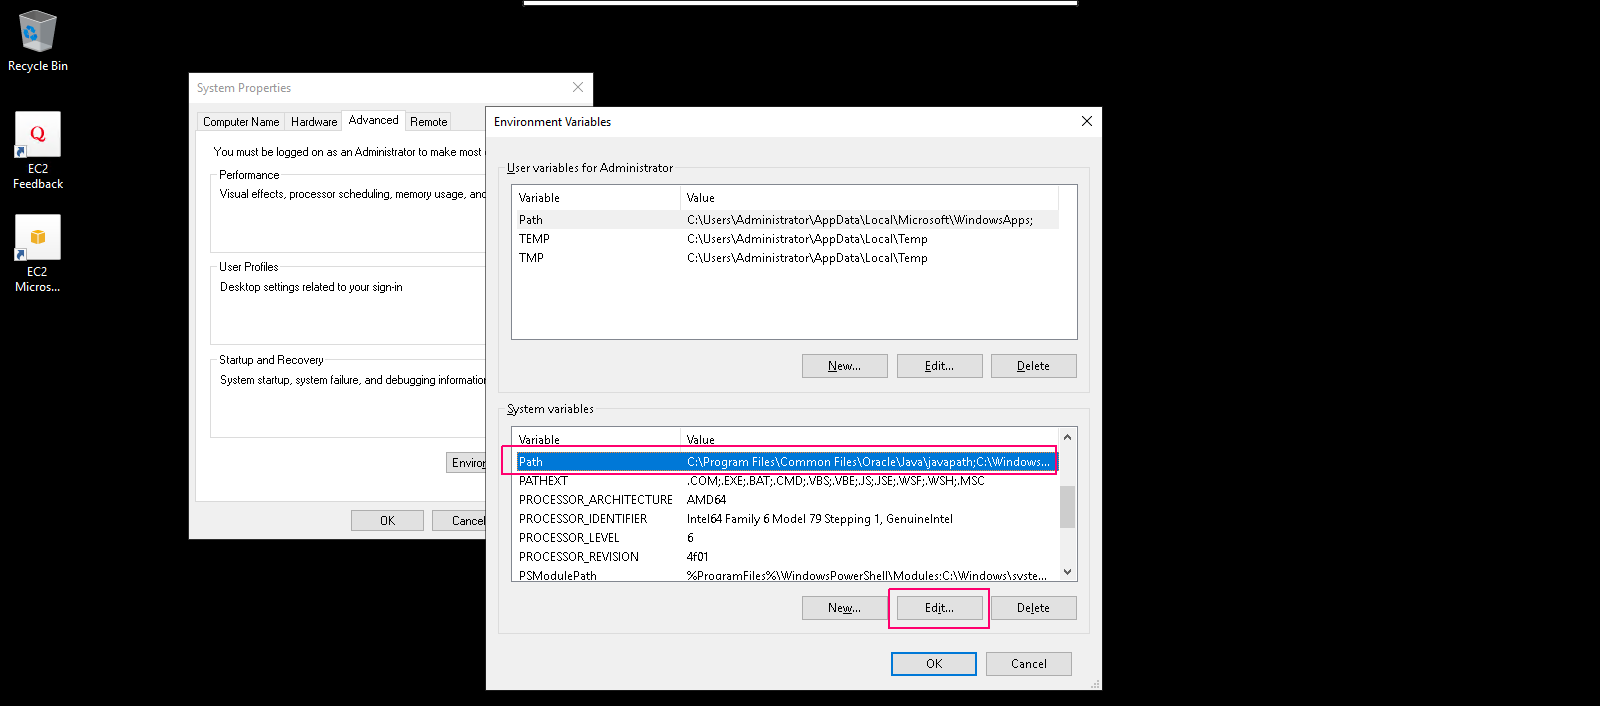
- Click on Environment Variables.

- In system variables,select Path then click on Edit.
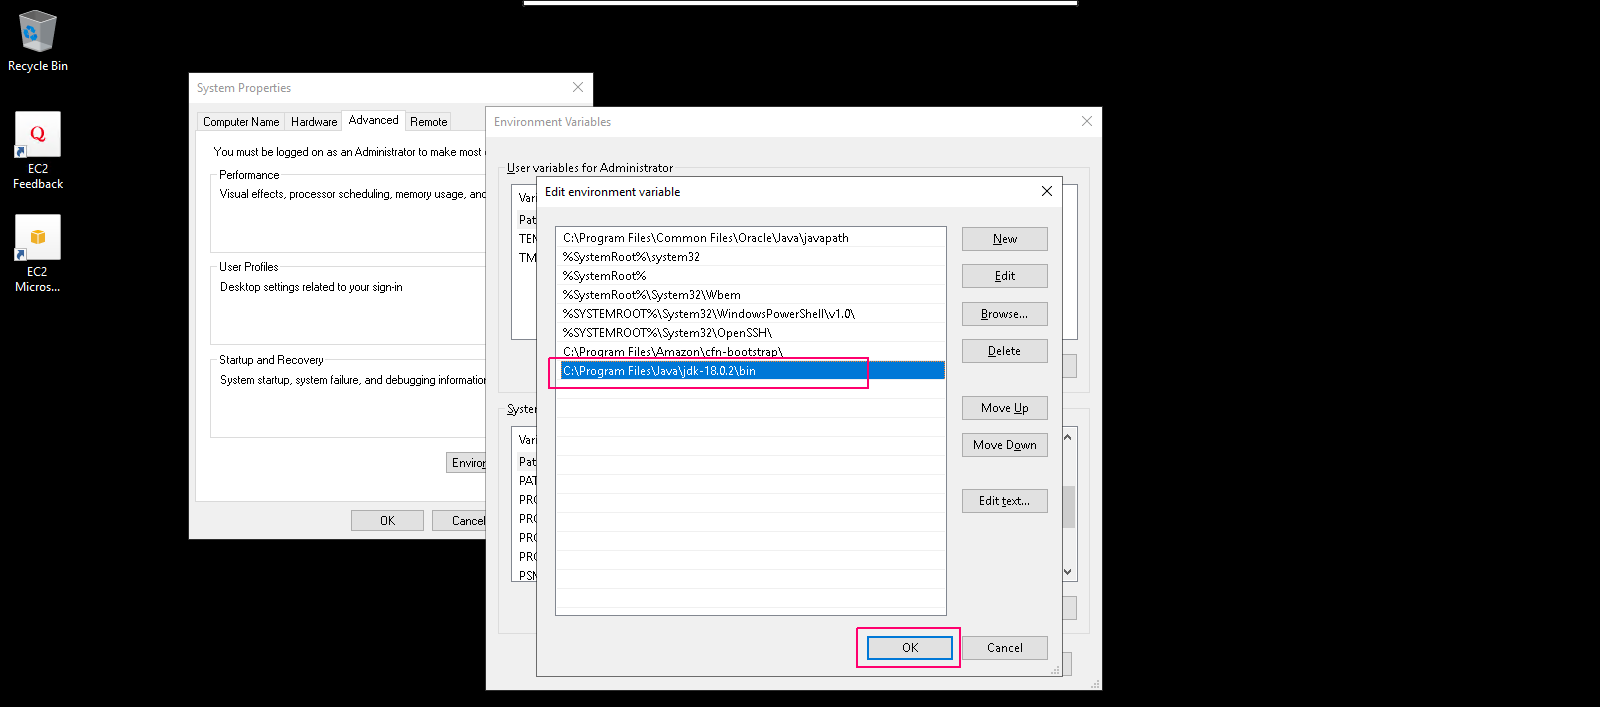
- In Edit environment variables page,click on New.

- Add the following path:
C:\Program Files\Java\jdk-18.0.2\bin
- Click on OK.
- Again in system variables,click on New.
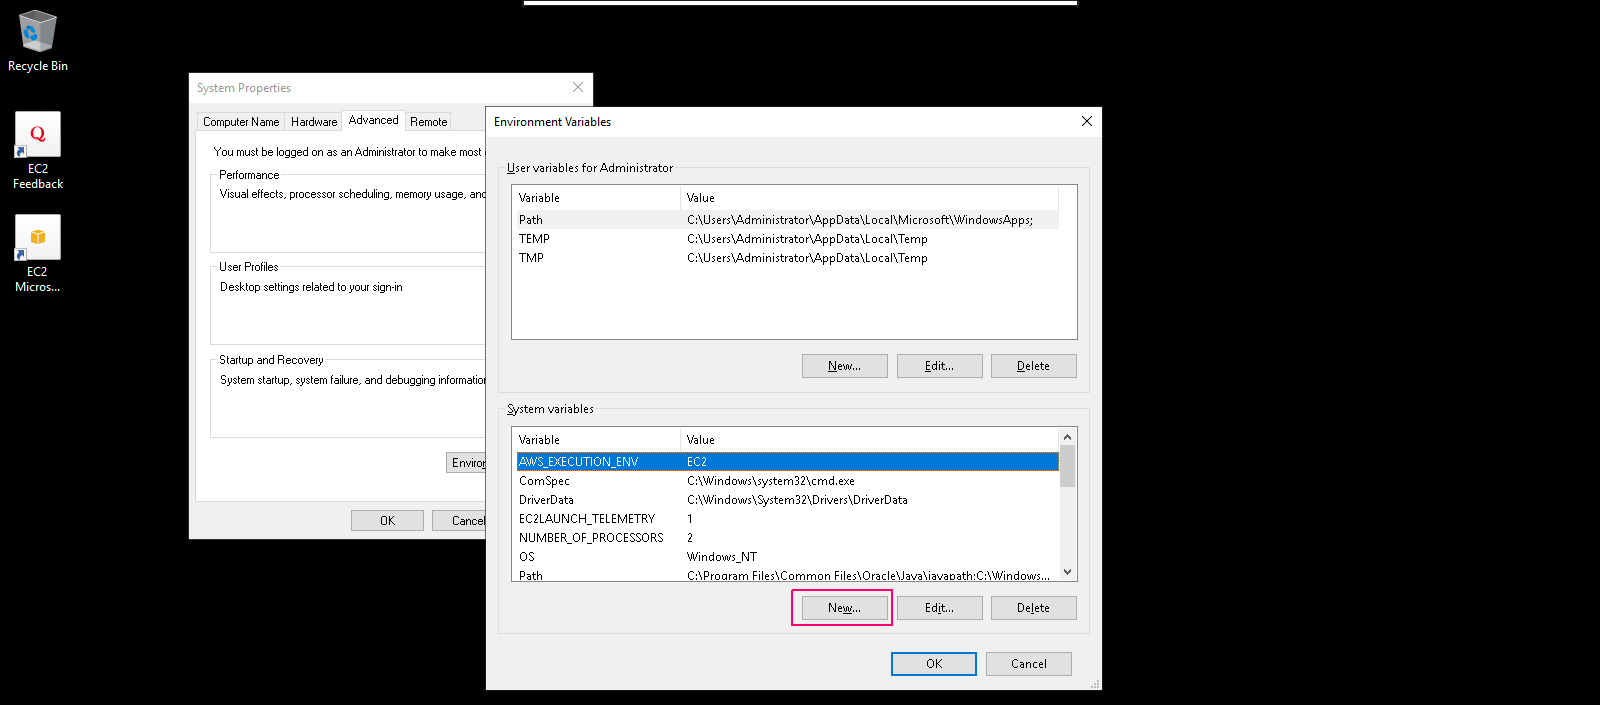
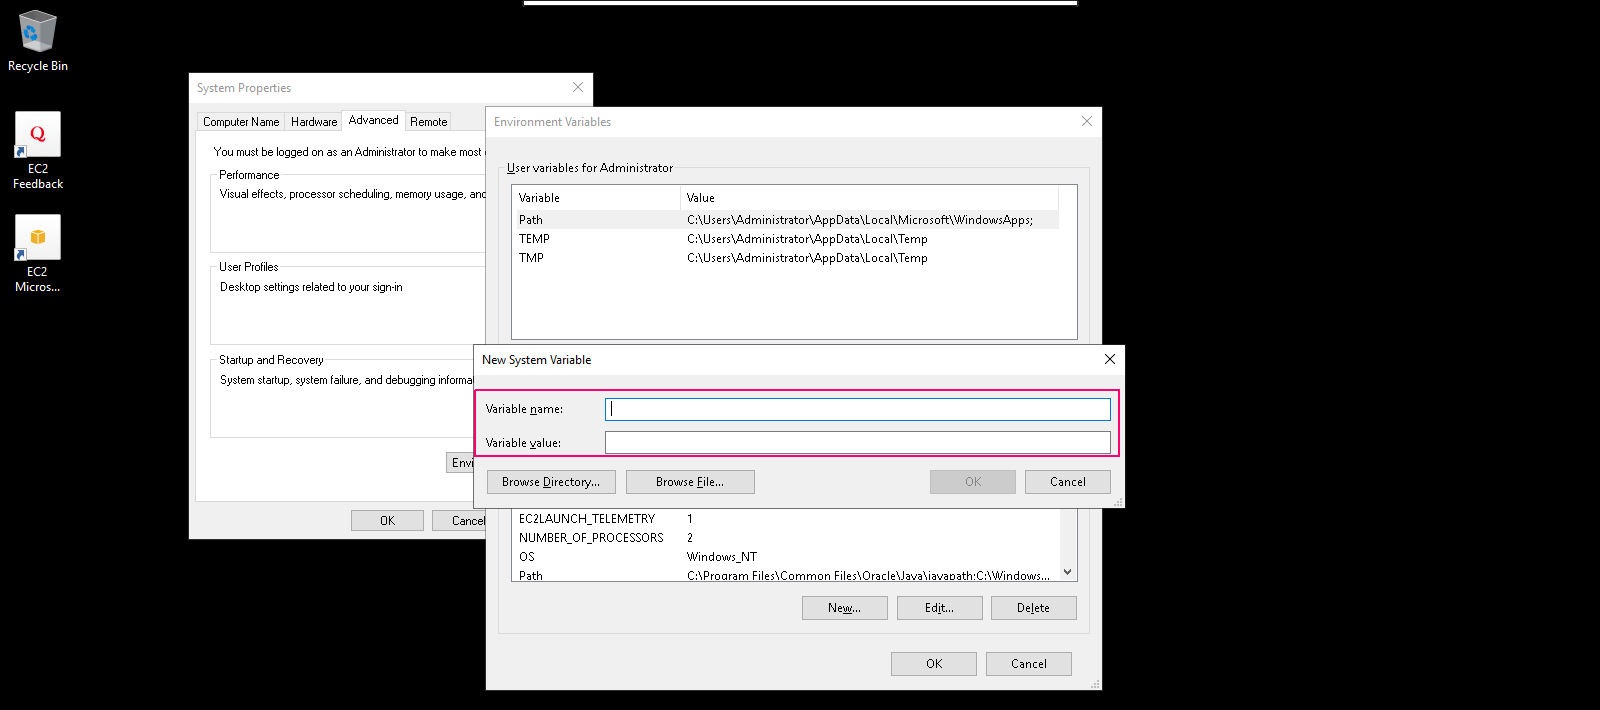
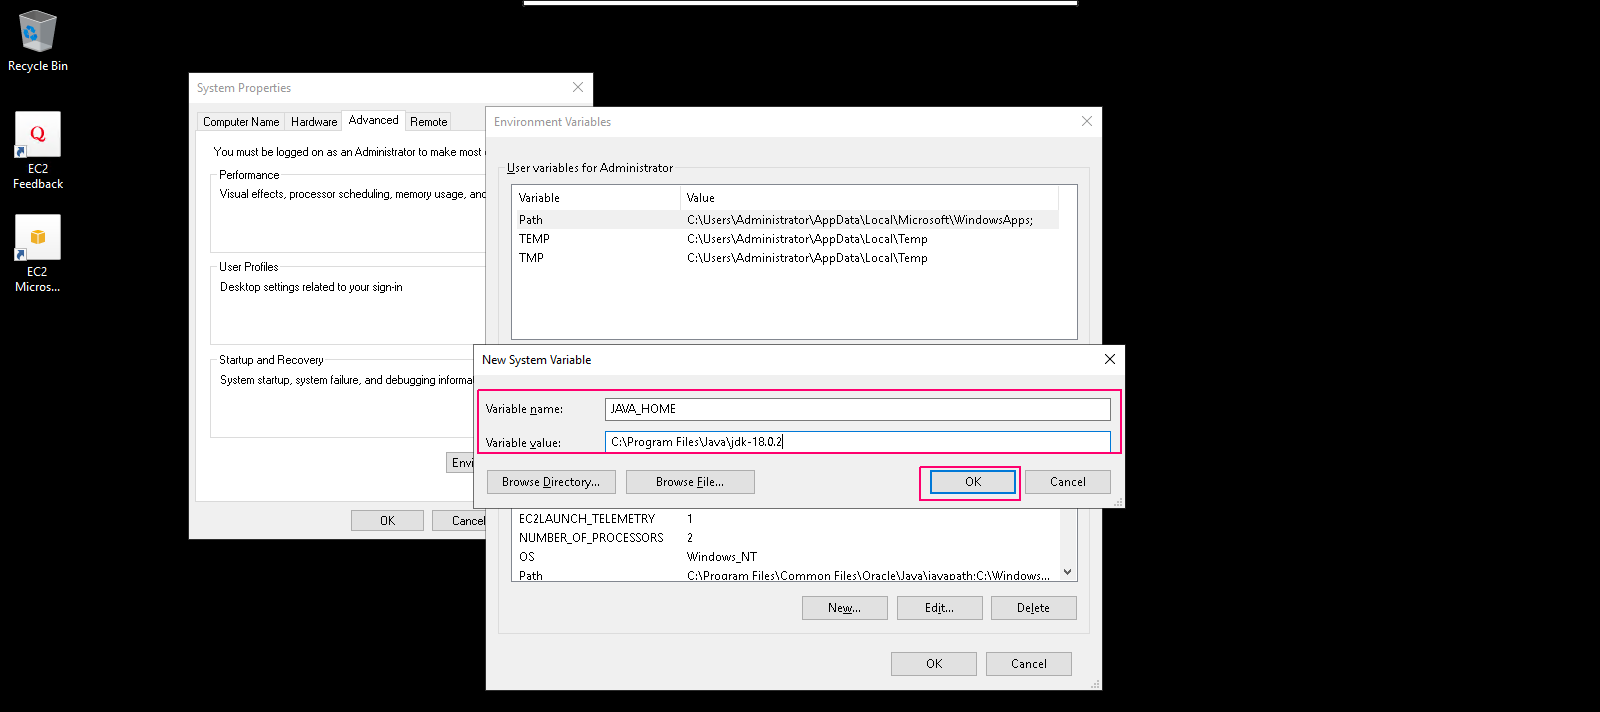
- In New system variables page,provide the Variable name & Variable value:
Variable name: JAVA_HOME

Variable value: C:\Program Files\Java\jdk-18.0.2
- Click on OK.
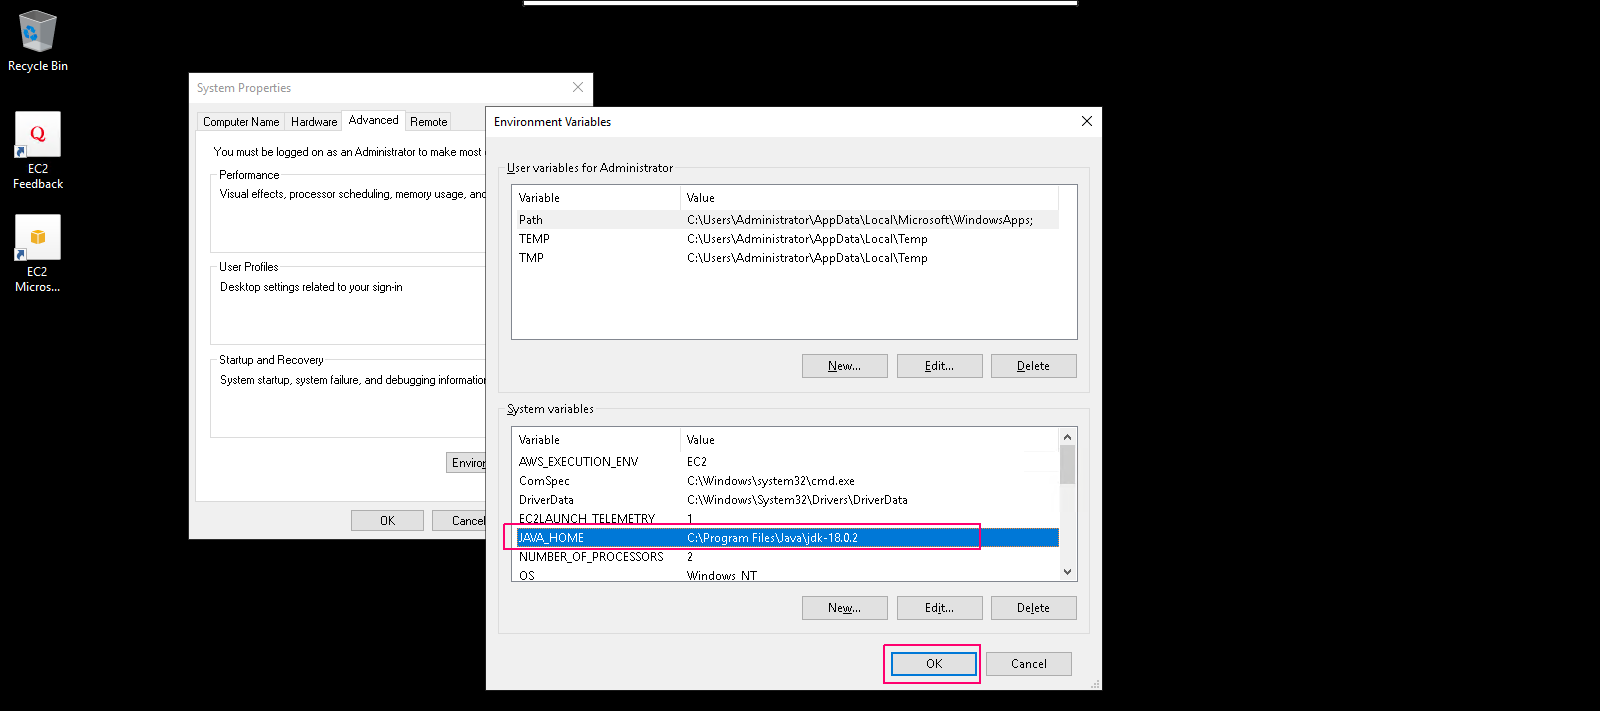
- New system variables is added,click on OK.
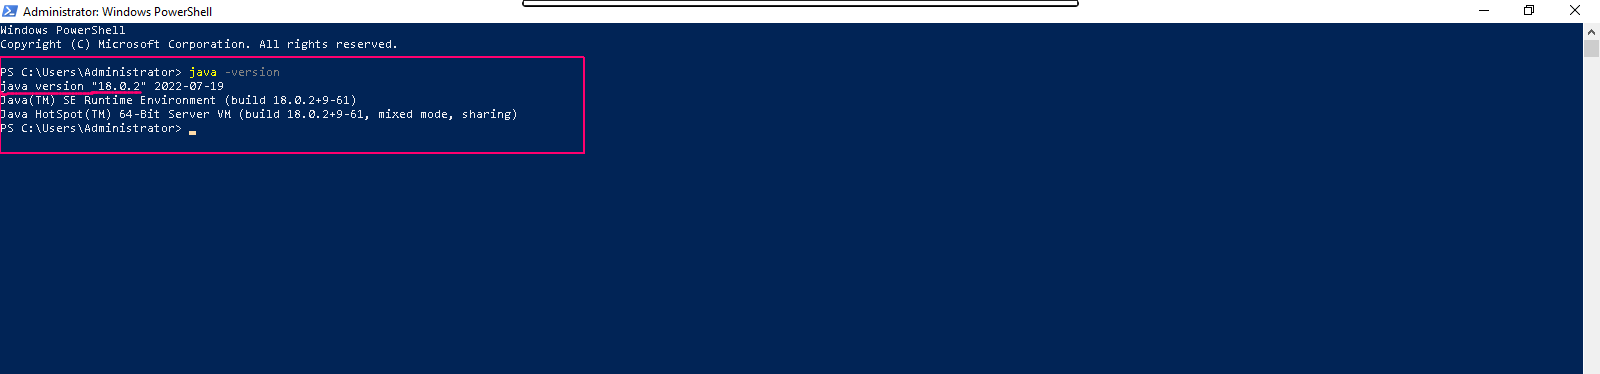
- Again click on search icon & type Window PowerShell.

- Click on Window PowerShell & page will open.
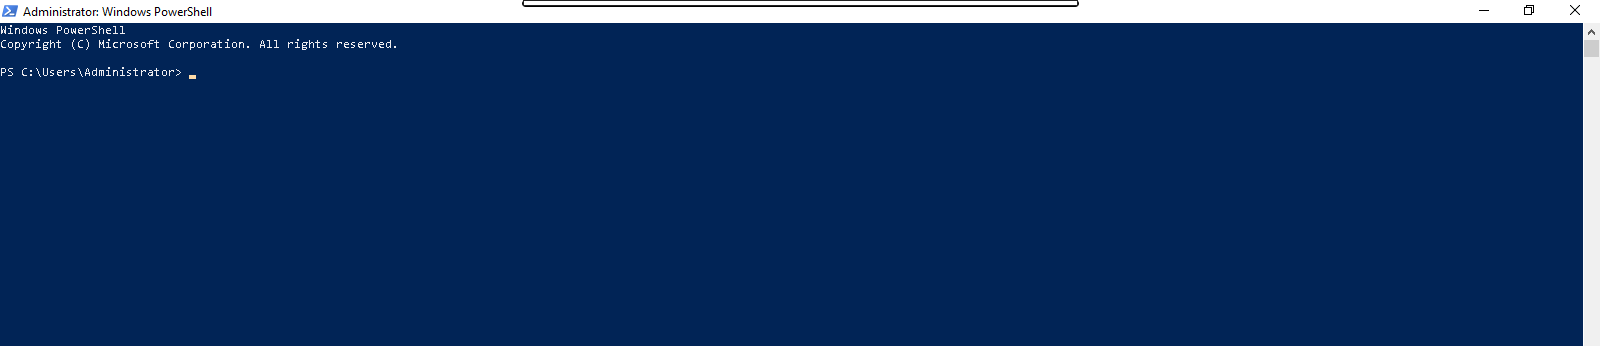
- Check the Java version using the following command:
java -version
- Here is the command output.