HX Club
- September 19, 2021
Step by Step Guide to Install OSSEC HIDS on Ubuntu 20.04 LTS
OSSEC is a free & open source host-based intrusion detection tool. It runs on Linux, OpenBSD, Solaris, FreeBSD, Windows, and other systems. It works in a server or client model. It is used for log analysis, policy monitoring, file integrity checking, real-time alerting, rootkit detection and active response.
There are few steps to install OSSEC on ubuntu:
Step 1: Update the System.
apt-get update
Step 2: Install the required packages.
apt install wget unzip make gcc build-essential

apt install  php php-cli php-common libapache2-mod-php apache2-utils inotify-tools
Step 3: Download the Ossec.
wget https://github.com/ossec/ossec-hids/archive/3.1.0.tar.gz
- Here is the command output.

- Extract the downloaded file.
tar -xvzf 3.1.0.tar.gz
- Change the path.
cd ossec-hids-3.1.0/
- Run the Install script file.
sh install.sh
- Provide the following values:
(en/br/cn/de/el/es/fr/hu/it/jp/nl/pl/ru/sr/tr) [en]: en
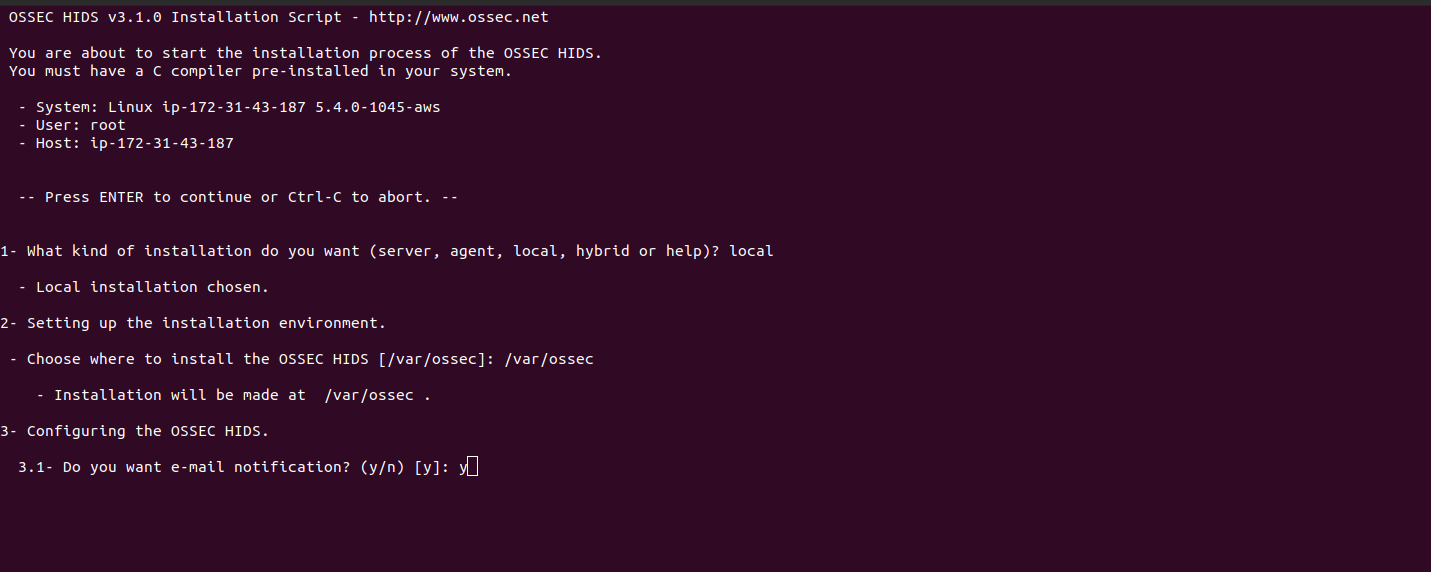
OSSEC HIDS v3.1.0 Installation Script - http://www.ossec.net
You are about to start the installation process of the OSSEC HIDS.
You must have a C compiler pre-installed in your system.
- System: Linux ip-172-31-43-187 5.4.0-1045
- User: root
- Host: ip-172-31-43-187
-- Press ENTER to continue or Ctrl-C to abort. --
1- What kind of installation do you want (server, agent, local, hybrid or help)? local
- Local installation chosen.
2- Setting up the installation environment.
- Choose where to install the OSSEC HIDS [/var/ossec]: /var/ossec
- Installation will be made at /var/ossec .
3- Configuring the OSSEC HIDS.
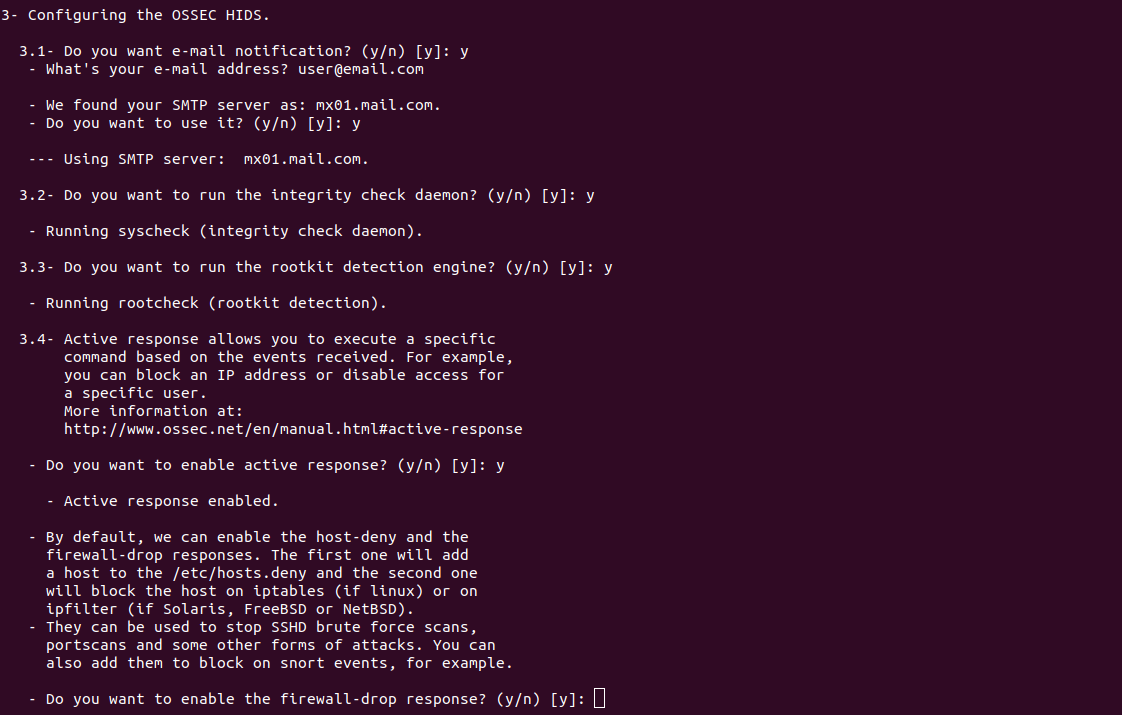
3.1- Do you want e-mail notification? (y/n) [y]: y
- What's your e-mail address? user@email.com
- We found your SMTP server as: mx01.mail.com.
- Do you want to use it? (y/n) [y]: y
--- Using SMTP server: mx01.mail.com.
3.2- Do you want to run the integrity check daemon? (y/n) [y]: y
- Running syscheck (integrity check daemon).
3.3- Do you want to run the rootkit detection engine? (y/n) [y]: y
- Running rootcheck (rootkit detection).
3.4- Active response allows you to execute a specific
command based on the events received. For example,
you can block an IP address or disable access for
a specific user.
More information at:
http://www.ossec.net/en/manual.html#active-response
- Do you want to enable active response? (y/n) [y]: y
- Active response enabled.
- By default, we can enable the host-deny and the
firewall-drop responses. The first one will add
a host to the /etc/hosts.deny and the second one
will block the host on iptables (if linux) or on
ipfilter (if Solaris, FreeBSD or NetBSD).
- They can be used to stop SSHD brute force scans,
portscans and some other forms of attacks. You can
also add them to block on snort events, for example.
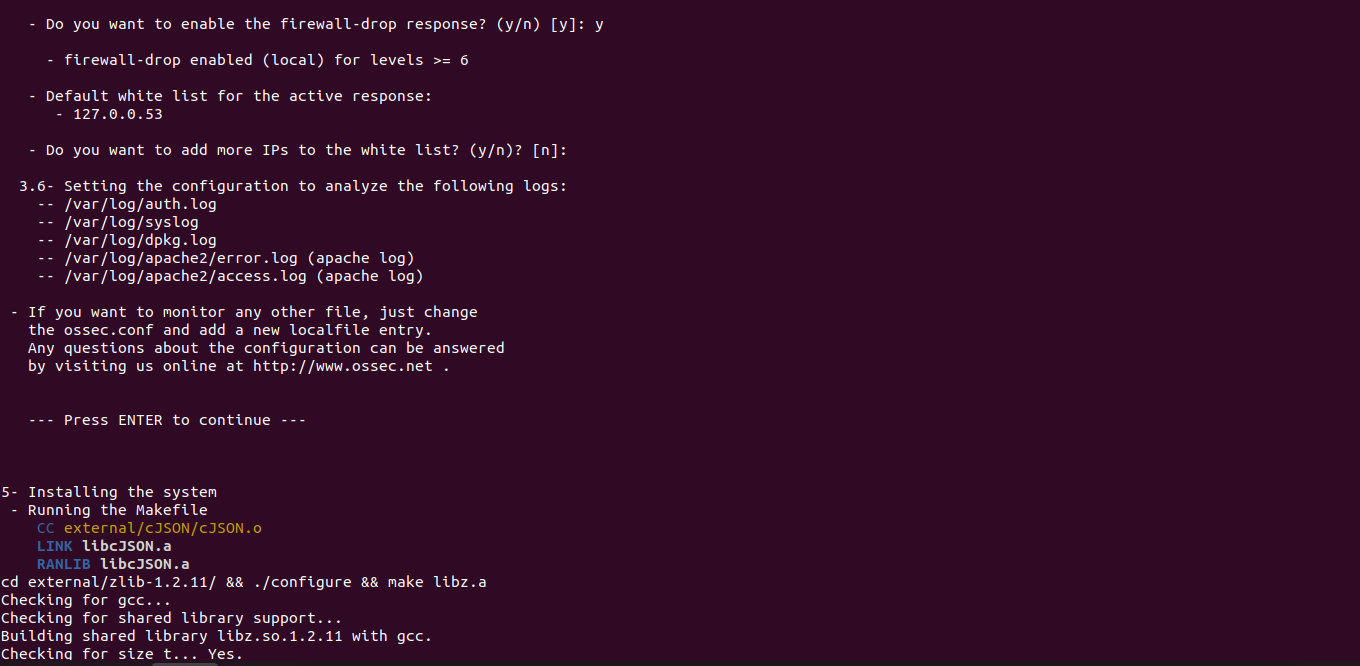
- Do you want to enable the firewall-drop response? (y/n) [y]: y
- firewall-drop enabled (local) for levels >= 6
- Default white list for the active response:
- 127.0.0.53
- Do you want to add more IPs to the white list? (y/n)? [n]:
3.6- Setting the configuration to analyze theNow Ossec interface is Ready. following logs:
-- /var/log/auth.log
-- /var/log/syslog
-- /var/log/dpkg.log
-- /var/log/apache2/error.log (apache log)
-- /var/log/apache2/access.log (apache log)
- If you want to monitor any other file, just change
the ossec.conf and add a new localfile entry.
Any questions about the configuration can be answered
by visiting us online at http://www.ossec.net .
--- Press ENTER to continue ---
5- Installing the system
- Running the Makefile
CC external/cJSON/cJSON.o
LINK libcJSON.a
RANLIB libcJSON.a
cd external/zlib-1.2.11/ && ./configure && make libz.a
Checking for gcc...
Checking for shared library support...
Building shared library libz.so.1.2.11 with gcc.
Checking for size_t... Yes.
- Here is the command output.
Step 4: Start the ossec-control.
/var/ossec/bin/ossec-control start
- Here is the command output.

Step 5: Install OSSEC web interface.
git clone https://github.com/ossec/ossec-wui.git
- Here is the command output.

- Run the following command to setup Ossec login credentials.
mv ossec-wui /srv

cd /srv/ossec-wui

./setup.sh
- Provide the username, password & web-server user name.
root@ip-172-31-43-187:/srv/ossec-wui# ./setup.sh

trap: SIGHUP: bad trap

Setting up ossec ui...

Username: admin

New password:

Re-type new password:

Adding password for user admin

Enter your web server user name (e.g. apache, www, nobody, www-data, ...)

www-data

Setup completed successfully.
- Here is the command output.
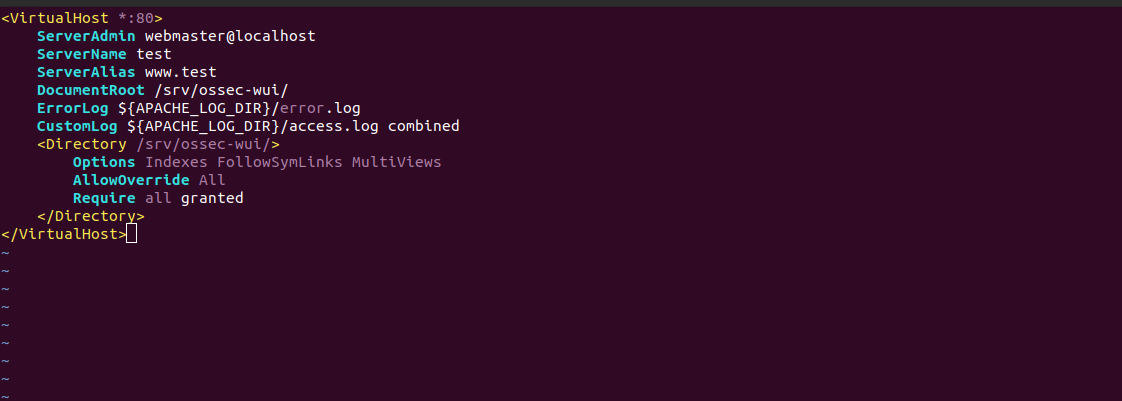
Step 6: Configure the Apache2.
vim /etc/apache2/sites-available/ossec-wui.conf
Provide the following values:
<VirtualHost *:80>

ServerAdmin webmaster@localhost

ServerName test

ServerAlias www.test

DocumentRoot /srv/ossec-wui/

ErrorLog ${APACHE_LOG_DIR}/error.log

CustomLog ${APACHE_LOG_DIR}/access.log combined

<Directory/srv/ossec-wui/>

Options FollowSymLinks

AllowOverride All

Require all granted

</Directory>

</VirtualHost>
- Here is the output.
- Enable the site.
a2ensite ossec-wui.conf
- Enable the rewrite mode.
a2enmod rewrite
- Restart the apache2.
systemctl restart apache2
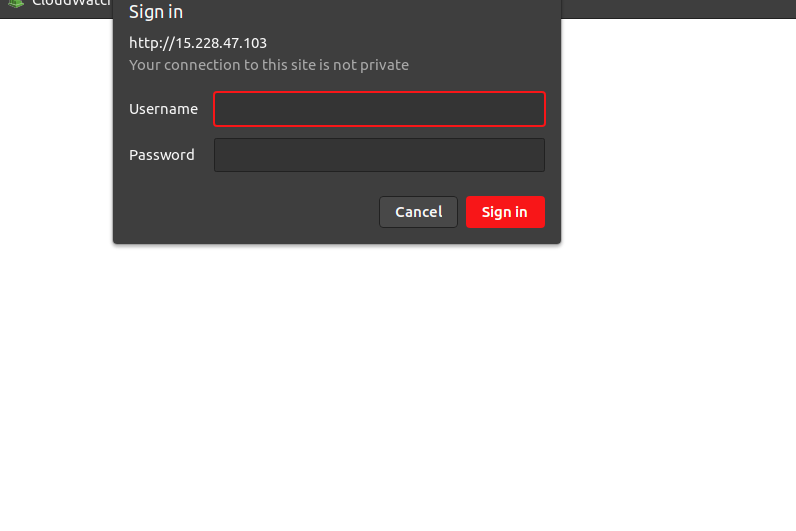
Step 7: Access OSSEC web interface
https://server-ip
- Here is the output.
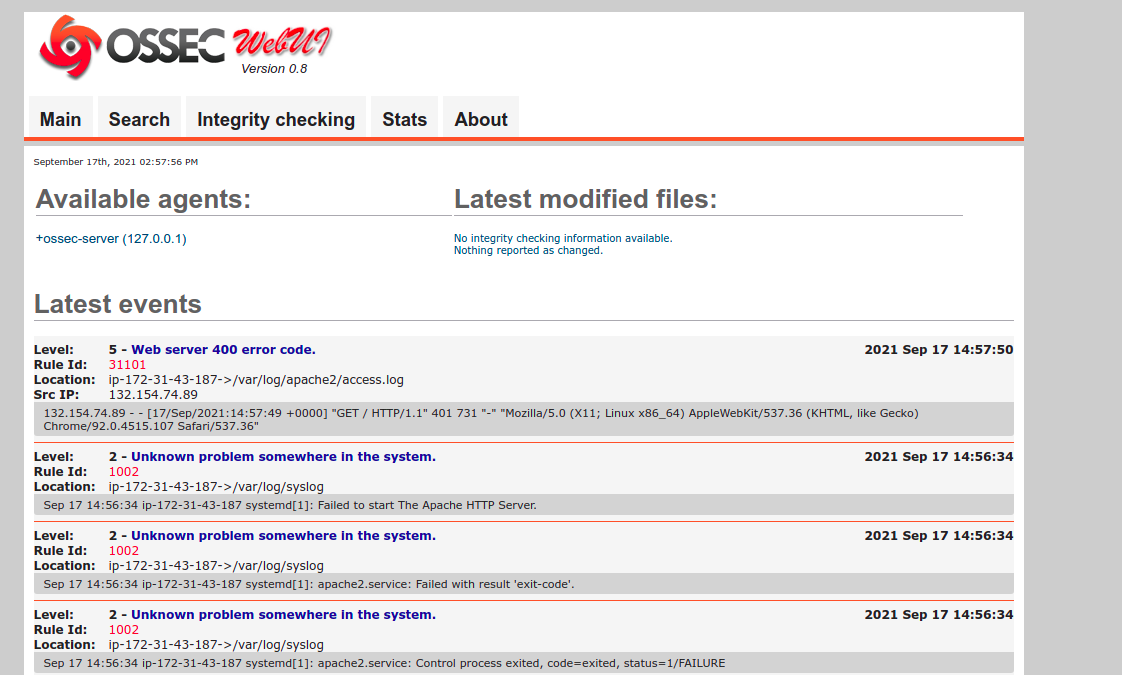
- Provide user-name & password.
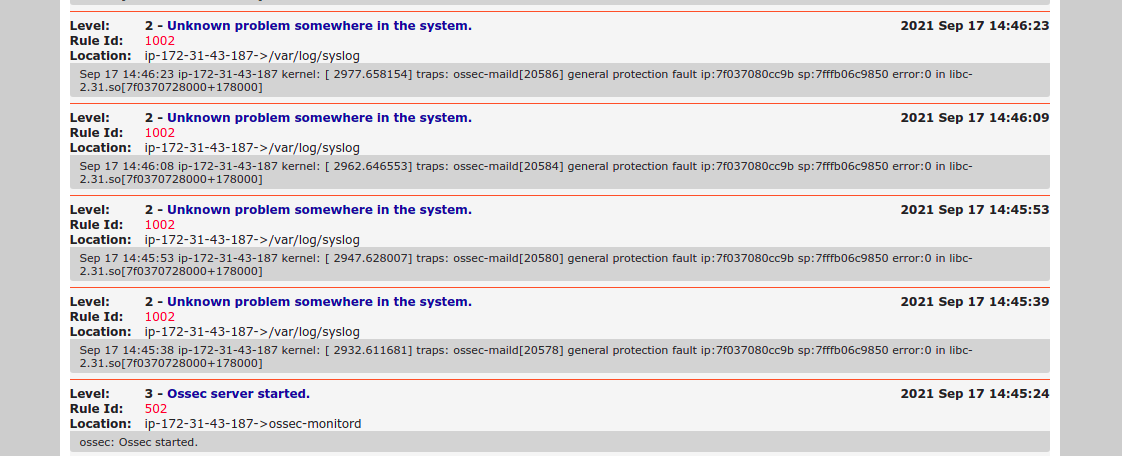
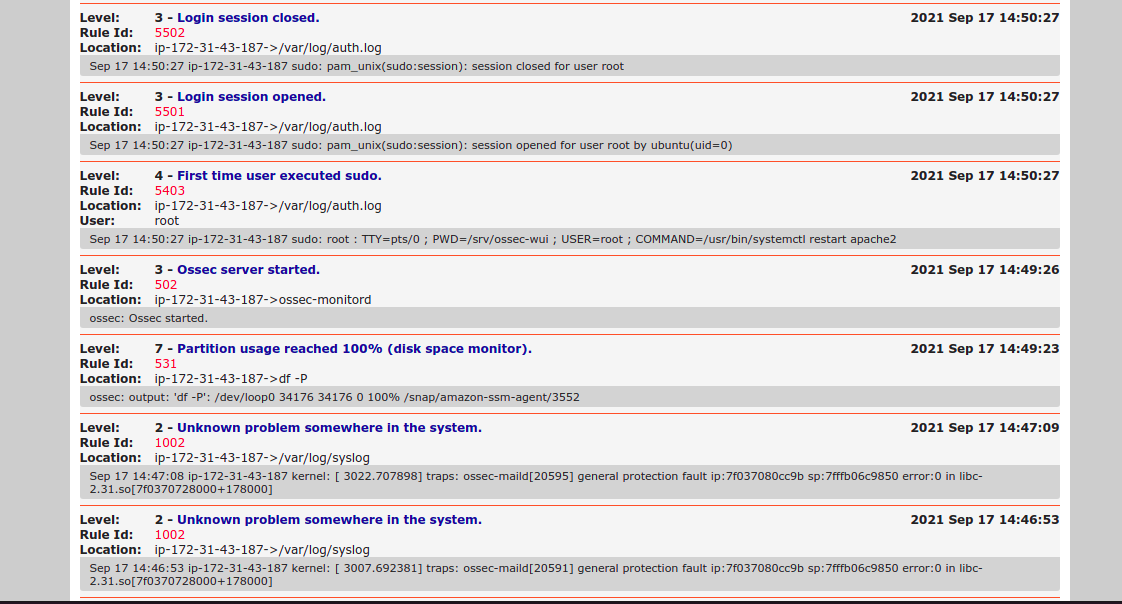
- Now Ossec interface is Ready.
Its missing a step. You have to disable the default site
sudo a2dissite 000-default.conf
Thanks for the feedback.
We will update.