Andreas Bartel
- September 23, 2022
Step By Step guide to install & configure Apache Tomcat on window server 2019 base
Hello,in this blog we are installing & configure Apache Tomcat on server 2019.Apache Tomcat is an open source web server.It supports & executes programs written in the Java programming language.It is a a java application server designed to deploy Java Servlets and JSPs on system.
There are some steps to install & configure Apache Tomcat on Server:
- Login to Window Server 2019 Base.
- First we need to setup Java on window server 2019 base,click on the following URL:
Install Apache Tomcat on Server 2019
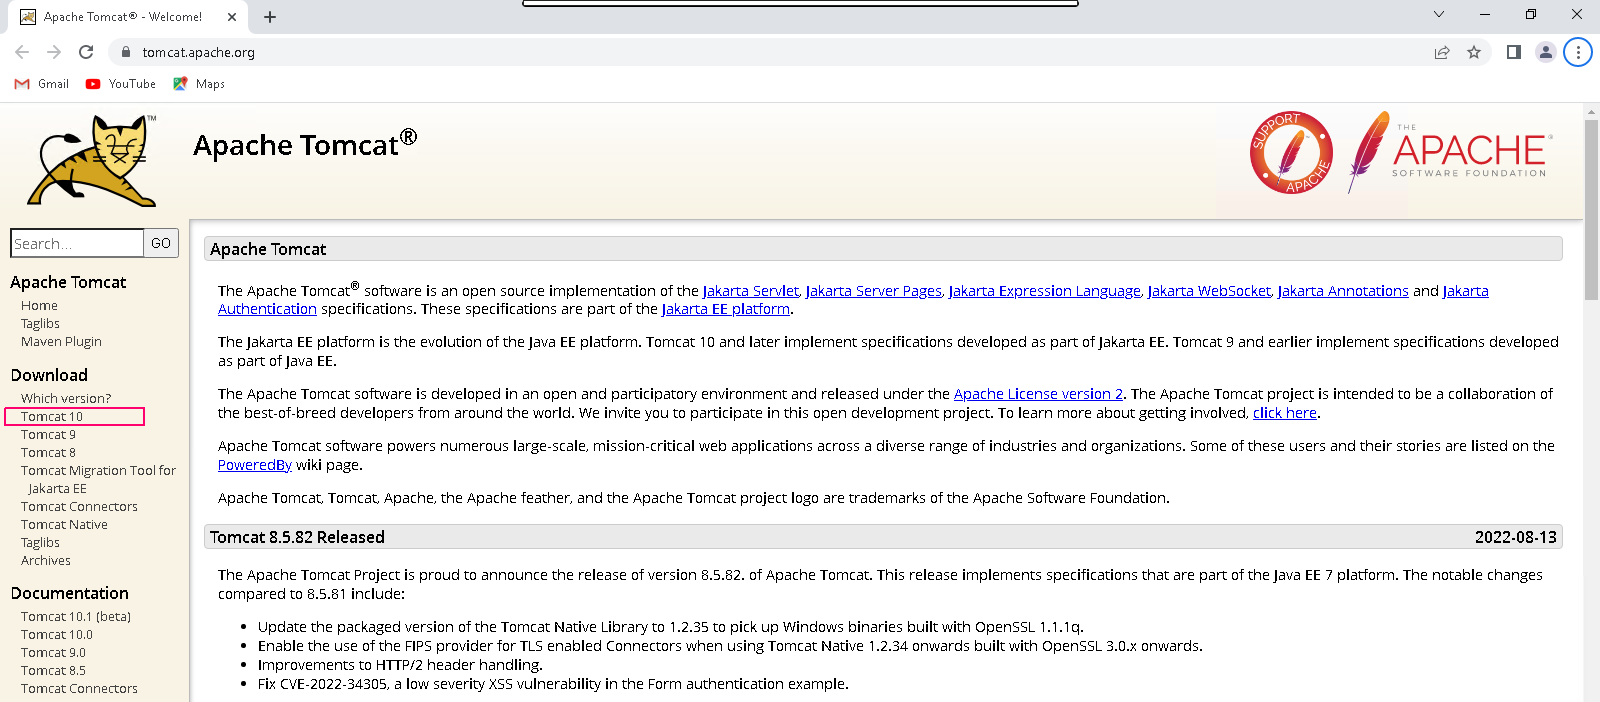
- Click on Google Chrome.

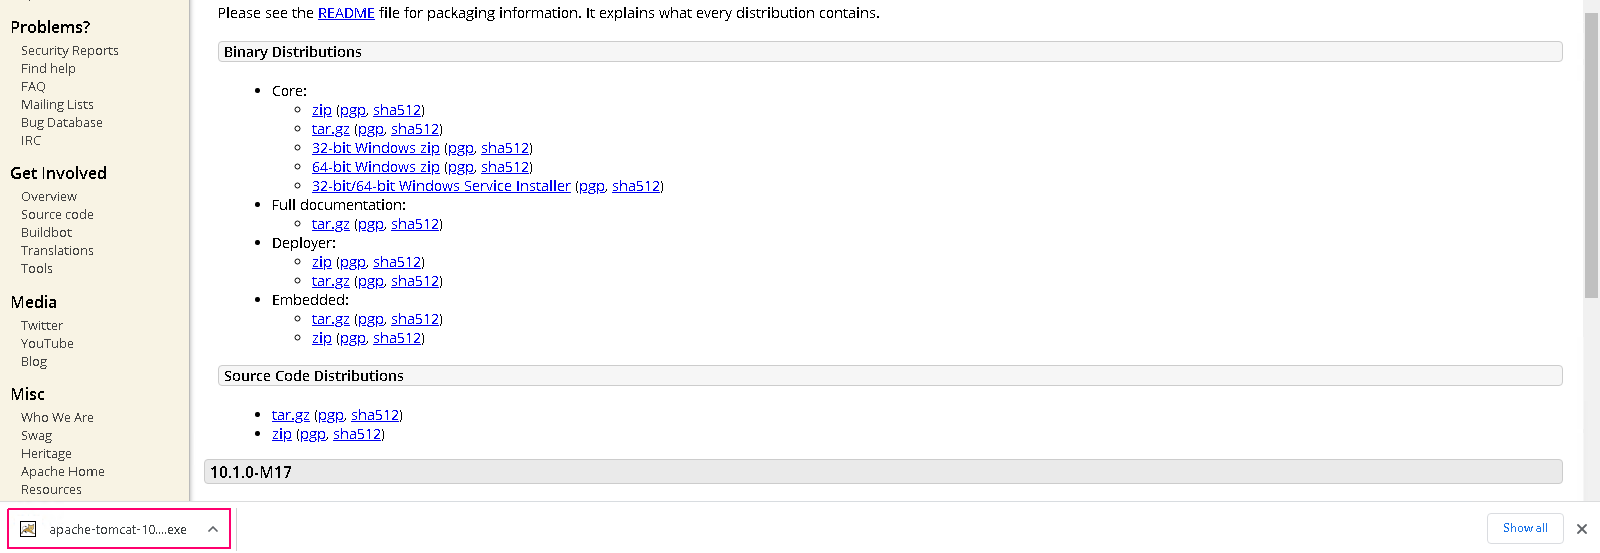
- Click or Search the following URL:
- Click on Tomcat 10 version.
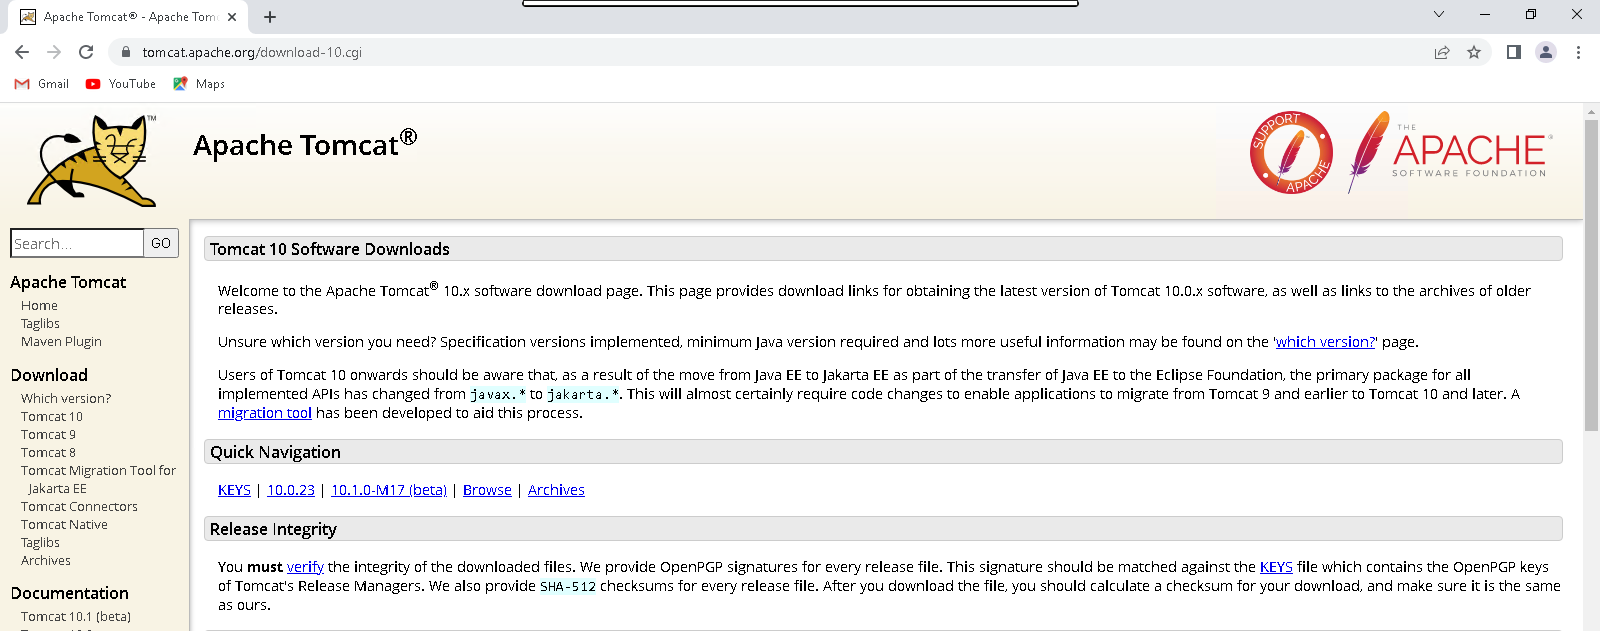
- Scroll down the page.
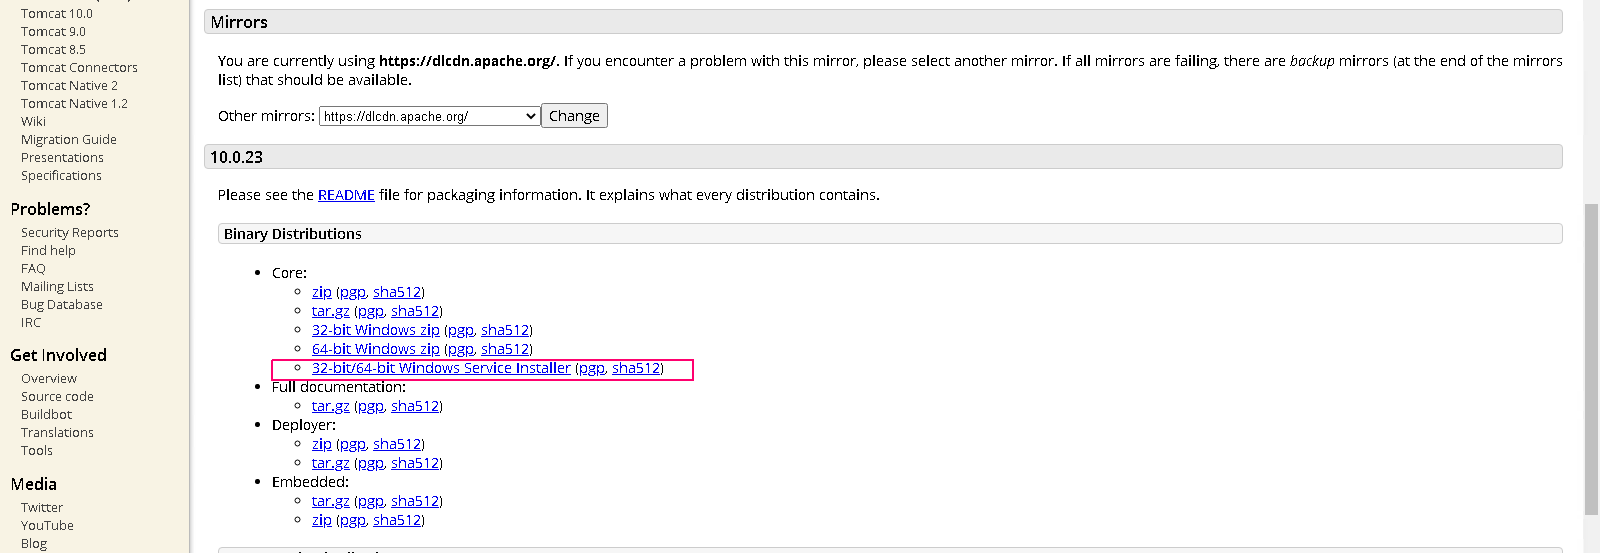
- Click on 32/64 bit windows service installer.
- Once downloaded,click on apache-tomcat-10..exe file.
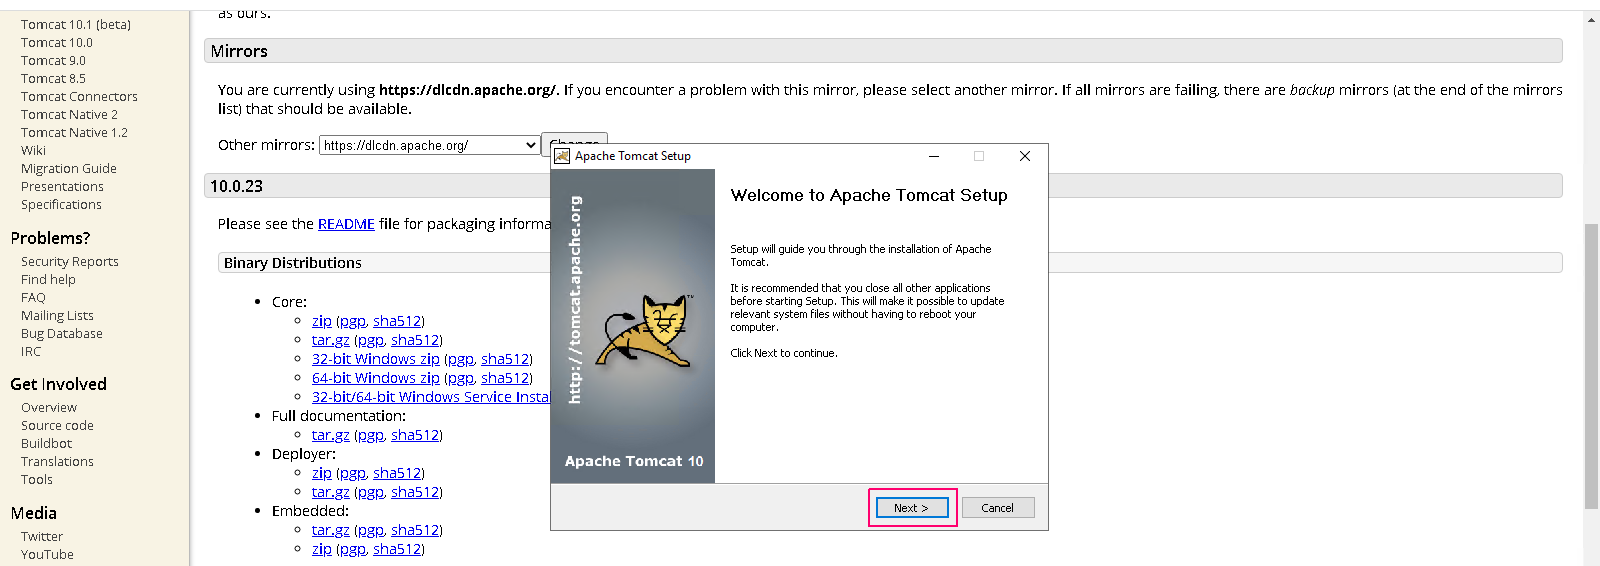
- Welcome page will open.
- Click on Next.
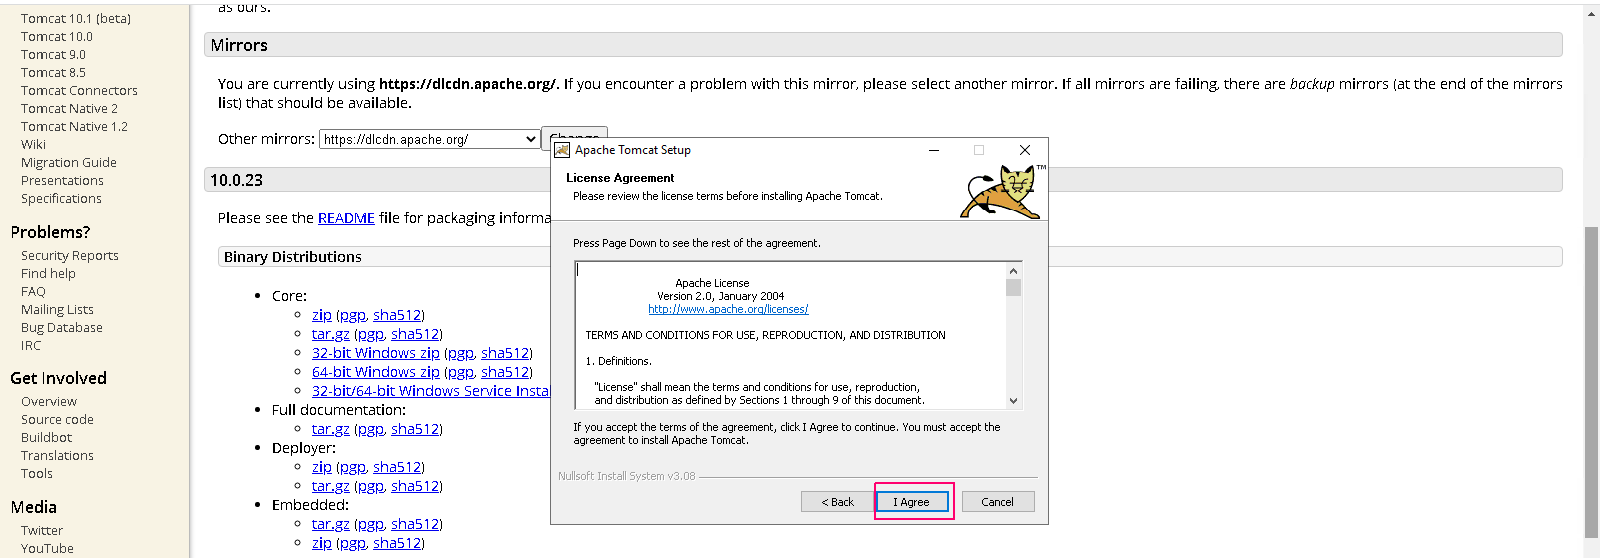
- On License Agreement page, Click on I Agree.
- On Components page,Enable the Host manager & examples components.
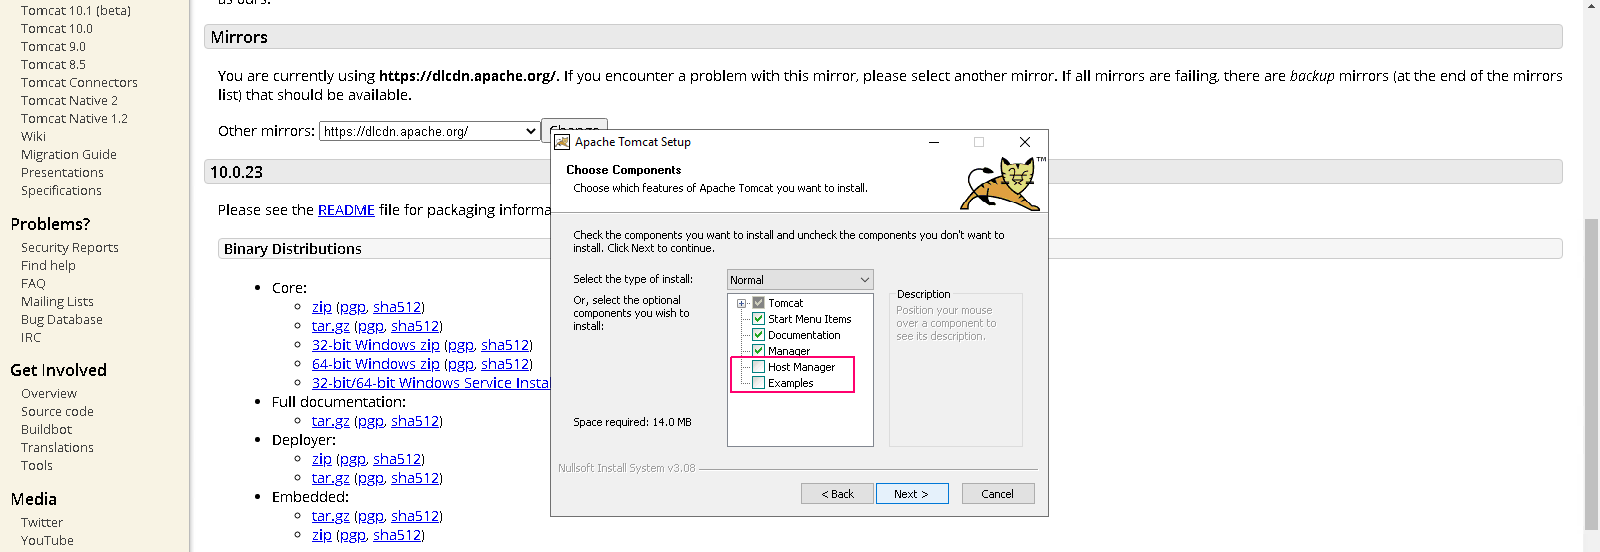
- Click on Next.

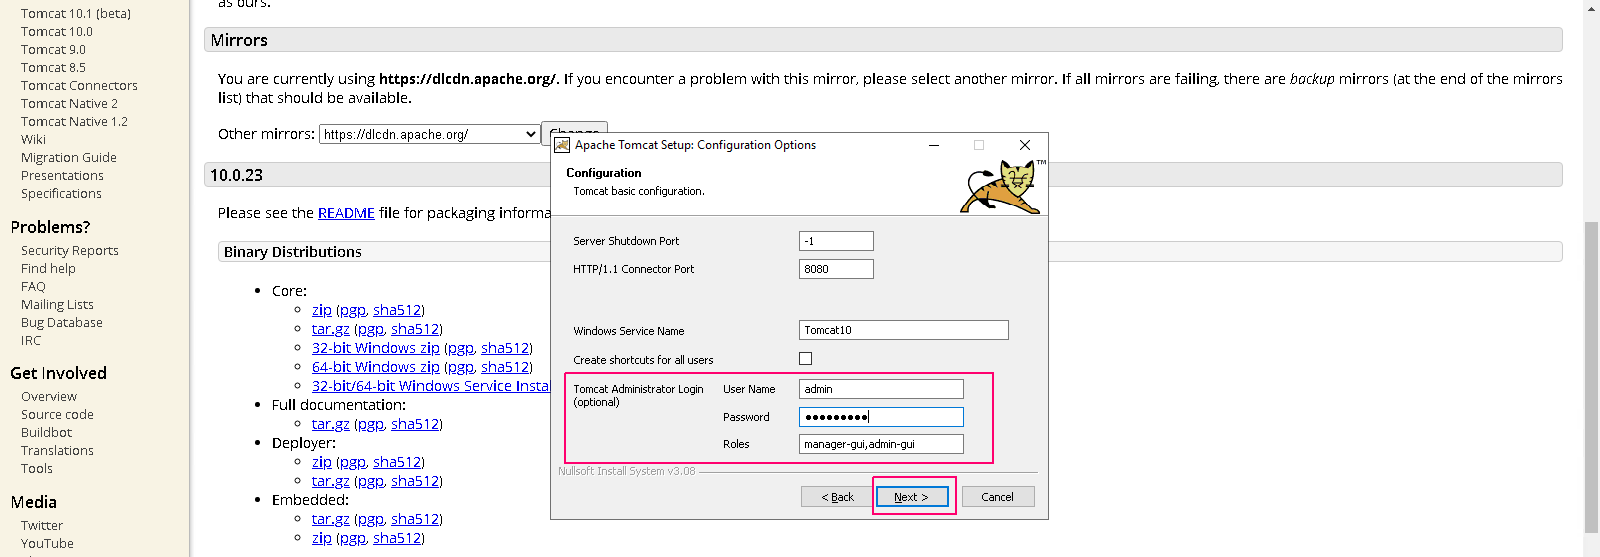
- On Configuration page,provide Administrator login credentials such as username & password.
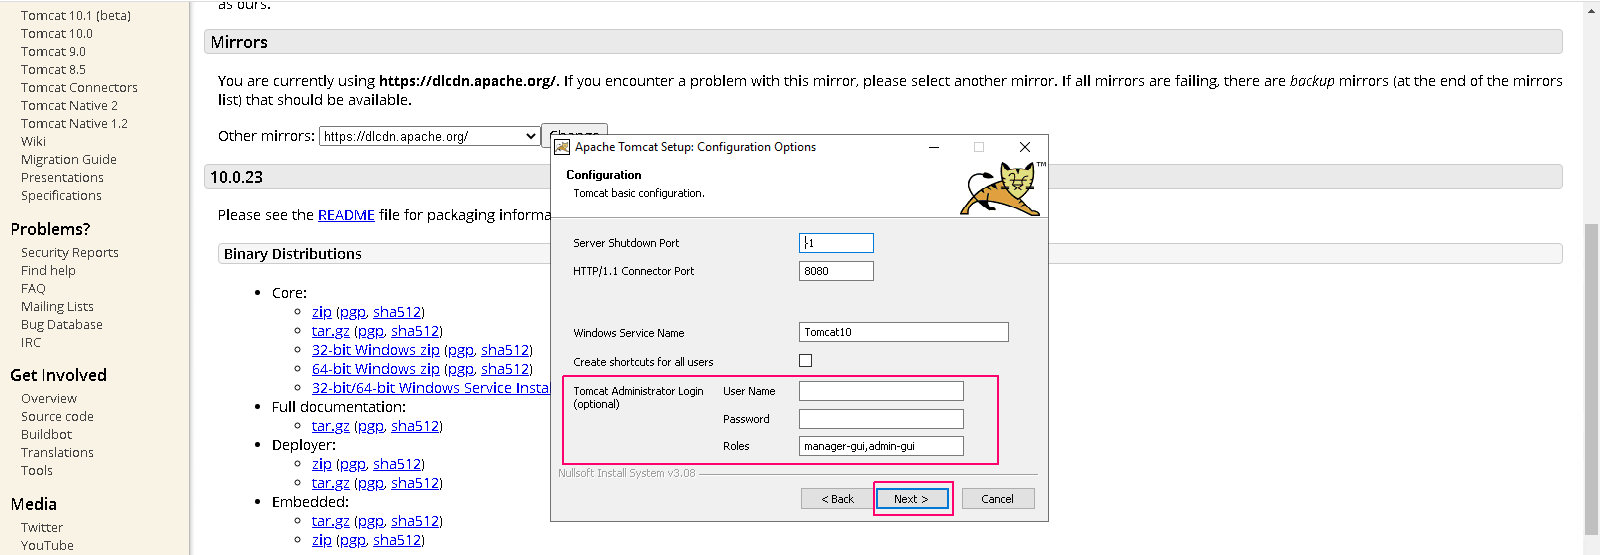
- Click on Next.
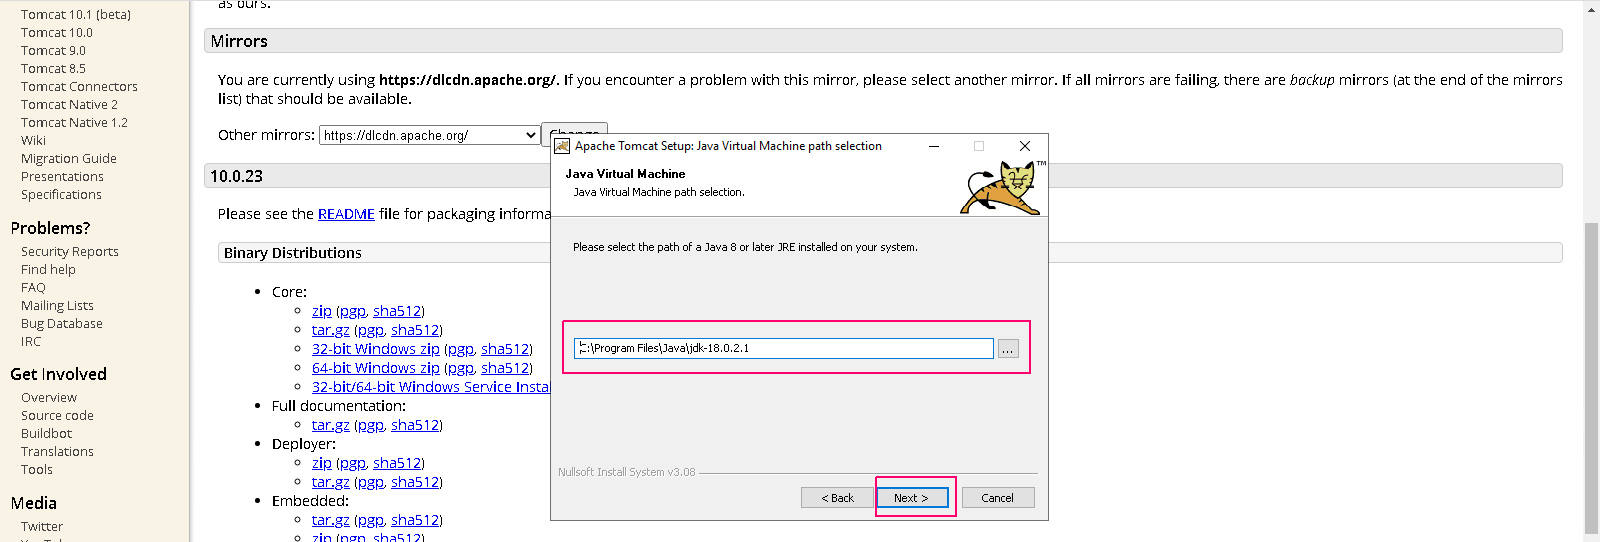
- Provide the path of Java.
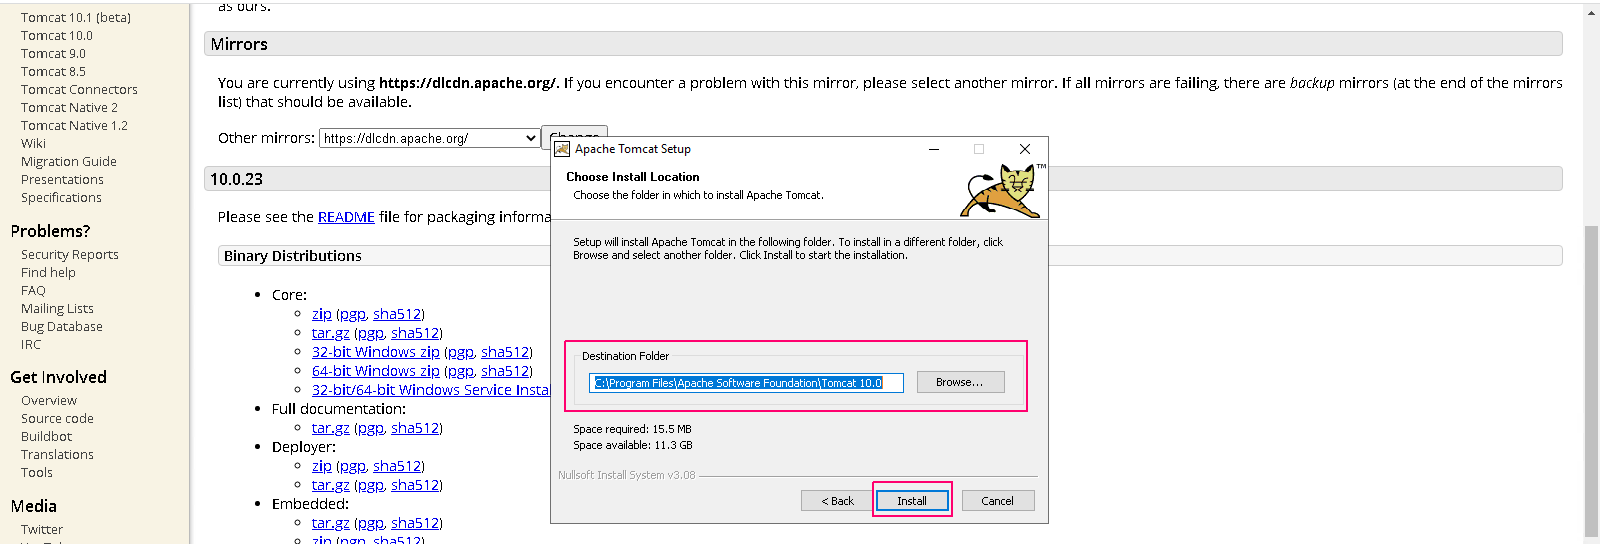
- Provide the destination folder for Apache tomcat.
- Click on Install.
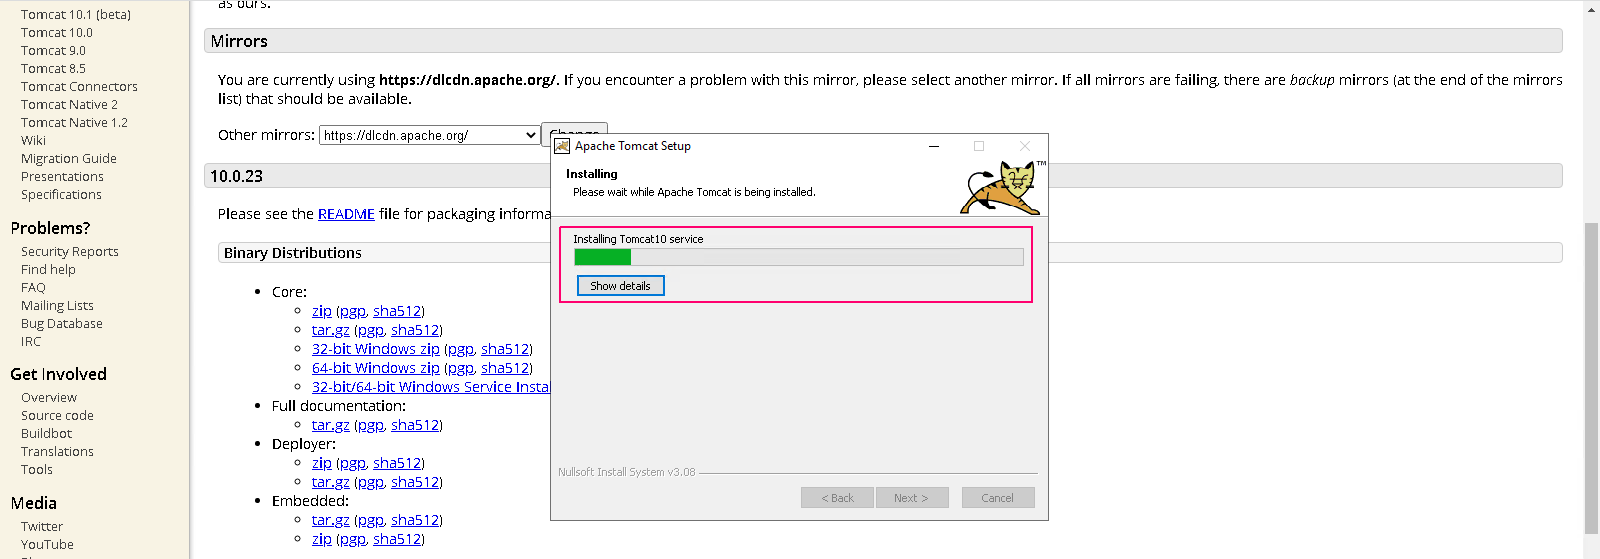
- Now,Apache tomcat is installing.
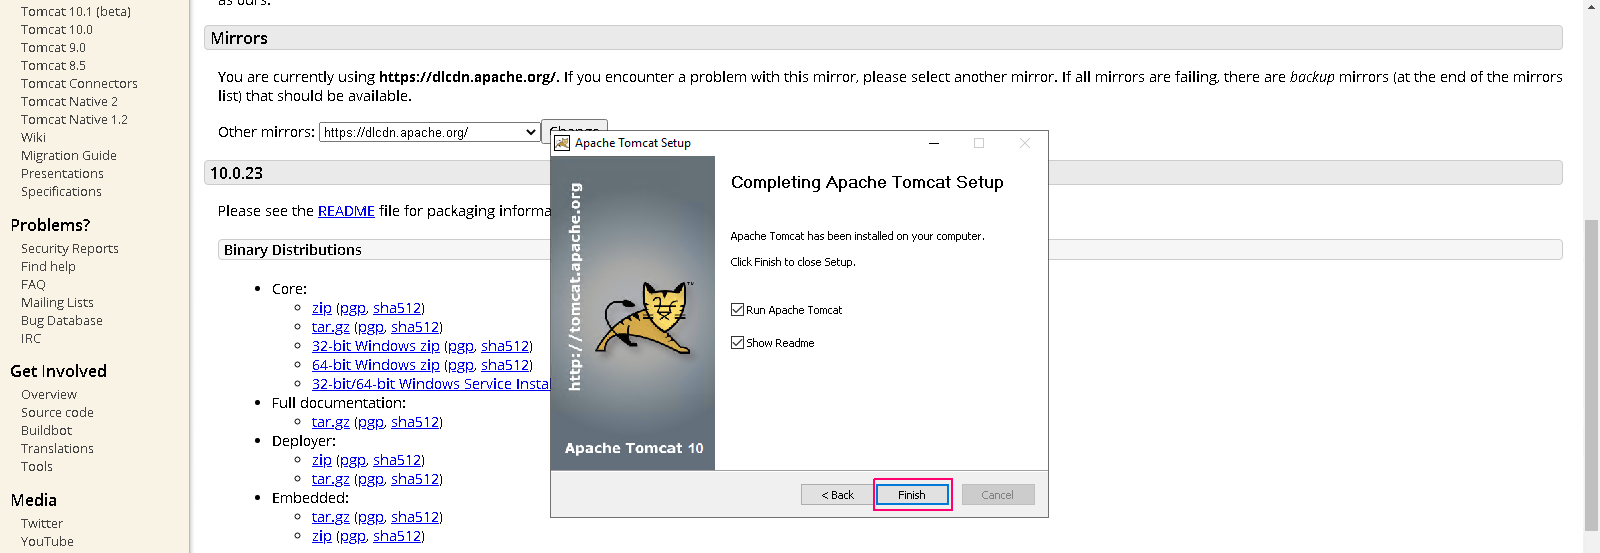
- Once completed,click on Finish.
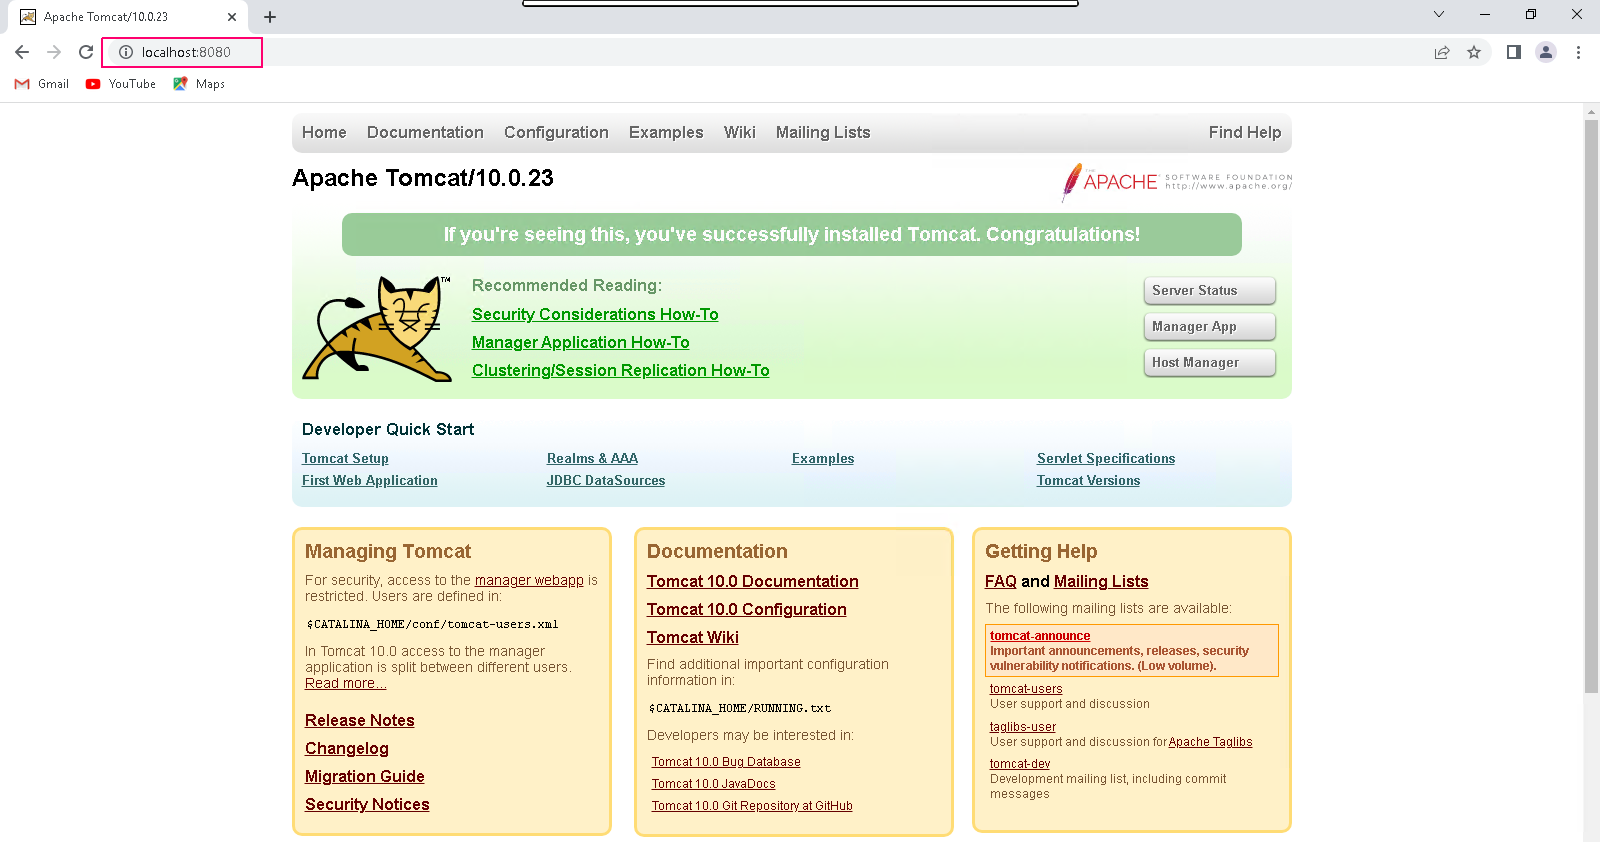
Open Apache Tomcat web page
- To test the Apache Tomcat web page using URL.
- Go to the Browser & search the following URL:
localhost:8080

or

server-ip:8080
- Here is the output.
- Apache Tomcat 10 has been installed successfully on Server 2019.