HX Club
- September 23, 2021
Step by Step to Install AIDE on Ubuntu 20.04 LTS
AIDE is an host-based intrusion detection system. AIDE stands for Advanced Intrusion Detection Environment. It is used to monitor file integrity to detect any unauthorized changes. Using AIDE, we can check file permissions, inodes, modification time, file contents, user, group, & file size.
There are few steps to install & configure AIDE on ubuntu:
Step 1: Update the System.
apt-get update
Step 2: Install the AIDE.
apt install aide
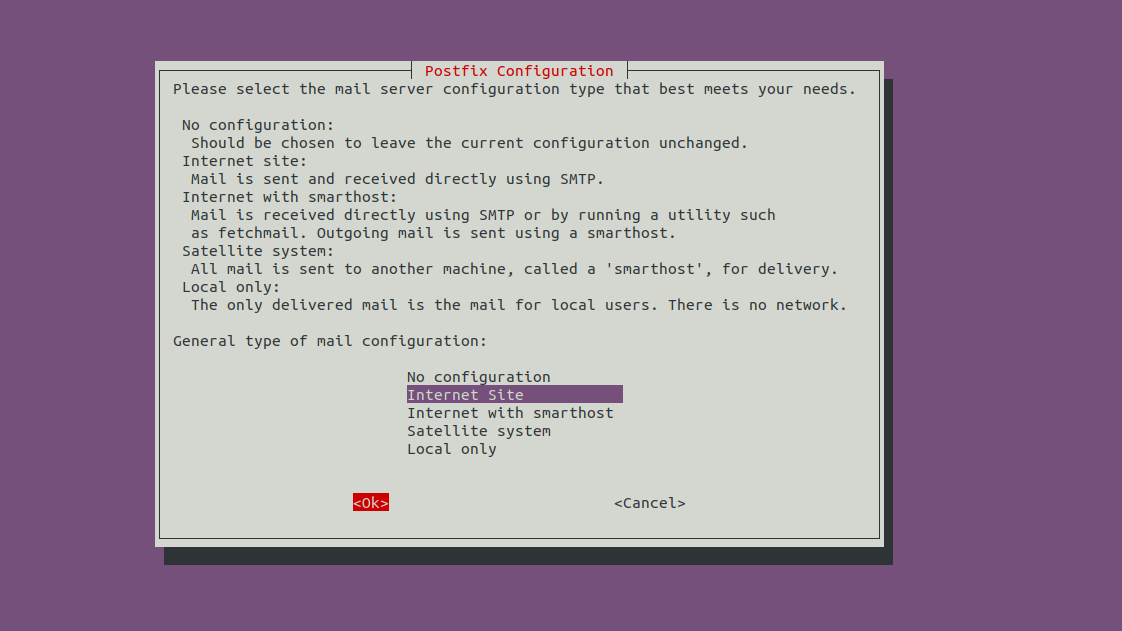
- During installation, configure the postfix.
- Here is the command output.
- Select Internet Site.
- Click OK.
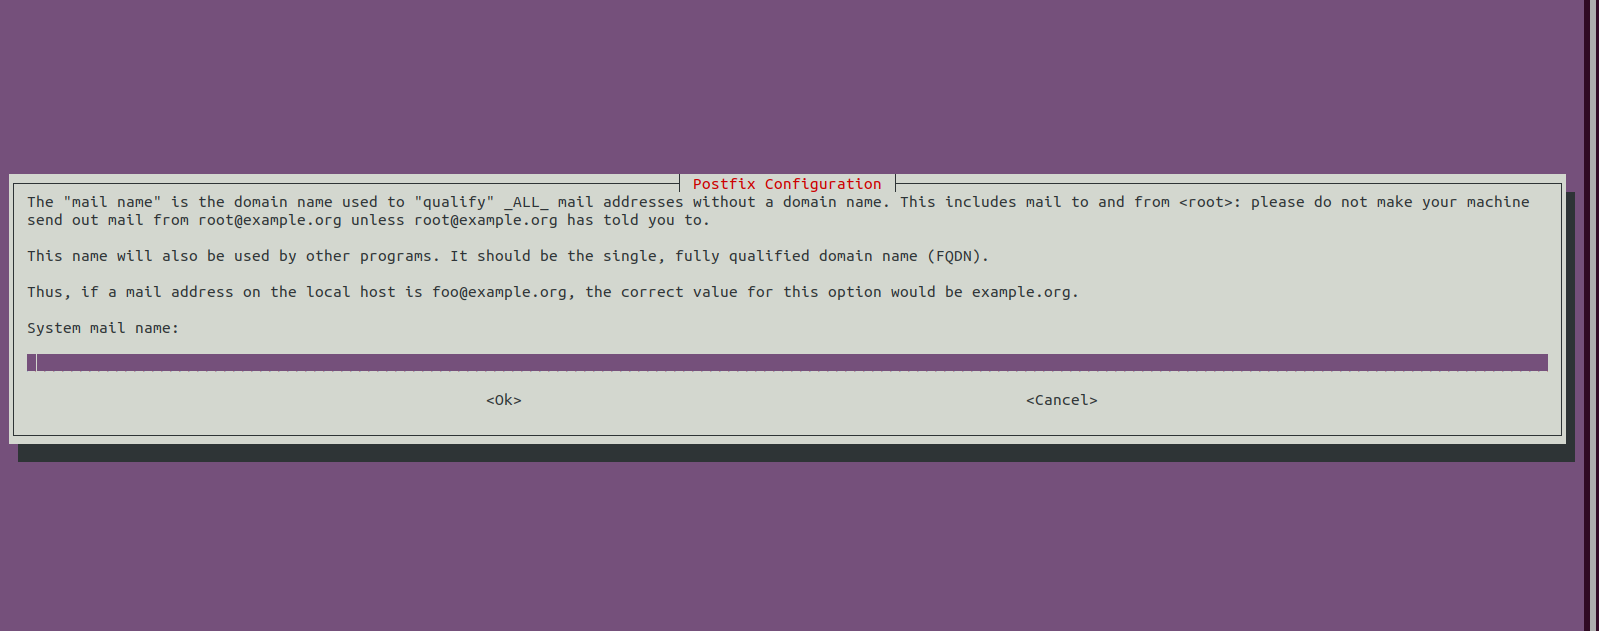
- Provide the Server mail name.
- Click Ok.
- Check the AIDE version.
aide -v
- Here is the command output.

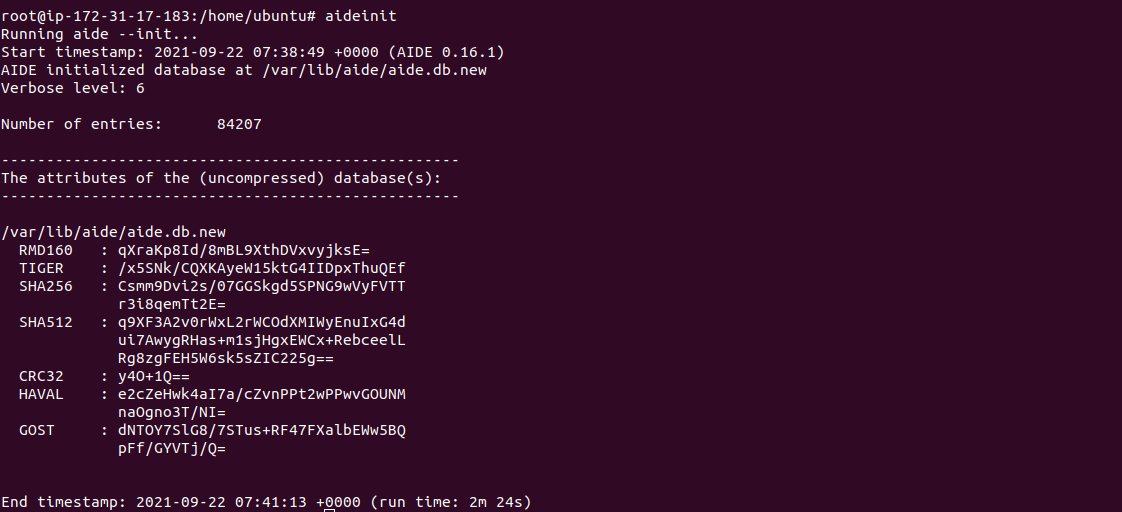
- To create new AIDE database.
aideinit
- Here is the command output.
- Copy the new created database.
cp /var/lib/aide/aide.db.new /var/lib/aide/aide.db
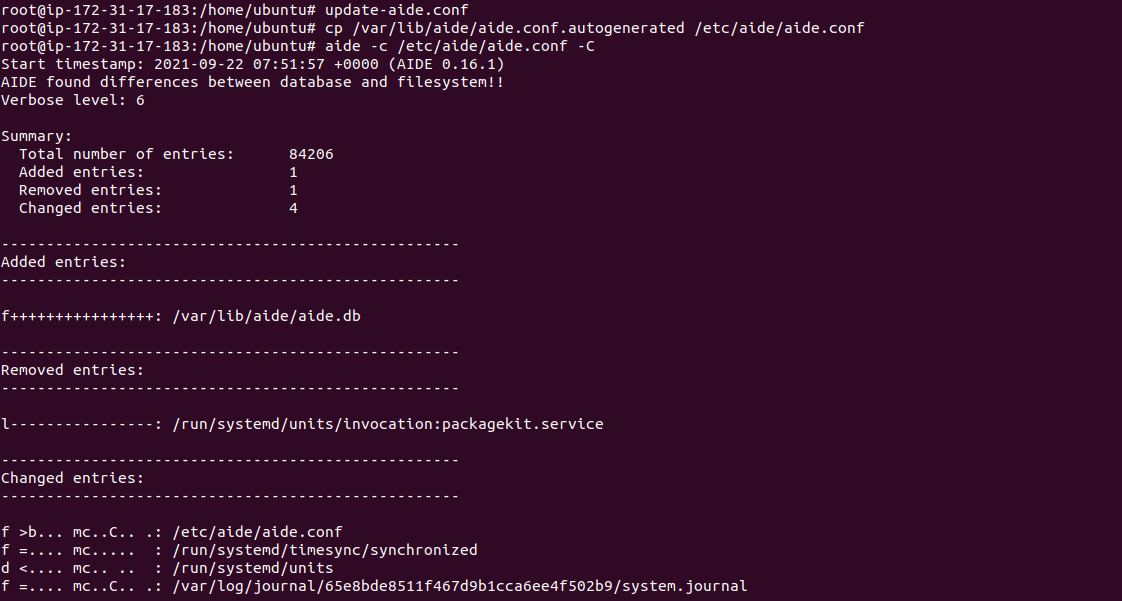
- To update the AIDE configuration.
update-aide.conf
- Copy the new configuration file to another place.
cp /var/lib/aide/aide.conf.autogenerated /etc/aide/aide.conf
Step 4: Test the AIDE.
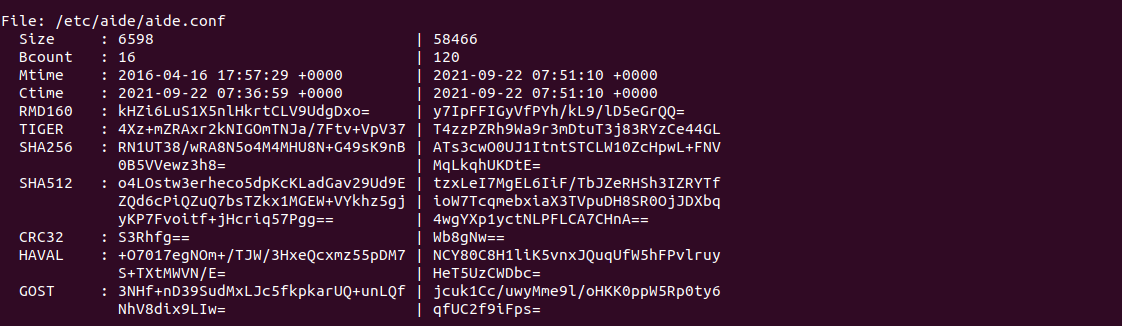
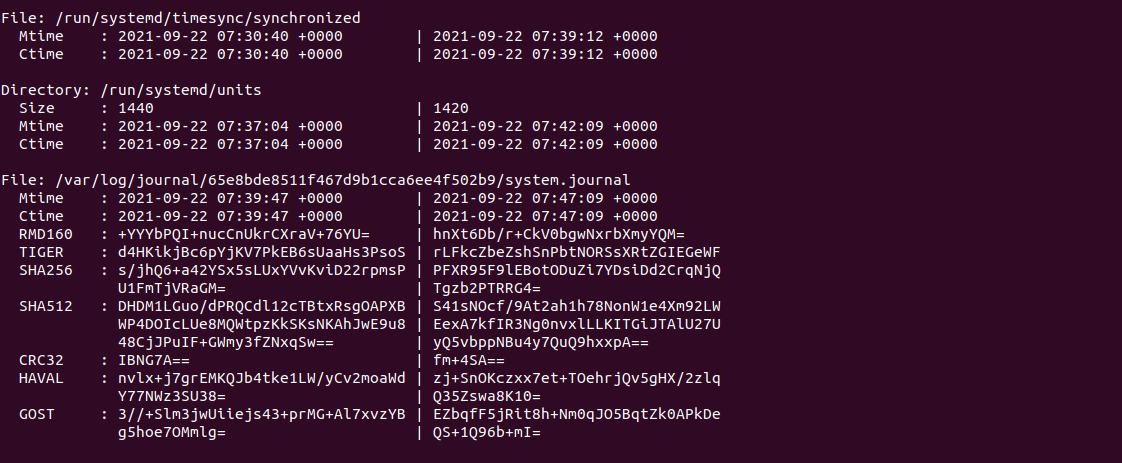
- To check the deviation between the AIDE database and the filesystem.
aide -c /etc/aide/aide.conf -C
- Here is the command output.
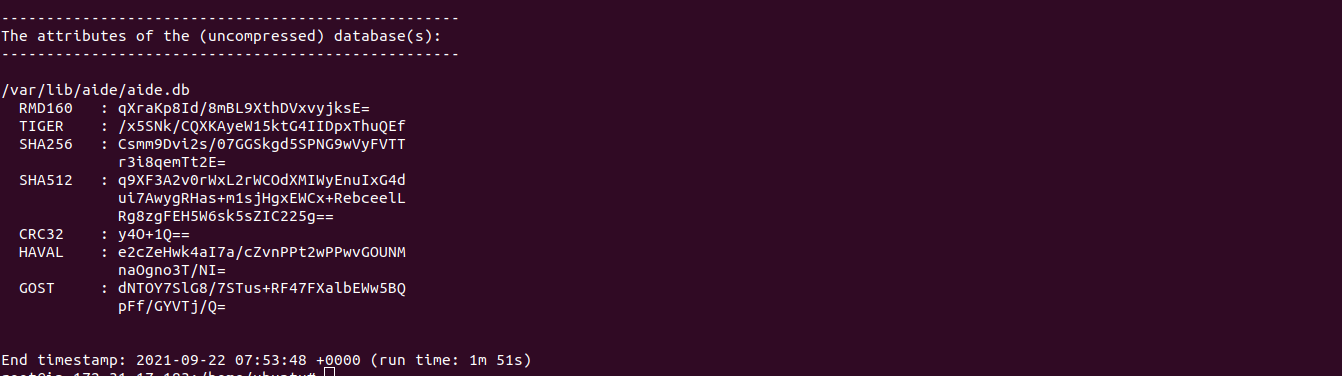
- To update the database.
aide -c /etc/aide/aide.conf --update
- Here is the command output.

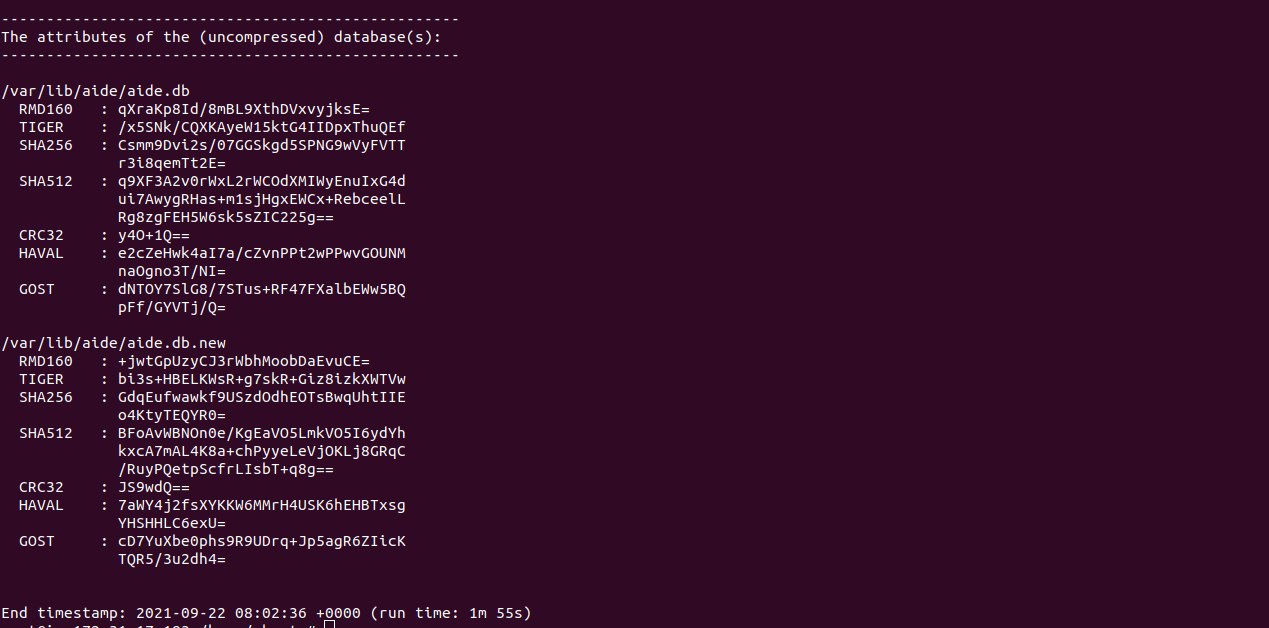
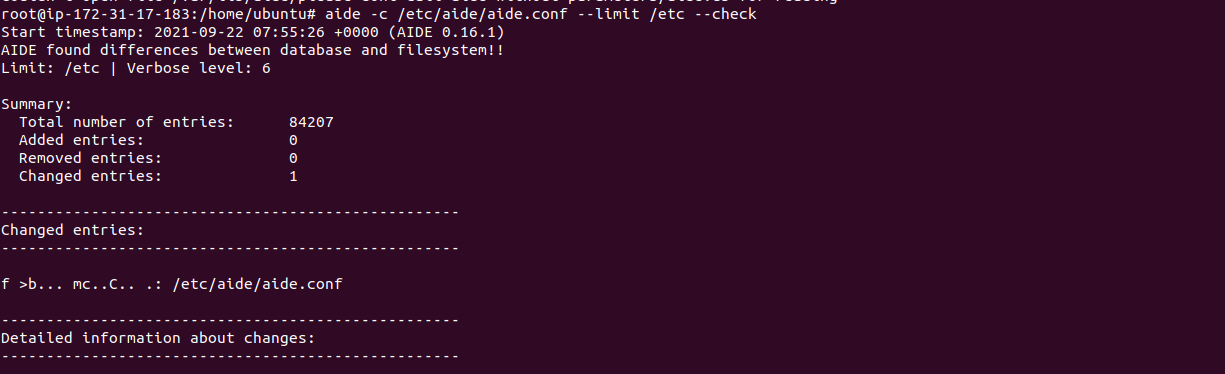
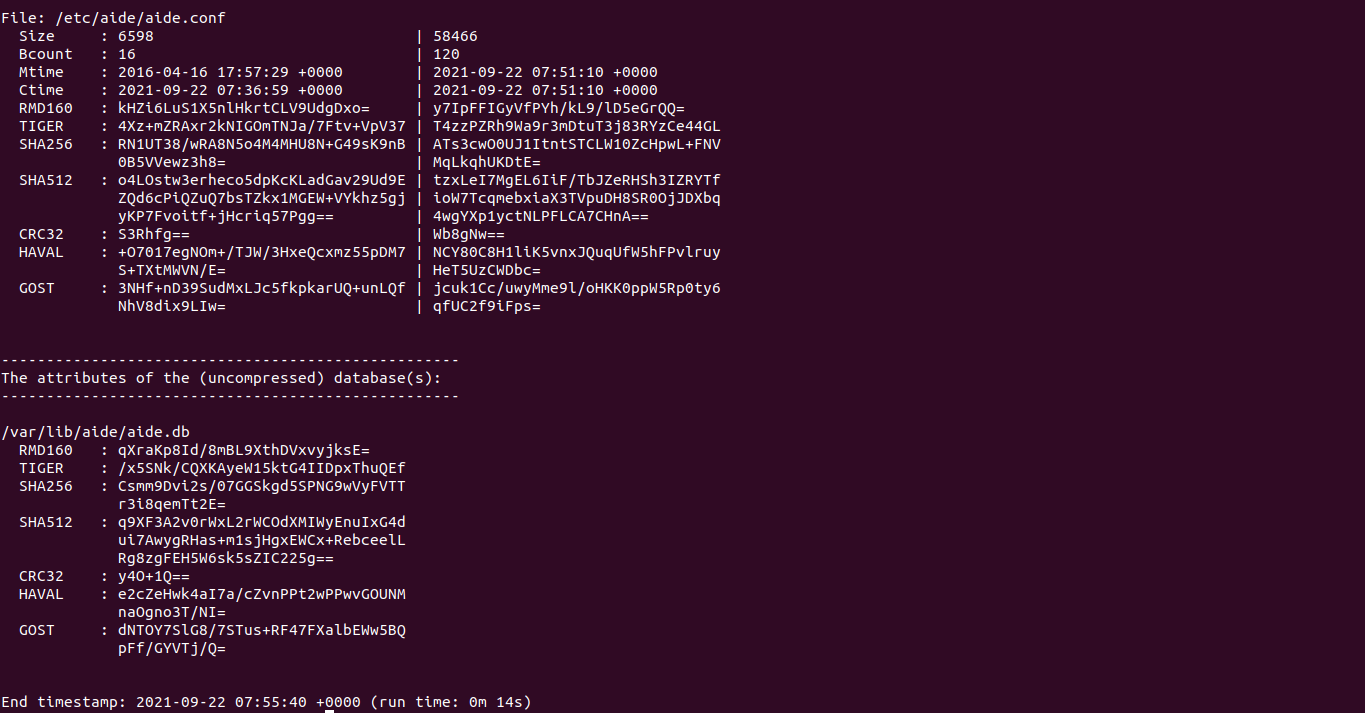
- To check and update the database entries matching /etc .
aide -c /etc/aide/aide.conf --limit /etc --check
- Here is the command output.