 shivani singh
- November 30, 2021
Steps to Install Saidar System Monitoring Tool on Ubuntu 20.04 LTS
Saidar is a free & open source system monitoring tool. Using Saidar,we can easily monitor and view the system statistics.We can easily check CPU, processes, load, memory, swap, network I/O, disk I/O, and file system information. It is a simple and easy to use tool.
There are some steps to install saidar on ubuntu machine:
Step 1: Update the System.
apt update
Step 2: Install the Saidar on system.
apt install saidar
- Here is the command output.
root@ip-172-31-20-195:/home/ubuntu# apt install saidar

Reading package lists... Done

Building dependency tree

Reading state information... Done

The following additional packages will be installed:

libstatgrab10

The following NEW packages will be installed:

libstatgrab10 saidar

0 upgraded, 2 newly installed, 0 to remove and 35 not upgraded.

Need to get 46.2 kB of archives.

After this operation, 156 kB of additional disk space will be used.

Do you want to continue? [Y/n] y
- Check the Saidar version.
saidar -v
- Here is the command output.
root@ip-172-31-20-195:/home/ubuntu# saidar -v

saidar version 0.92

Report bugs to <https://libstatgrab.org/issues>.
Step 3: Saidar Syntax & Examples:
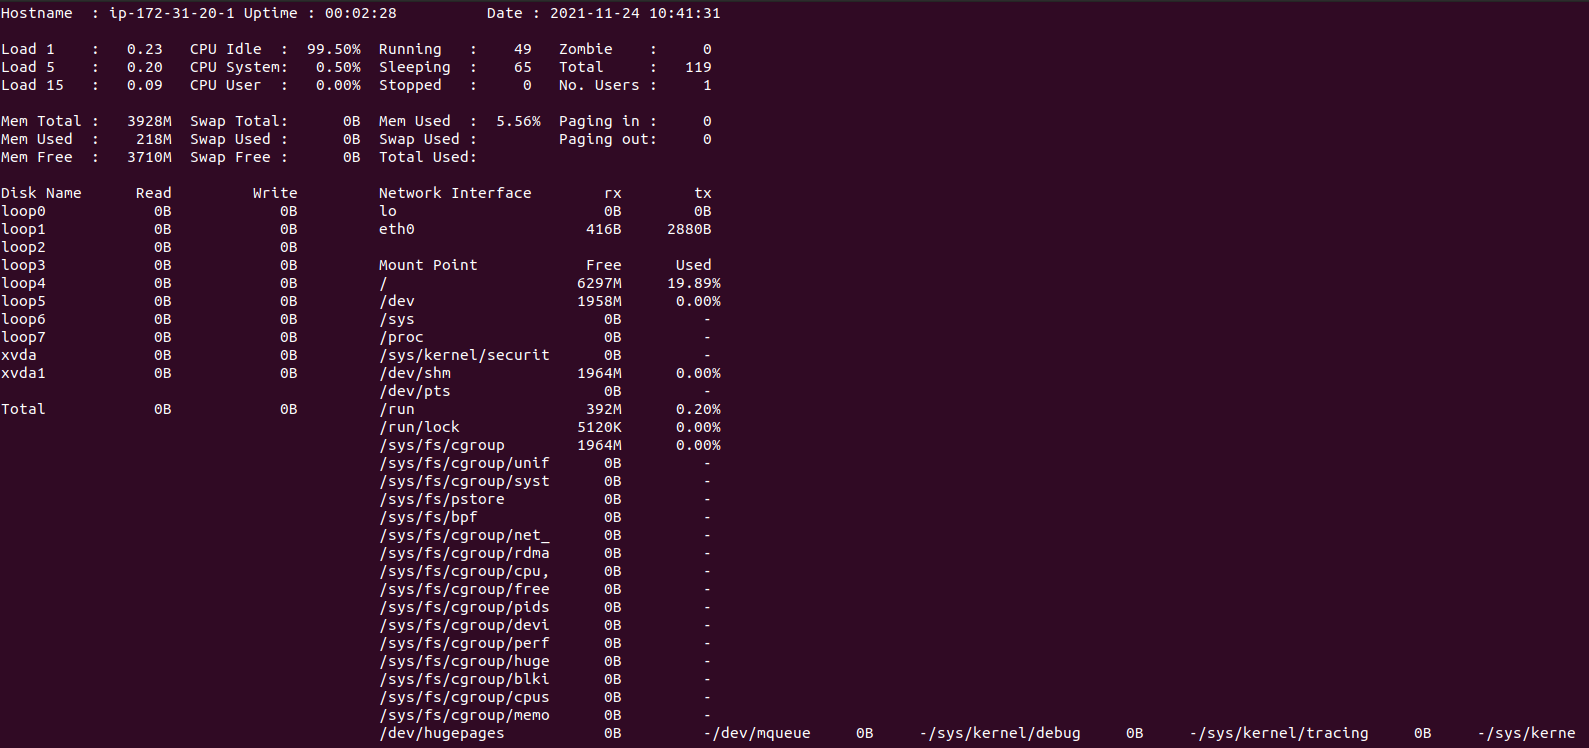
- Run the saidar command to list the System information.
saidar
- Here is the command output.

- To show the System information including CPU load, memory usage, disk io, disk space usage, network usage & sets the refresh interval in seconds.By default the refresh interval is 3 seconds.
saidar -d 1
- Here is the command output.
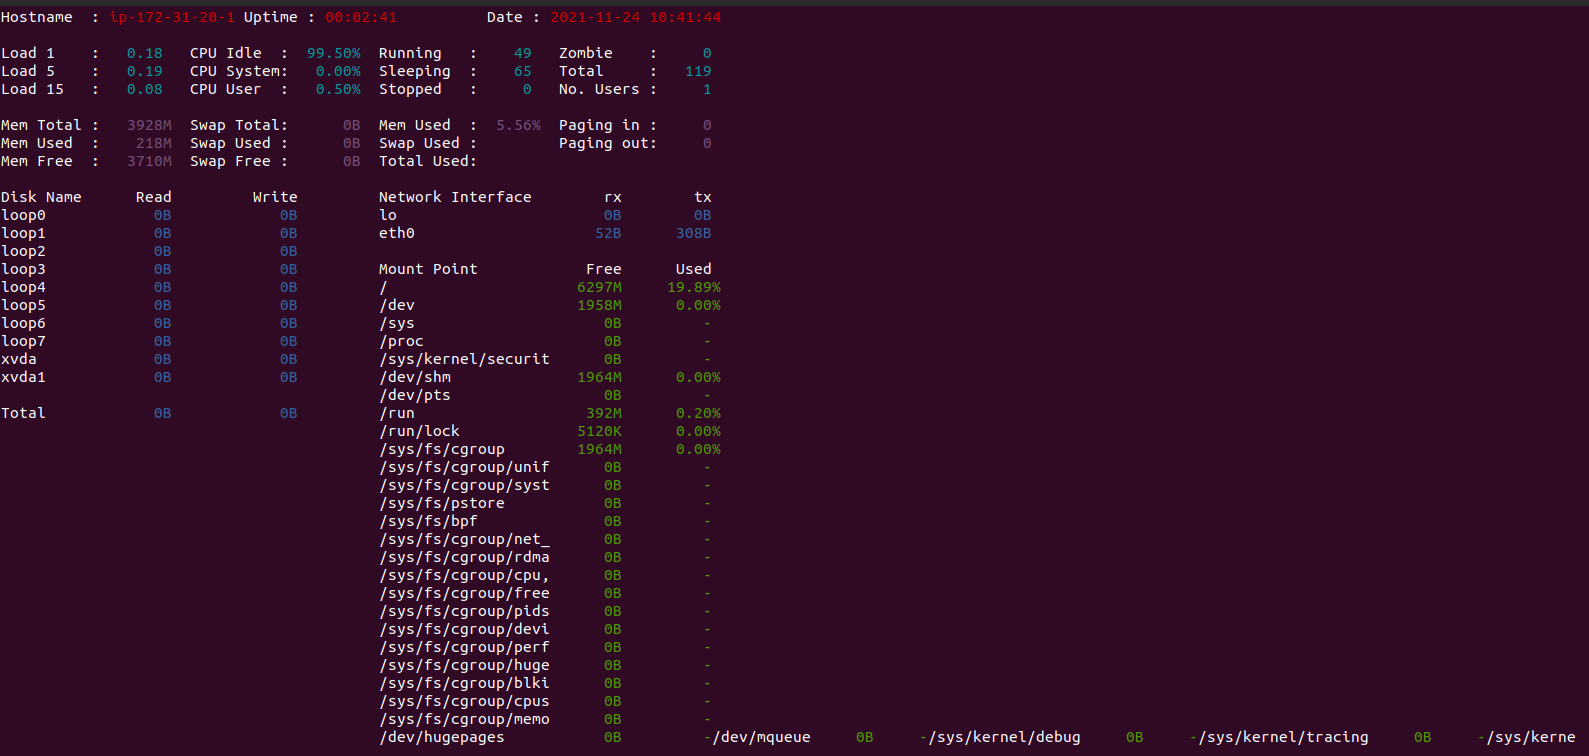
- To display the system information in Color.
saidar -c -d 1
- Here is the command output.
- To list all available options of saidar.
saidar -h
- Here is the command output.
root@ip-172-31-20-195:/home/ubuntu# saidar -h

Usage: saidar [-d delay] [-c] [-v] [-h]

-d Sets the update time in seconds

-c Enables coloured output

-v Prints version number

-h Displays this help information.

Report bugs to <https://libstatgrab.org/issues>.