 Alwin John
- February 25, 2022
Steps to Install Apache Ant on Ubuntu 20.04 LTS
Apache Ant is a command-line tool for automating application build processes. It is a java library tool & provides a number of built-in tasks allowing to compile, assemble, test and run Java applications.
There are some steps to Install Apache Ant on Ubuntu:
Step 1: Update the System.
apt-get update
Step 2: Install Java.
apt install openjdk-11-jre
- Check Java version.
java --version
- Here is the command output.

There are three method to install Apache Ant on System:
Method 1:
Step 3: Install Apache Ant on system through Apt.
apt install ant
- Here is the command output.

- Check Ant version.
ant -version
- Here is the command output.

Method 2:
Step 4: Install Apache Ant via Manually.
- Change the directory.
cd /tmp
- Download the Apache Ant.
wget http://mirror.downloadvn.com/apache/ant/binaries/apache-ant-1.10.12-bin.tar.gz
- Here is the command output.

- Extract the downloaded folder.
tar -xf apache-ant-1.10.12-bin.tar.gz -C /usr/local/
- Create a symbolic link.
ln -s /usr/local/apache-ant-1.10.12/ /usr/local/ant
- Create a ant.sh.
vim /etc/profile.d/ant.sh
- Add the following lines:
export ANT_HOME=/usr/local/ant

export PATH=${ANT_HOME}/bin:${PATH}
- Activate the Environment variable.
source /etc/profile
- Check Ant version.
ant -version
- Here is the command output.

Method 3:
Step 5: Install Apache Ant via SDKMAN.
- Install the required packages.
apt install curl zip unzip
- Download & Install the Apache Ant.
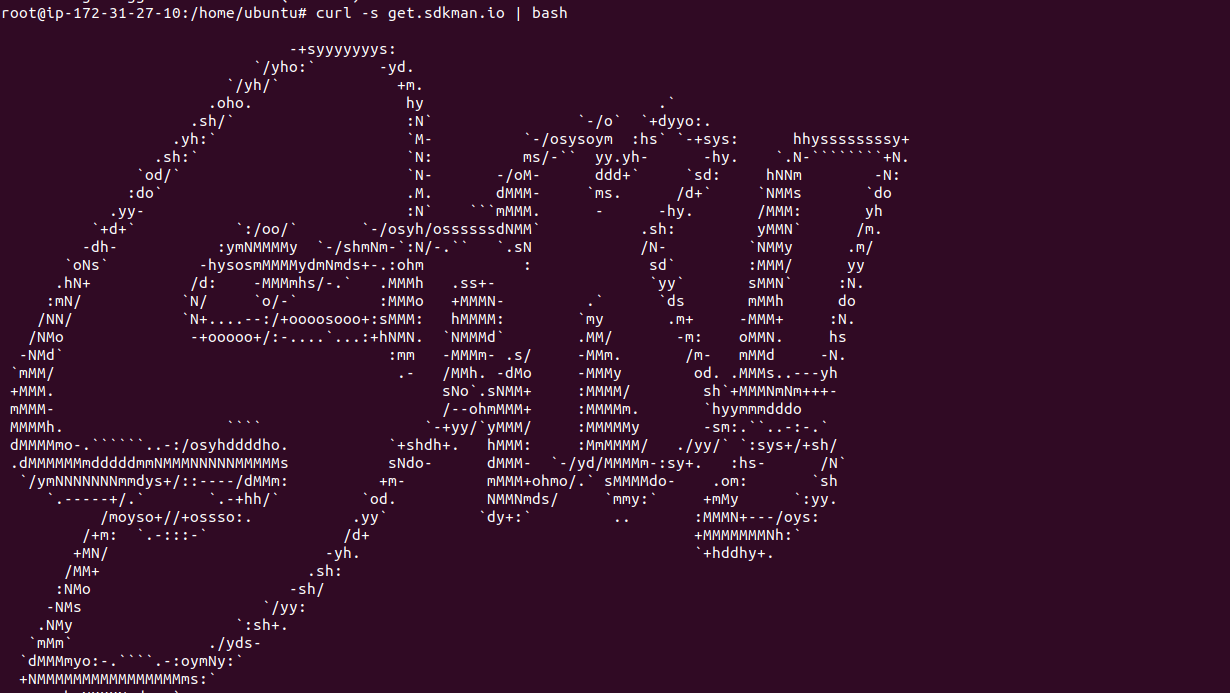
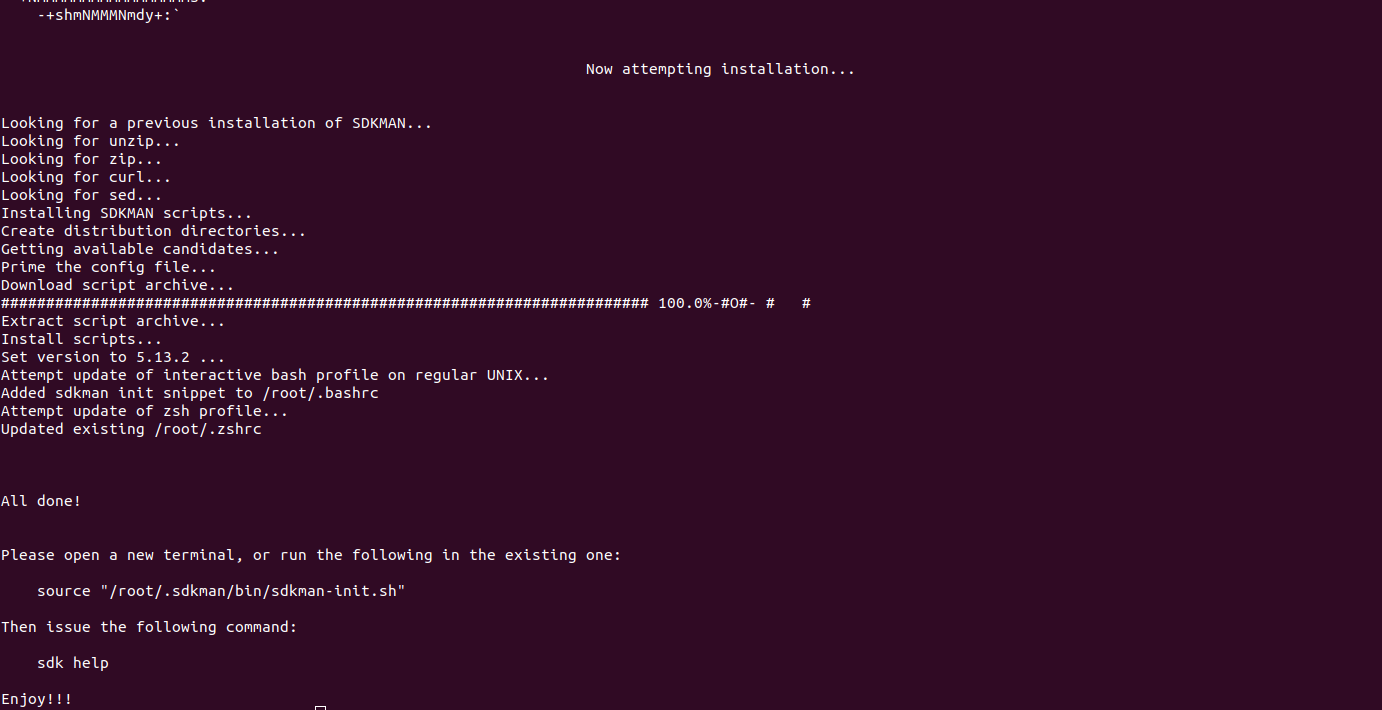
curl -s get.sdkman.io | bash
- Here is the command output.
- Activate the Environment.
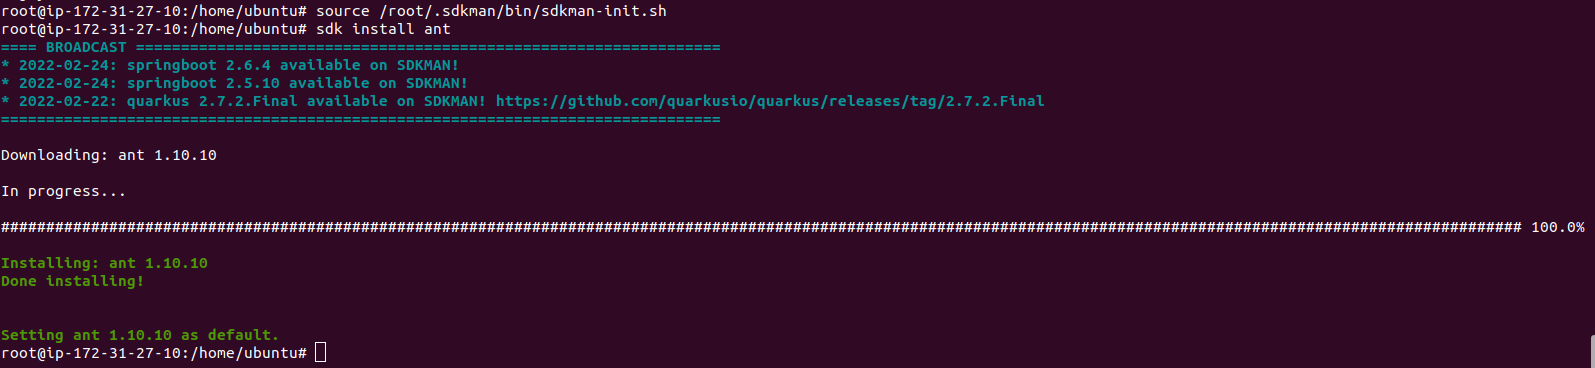
source /root/.sdkman/bin/sdkman-init.sh
- Install Ant.
sdk install ant
- Here is the command output.
- Check Sdk version.
sdk version
- Here is the command output.

- Check Ant version.
ant -version
- Here is the command output.
