Priya
Priya- May 25, 2022
Steps to Install Apache Solr on Ubuntu 20.04 LTS
Apache Solr is a free & open source search platform that is written on Java.It provides full-text search, spell suggestions, custom document ordering and ranking, Snippet generation, and highlighting.
There are some steps to install Apache Solr on Ubuntu:
Step 1: Update the System.
apt-get update
Step 2: Install JAVA.
apt install openjdk-11-jdk
- Check Java version.
java -version
- Here is the command output.

Step 3: Download & Install Apache Solr on system.
wget https://downloads.apache.org/lucene/solr/8.11.1/solr-8.11.1.tgz
- Here is the command output.

- Extract the downloaded folder & Run the Apache Solr service installer script file.
tar xvf solr-8.11.1.tgz solr-8.11.1/bin/install_solr_service.sh --strip-components=2

bash ./install_solr_service.sh solr-8.11.1.tgz
- Here is the command output.


Step 4: Start the Apache Solr.
systemctl start solr
- Check Apache Solr Status.
systemctl status solr
Step 5: Create a Collection.
sudo su - solr -c "/opt/solr/bin/solr create -c mycollection -n data_driven_schema_configs"
- Here is the command output.

Step 5: Open the following port number in UFW firewall.
ufw allow 8983
- Here is the command output.

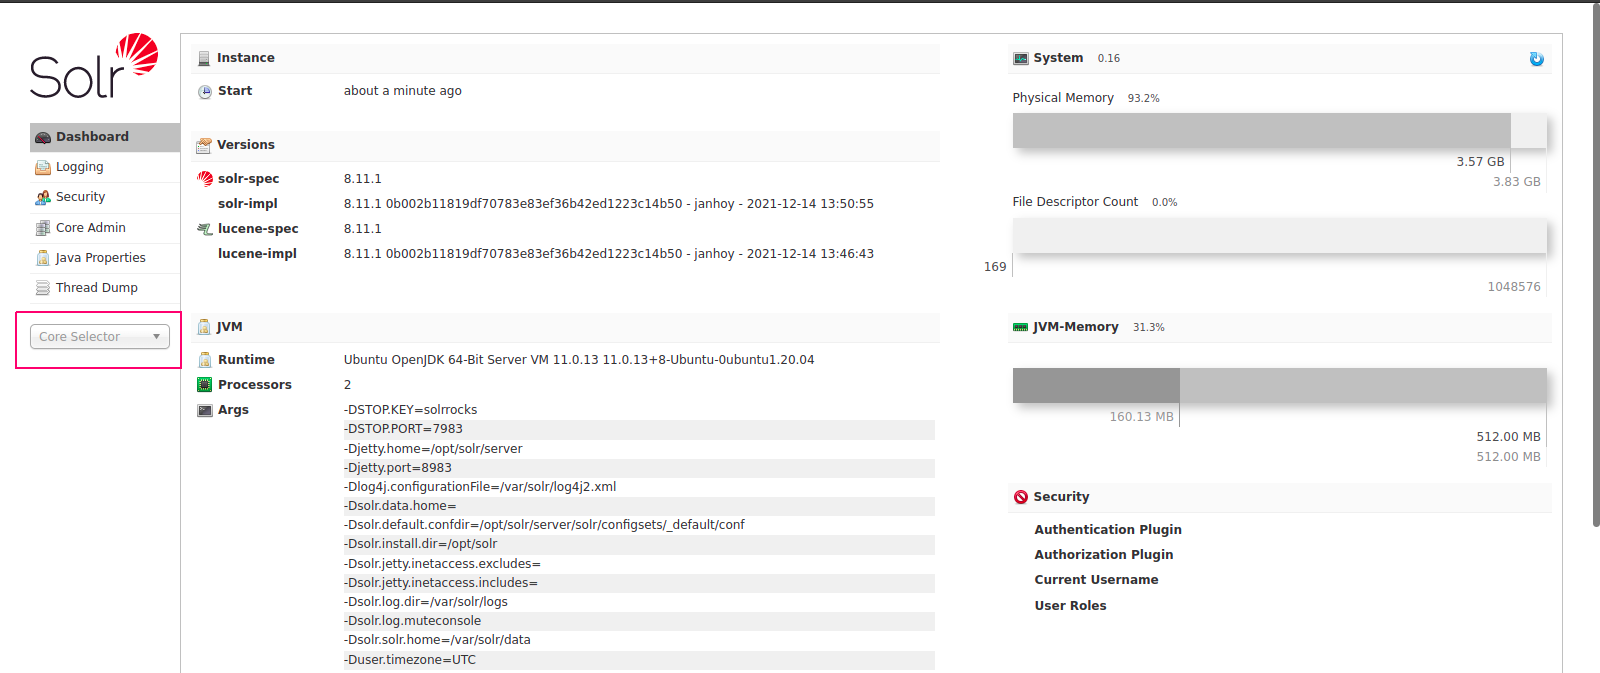
Step 7: Open Apache Solr web interface.
http://server-ip:8983
- Here is the output.
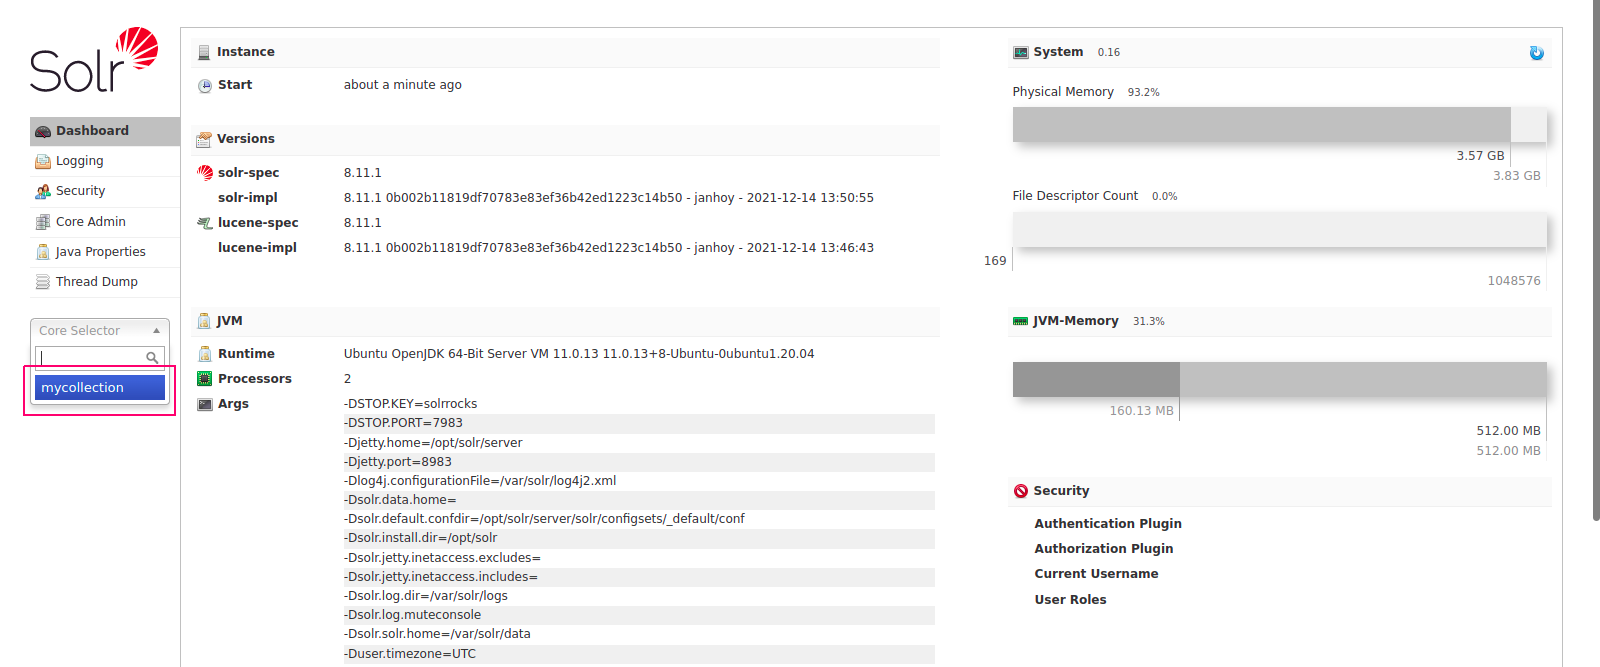
- Click on Core selector option.
- Select Created Collection name “mycollection”.
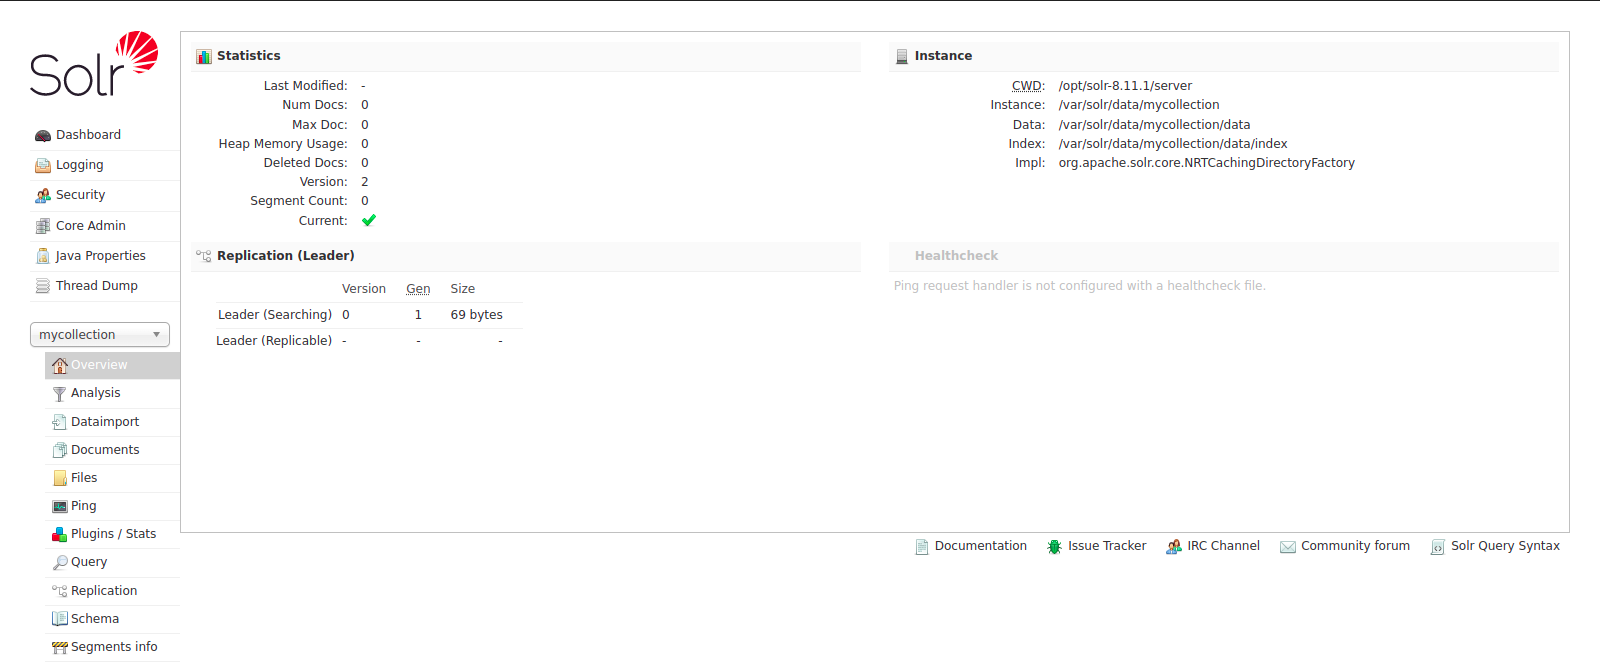
- Here is the statics of the selected collection.