Priya
Priya- June 5, 2022
Steps to Install & Configure KeyCloak on Ubuntu 20.04 LTS
Keycloak is an open source Identity and Access Management solution tool.It is easy to use & makes it easy to secure application or services without writing any code.It supports many features including multifactor authentication,centralized user management, authentication, authorization and web interface login.
There are some steps to Install & Configure KeyCloak on Ubuntu:
Step 1: Update the System.
apt-get update
Step 2: Install Java.
apt-get install default-jdk
- Check Java version.
java -version
- Here is the command output.

Step 3: Download & Install KeyCloak.
cd /opt/
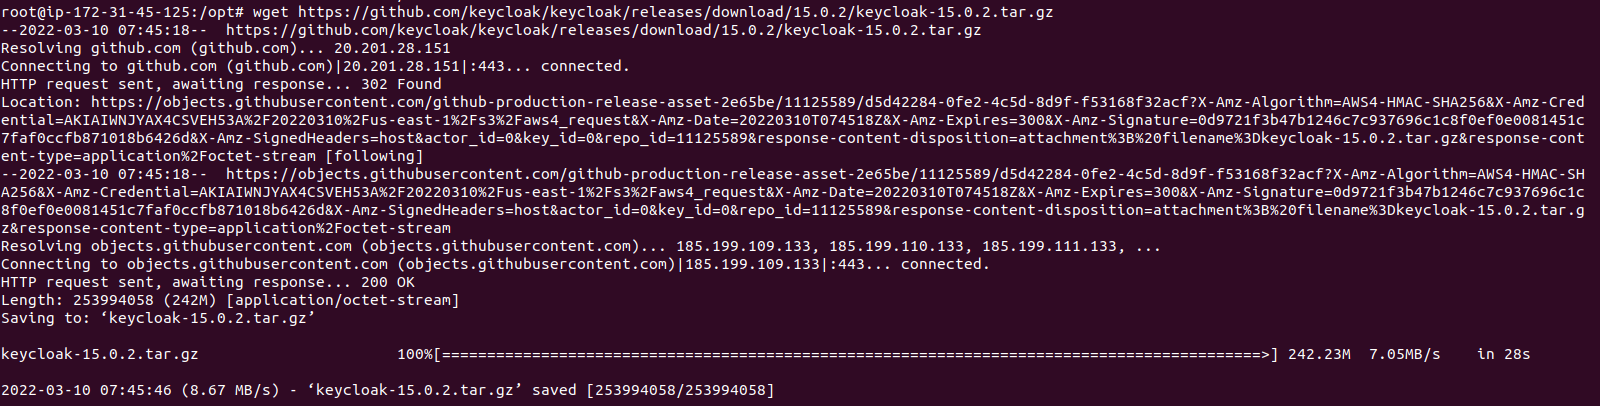
wget https://github.com/keycloak/keycloak/releases/download/15.0.2/keycloak-15.0.2.tar.gz
- Here is the command output.
- Extract the downloaded folder.
tar -xvf keycloak-15.0.2.tar.gz
- Here is the command output.

- Change the Name.
mv keycloak-15.0.2 keycloak
- Create a user and group.
groupadd keycloak

useradd -r -g keycloak -d /opt/keycloak -s /sbin/nologin keycloak
- Provide the Ownership permission.
chown -R keycloak: keycloak

chmod o+x /opt/keycloak/bin/
- Here is the command output.

Step 4: Configure the KeyCloak.
cd /etc/

mkdir keycloak
- Copy the following configuration files.
cp /opt/keycloak/docs/contrib/scripts/systemd/wildfly.conf /etc/keycloak/keycloak.conf

cp /opt/keycloak/docs/contrib/scripts/systemd/launch.sh /opt/keycloak/bin/
- Provide the ownership permission.
chown keycloak: /opt/keycloak/bin/launch.sh
- Open the launch.sh config file.
vim /opt/keycloak/bin/launch.sh
- Edit the following line:
WILDFLY_HOME="/opt/keycloak"
- Here is the command output.

- Save the file.
Step 5: Create a Systemd Service File.
- Copy the file.
cp /opt/keycloak/docs/contrib/scripts/systemd/wildfly.service /etc/systemd/system/keycloak.service
- Open the keycloak.service file.
vim /etc/systemd/system/keycloak.service
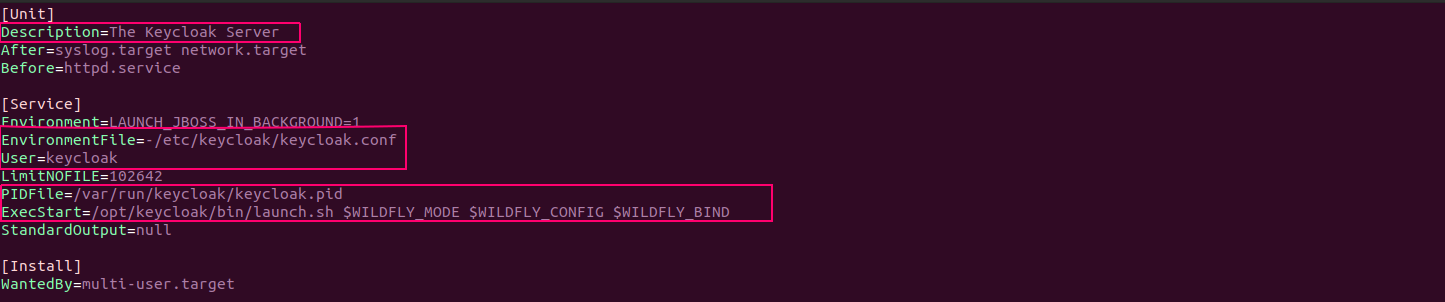
- Update/Edit the following lines:
[Unit]

Description=The Keycloak Server

After=syslog.target network.target

Before=httpd.service[Service]

Environment=LAUNCH_JBOSS_IN_BACKGROUND=1

EnvironmentFile=/etc/keycloak/keycloak.conf

User=keycloak

Group=keycloak

LimitNOFILE=102642

PIDFile=/var/run/keycloak/keycloak.pid

ExecStart=/opt/keycloak/bin/launch.sh $WILDFLY_MODE $WILDFLY_CONFIG $WILDFLY_BIND

StandardOutput=null[Install]

WantedBy=multi-user.target
- Here is the command output.
- Reload,Enable & Start the keycloak service.
systemctl daemon-reload

systemctl enable keycloak

systemctl start keycloak
- Check Keycloak Status.
systemctl status keycloak
- Here is the command output.

- Check the Keycloak server log.
tail -f /opt/keycloak/standalone/log/server.log
- Here is the command output.

Step 6: Create an Admin User for Keycloak.
/opt/keycloak/bin/add-user-keycloak.sh -u admin
- Set the Password.
- Here is the command output.

- Restart the Keycloak service.
systemctl restart keycloak
- To disable the HTTPS for Keycloak.
/opt/keycloak/bin/kcadm.sh config credentials --server http://localhost:8080/auth --realm master --user admin
- Provide the admin password.

- Run the following command to disable the HTTPS.
/opt/keycloak/bin/kcadm.sh update realms/master -s sslRequired=NONE
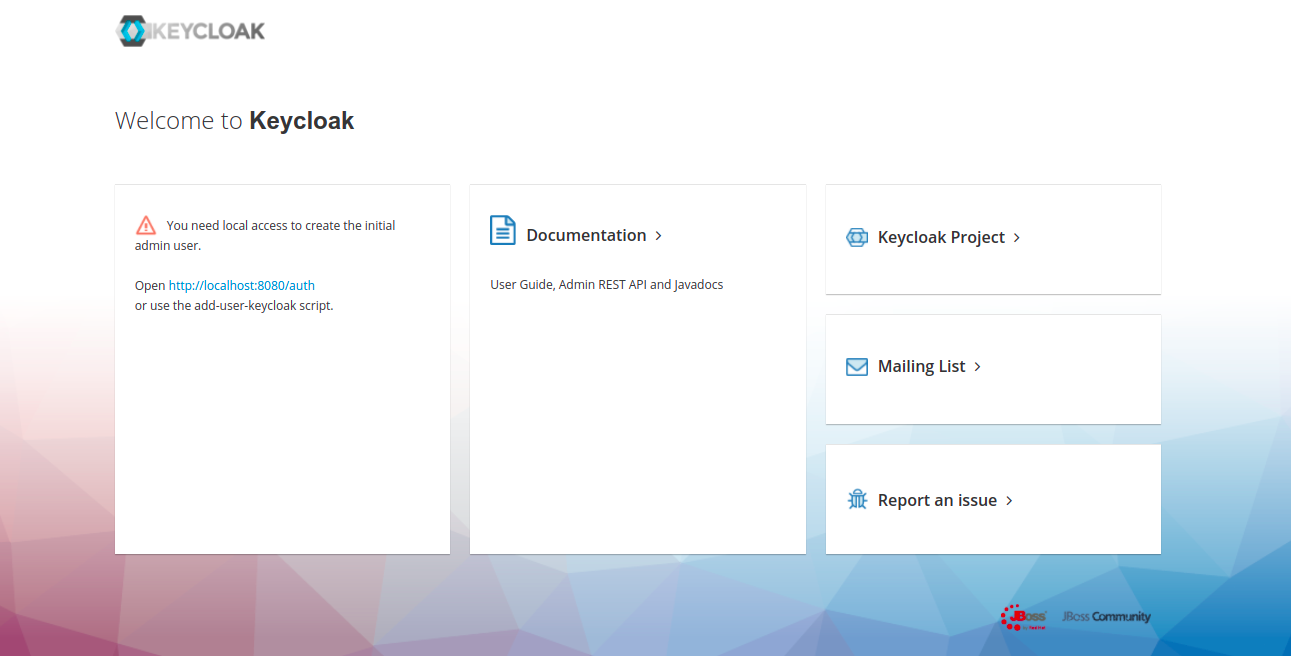
Step 7: Open the KeyCloak web interface
http://server-ip:8080
- Here is the command output.
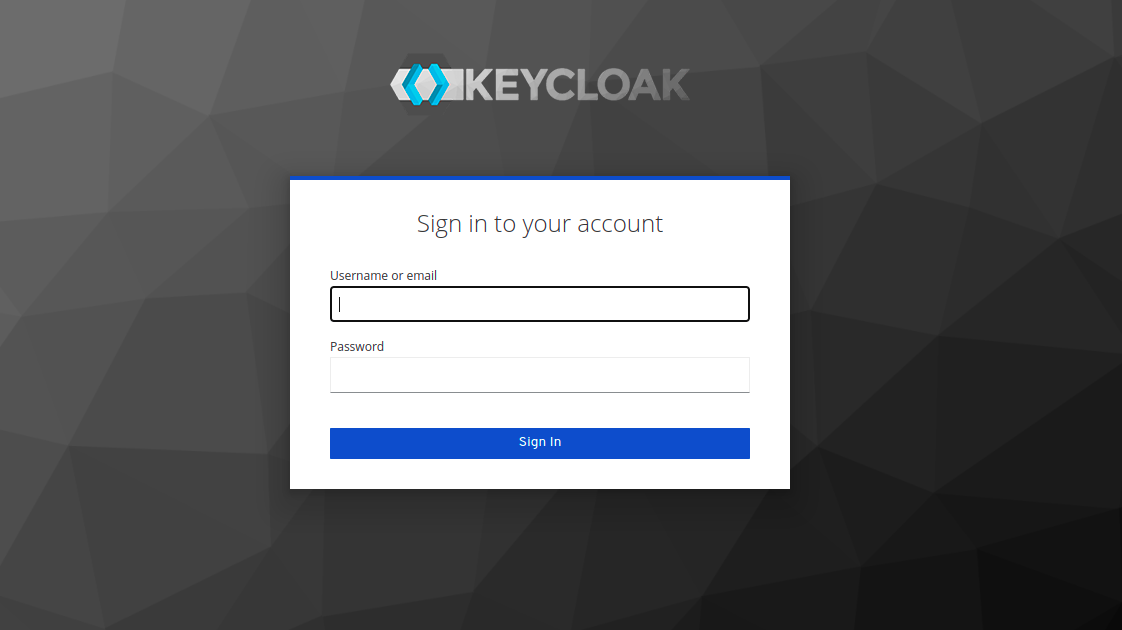
- Open the Login web interface.
http://server-ip:8080/auth/admin
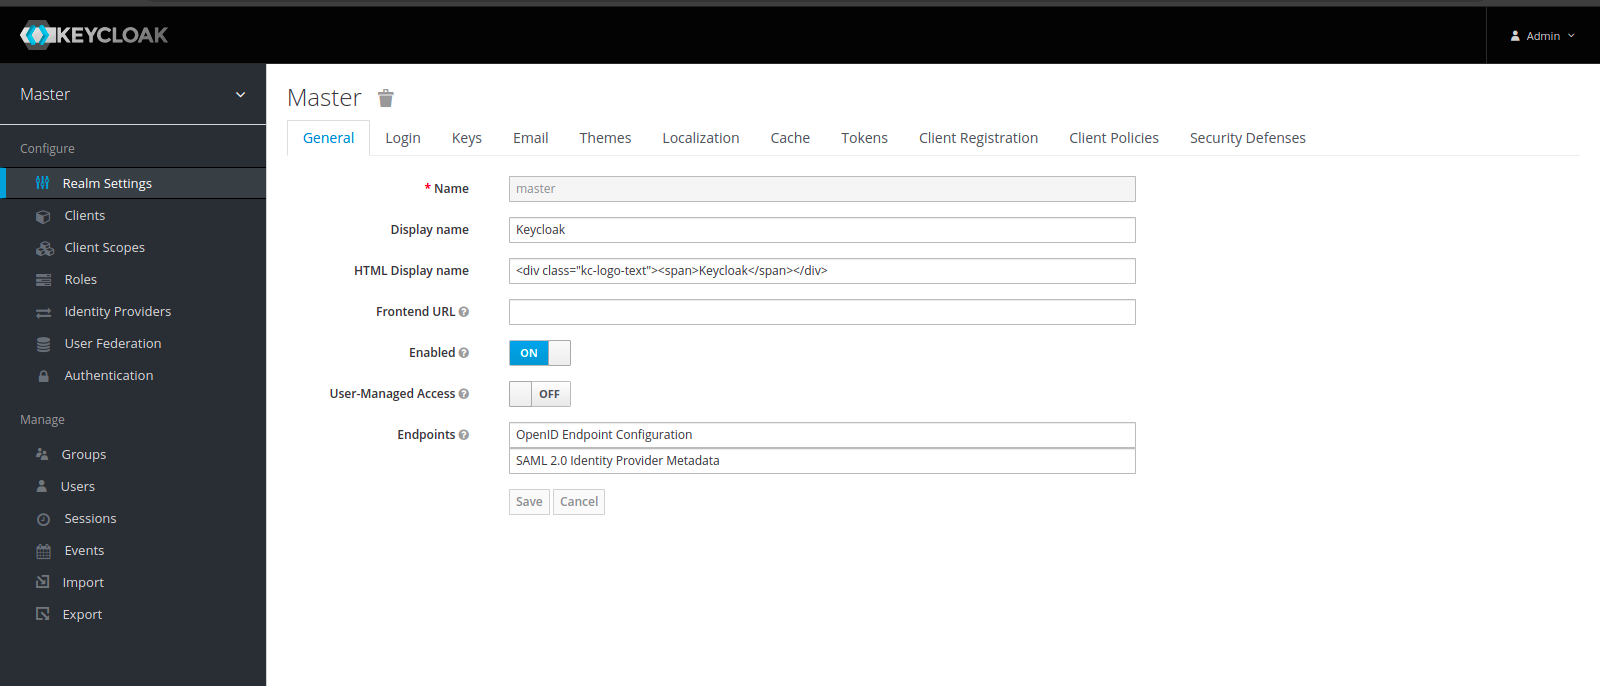
- Here is the command output.
- Provide the Username & Password.
- Click on Sign In.
- Now,KeyCloak is Ready.