 shivani singh
- September 1, 2021
Step by Step to Install LibreNMS (Network Monitoring System) on Ubuntu 20.04 LTS
LibreNMS is a free & open-source network monitoring tools. It is PHP based network monitoring system & using the SNMP protocol. It supports Web UI & customizable alerting system.
There are some steps to install LibreNMS on ubuntu:
Step 1: Update the system.
apt-get update
Step 2: Install apache2.
apt-get install apache2
- Start & Enable the Apache2 service.
systemctl start apache2

systemctl enable apache2
Step 3: Install & Configure MySQL/MariDB Server.
apt-get install mariadb-server
- Start & Enable the mariadb server.
systemctl start mysql

systemctl enable mysql
- Check the mariadb version.
mysql --version
- Here is the command output.

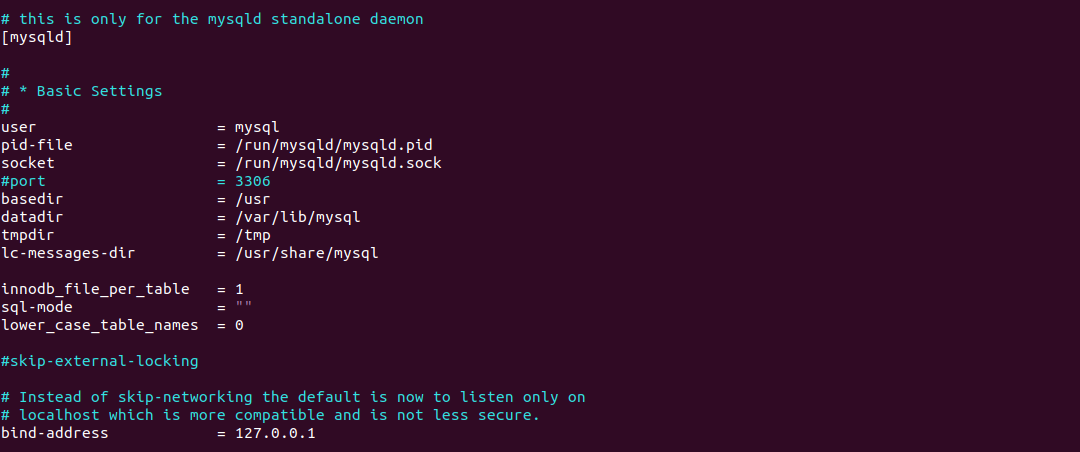
- Confiugure the 50-server.cnf file.
vim /etc/mysql/mariadb.conf.d/50-server.cnf
- Add the following lines:
[mysqld]

innodb_file_per_table=1

sql-mode=""

lower_case_table_names=0
- Here is the output.
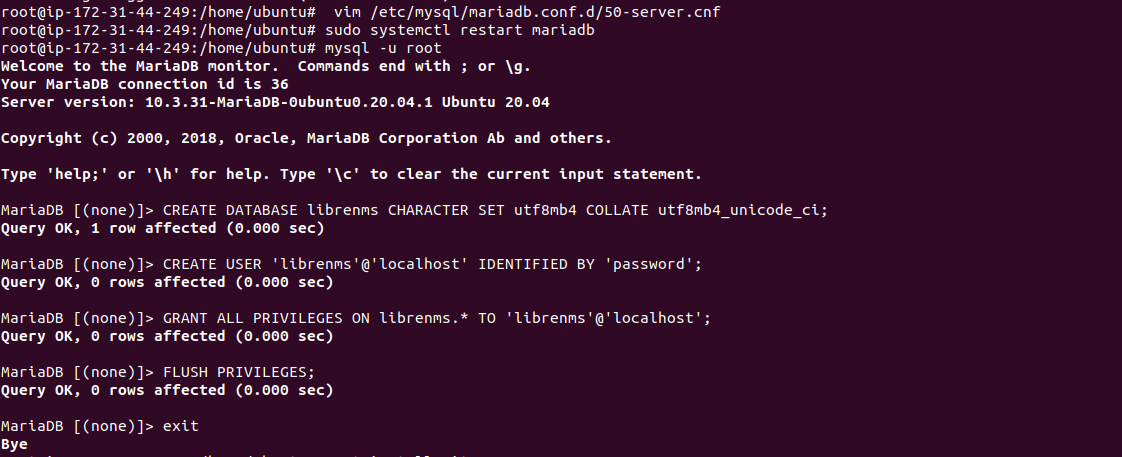
Step 4: Create MariaDB user & database.
- Login to Mariadb server.
mysql -u root
- Press Enter
- To create a database.
CREATE DATABASE librenms CHARACTER SET utf8mb4 COLLATE utf8mb4_unicode_ci;
- To create a user.
CREATE USER 'librenms'@'localhost' IDENTIFIED BY 'password';
- To provide GRANT ALL PRIVILEGES on Database to user.
GRANT ALL PRIVILEGES ON librenms.* TO 'librenms'@'localhost';

FLUSH PRIVILEGES;

exit
- Here is the command output.
Step 5: Install PHP.
- Update the system.
apt-get update
- Add php repo.
add-apt-repository ppa:ondrej/php
- Install php & packages.
apt install wget php-curl php-gd php-mbstring php-xml php-xmlrpc php-soap php-intl php-zip php-pear php-snmp php-fpm

apt-get install php-cli php-mysql php8.0-common php8.0-opcache php-cgi php-bcmath php-imap php-json
- Check the php version.
php -v
- Here is the command output.

- Check the php modules.
php -m
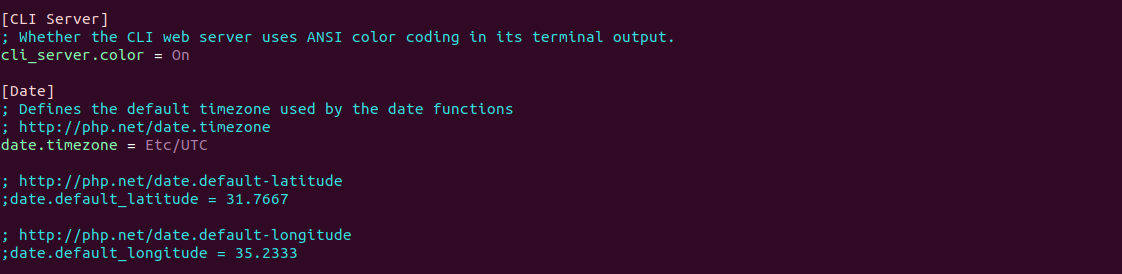
- Configure the following php.ini file.
vim /etc/php/8.0/fpm/php.ini

vim /etc/php/8.0/cli/php.ini
- Add the following lines on both php.ini file.
[Date]

; Defines the default timezone used by the date functions

; http://php.net/date.timezone

date.timezone = Etc/UTC
- Here is the output.
- Restart the php-fpm.
systemctl restart php*-fpm.service
Step 6: Download & Install Libre network monitoring system.
- Install git.
apt install git
- Add user.
useradd -r -M -d /opt/librenms librenms

getent passwd librenms
- Add created user to www-data.
usermod -a -G librenms www-data
- Update & Install the required packages:
apt-get update
apt install rrdtool whois fping imagemagick graphviz mtr-tiny nmap python3 python3-pip python3-mysqldb snmp snmpd python3-memcache mtr-tiny composer acl unzip python3-pymysql python3-dotenv python3-redis python3-setuptools python3-systemd
- Download the LibreNMS.
git clone https://github.com/librenms/librenms.git librenms
- Here is the command output.

- Move the downloaded librenms to /opt directory.
mv librenms/ /opt/
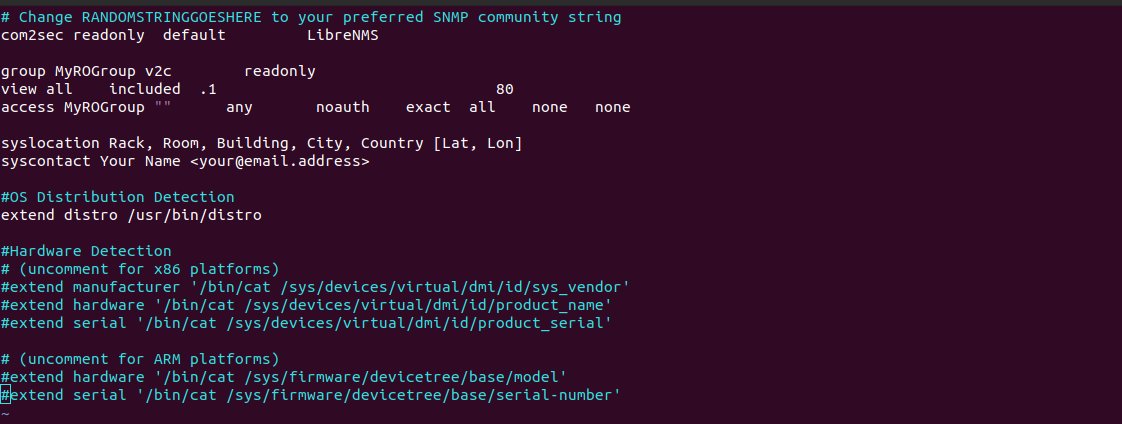
- Configure the snmpd.
cp /opt/librenms/snmpd.conf.example /etc/snmp/snmpd.conf

vim /etc/snmp/snmpd.conf
- Add the following community string:
com2sec readonly default LibreNMS
- Here is the command output.
Step 7: Download the distro.
curl -o distro https://raw.githubusercontent.com/librenms/librenms-agent/master/snmp/distro

chmod +x distro

mv distro /usr/bin/distro
- Restart the snmpd.
systemctl restart snmpd
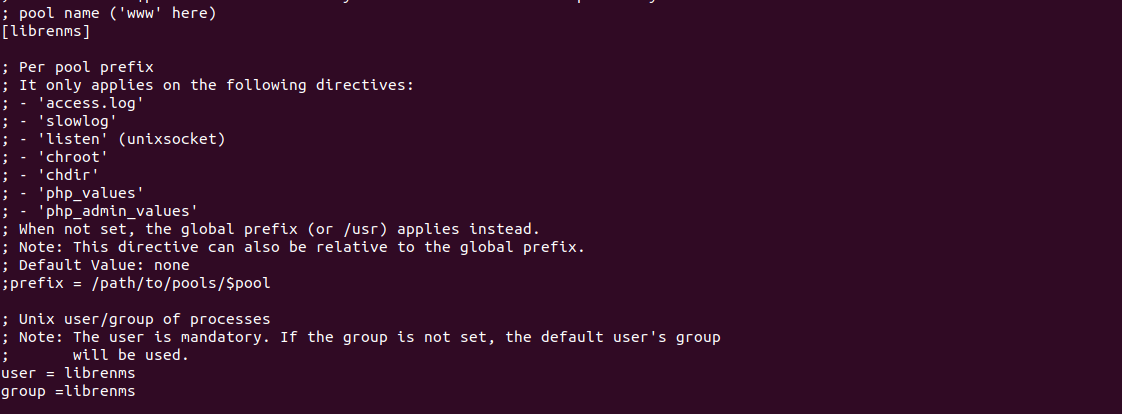
- Configure the PHP-FPM.
cp /etc/php/8.0/fpm/pool.d/www.conf /etc/php/8.0/fpm/pool.d/librenms.conf
- Open the librenms.conf file.
vim /etc/php/8.0/fpm/pool.d/librenms.conf
- Add the following lines:
Change [www] to [librenms]

Change user and group to “librenms”

listen = /run/php-fpm-librenms.sock
- Here is the command output.
Step 8: Create the Cron job for librenms.
cp /opt/librenms/librenms.nonroot.cron /etc/cron.d/librenms
- Copy the config logrotate file
cp /opt/librenms/misc/librenms.logrotate /etc/logrotate.d/librenms
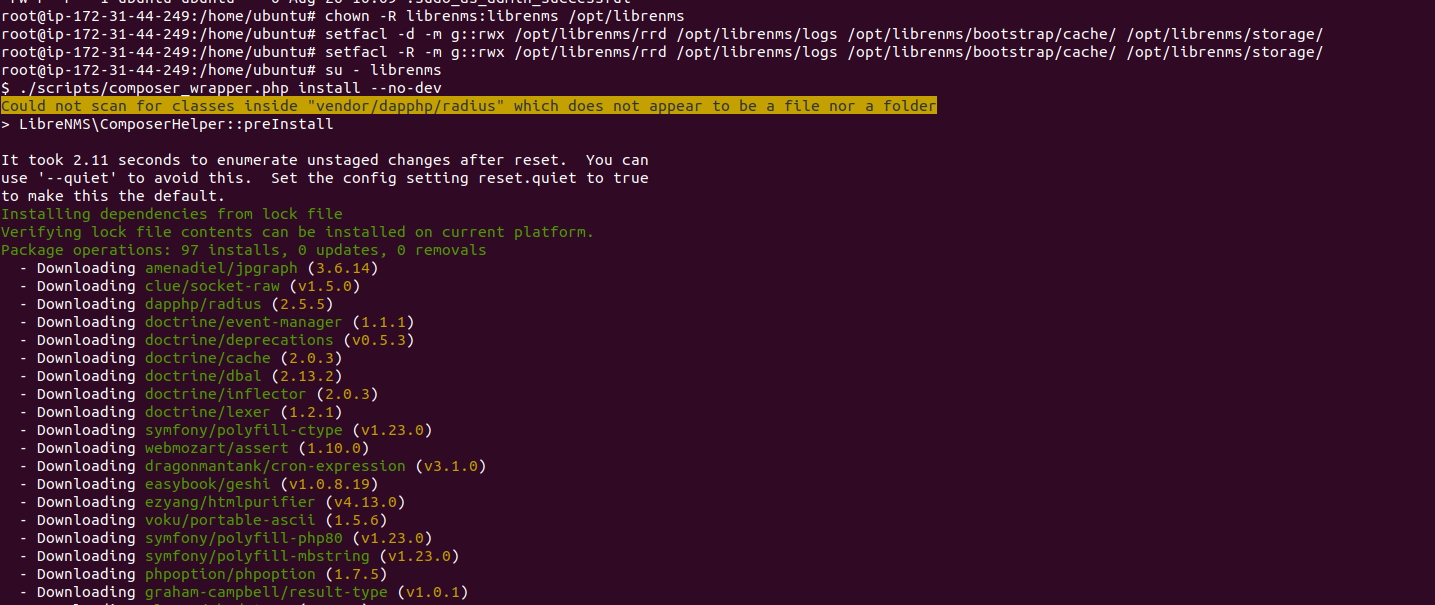
- Provide the following permissions:
chown -R librenms:librenms /opt/librenms

setfacl -d -m g::rwx /opt/librenms/rrd /opt/librenms/logs /opt/librenms/bootstrap/cache/ /opt/librenms/storage/

setfacl -R -m g::rwx /opt/librenms/rrd /opt/librenms/logs /opt/librenms/bootstrap/cache/ /opt/librenms/storage/
- To run the following command:
su - librenms

./scripts/composer_wrapper.php install --no-dev

exit
- Here is the command output.
- Enable the lnms command.
ln -s /opt/librenms/lnms /usr/bin/lnms

cp /opt/librenms/misc/lnms-completion.bash /etc/bash_completion.d/
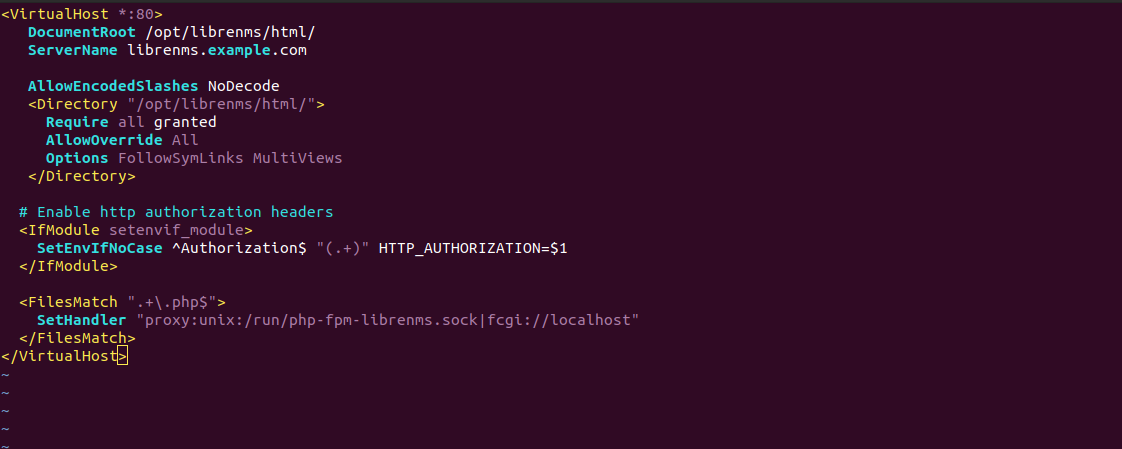
Step 9: Configure the apache2.
vim /etc/apache2/sites-available/librenms.conf
- Add the following lines:
<VirtualHost *:80>

DocumentRoot /opt/librenms/html/

ServerName librenms.example.com

AllowEncodedSlashes NoDecode

<Directory "/opt/librenms/html/">

Require all granted

AllowOverride All

Options FollowSymLinks MultiViews

</Directory>

# Enable http authorization headers

<IfModule setenvif_module>

SetEnvIfNoCase ^Authorization$ "(.+)" HTTP_AUTHORIZATION=$1

</IfModule>

<FilesMatch ".+\.php$">

SetHandler "proxy:unix:/run/php-fpm-librenms.sock|fcgi://localhost"

</FilesMatch>

</VirtualHost>
- Here is the command output.
- Disable the 000-default file.
a2dissite 000-default
- Run the rewrite command.
a2enmod proxy_fcgi setenvif rewrite
- Enable the new config file.
a2ensite librenms.conf
- Restart the apache2.
systemctl restart apache2
- Restart the php-fpm.
systemctl restart php8.0-fpm
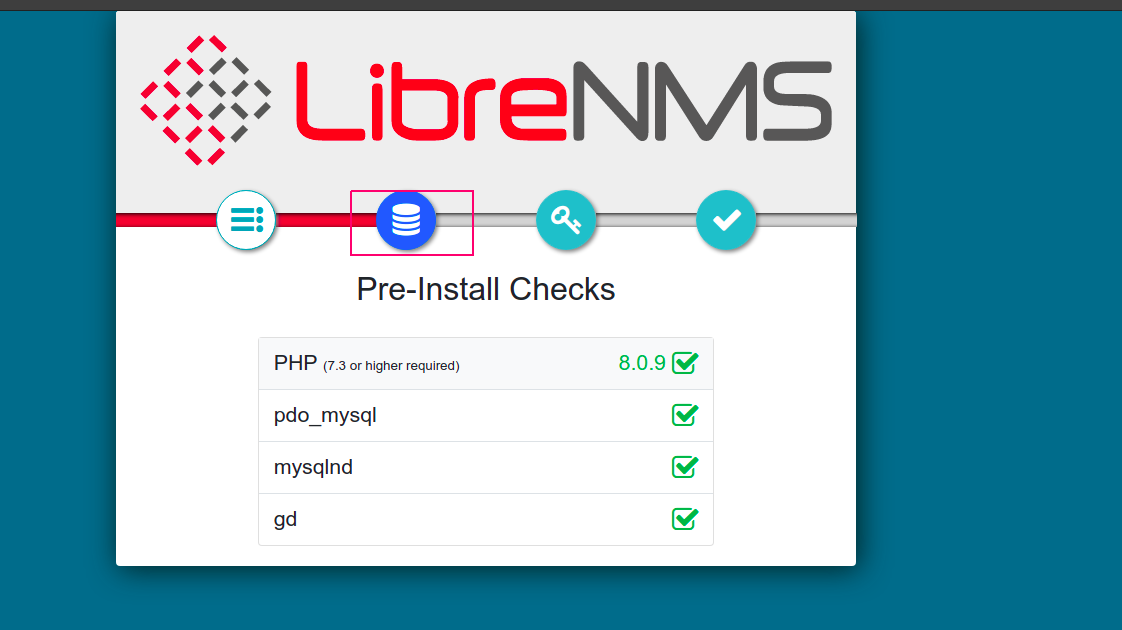
Step 10: Access the LibreNMS web-interface.
http://server-ip
- Here is the command output.
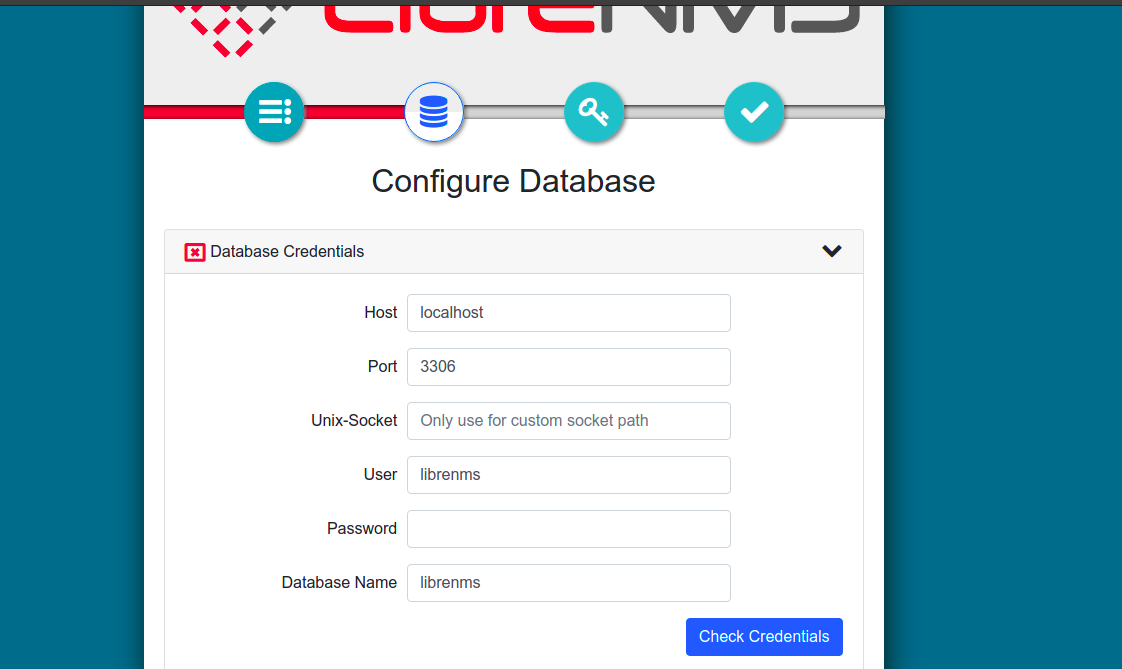
- Click on Database.
- Provide the database name, User name & password.
- Click on Check credentials.
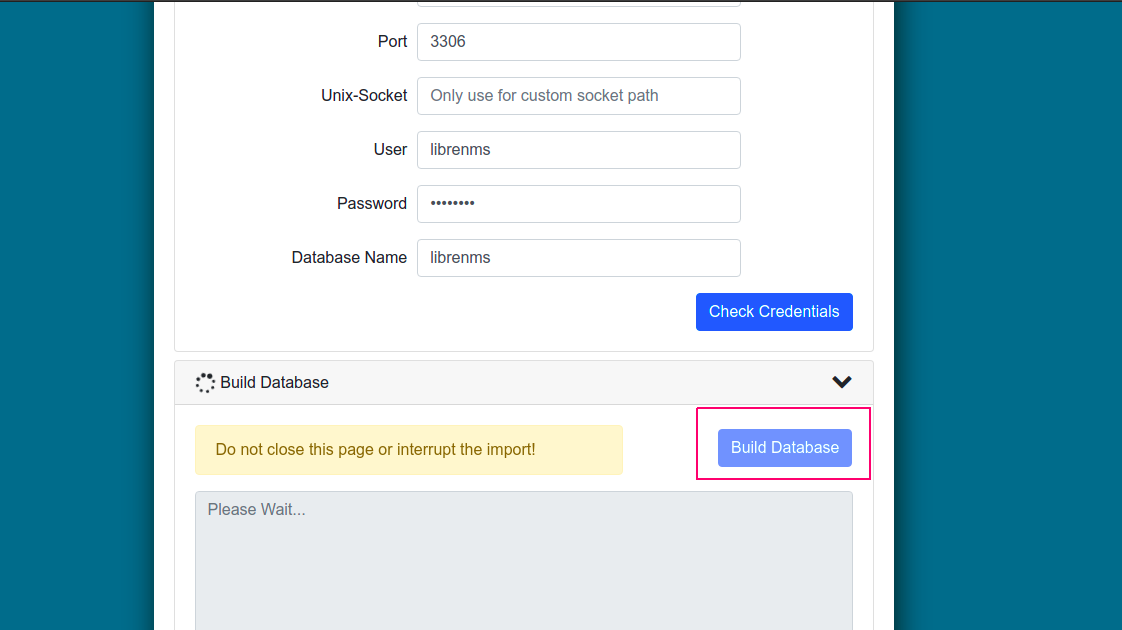
- Click on Build Database.
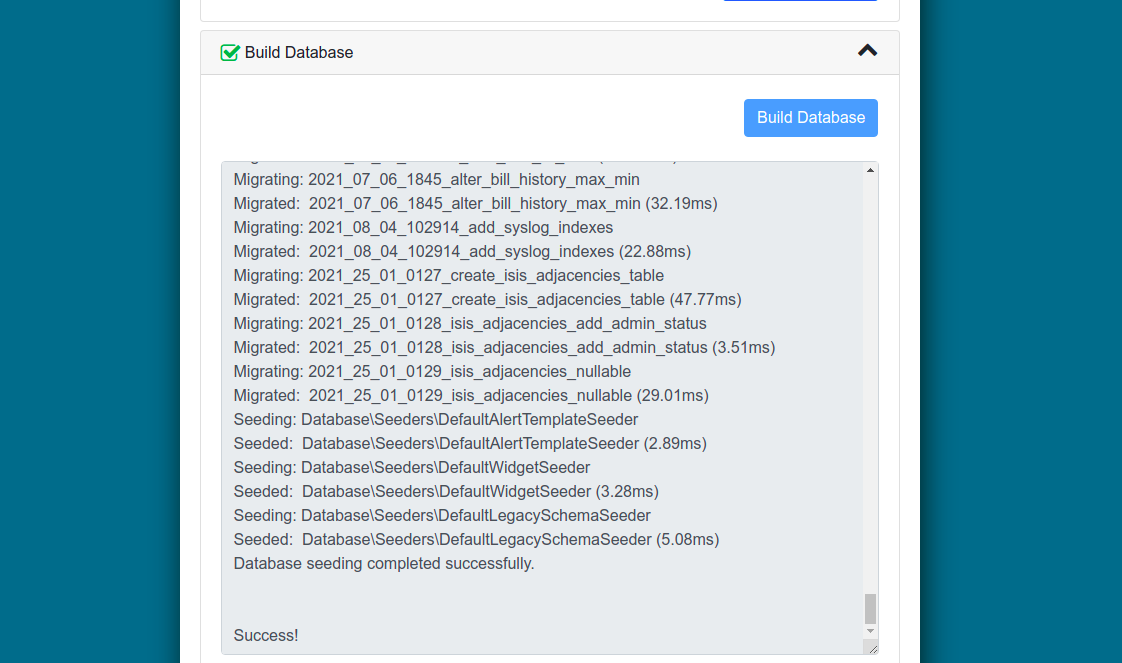
- Once Build has been done.
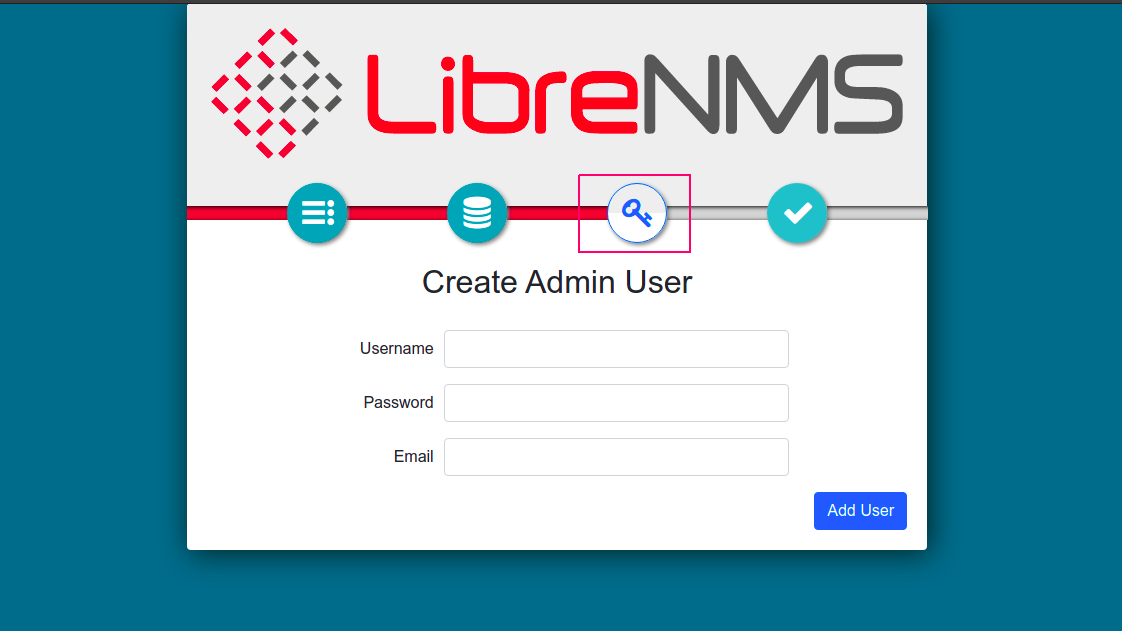
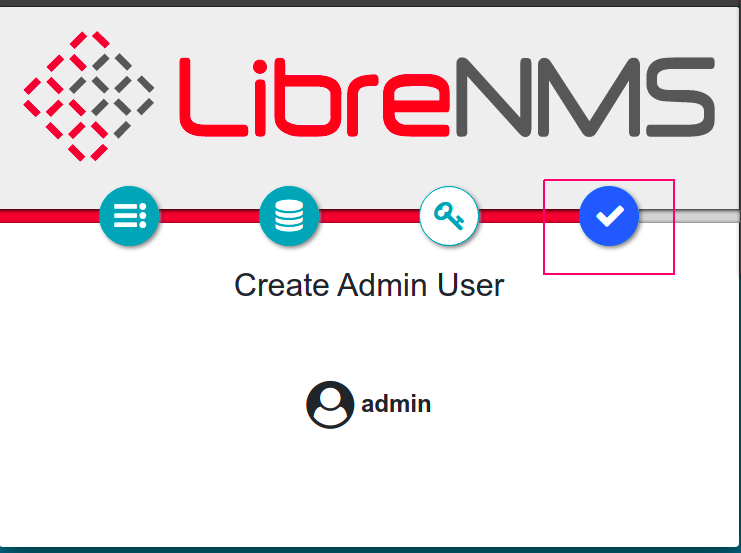
- Click on Add user.
- Provide a username,password & Email-address.
- Click on Add User.
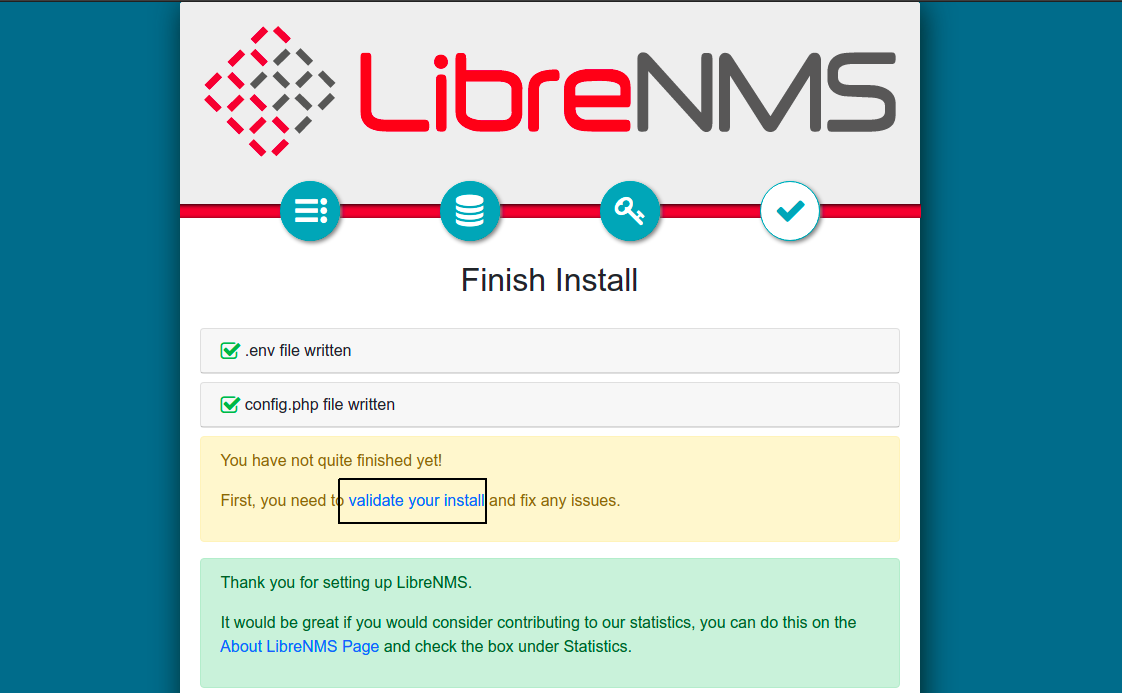
- Once User is successfully added.
- Click on the following checksum.
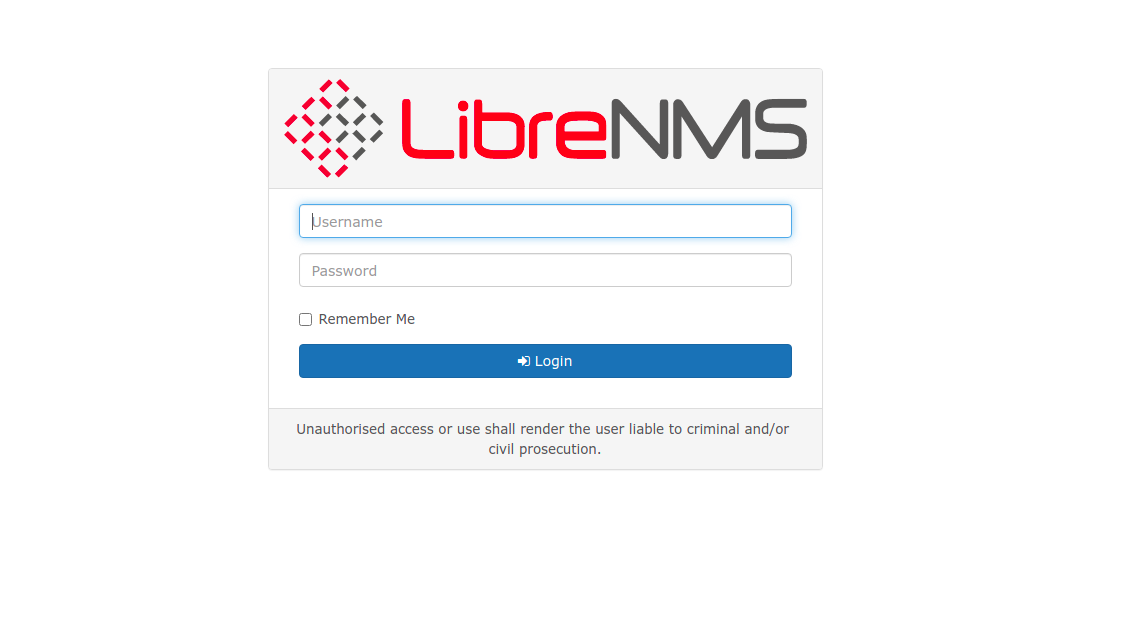
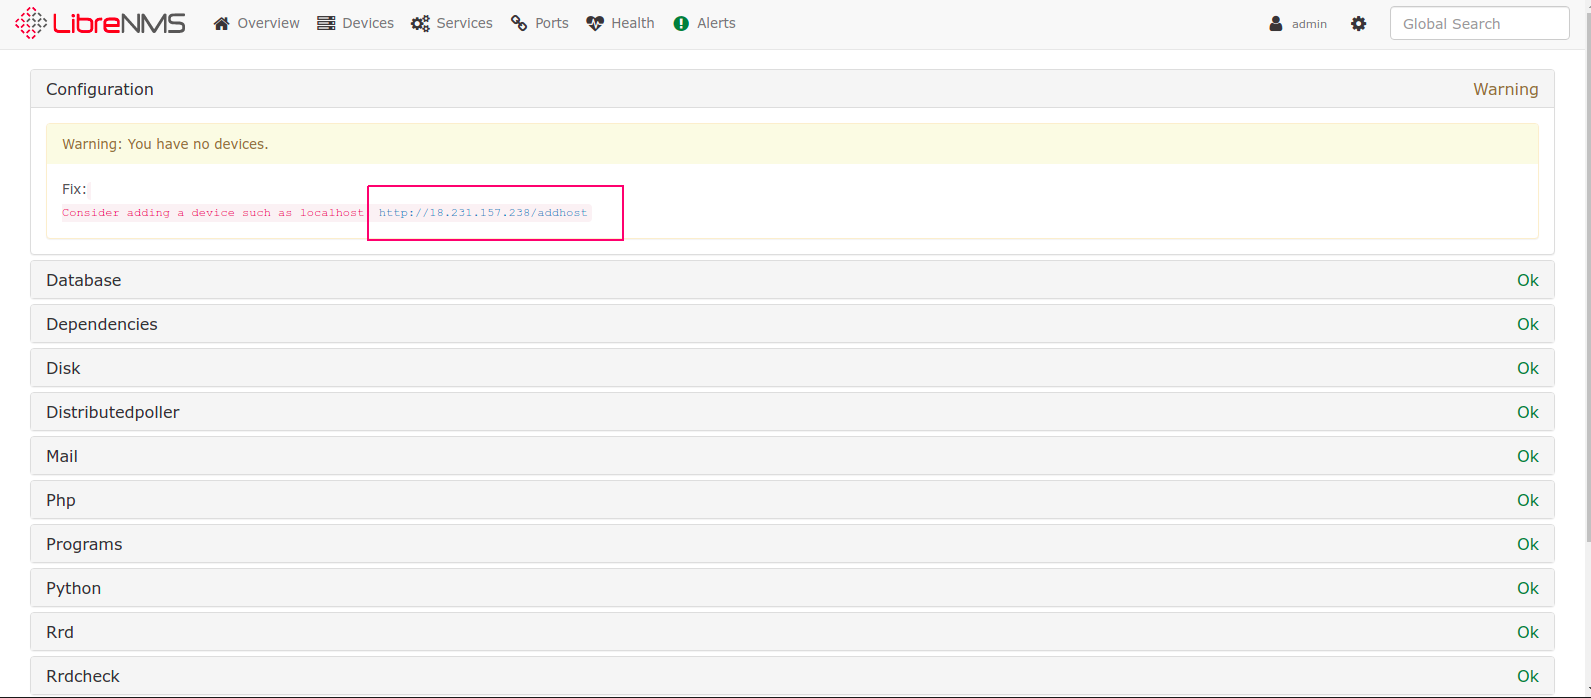
- Click on Validate your install option.
- Provide the User name & password.
- Click on Login.
- Now LibreNMS is Ready.
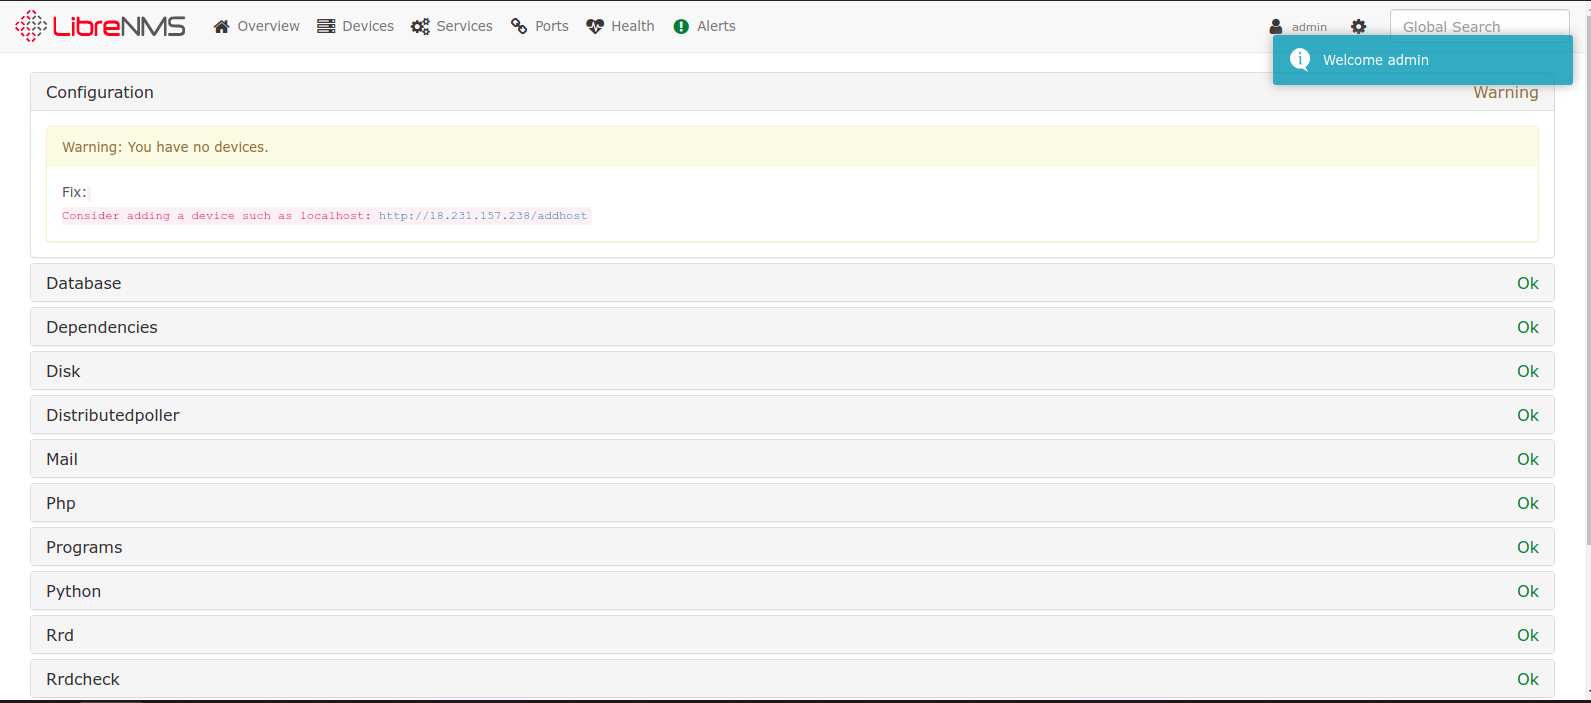
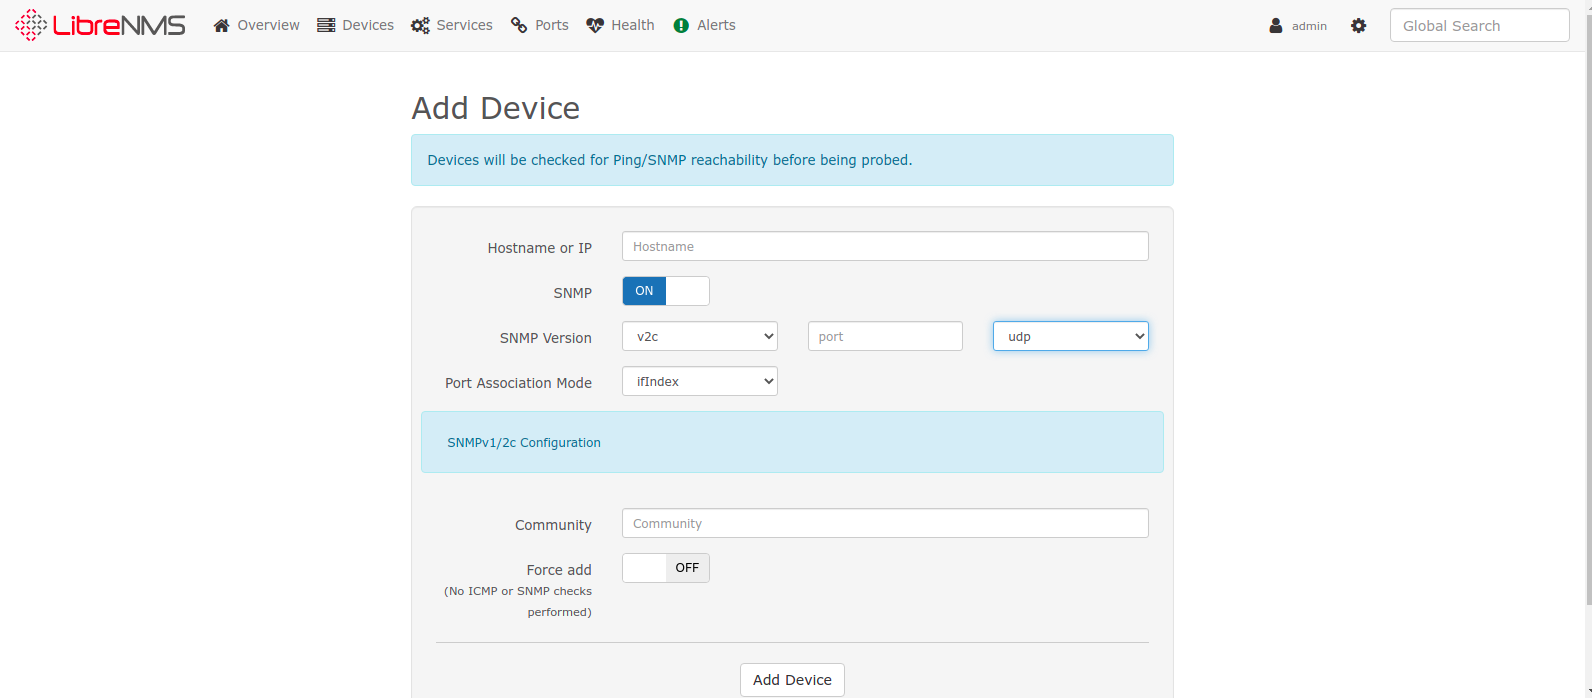
- If we needs to Add device on LibreNMS interface so open the following URL.
- Provide the Device Information.
- Click on Add Device.
Hi Team,
I have tried these steps and configured successfully. Thank you for the entire team.
Thank you for the feedback.
Please let us know if any other help you required we would be happy to serve.
Also if you liked this post then kindly share this in your professional network as well.
Its just a small initiative we have taken who need technical help.
Very clear instructions and they worked great for me.
Minor suggestions: somewhere at the top, mention that the instructions assume you are signed in as ‘root’.
Also, in the section where you set the librenms password, make it clear that “THIS is where you set the LibreNMS login password”.
Lastly, maybe add some pointers at the end about how you set up the SNMP on endpoint devices.
Thanks very much.
Thanks for your valuable feedback.
We will surely take this suggestion & will take care in future.
i have followed the instructions as mentioned but when i go the web-server page
it shows as
Service Unavailable
The server is temporarily unable to service your request due to maintenance downtime or capacity problems. Please try again later.
Apache/2.4.41 (Ubuntu) Server at 192.168.1.6 Port 80
please help
This is the only instructions that seem to work. Tried about 10 other sites.
However there are corrections that should be noted.
It is best to change to /opt for download no need to do mv.
Special attention should be given to the release of php that is installed.
Altogether great job. What may make thing easier is to just have a section at the
start informing users of items to watch out for.
Thanks for your valuable feedback.
We will update as per the feedback.
Regards
HX Team
Hello: I am trying to install Librenms on Ubuntu 20.04.04. I installed Ubuntu clean. Followed your instructions. There are some changes as the version of php that gets installed id 8.1. I did change things where it mentioned version 8.0 to 8.1. All steps ran except systemctl restart php8.1-fpm will not start
php8.1-fpm.service: Main process exited, code=exited, status=78/CONFIG
php 8.1-fpm.service: Failed with result ‘exit-code’
Failed to start the PHP 8.1 FastCGI Process Manager.
Any ideas folks I have searched google for two days with no results.
Help would be greatly appreciated
Thanks for your valuable feedback.
Hello, I have tested on PHP 8.0 as well 8.1.It is working fine.
Please follow all the steps carefully again.
Also,please find the details below log for your reference.
root@ip-172-31-19-90:/home/ubuntu# php -v
PHP 8.1.9 (cli) (built: Aug 15 2022 09:39:52) (NTS)
Copyright (c) The PHP Group
Zend Engine v4.1.9, Copyright (c) Zend Technologies
with Zend OPcache v8.1.9, Copyright (c), by Zend Technologies
root@ip-172-31-19-90:/home/ubuntu# systemctl restart php8.1-fpm.service
root@ip-172-31-19-90:/home/ubuntu# apt install git
Reading package lists… Done
Building dependency tree
Reading state information… Done
git is already the newest version (1:2.25.1-1ubuntu3.5).
git set to manually installed.