shivani singh
- September 2, 2021
Steps to Install Graylog Monitoring Tool on Ubuntu 20.04 LTS
Graylog is a free & open source monitoring tool.It provides a web-interface platform & used for log management like structured and unstructured data. It supports Elasticsearch, MongoDB, and Scala.It provides a web interface to visualizes the data.
There are few steps to install & configure Graylog on ubuntu:
Step 1: Update the system.
apt-get update
Step 2: Install the required packages.
apt-get install apt-transport-https gnupg2 uuid-runtime pwgen curl dirmngr
Step 3: Install Java.
apt-get install openjdk-11-jre-headless
- Check the java version.
java -version
- Here is the command output.

Install ElasticSearch on system.
Step 4: Add the GPG key & Repo.
wget -qO - https://artifacts.elastic.co/GPG-KEY-elasticsearch | sudo apt-key add -

echo "deb https://artifacts.elastic.co/packages/oss-7.x/apt stable main" | sudo tee /etc/apt/sources.list.d/elastic-7.x.list
- Here is the command output.

- Update the packages.
apt-get update
- Install Elasticsearch.
apt-get install elasticsearch-oss
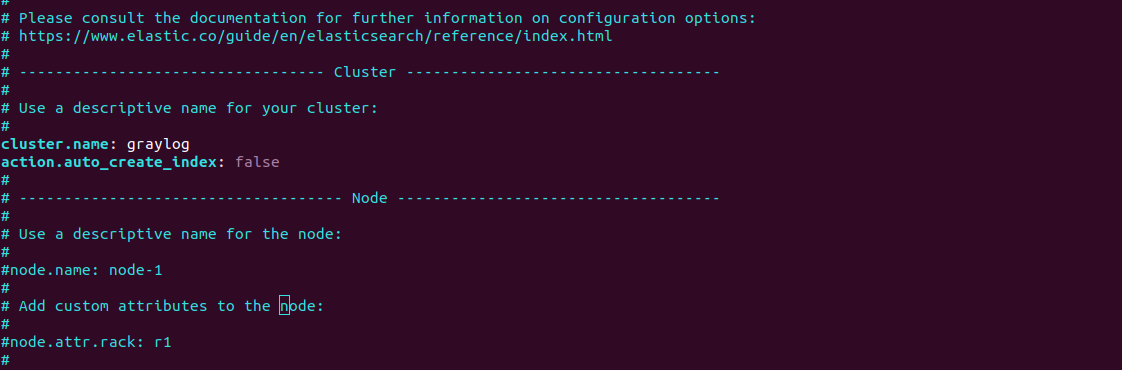
- Configure the Elasticsearch.yml file.
vim /etc/elasticsearch/elasticsearch.yml
- Edit & Add the following lines:
cluster.name: graylog

action.auto_create_index: false
- Here is the command output.
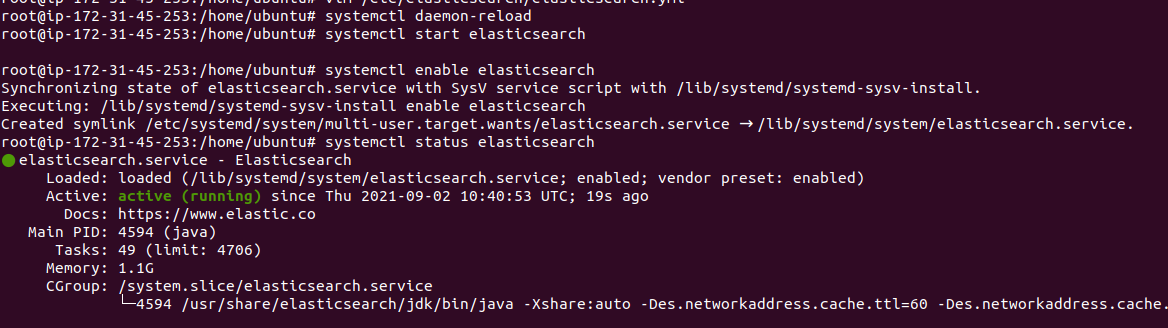
Step 5: Start & Enable the Elasticsearch service.
systemctl daemon-reload

systemctl start elasticsearch

systemctl enable elasticsearch
- Check the status of elasticSearch.
systemctl status elasticsearch
- Here is the command output.
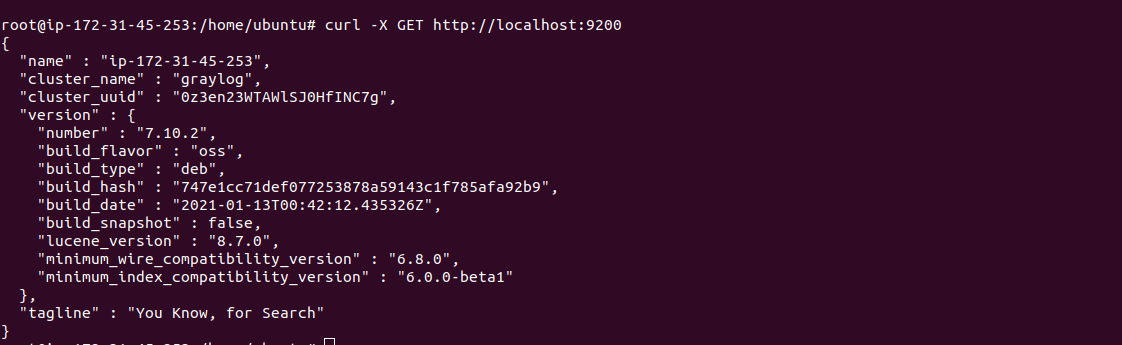
- Verfiy the ElasticSearch using the following command.
curl -X GET http://localhost:9200
- Here is the command output.
Install MongoDB on system.
Step 6: Update the system.
apt-get update
- Install Mongodb.
apt-get install mongodb-server
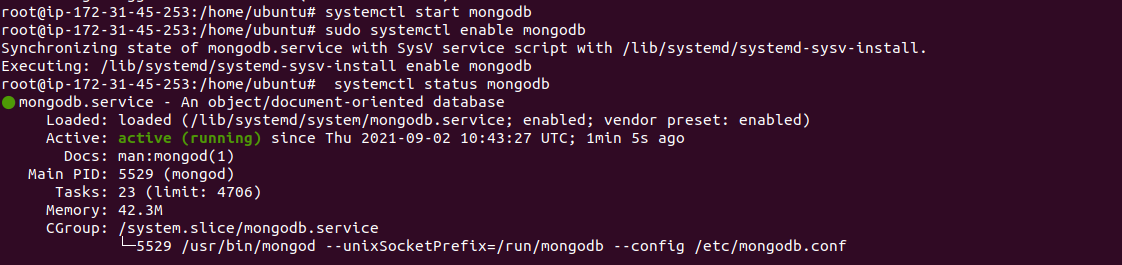
Step 7: Start & Enable the MongoDB.
systemctl start mongodb

systemctl enable mongodb
- Check the MonogoDB status.
systemctl status mongodb
- Here is the command output.
Install Graylog Server on System
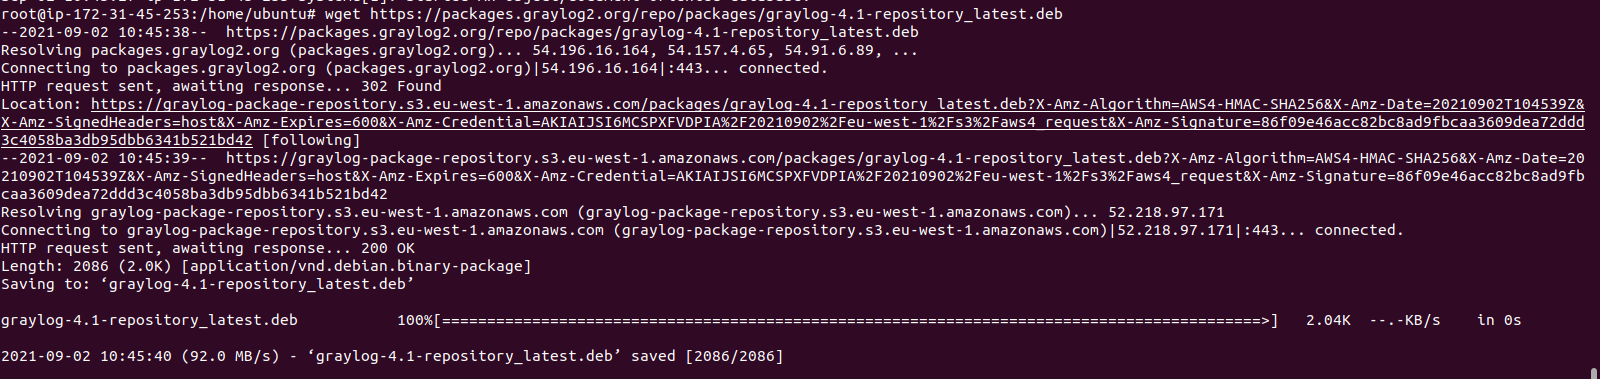
Step 8: Download & Install the Graylog Repo.
wget https://packages.graylog2.org/repo/packages/graylog-4.1-repository_latest.deb
- Here is the command output.
- Install the repo.
dpkg -i graylog-4.1-repository_latest.deb
- Here is the command output.

Step 9: Update the packages.
apt-get update
- Install Graylog.
apt-get install graylog-server
Step 10: Run the following command to generate a secret to secure user login passwords.
pwgen -N 1 -s 96
- Run the following command to generate a secure graylog user password.
echo -n password_here | sha256sum
echo -n password | sha256sum
- Here is the command output.

- Copy both commands outputs.
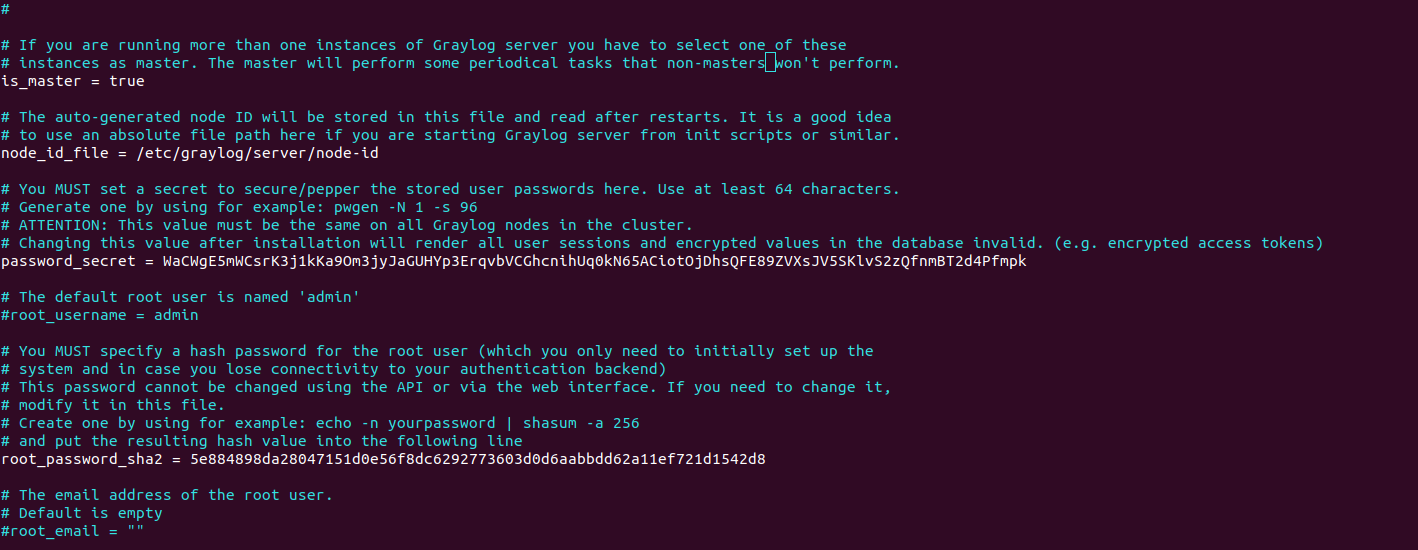
- Open the Graylog server configuration file.Paste the both commands output as:
vim /etc/graylog/server/server.conf
- Add the following values:
password_secret = WaCWgE5mWCsrK3j1kKa9Om3jyJaGUHYp3ErqvbVCGhcnihUq0kN65ACiotOjDhsQFE89ZVXsJV5SKlvS2zQfnmBT2d4Pfmpk
root_password_sha2 = 5e884898da28047151d0e56f8dc6292773603d0d6aabbdd62a11ef721d1542d8
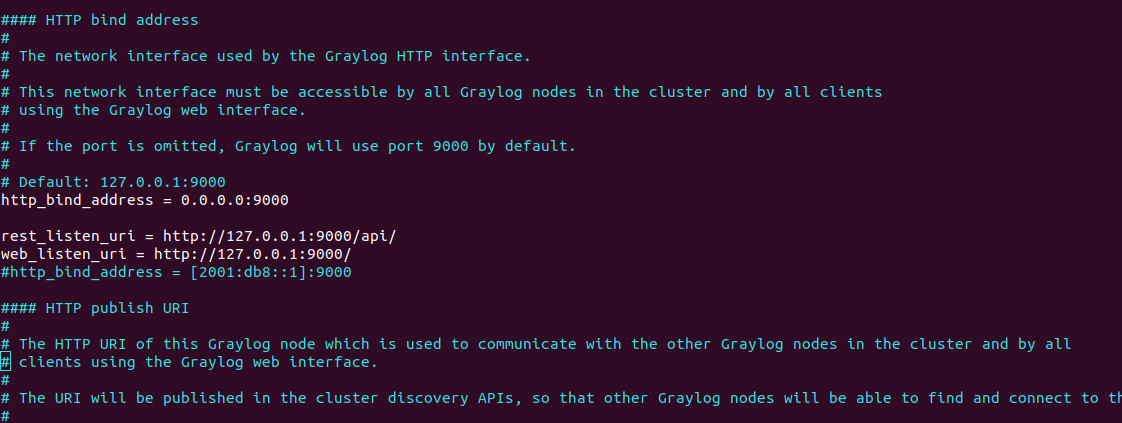
http_bind_address = 0.0.0.0:9000
rest_listen_uri = http://127.0.0.1:9000/api/
web_listen_uri = http://127.0.0.1:9000/
- Here is the command output.
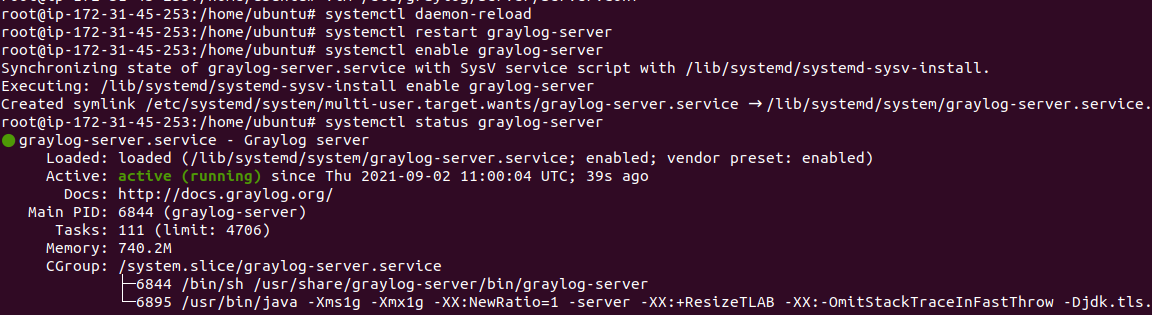
Step 11: Start & Enable the Graylog server.
systemctl daemon-reload

systemctl restart graylog-server

systemctl enable graylog-server
- Check Graylog server status.
systemctl status graylog-server
- Here is the command output.
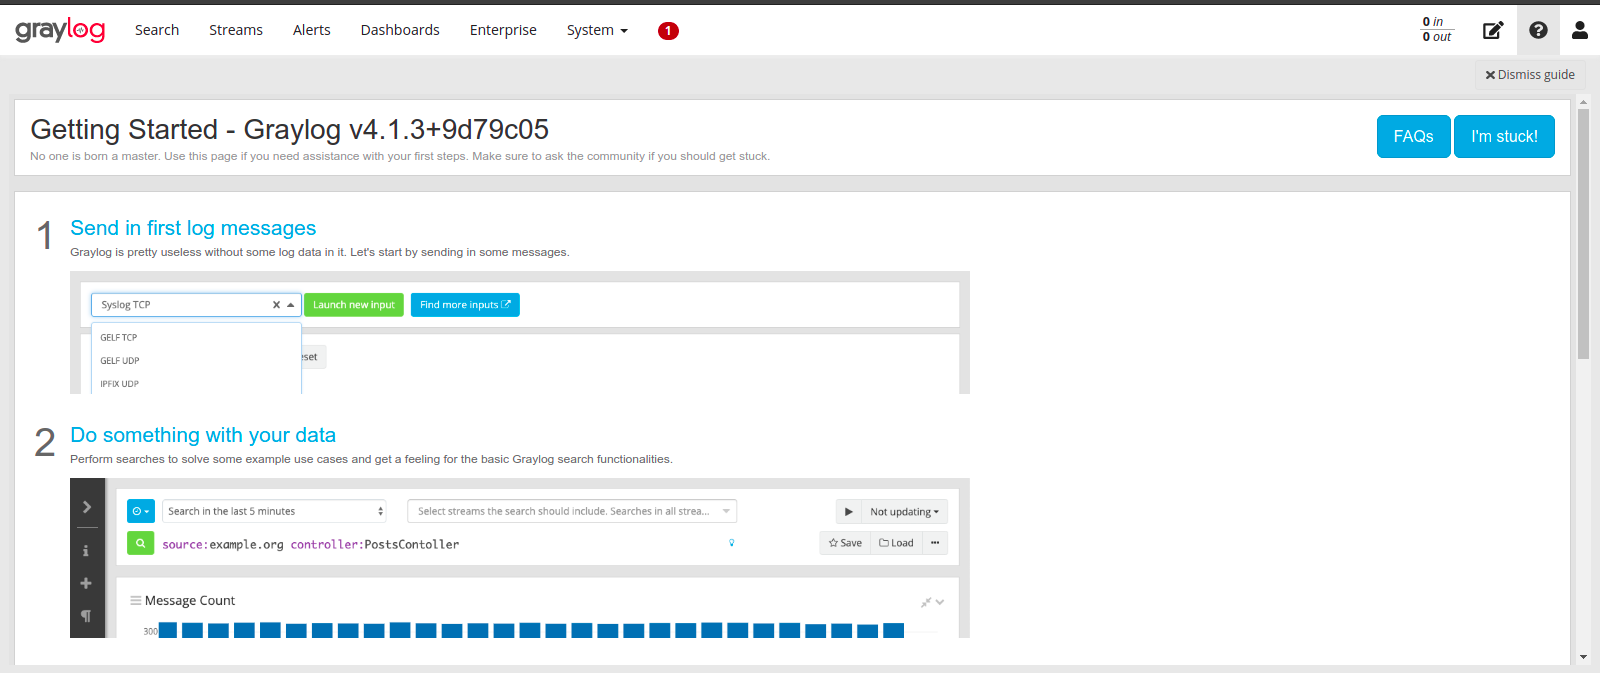
Access Graylog web-interface
http://server-ip:9000
- Here is the output.
- Provide the user-name : admin & Password: password
- Click on Sign In.

- Now Graylog is Ready.