 Priya
Priya- October 11, 2021
Step to Step Guide to Install Dstat on Ubuntu 20.04 LTS
dstat is a free & open source system monitoring tool. It is a command line utility. Using dstat, we can monitor system resources such as cpu, memory, disk & network stats.
There are few steps to install dstat on ubuntu:
Step 1: Update the System.
apt-get update
Step 2: Install dstat on system.
apt-get install dstat
- Check the dstat version.
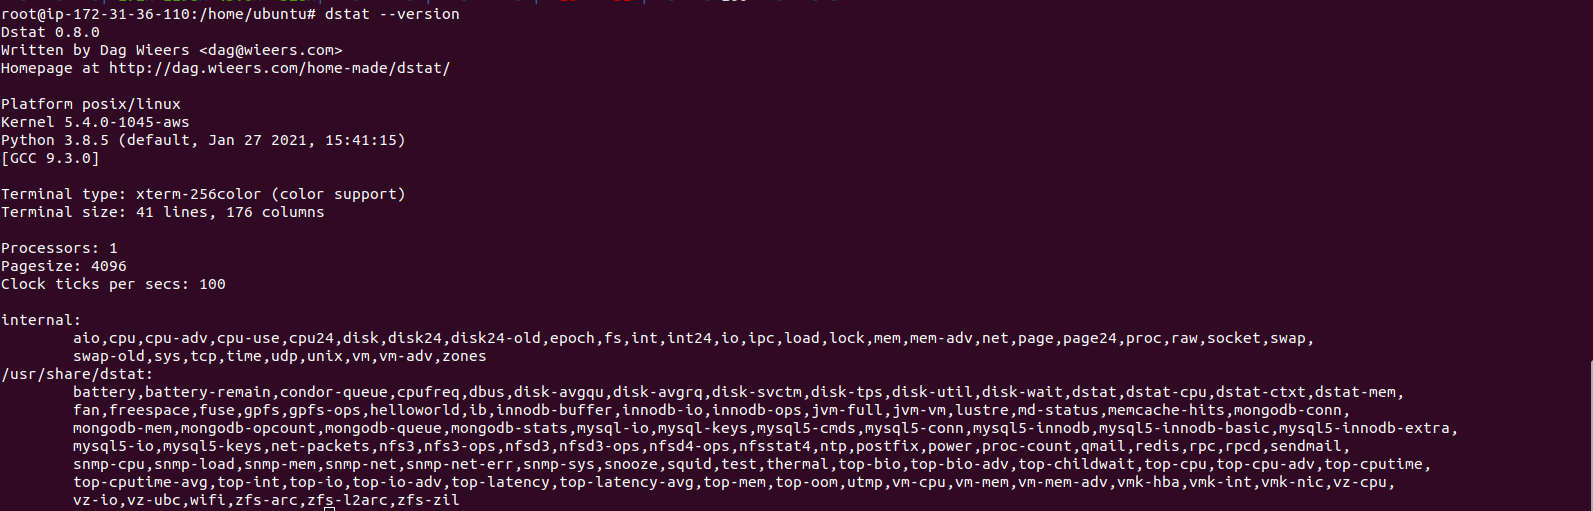
dstat --version
- Here is the command output.
Step 3: Run the dstat command to monitor systems performance stats.
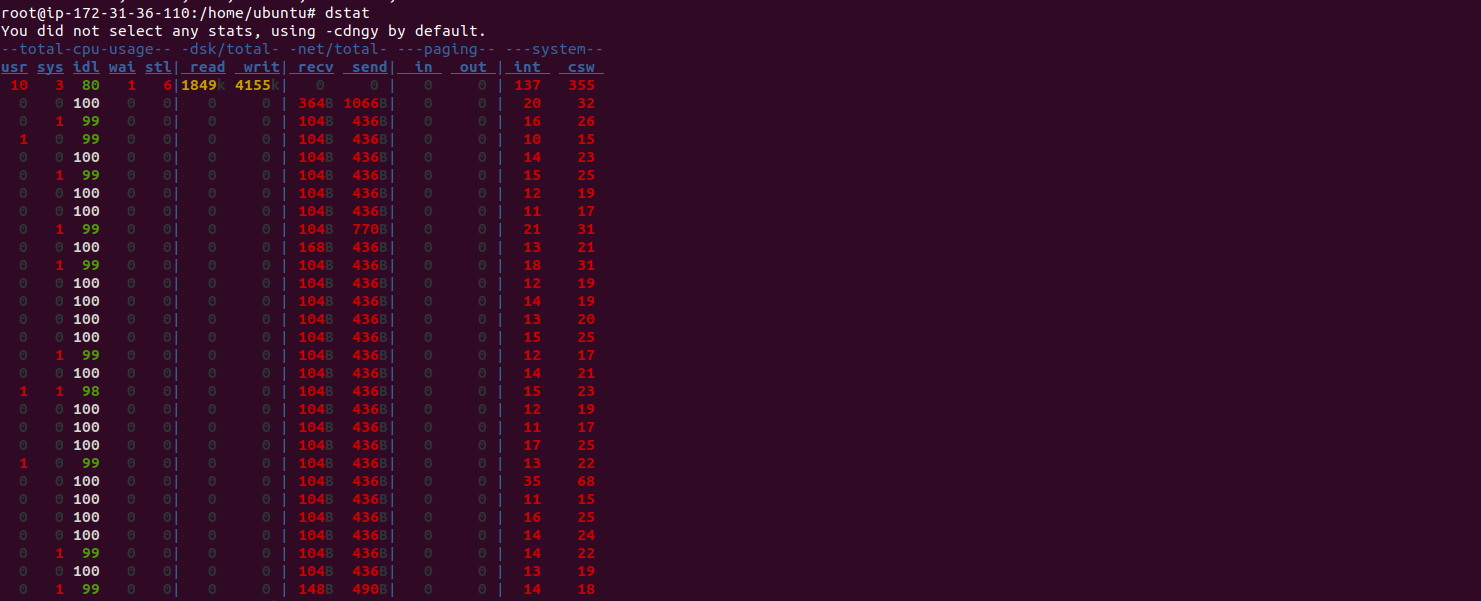
dstat
- Here is the command output.
- Run the dstat command with -h option to shows all the available options.
dstat -h
- Here is the command output.

- To monitor the CPU performance.
dstat -c
- Here is the command output.

- To monitor the Memory performance.
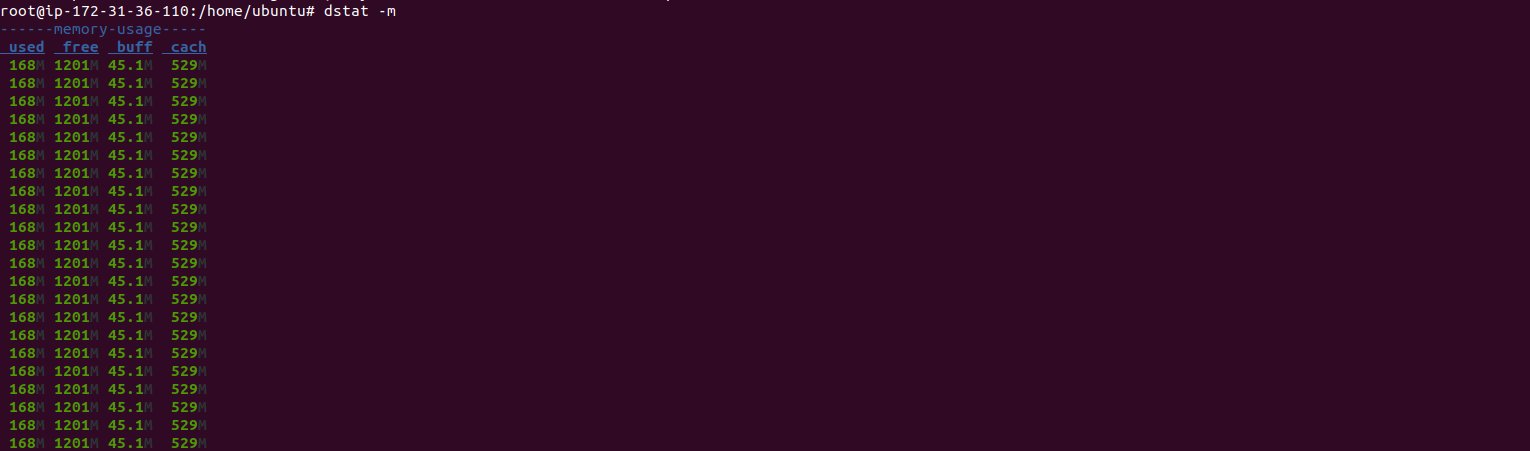
dstat -m
- Here is the command output.
 dstat –list
- To list the information about cpu and system load.
dstat -cl
- Here is the command output.

- To list the information about top cpu, top latency and top memory.
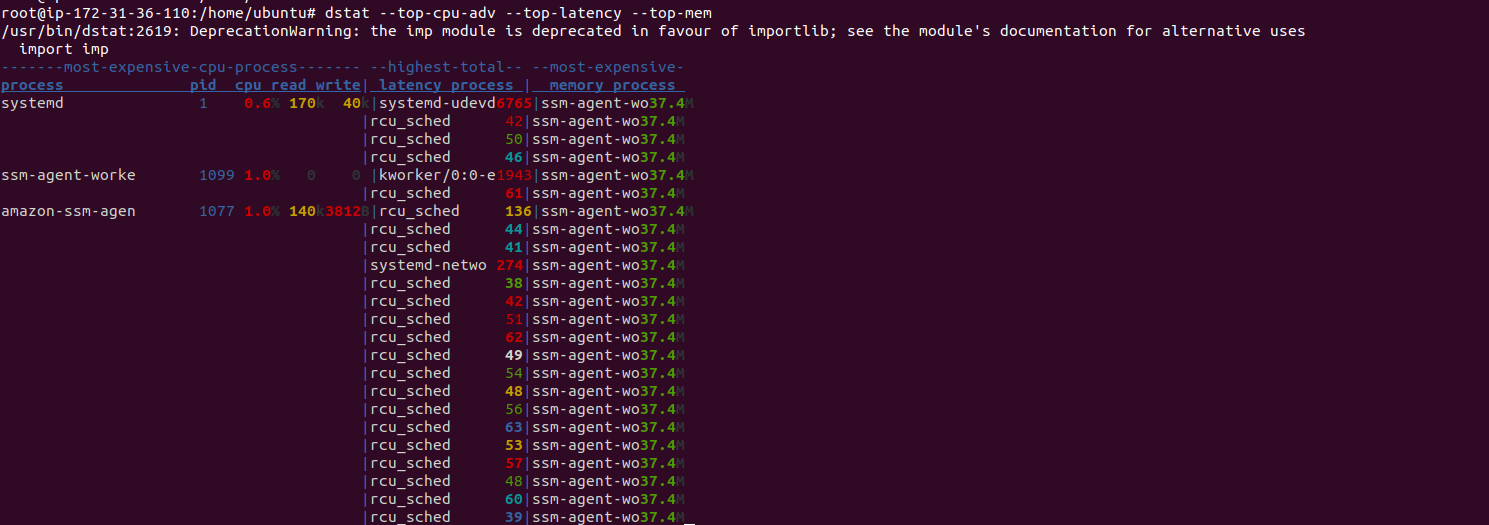
dstat --top-cpu-adv --top-latency --top-mem
- Here is the command output.
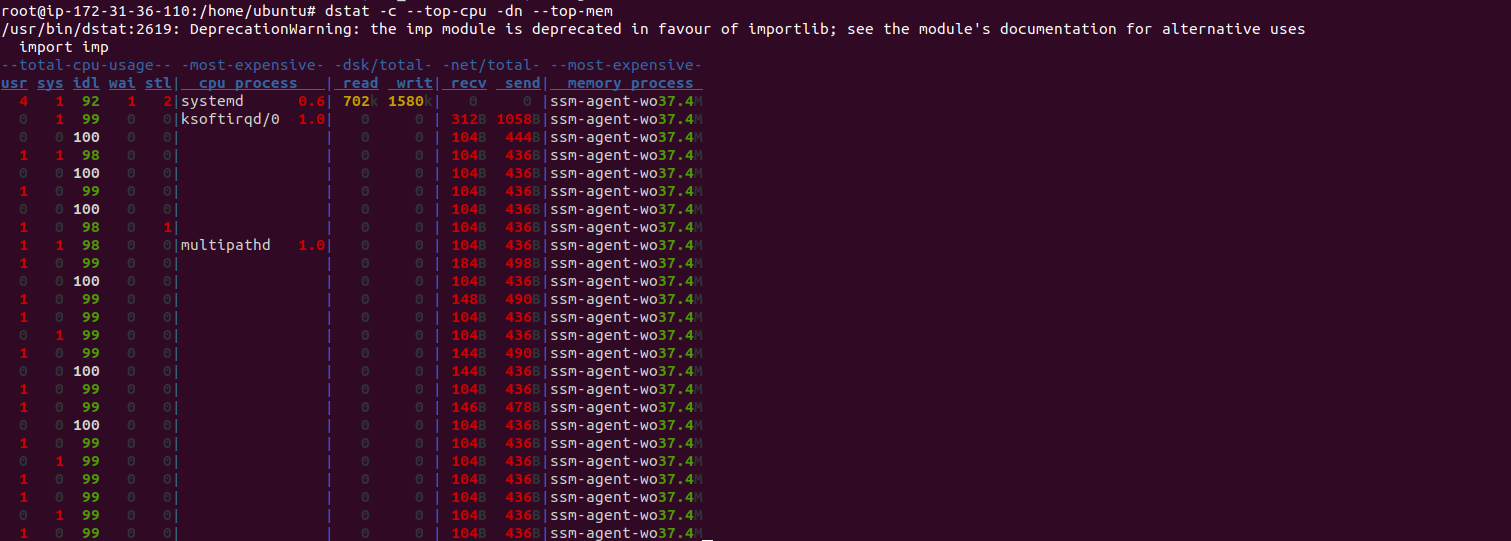
- To monitor CPU,top cpu,disk and network stats and top memory.
dstat -c --top-cpu -dn --top-mem
- Here is the command output.
- To show time, cpu, memory, system load with a two second delay between 10 updates.
dstat --time --cpu --mem --load 2 10
- Here is the command output.

- To show all available plugins.
dstat --list
- Here is the command output.
