 Priya
Priya- October 20, 2021
Steps to Install & Setup Eclipse IDE on Ubuntu 20.04 LTS
Eclipse is a free & open source integrated development environment (IDE). It is used for JAVA application development & developing applications in various programming languages such as C, C++, Perl, PHP, Python, R,& Ruby. It is basically designed to build integrated web and application development tooling.
There are some steps to install & setup Eclipse IDE on ubuntu:
Step 1: Update the System.
apt-get update
Step 2: Install Java on system.
apt-get install default-jre
- Check the Java version.
java -version
- Here is the command output.
openjdk 11.0.11 2021-10-18

OpenJDK Runtime Environment (build 11.0.11+9-Ubuntu-0ubuntu2.20.04)

OpenJDK 64-Bit Server VM (build 11.0.11+9-Ubuntu-0ubuntu2.20.04, mixed mode, sharing)
Step 3: Download the Eclipse on system.
wget https://download.eclipse.org/oomph/epp/2020-06/R/eclipse-inst-linux64.tar.gz
- Here is the command output.
--2021-10-18 14:59:56-- https://download.eclipse.org/oomph/epp/2020-06/R/eclipse-inst-linux64.tar.gz

Resolving download.eclipse.org (download.eclipse.org)... 198.41.30.199

Connecting to download.eclipse.org (download.eclipse.org)|198.41.30.199|:443... connected.

HTTP request sent, awaiting response... 200 OK

Length: 51348026 (49M) [application/x-gzip]

Saving to: ‘eclipse-inst-linux64.tar.gz’

eclipse-inst-linux64.tar.gz 100%[===========================================================================================>] 48.97M 65.8KB/s in 13m 11s

2021-10-18 15:13:10 (63.4 KB/s) - ‘eclipse-inst-linux64.tar.gz’ saved [51348026/51348026]
- Extract the Downloaded folder & move to /opt.
tar -xf eclipse-inst-linux64.tar.gz -C /opt
- Change the Directory.
cd /opt/eclipse-installer
- Launch the Eclipse on system.
sudo ./eclipse-inst
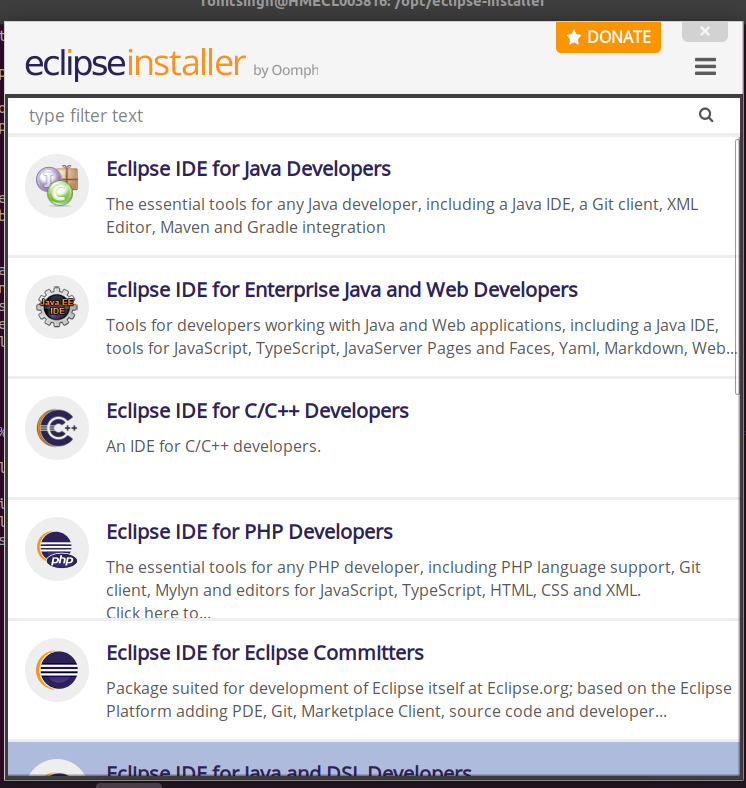
- Here is the command output.

- Select Eclipse IDE package.
- Click on Eclipse IDE for Java Developers.
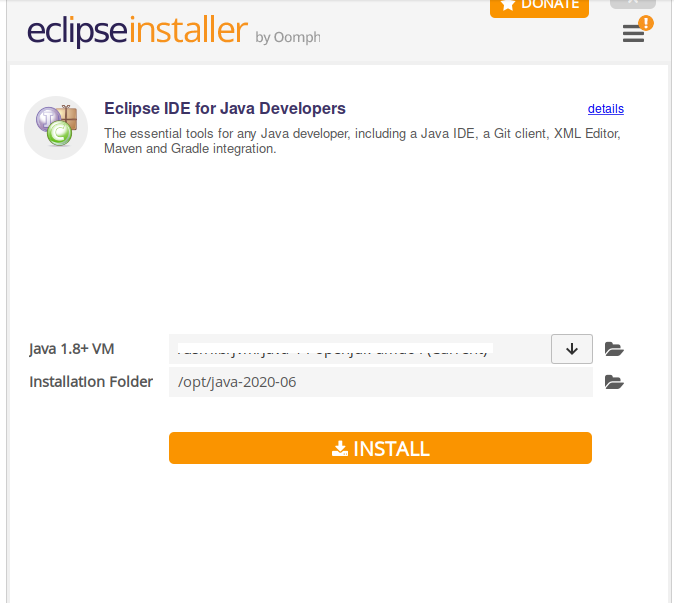
- Click on Install.
- Accept the Eclipse Foundation Software User Agreement.

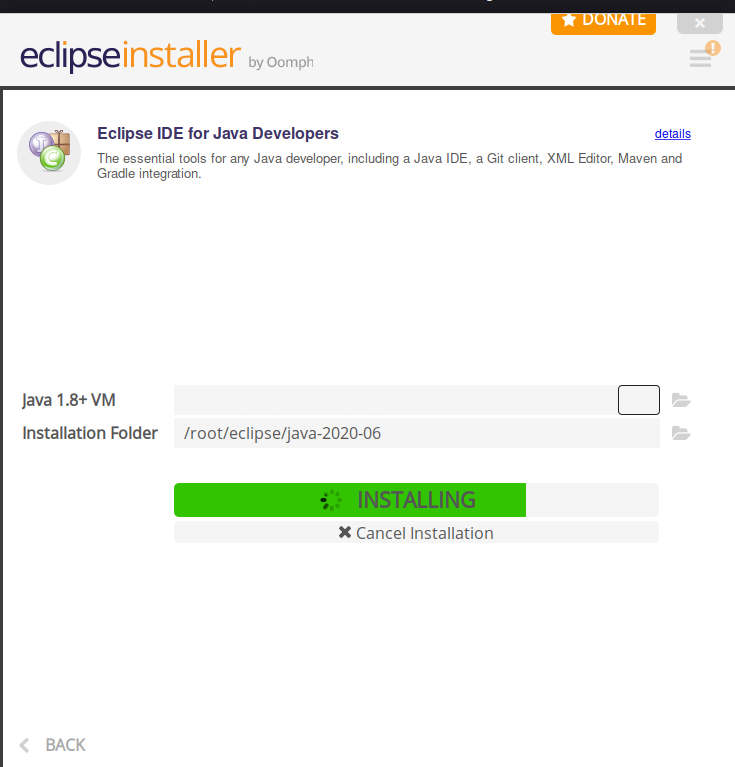
- Eclipse IDE for Java Developer is installing.
- Click on Launch.

- Once Installation is Done,Click on Launch.
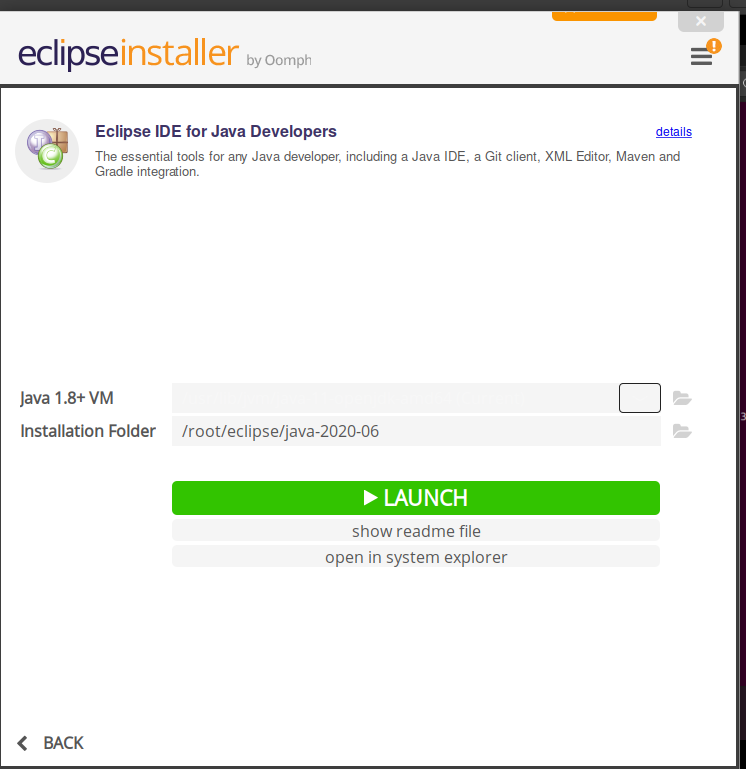
- Eclipse has been Ready for Launch.

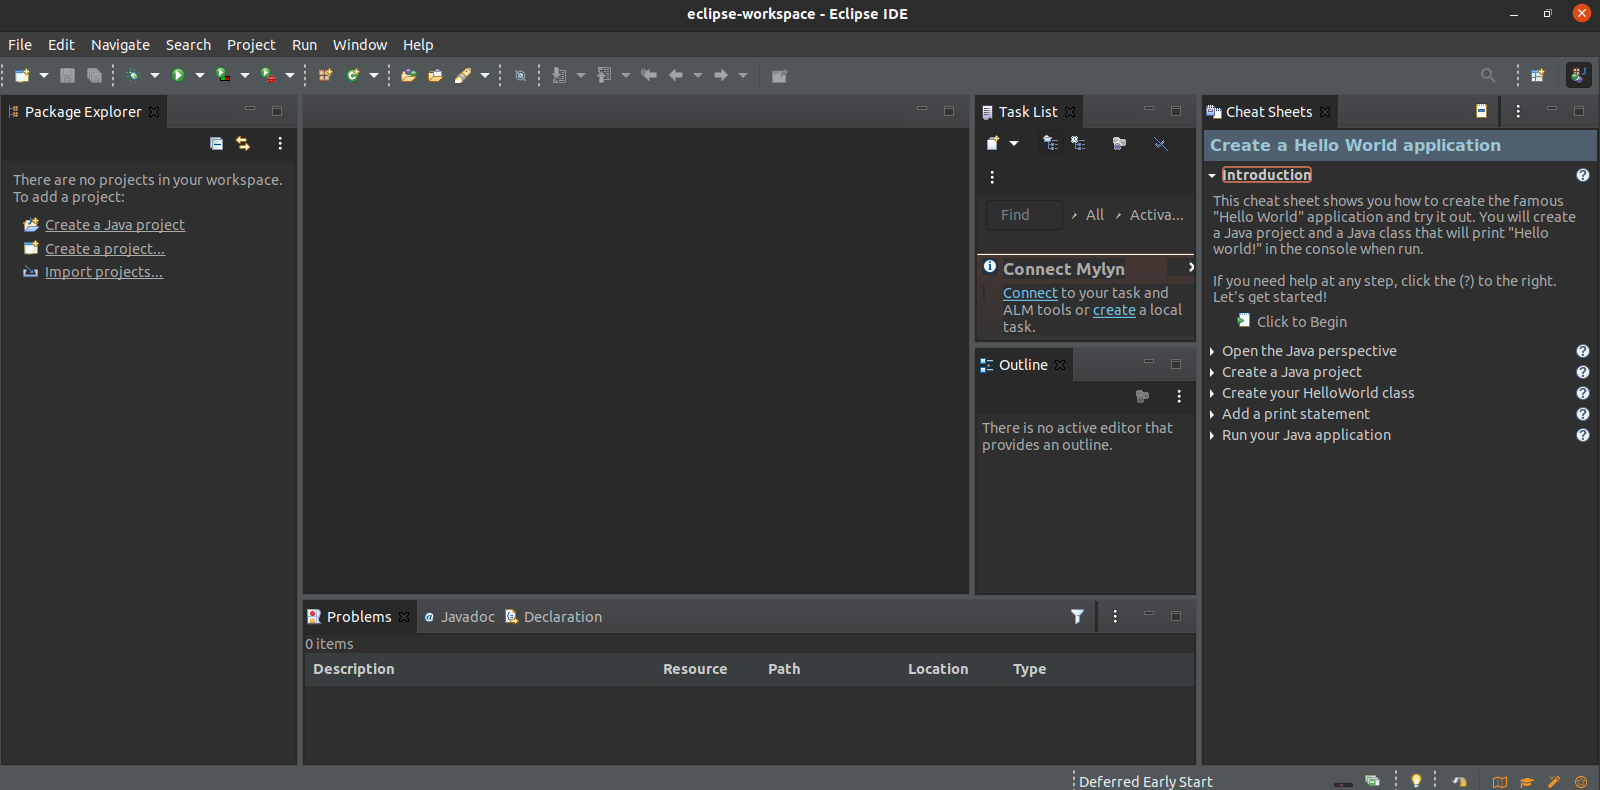
- Once Eclipse is Ready,then Select Create a New Java project.

- Now,Create a Project or Java Project.
Step 4: Create a Eclipse Icon on system.
- Create a file.
vim eclipse.desktop
- Add the following lines:
[Desktop Entry]

Name=Eclipse

Type=Application

Exec=/home/user-name/opt/eclipse/eclipse/eclipse

Terminal=false

Icon=/home/user-name/opt/eclipse/eclipse/icon.xpm

Comment=Integrated Development Environment

NoDisplay=false

Categories=Development;IDE;

Name[en]=Eclipse

Name[en_US]=Eclipse
- Note: the paths in lines ‘Exec=‘ and ‘Icon=‘ are depended on system.
- To find the Eclipse path.
which eclipse
- To Enable the Launch Icon.
chmod +x eclipse.desktop

mv eclipse.desktop /usr/share/applications/eclipse.desktop

or

mv eclipse.desktop ~/.local/share/applications/eclipse.desktop