Priya
Priya- November 9, 2021
Steps to Install and Setup NextCloud on Ubuntu 20.04 LTS
NextCloud is a free & open source self-hosted cloud storage solution tool. Using NextCloud,we can store all the personal files present on local system. It provides End-to-end encryption & we can create and edit doc, ppt, xls files directly from NextCloud.
There are some steps to install & setup NextCloud on ubuntu:
Step 1: Update the System.
apt-get update
Step 2: Install apche2 web service.
apt-get install apache2
Step 3: Start & Enable Apache2 service.
systemctl start apache2

systemctl enable apache2
Step 4: Install Mysql database.
- Update the System.
apt-get update
- Install Mysql database.
apt-get install mysql-server
Step 5: Start & Enable Mysql service.
systemctl start mysql

systemctl enable mysql
- Login to Mysql database.
mysql -u root
- Press Enter.
- Create Database.
create database nextcloud;
- Create user & set the password on user.
create user nextclouduser@localhost identified by 'Password';
- Provide Grant all Privileges on database to user.
GRANT ALL PRIVILEGES ON nextcloud.* TO 'nextclouduser'@'localhost' WITH GRANT OPTION;
- Flush the privileges.
FLUSH PRIVILEGES;
- Exit.
- Here is the command output.
root@ip-172-31-46-224:/home/ubuntu# mysql -u root -p

Enter password:

Welcome to the MySQL monitor. Commands end with ; or \g.

Your MySQL connection id is 8

Server version: 8.0.26-0ubuntu0.20.04.3 (Ubuntu)

Copyright (c) 2000, 2021, Oracle and/or its affiliates.

Oracle is a registered trademark of Oracle Corporation and/or its

affiliates. Other names may be trademarks of their respective

owners.

Type 'help;' or '\h' for help. Type '\c' to clear the current input statement.

mysql> create database nextcloud;

Query OK, 1 row affected (0.01 sec)

mysql> create user nextclouduser@localhost identified by 'Password';

Query OK, 0 rows affected (0.01 sec)

mysql> GRANT ALL PRIVILEGES ON nextcloud.* TO 'nextclouduser'@'localhost' WITH GRANT OPTION;

Query OK, 0 rows affected (0.01 sec)

mysql> FLUSH PRIVILEGES;

Query OK, 0 rows affected (0.01 sec)

mysql> exit

Bye
Step 6: Install Php & modules.
apt install imagemagick php-imagick libapache2-mod-php7.4 php7.4-common php7.4-mysql php7.4-fpm php7.4-gd php7.4-json php7.4-curl php7.4-zip php7.4-xml php7.4-mbstring php7.4-bz2 php7.4-intl php7.4-bcmath php7.4-gmp
Step 7: Install NextCloud on System.
wget https://download.nextcloud.com/server/releases/nextcloud-21.0.1.zip
- Here is the command output.
root@ip-172-31-46-224:/home/ubuntu# wget https://download.nextcloud.com/server/releases/nextcloud-21.0.1.zip

--2021-10-22 11:26:15-- https://download.nextcloud.com/server/releases/nextcloud-21.0.1.zip

Resolving download.nextcloud.com (download.nextcloud.com)... 95.217.64.181, 2a01:4f9:2a:3119::181

Connecting to download.nextcloud.com (download.nextcloud.com)|95.217.64.181|:443... connected.

HTTP request sent, awaiting response... 200 OK

Length: 155240687 (148M) [application/zip]

Saving to: ‘nextcloud-21.0.1.zip’

nextcloud-21.0.1.zip 15%[=============> ] 23.62M 5.05MB/s eta 28s ^nextcloud-21.0.1.zip 100%[===========================================================================================>] 148.05M 6.18MB/s in 25s

2021-10-22 11:26:41 (5.99 MB/s) - ‘nextcloud-21.0.1.zip’ saved [155240687/155240687]
- Install unzip tool.
apt install unzip
- Unzip the downloaded folder.
unzip nextcloud-21.0.1.zip -d /var/www/
- Provide the following permission.
chown www-data:www-data /var/www/nextcloud/ -R
Step 8: Create & Configure the Apache Virtual Host file.
vim /etc/apache2/sites-available/nextcloud.conf
- Add the following lines:
<VirtualHost *:80>

DocumentRoot "/var/www/nextcloud"

ServerName example.com

ErrorLog ${APACHE_LOG_DIR}/nextcloud.error

CustomLog ${APACHE_LOG_DIR}/nextcloud.access combined

<Directory /var/www/nextcloud/>

Require all granted

Options FollowSymlinks MultiViews

AllowOverride All

<IfModule mod_dav.c>

Dav off

</IfModule>

SetEnv HOME /var/www/nextcloud

SetEnv HTTP_HOME /var/www/nextcloud

Satisfy Any

</Directory>

</VirtualHost>
Step 9: Run the following commands:
- To enable the created apache virtual host file.
a2ensite nextcloud.conf
- Disable the default file.
a2dissite 000-default.conf
- Enable the rewrite mode
a2enmod rewrite headers env dir mime setenvif ssl
- Restart the apache2
service apache2 restart
Step 10: Open NextCloud Web interface
http://server-ip
- Here is the output.
- Create a admin account & set username & password for login.
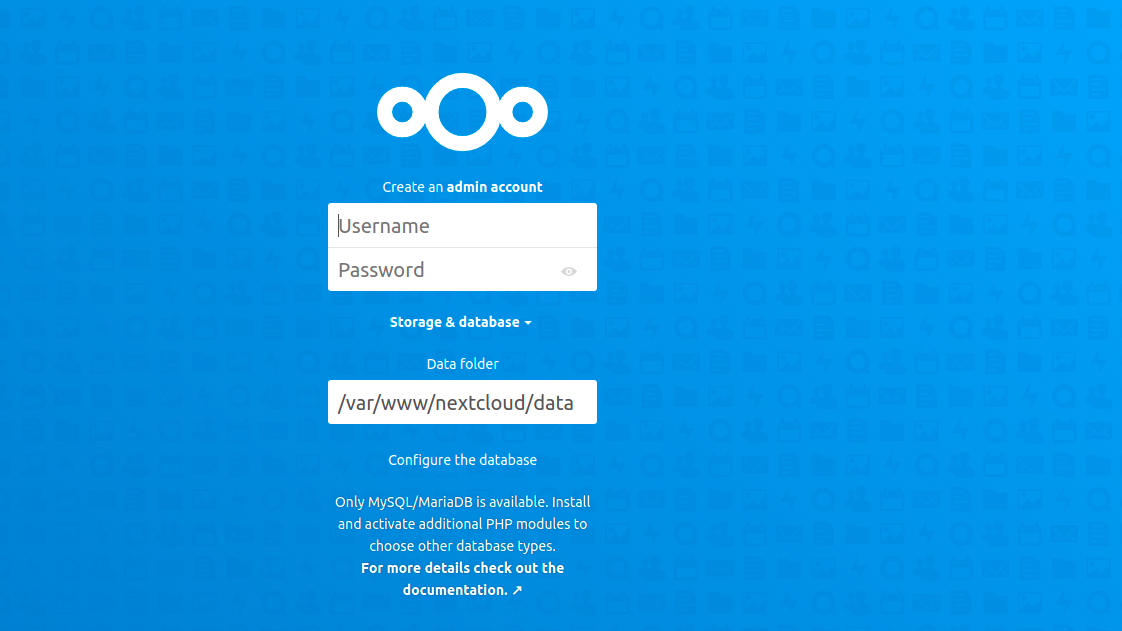
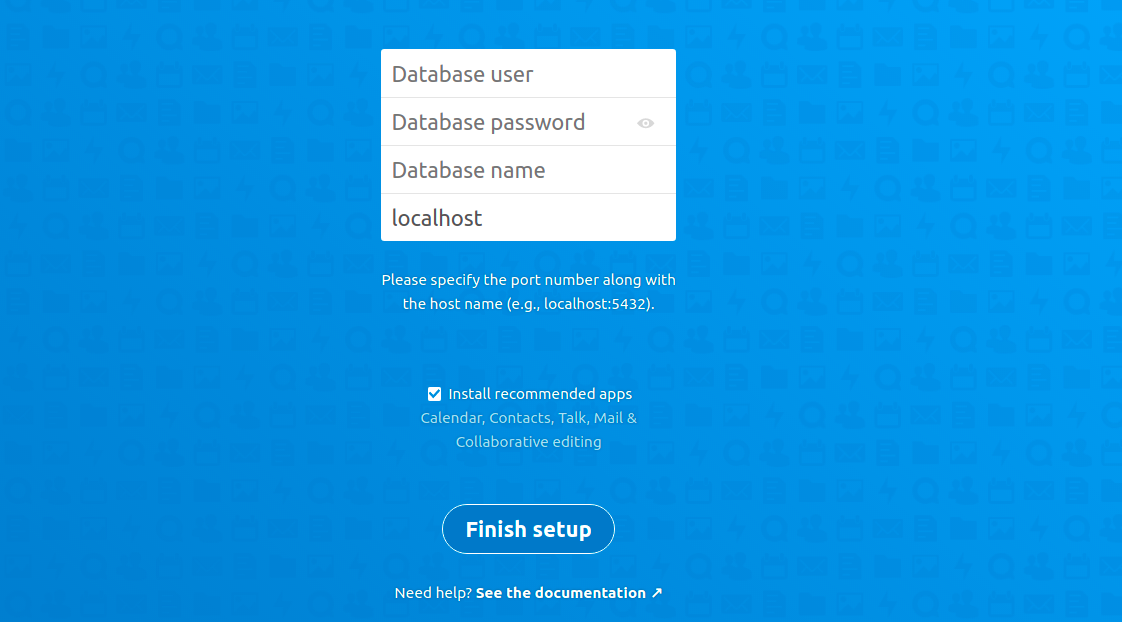
- Provide the Database credentials like user,password & db name.
- Click on Finish Setup.
- Click on Next.
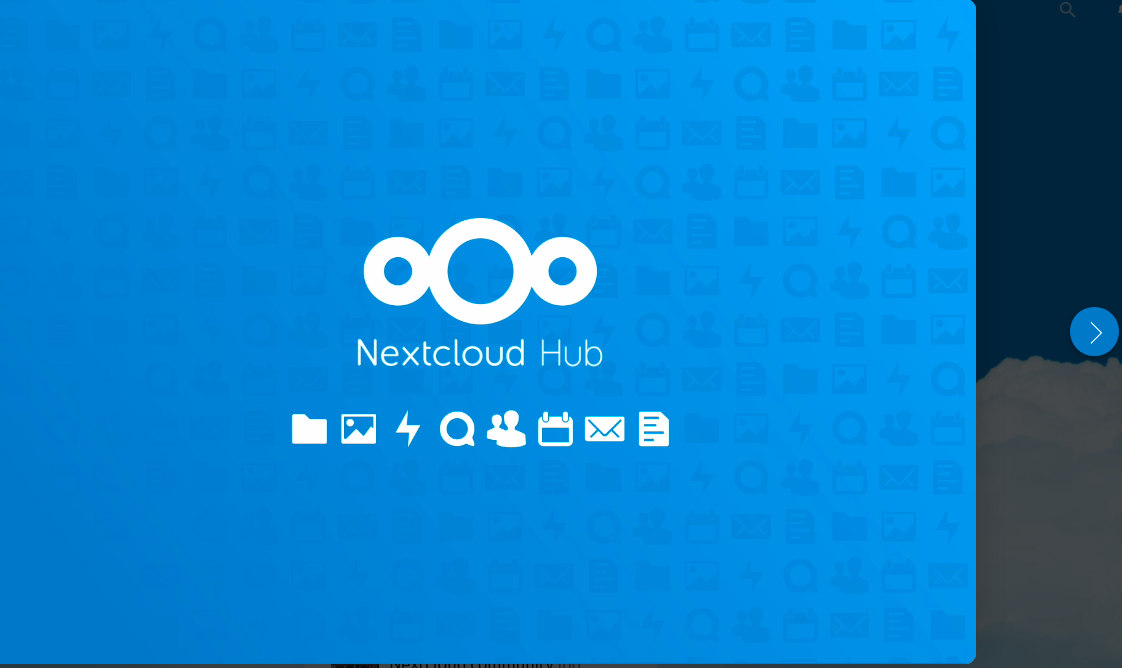
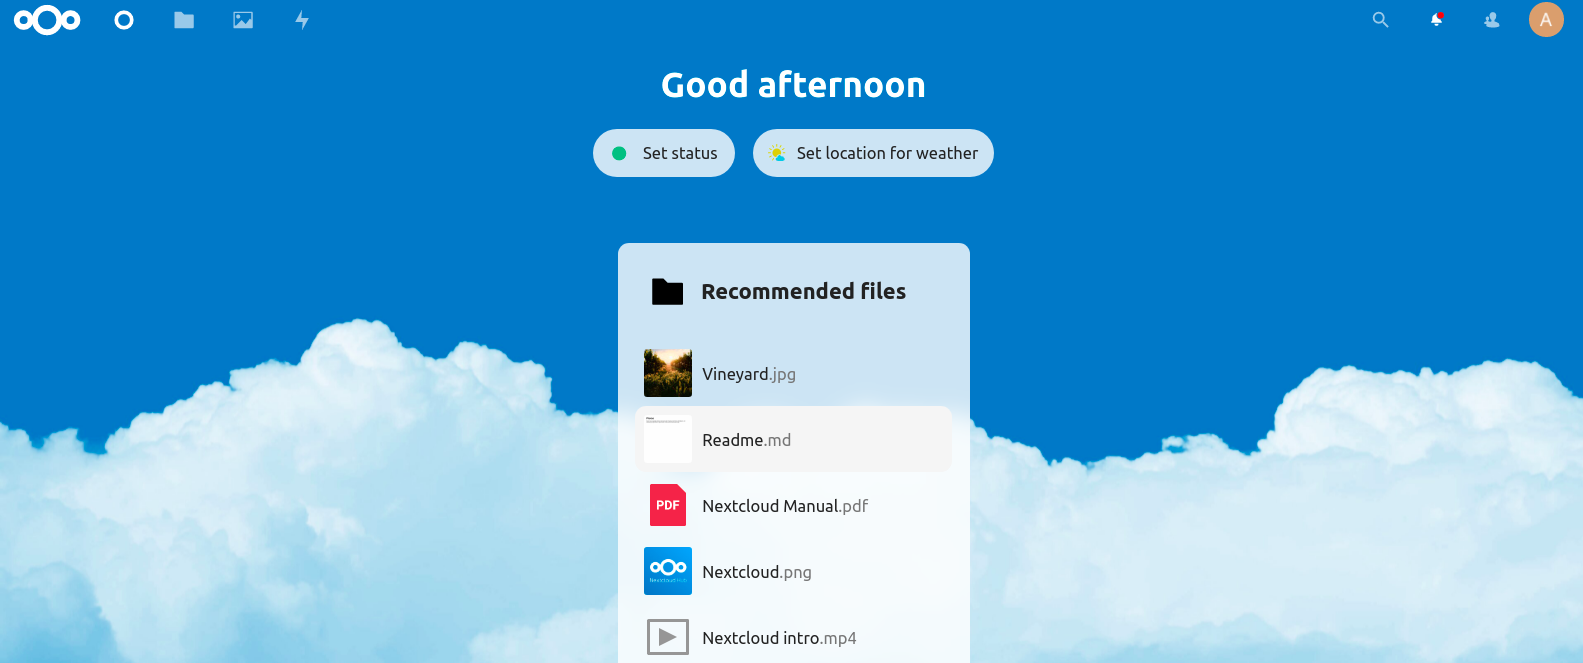
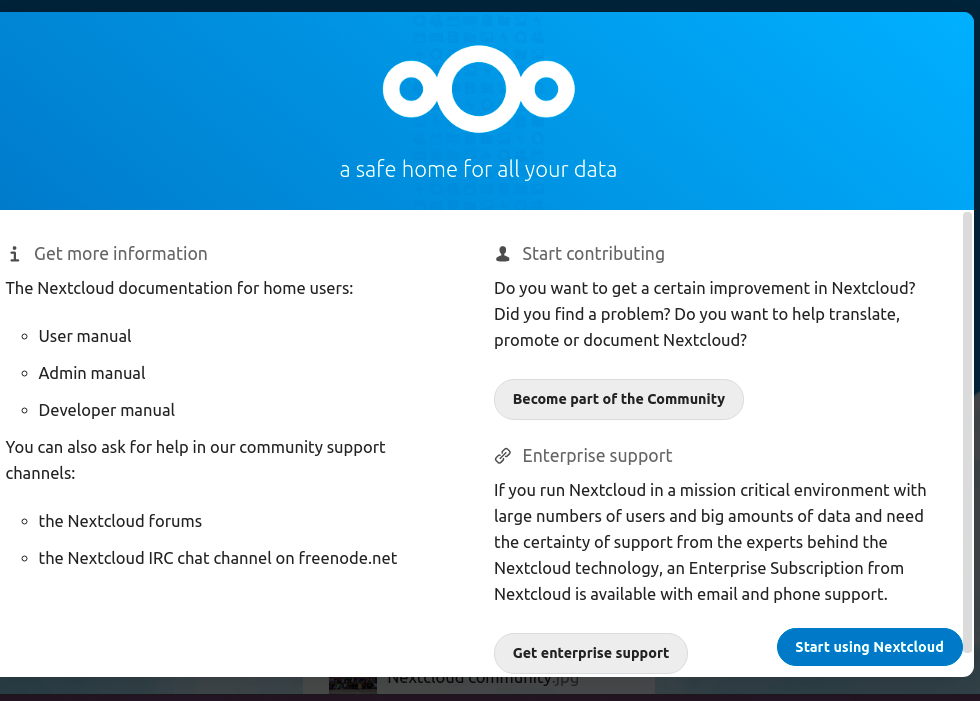
- Click on Start using NextCloud.
- Now,NextCloud is Ready.