Priya
Priya- December 27, 2021
Step By Step Guide to Create Kubernetes Service on Microsoft Azure
Kubernetes is a free & open-source container-orchestration system. It is used for automating system application deployment, scaling, & management. It enables the operation of an elastic web server framework for cloud applications.
There are some steps to create Kubernetes service on Microsoft azure:
- First login into azure portal.
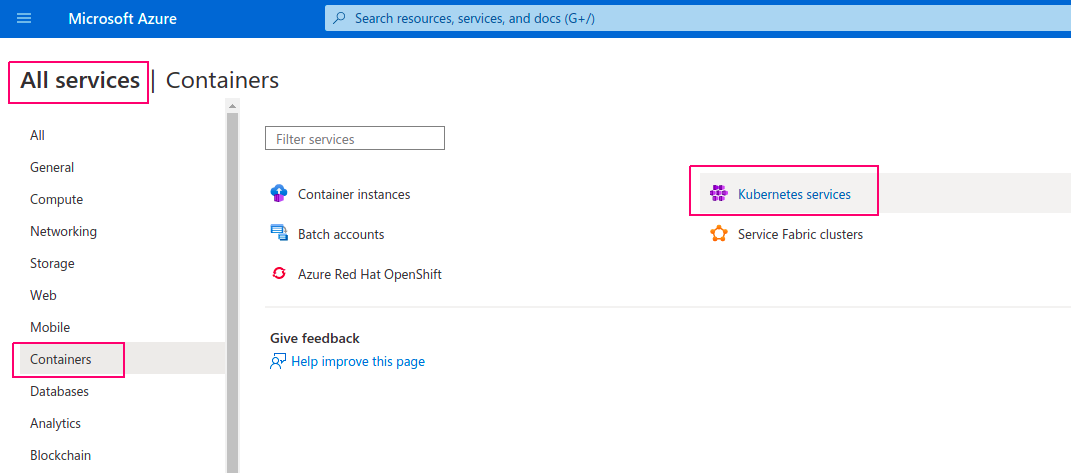
- Click on All Services –> Containers—> Kubernetes service.
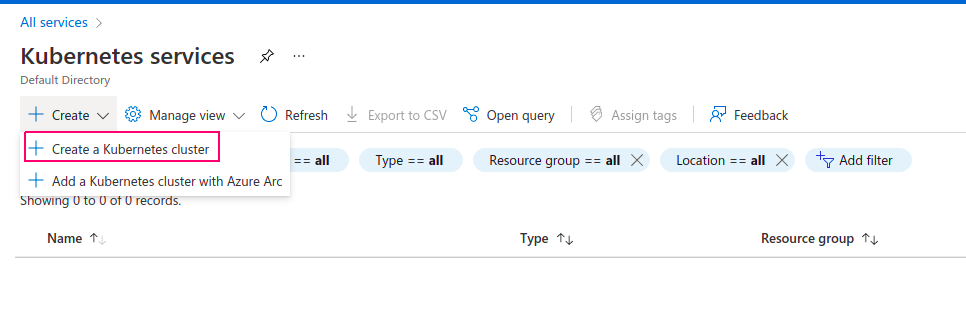
- Click on Create —> Create a Kubernetes cluster.
- Select a Subscription.
- Create or select existing resource group.
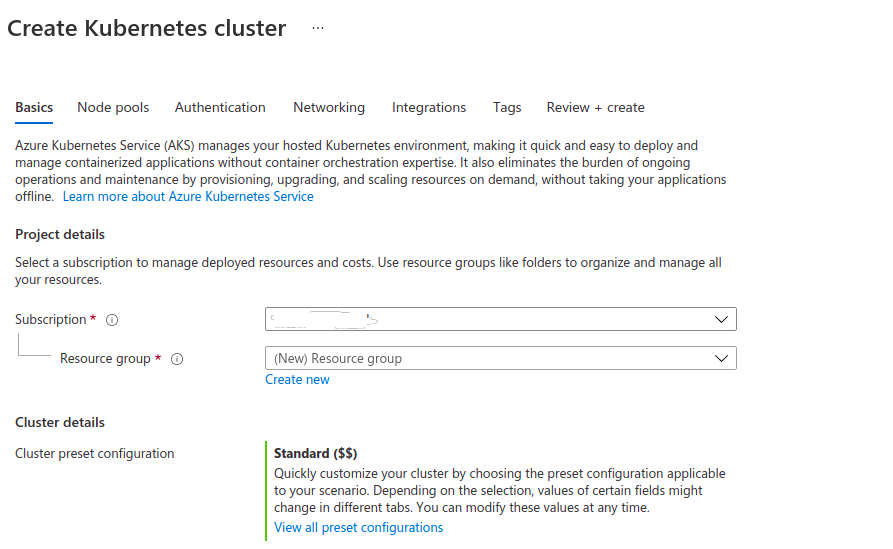
- Provide a Kubernetes cluster name.
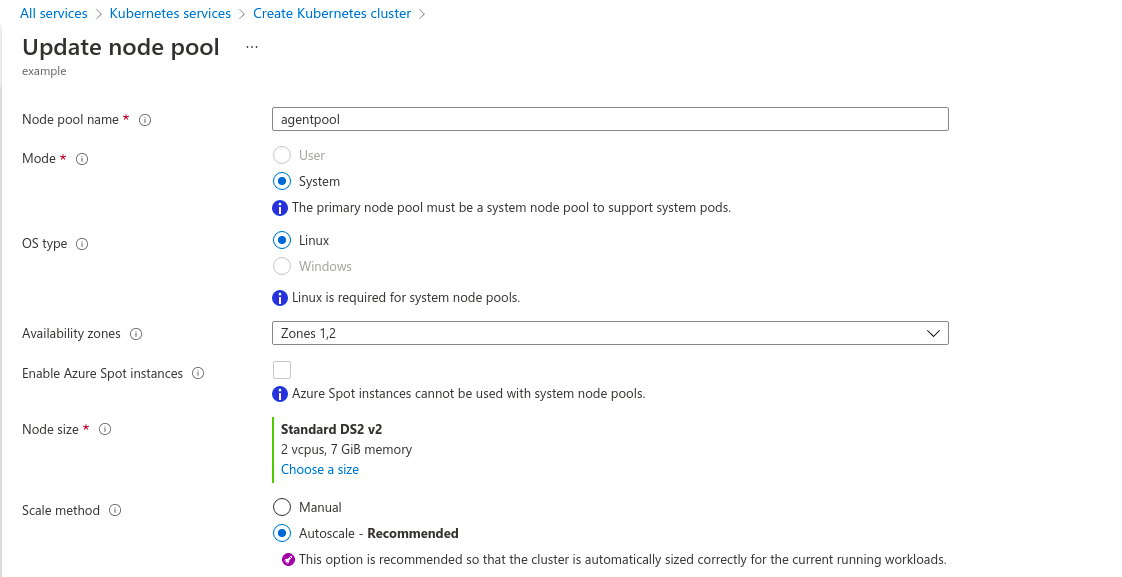
- Select Region & Availability zone.
- Select Kubernetes version & Node size.
- Select Scale Method : Manual or Auto-scale.
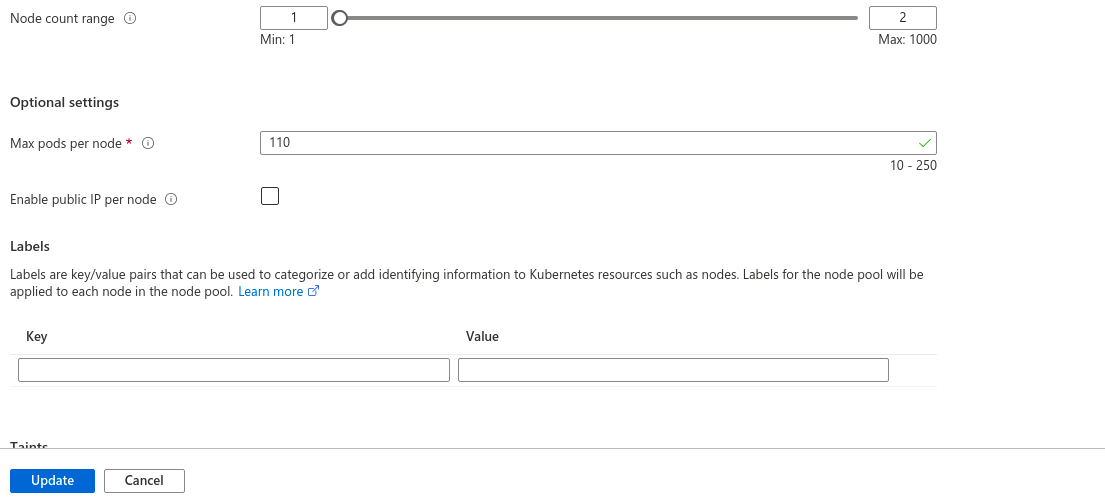
- Select Node count range.Click on Next Node-pools.

- By default,One node pool is created.So update the default node-pool or create a new new pool.
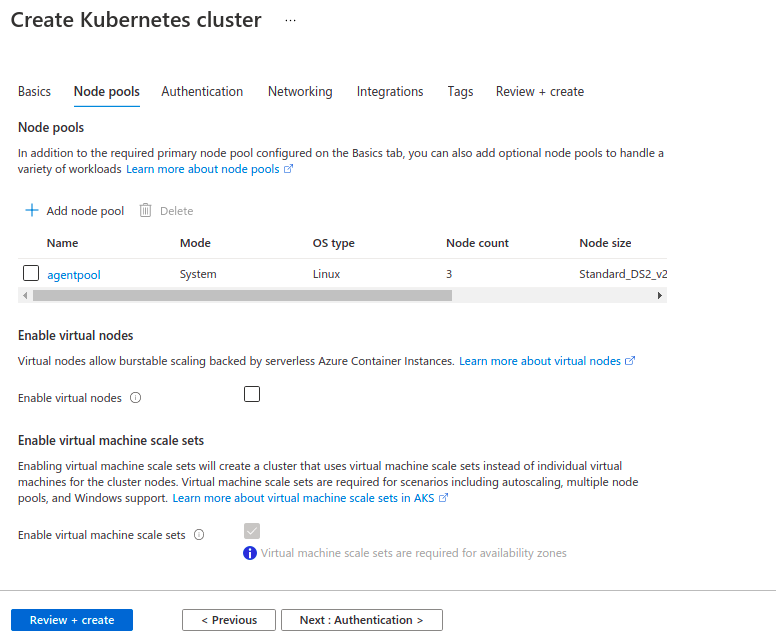
- Click on default node-pool & update it as per requirements.Click on Update.
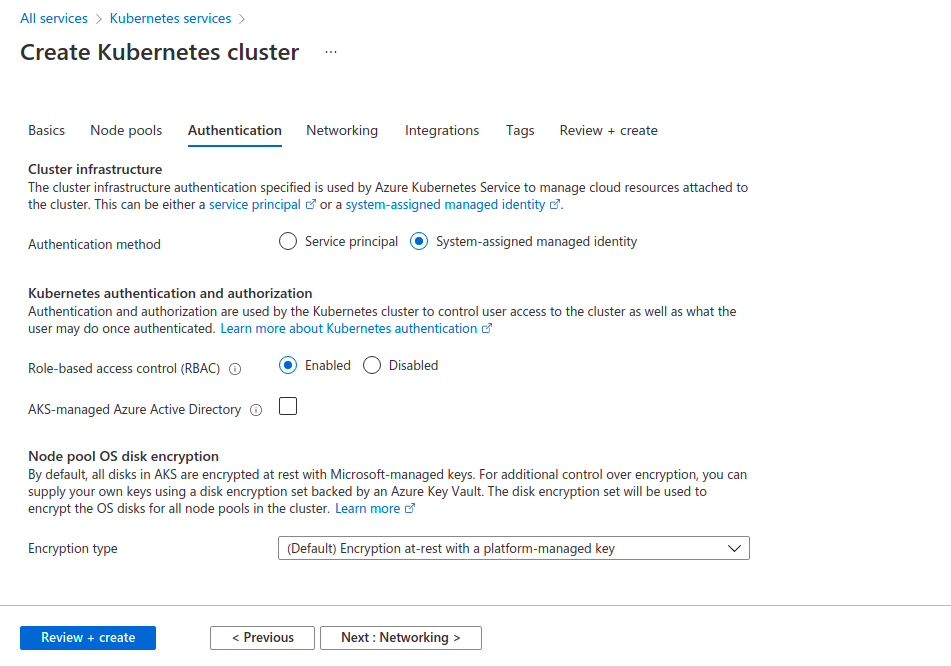
- Click on Next Authentication.
- On the Authentication page,create a new cluster identity by either:Leaving the Authentication field with System-assigned managed identity, or selecting Service Principal.
- If select Service principal,then provide the Service principal client ID and secret.
- Enable the Kubernetes role-based access control (Kubernetes RBAC) option & leave the other options.
- Click on Next Networking.
- On Networking page,we have 2 option to create network configuration by either:kubenet or Azure CNI.
- If choosing kubenet,it creates a new VNet for your cluster using default values.
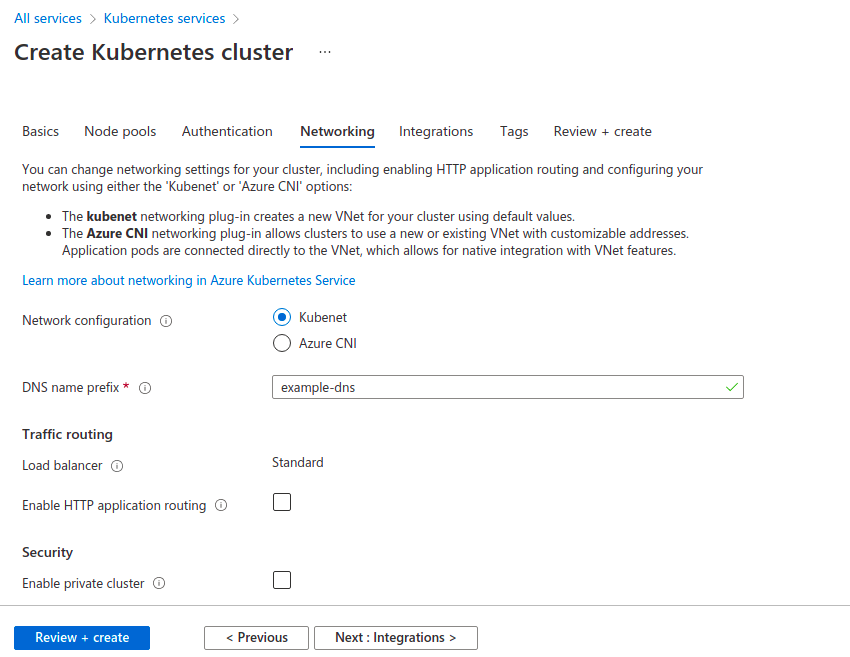
- If choosing Azure CNI,create or select a existing Vnet for ypur cluster.
- Leave the other options.Click on Next Integrations.

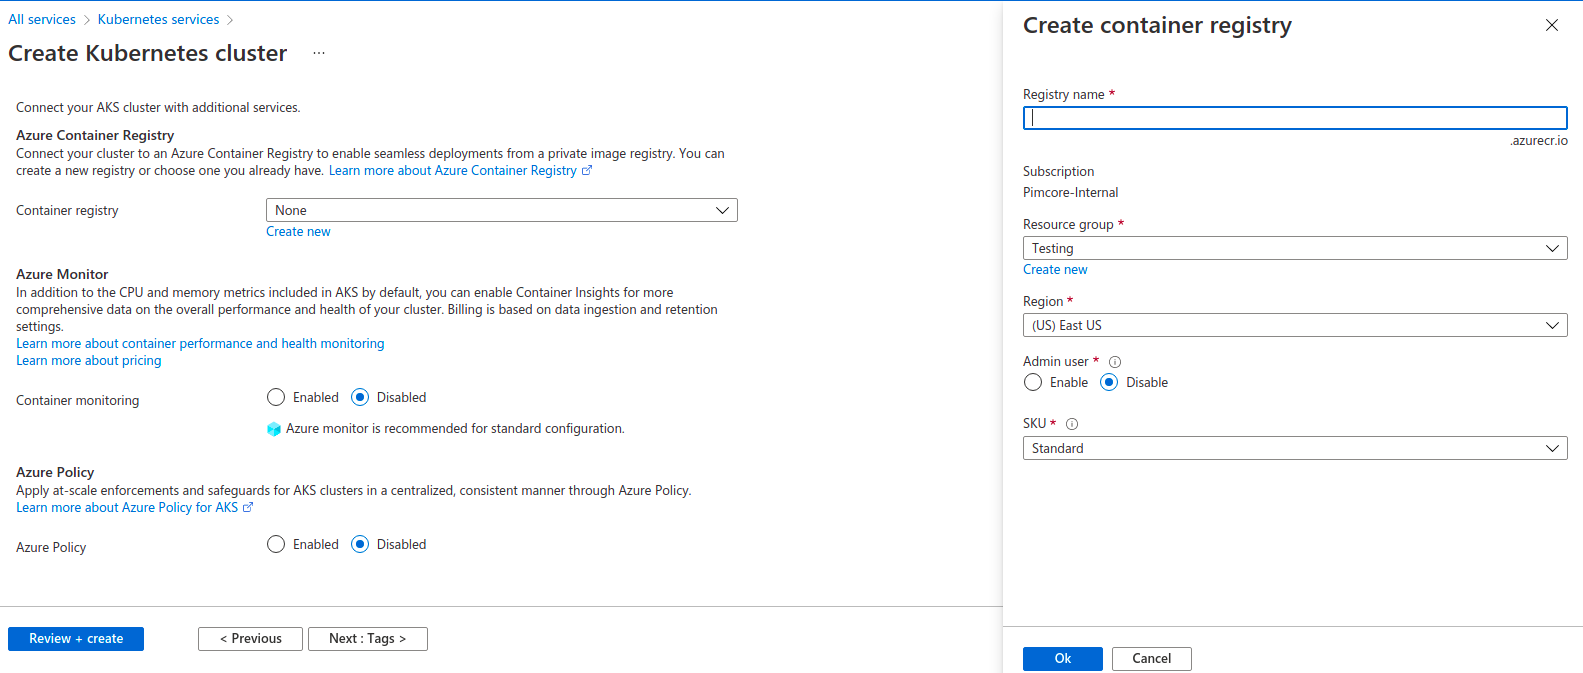
- Create or select existing container registry.Click on create new container registry.
- Provide the Registry name,resource group,region & SKU.Click Ok.
- By default container monitoring & Azure policy are disabled.
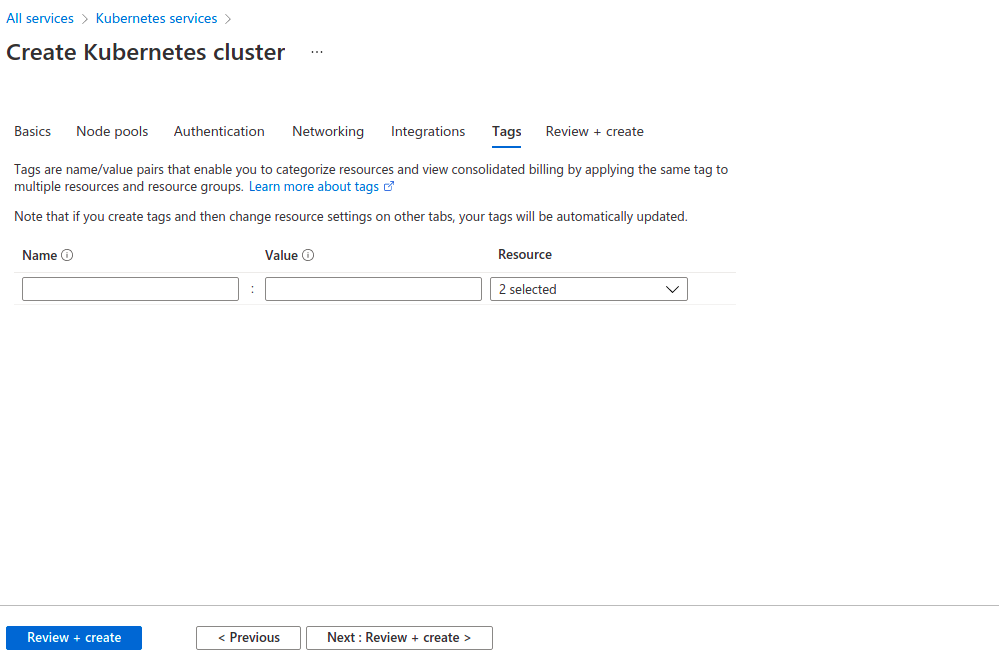
- Click on Next Tags.
- Provide the Key name & value.Click on Next Review+create.
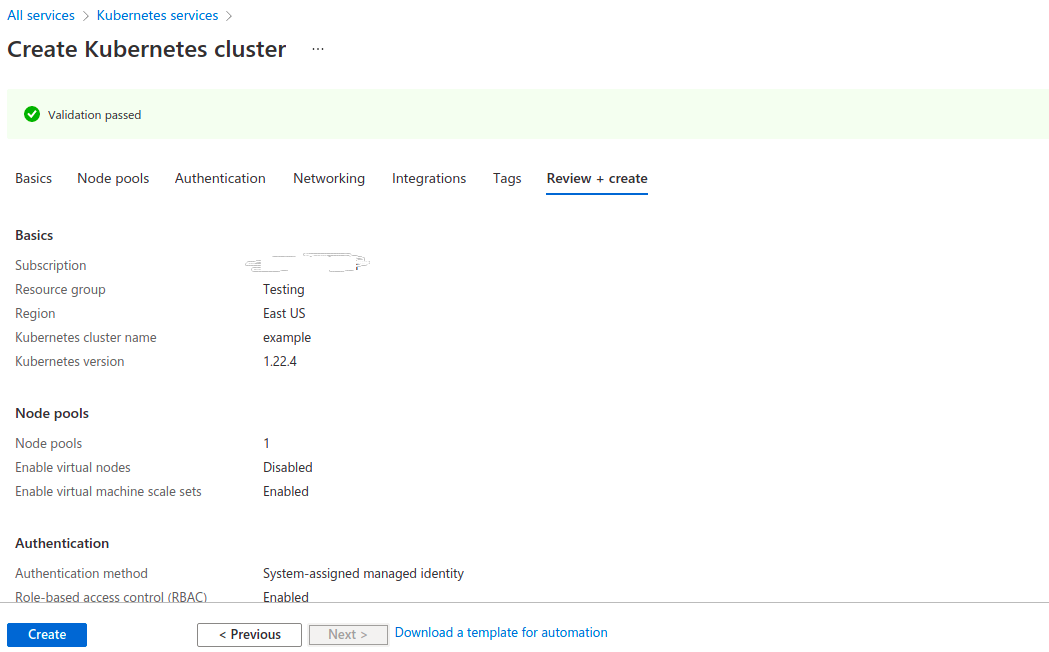
- Once validation passed successfully click on create option.
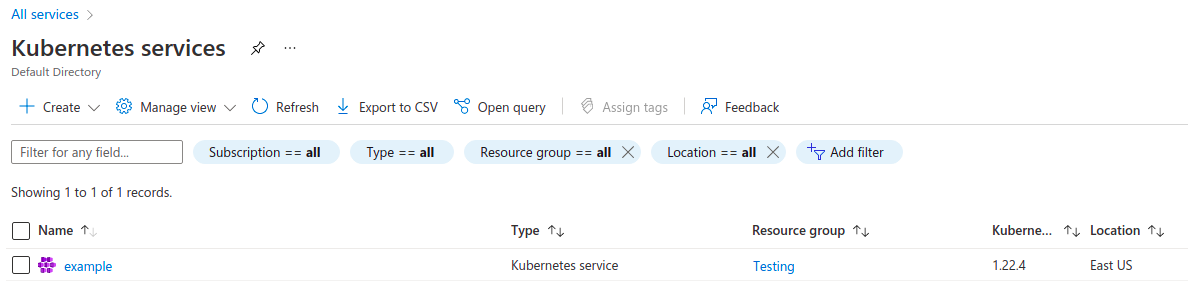
- Now go to Kubernetes services Home page.