shivani singh
- January 16, 2022
Step By Step Guide to Install & Use Gremlin on Ubuntu 20.04 LTS
Gremlin is an open source, safe and secure service. It performs Chaos Engineering experiments through a SaaS-based platform. Using Gremlin Agent, we can monitor all the resources such as CPU, memory, disk & Input/Output(IO). It provides a web interface to monitor the Host services/resources.
There are some steps to create gremlin account & setup Gremlin Agent on Ubuntu:
Prerequisite:
- Ubuntu 20.04 with sudo permission.
- A Gremlin account.
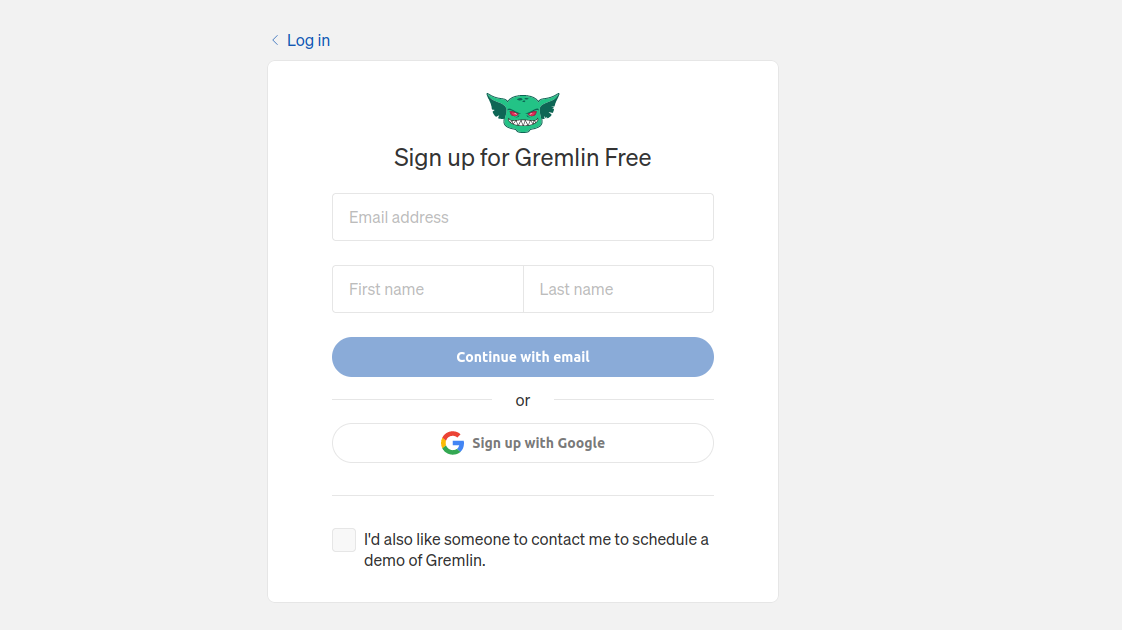
Create Gremlin Account
- First we need to create Gremlin account so go to Gremlin website (https://app.gremlin.com/signup) & provide the details such as email address,user first name,last name & click on Continue with email.
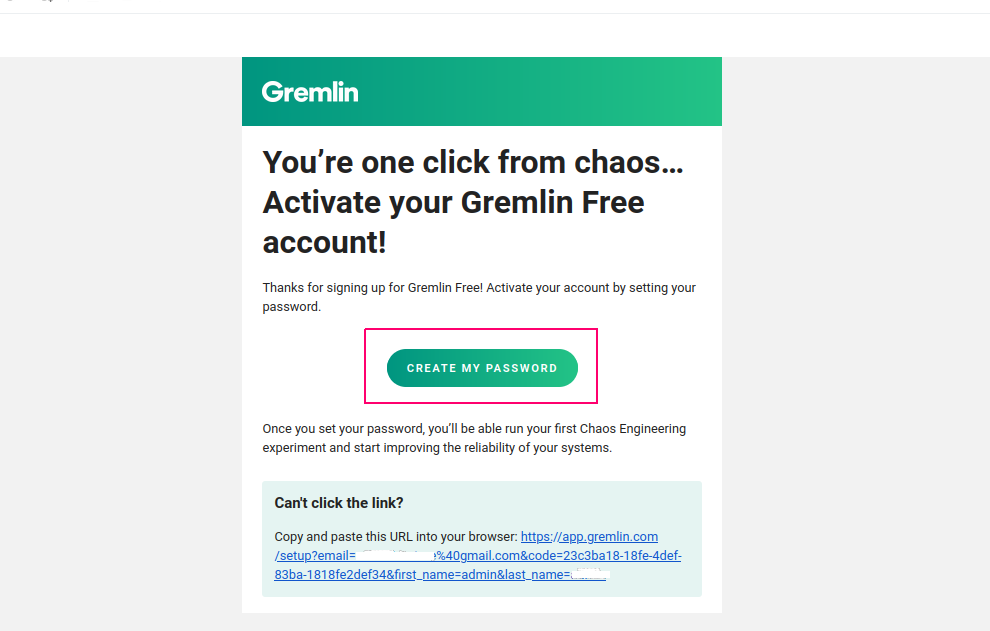
- Go to mail account & open mail come from Gremlin site.
- Click on Create My Password.
- Provide the details such as set the password,Role,Company & Team name.
- Tick the privacy policy & Go to Dashboard.
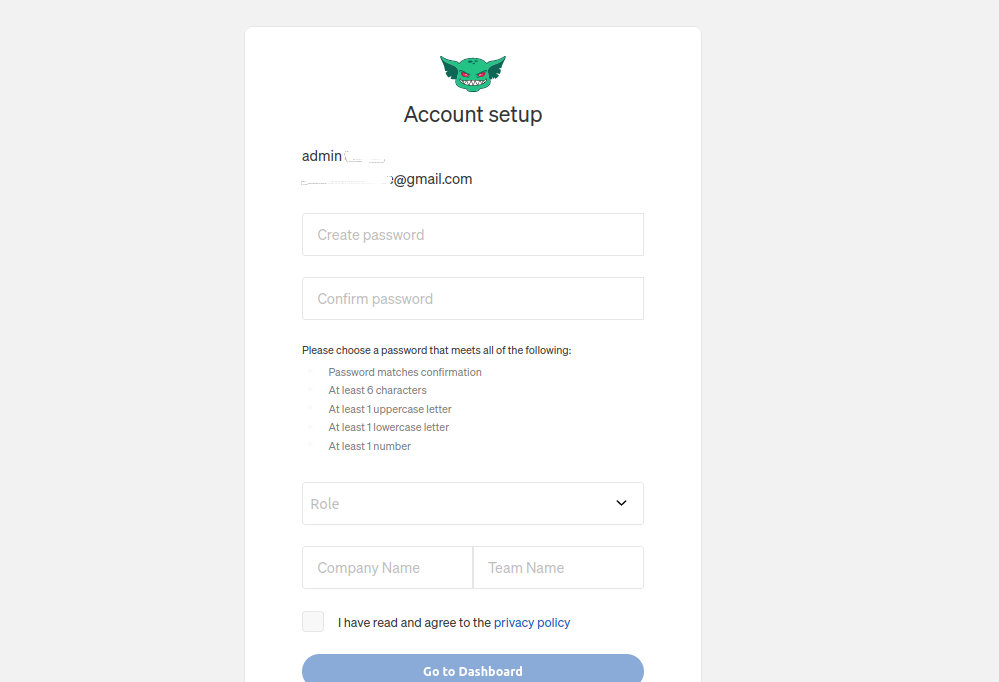
- Now Gremlin is Ready.

Install the Gremlin Agent on System
Step 1: Update the System.
apt-get update
Step 2: Add the Gremlin repo.
echo “deb https://deb.gremlin.com/ release non-free” | sudo tee /etc/apt/sources.list.d/gremlin.list
- Import the GPG key.
apt-key adv –keyserver keyserver.ubuntu.com –recv-keys 9CDB294B29A5B1E2E00C24C022E8EF3461A50EF6
- Here is the command output.
root@ip-172-31-47-62:/home/ubuntu# echo “deb https://deb.gremlin.com/ release non-free” | sudo tee /etc/apt/sources.list.d/gremlin.list
deb https://deb.gremlin.com/ release non-free
root@ip-172-31-47-62:/home/ubuntu# apt-key adv –keyserver keyserver.ubuntu.com –recv-keys 9CDB294B29A5B1E2E00C24C022E8EF3461A50EF6
Executing: /tmp/apt-key-gpghome.kQMcW58uAD/gpg.1.sh –keyserver keyserver.ubuntu.com –recv-keys 9CDB294B29A5B1E2E00C24C022E8EF3461A50EF6
gpg: key 22E8EF3461A50EF6: public key “Gremlin Inc. (Gremlin Inc. Code Signing Key) <security@gremlin.com>” imported
gpg: Total number processed: 1
gpg: imported: 1
- Update the system.
apt-get update
Step 3: Install the Gremlin client & daemon.
apt-get install gremlin gremlind
- Here is the command output.
root@ip-172-31-47-62:/home/ubuntu# apt-get install gremlin gremlind
Reading package lists… Done
Building dependency tree
Reading state information… Done
The following NEW packages will be installed:
gremlin gremlind
0 upgraded, 2 newly installed, 0 to remove and 32 not upgraded.
Need to get 42.9 MB of archives.
After this operation, 77.5 MB of additional disk space will be used.
Get:1 https://deb.gremlin.com release/non-free amd64 gremlin amd64 2.22.1-1 [35.9 MB]
Get:2 https://deb.gremlin.com release/non-free amd64 gremlind amd64 2.22.1-1 [7040 kB]
Fetched 42.9 MB in 6s (7378 kB/s)
Selecting previously unselected package gremlin.
(Reading database … 63895 files and directories currently installed.)
Preparing to unpack …/gremlin_2.22.1-1_amd64.deb …
Unpacking gremlin (2.22.1-1) …
Selecting previously unselected package gremlind.
Preparing to unpack …/gremlind_2.22.1-1_amd64.deb …
Unpacking gremlind (2.22.1-1) …
Setting up gremlin (2.22.1-1) …
install: creating directory ‘/etc/gremlin’
‘/usr/share/gremlin/etc/gremlin/config.yaml’ -> ‘/etc/gremlin/config.yaml’
Setting up gremlind (2.22.1-1) …
NOTICE: CAP_SYS_PTRACE and CAP_DAC_READ_SEARCH set for /usr/bin/gremlind.
Installing via systemd…
Created symlink /etc/systemd/system/multi-user.target.wants/gremlind.service → /etc/systemd/system/gremlind.service.
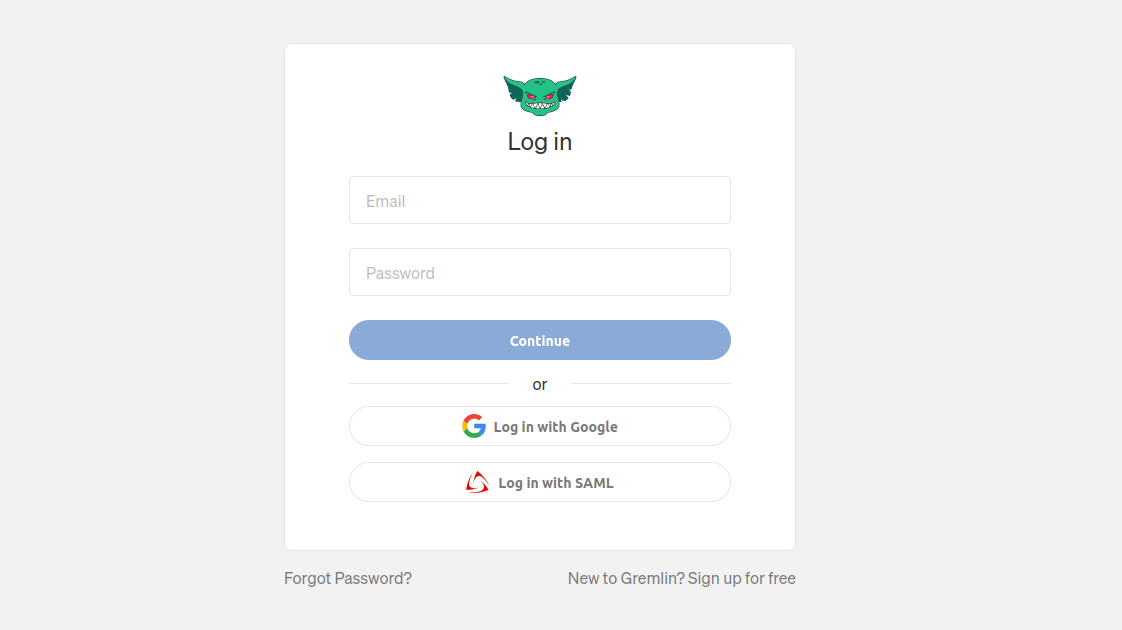
Step 4: Open Gremlin web interface.
https://app.gremlin.com/login
- Here is the output.
- Provide email address & password.
- Click on Continue.
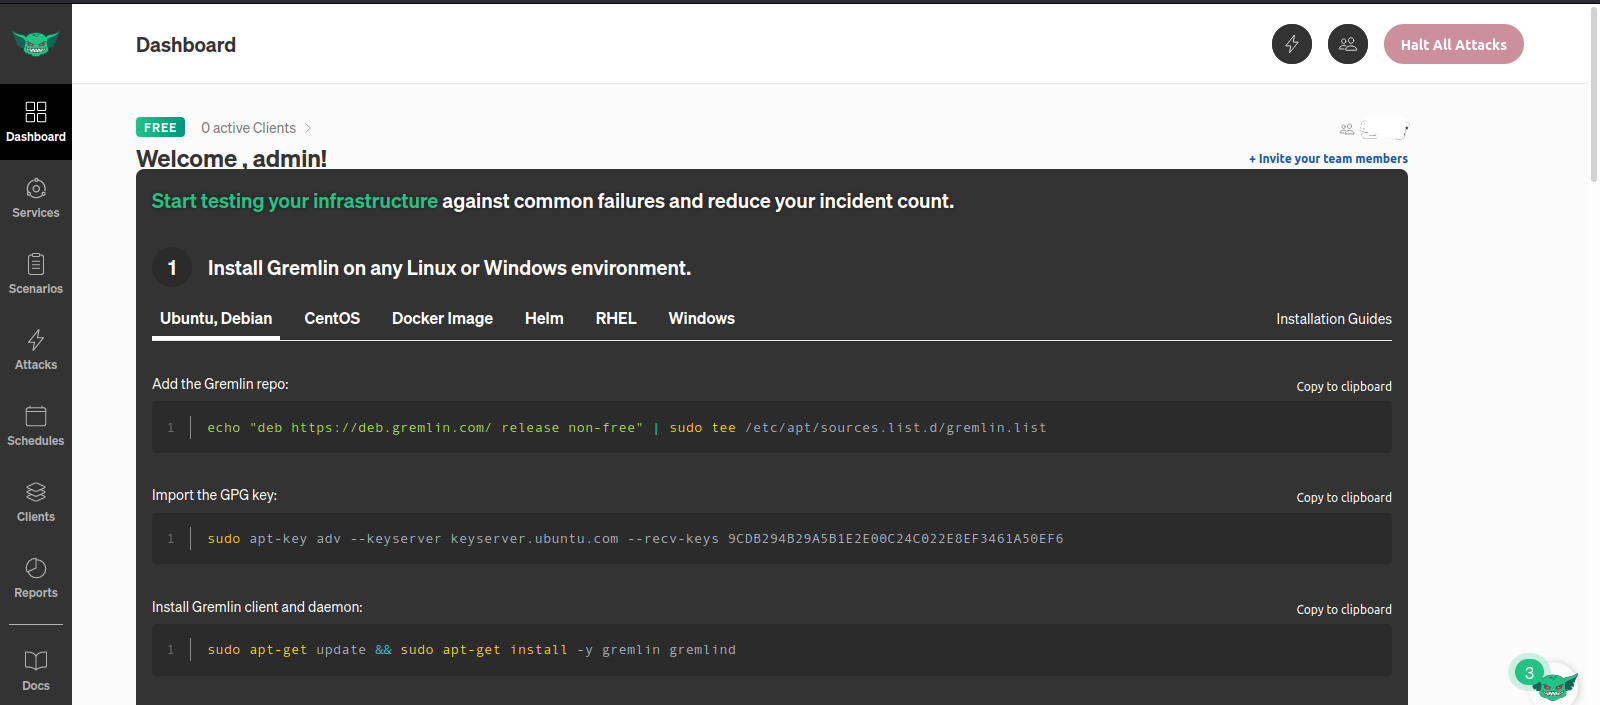
- Gremlin Dashboard is Ready.
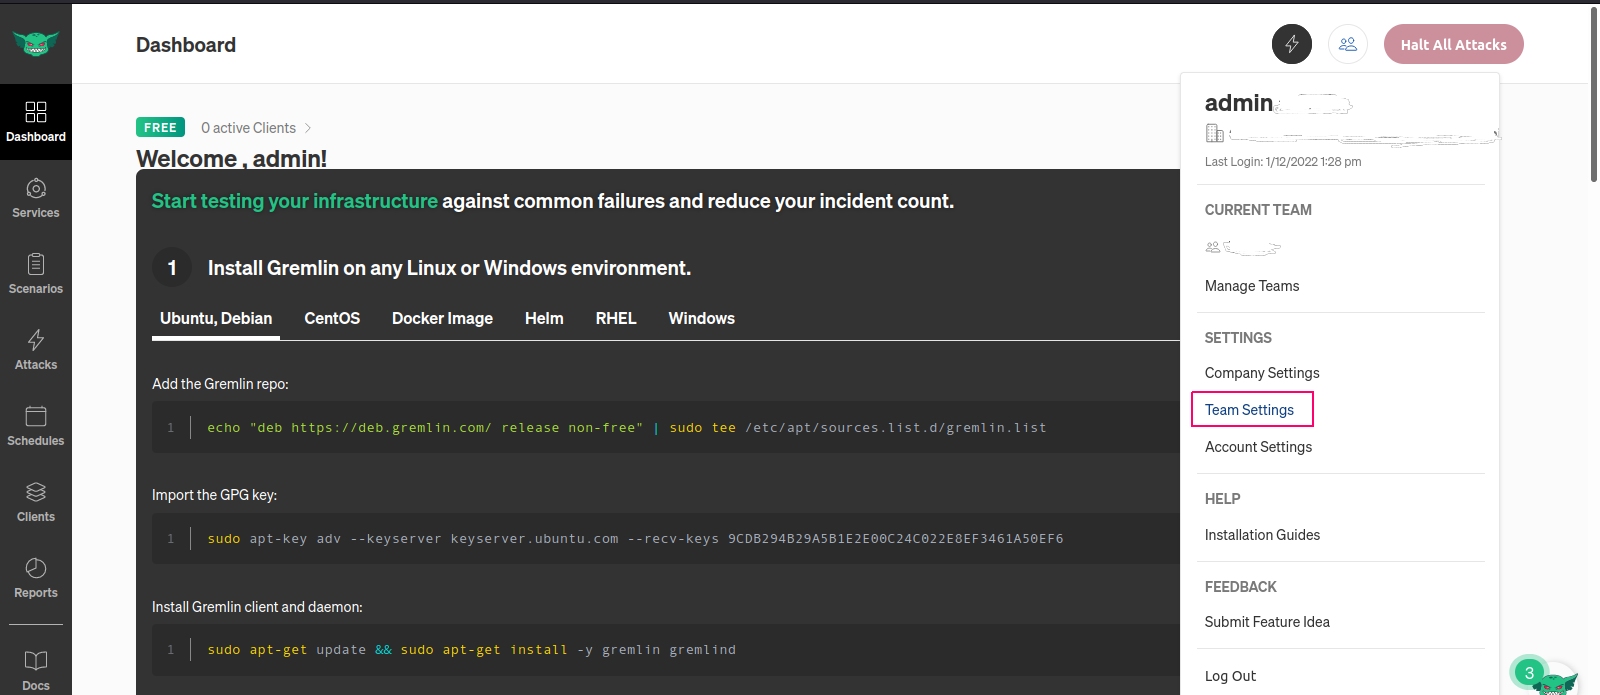
- Click on Team settings.
- Here,we can see the Members name.
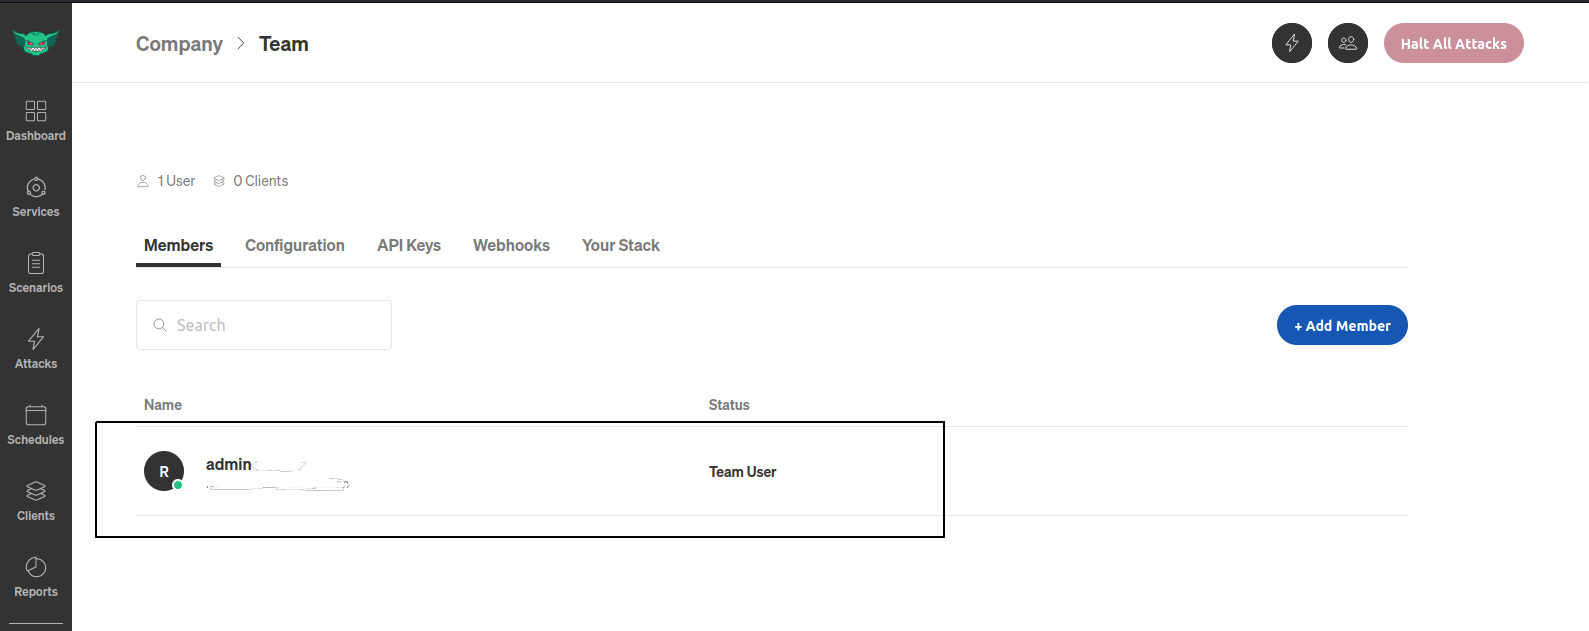
- Click on Configuration.
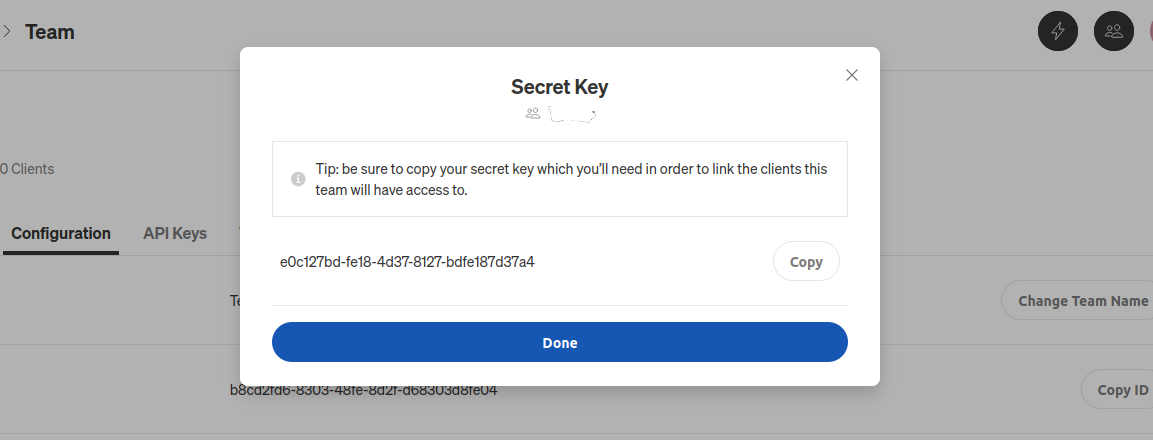
- Click on “Create” the Secret Key.
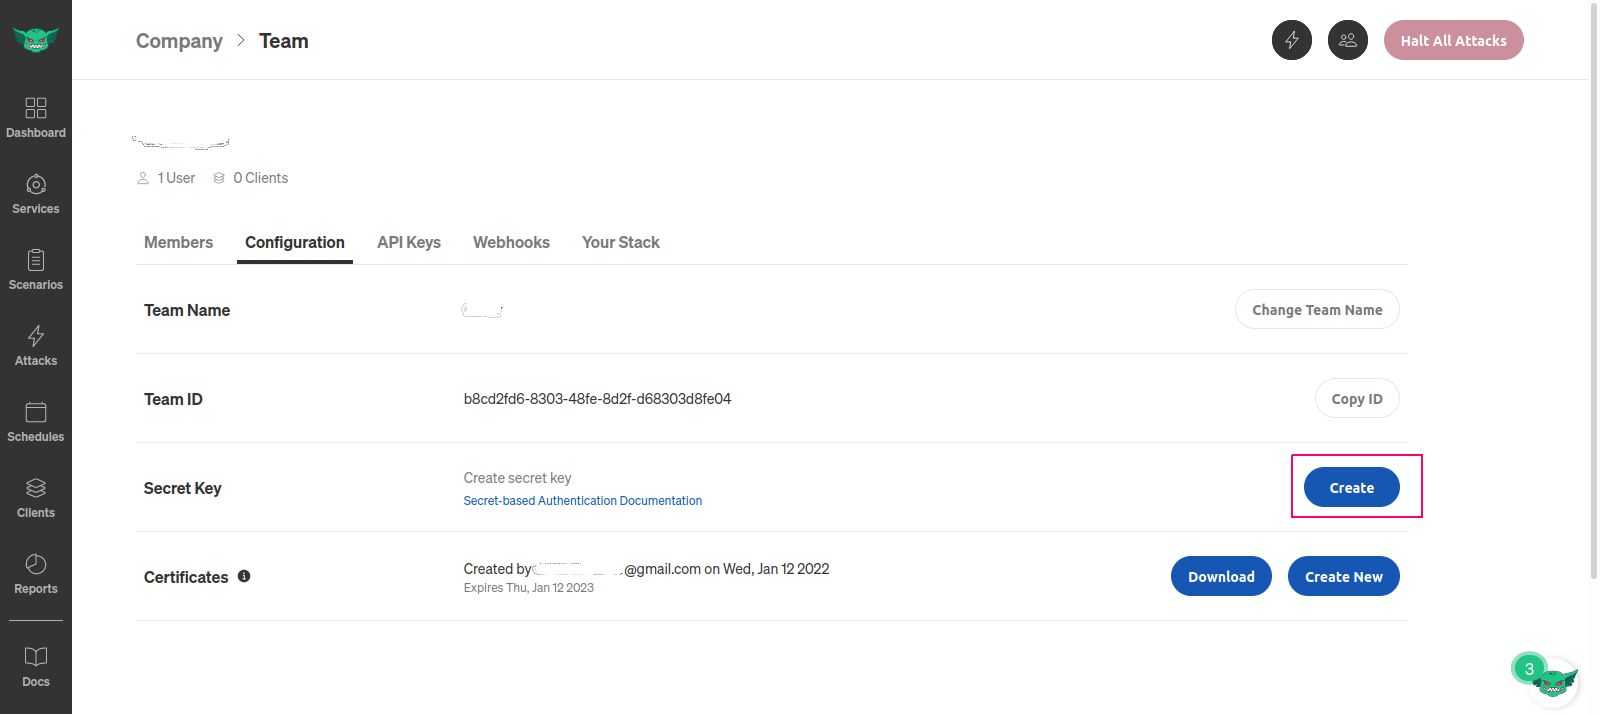
- Please write down or copy & paste the secret key on a notepad because If you lose it, we will need to hit the Reset button and generate a new one.
Step 5: Now Go back to system & run the following command:
gremlin init
- Provide the Team ID & secret key.
- Here is the command output.
root@ip-172-31-47-62:/home/ubuntu# gremlin init
Metadata set for [ gremlin-client-version: 2.22.1 ]
Metadata set for [ os-type: Linux ]
Metadata set for [ os-name: Ubuntu ]
AWS metadata may be present
Metadata set for [ instance-id: i-087bf95b984994405 ]
Metadata set for [ local-hostname: ip-172-31-47-62.sa-east-1.compute.internal ]
Metadata set for [ local-ip: 172.31.47.62 ]
Metadata set for [ public-hostname: ec2-15-228-73-18.sa-east-1.compute.amazonaws.com ]
Metadata set for [ public-ip: 15.228.73.18 ]
Metadata set for [ azid: sae1-az3 ]
Metadata set for [ cloud: AWS ]
Metadata set for [ image-id: ami-090006f29ecb2d79a ]
Metadata set for [ instance-type: t2.medium ]
Metadata set for [ region: sa-east-1 ]
Metadata set for [ zone: sa-east-1c ]
Unable to describe AWS tags. The error message is: No such file or directory (os error 2)
Azure metadata may be present
Please input your Team ID:
b8cd2fd6-8303-48fe-8d2f-d68303d8fe04
Please input your Team Secret:
Using b8cd2fd6-8303-48fe-8d2f-d68303d8fe04 for Team Id
Using 172.31.47.62 for Gremlin identifier
- Setup is now complete.
Step 6: Run the top command for view the CPU usage.
top
- Here is the command output.
root@ip-172-31-47-62:/home/ubuntu# top

top - 08:12:09 up 10 min, 1 user, load average: 0.00, 0.02, 0.02

Tasks: 113 total, 1 running, 112 sleeping, 0 stopped, 0 zombie

%Cpu(s): 0.2 us, 0.0 sy, 0.0 ni, 99.8 id, 0.0 wa, 0.0 hi, 0.0 si, 0.0 st

MiB Mem : 3924.1 total, 3038.6 free, 165.2 used, 720.3 buff/cache

MiB Swap: 0.0 total, 0.0 free, 0.0 used. 3534.1 avail Mem

PID  USER  PR   NI    VIRT    RES    SHR   S  %CPU %MEM  TIME+   COMMAND

1    root  20   0    103108   12388  8196  S   0.0  0.3  0:03.46  systemd

2    root  20   0     0        0     0     S   0.0  0.0  0:00.00  kthreadd

3    root   0  -20    0        0     0     I   0.0  0.0  0:00.00  rcu_gp

4    root   0  -20    0        0     0     I   0.0  0.0  0:00.00  rcu_par_gp
- Now go to Gremlin web interface.
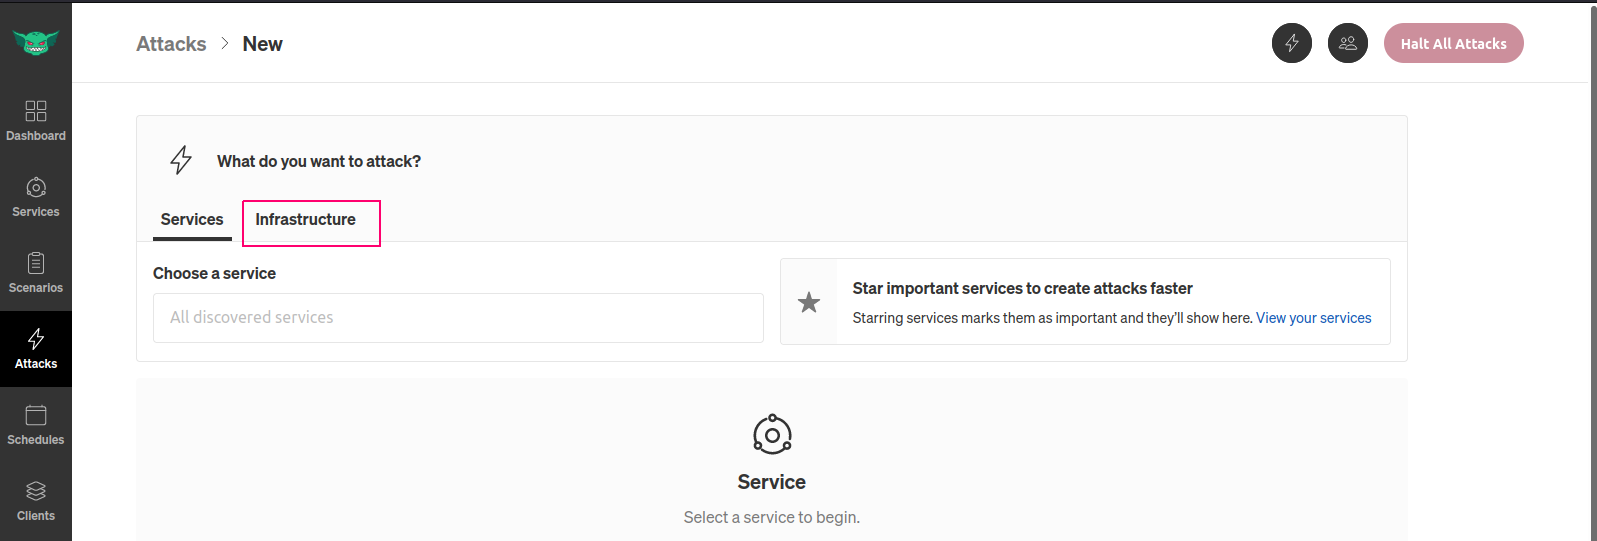
- Click on Attack—>New Attack.

- Click on Infrastructure.
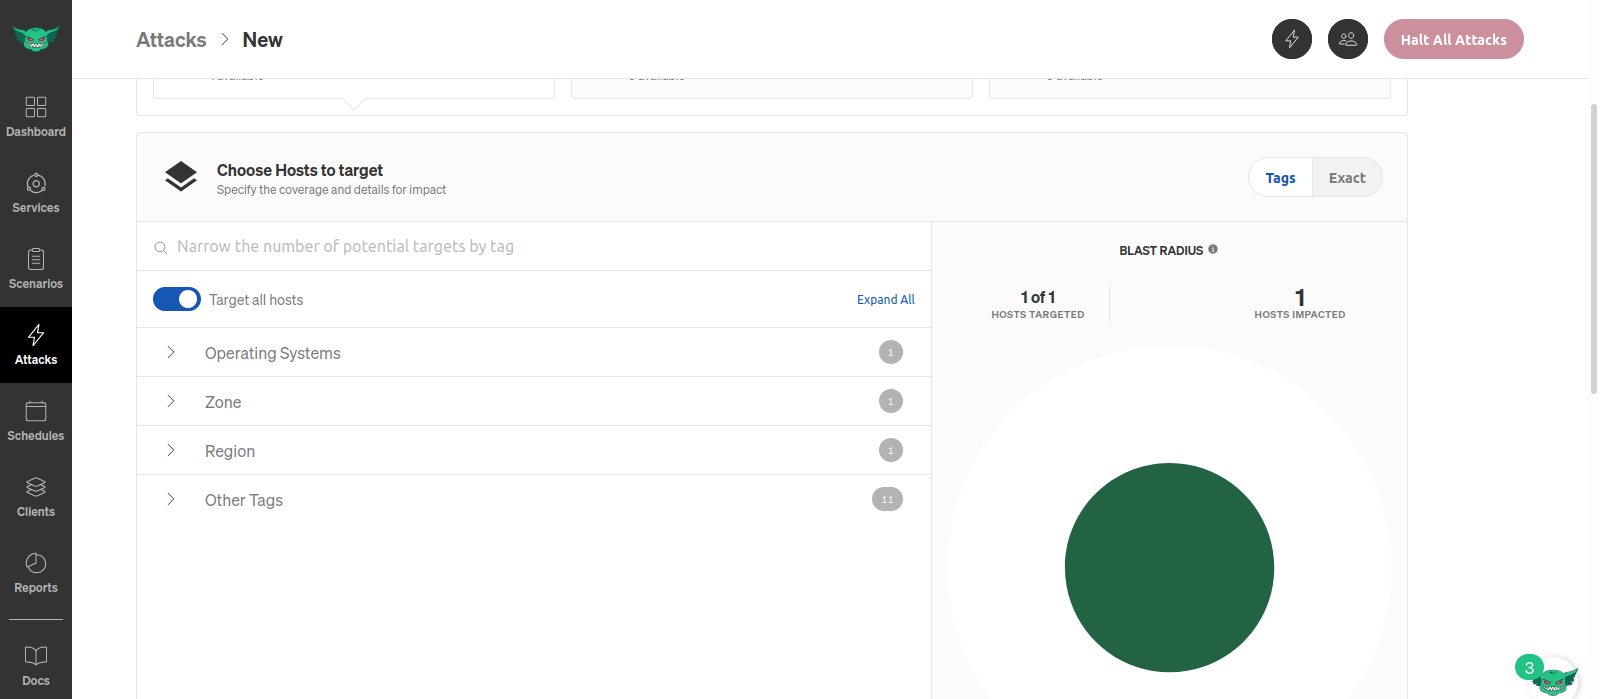
- Then Choose the Hosts to target.
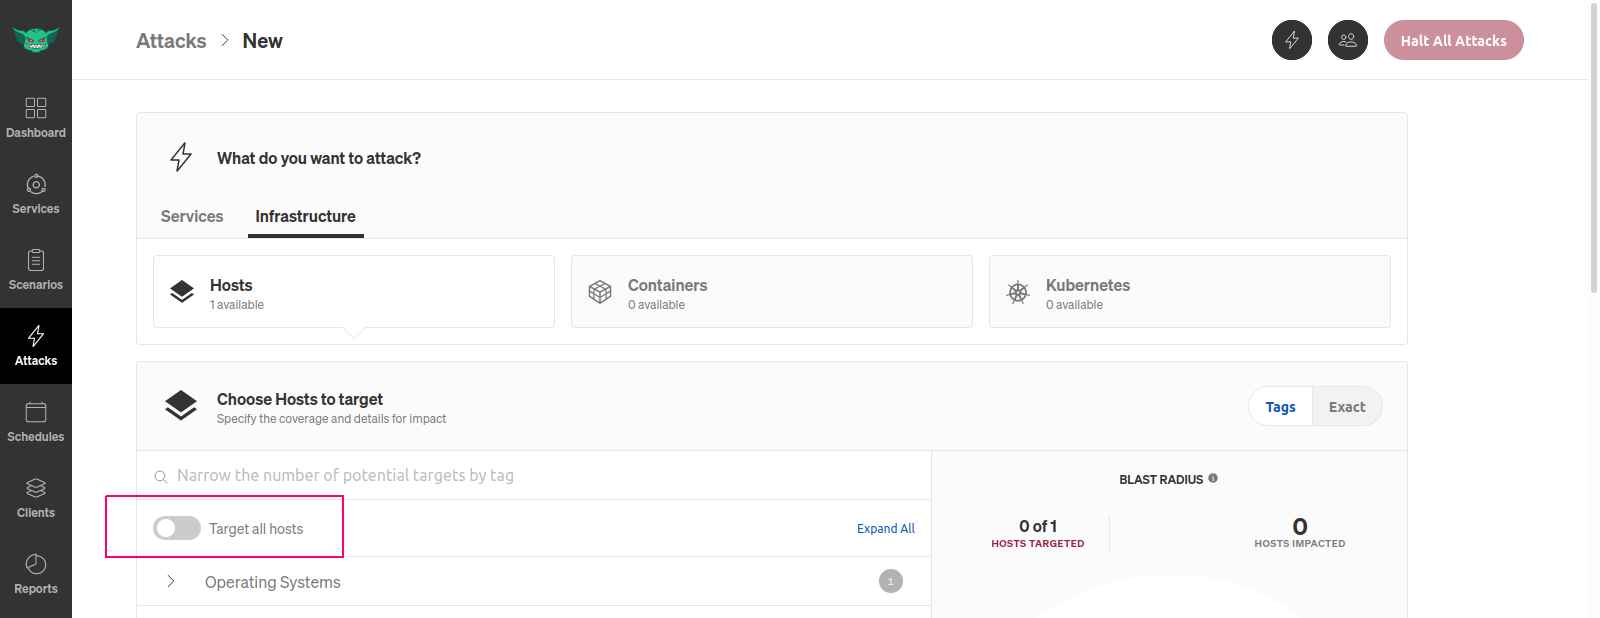
- Only One host is available so enable the target all hosts.
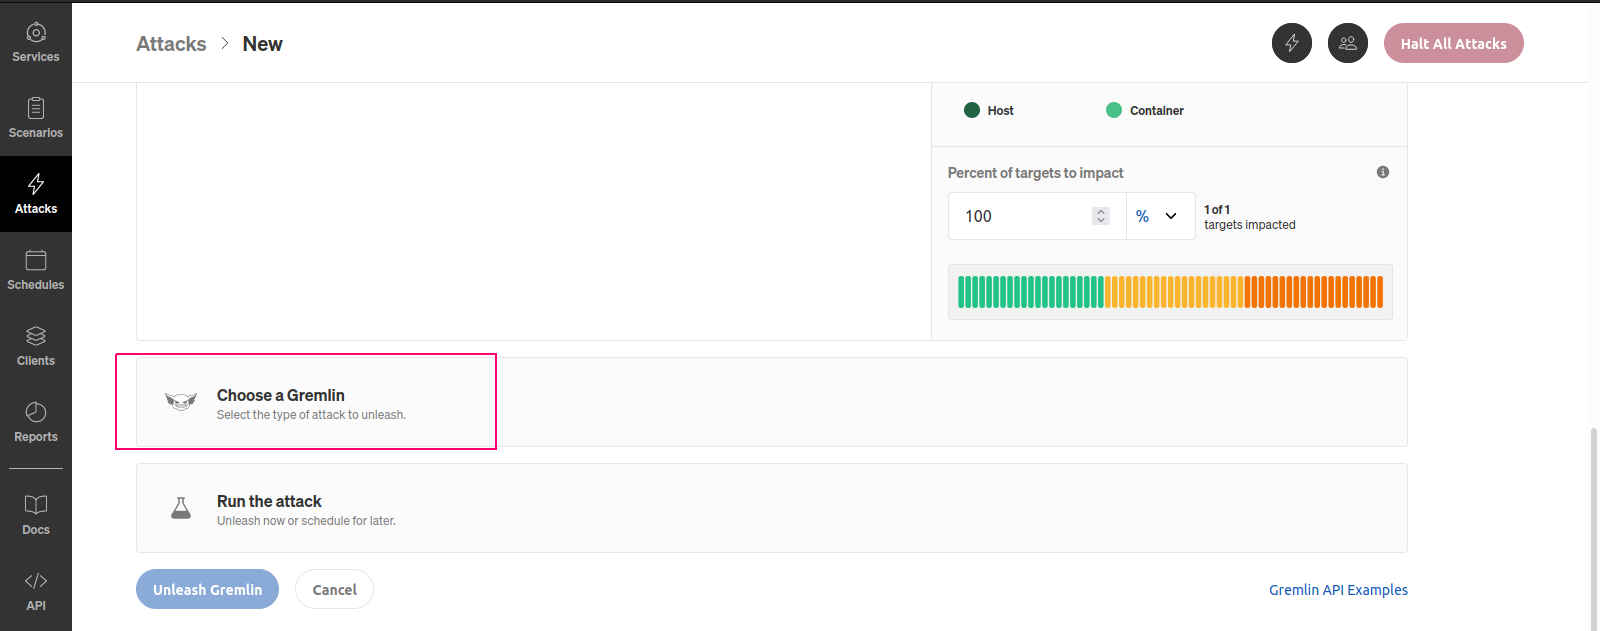
- Next, Choose a Gremlin.
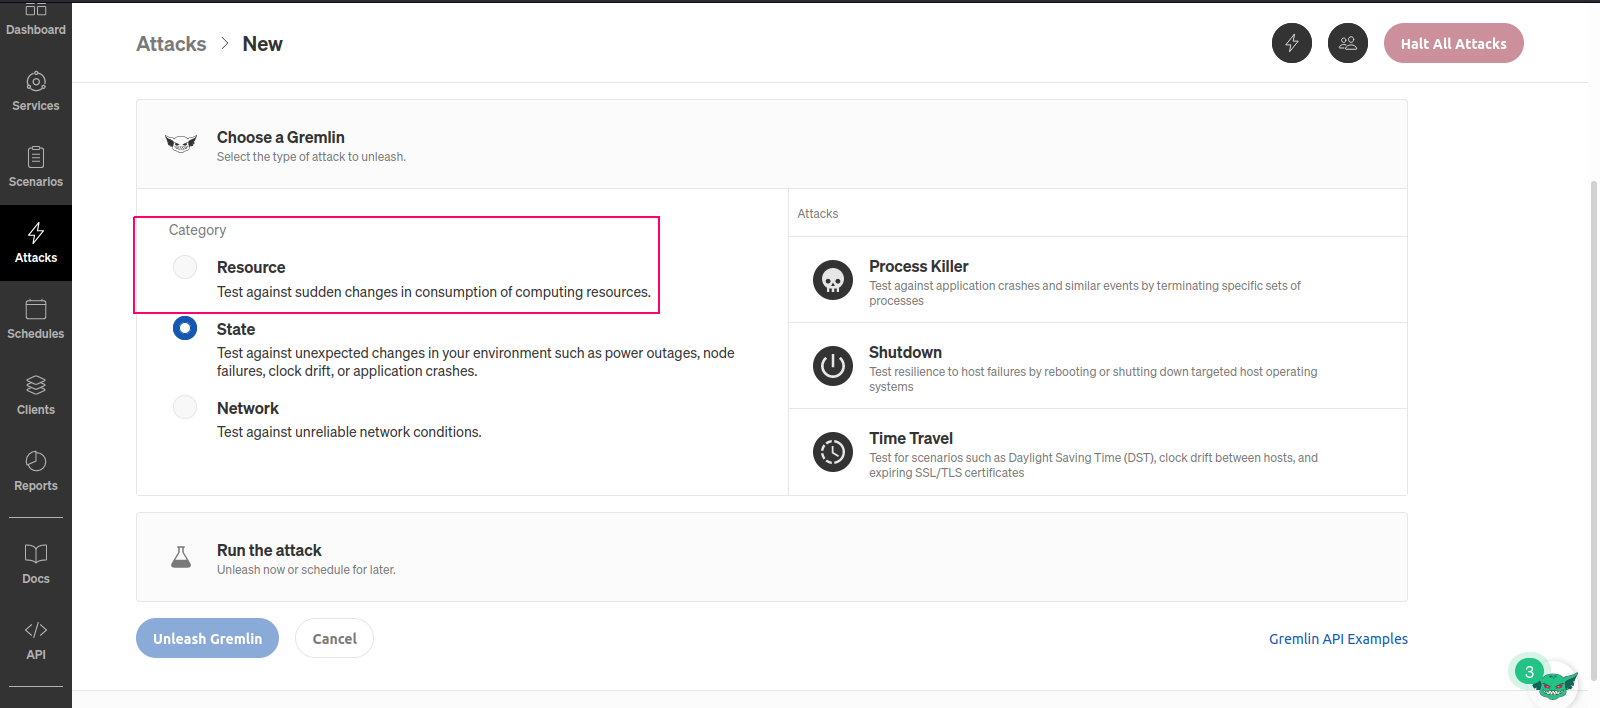
- Click on Resource.
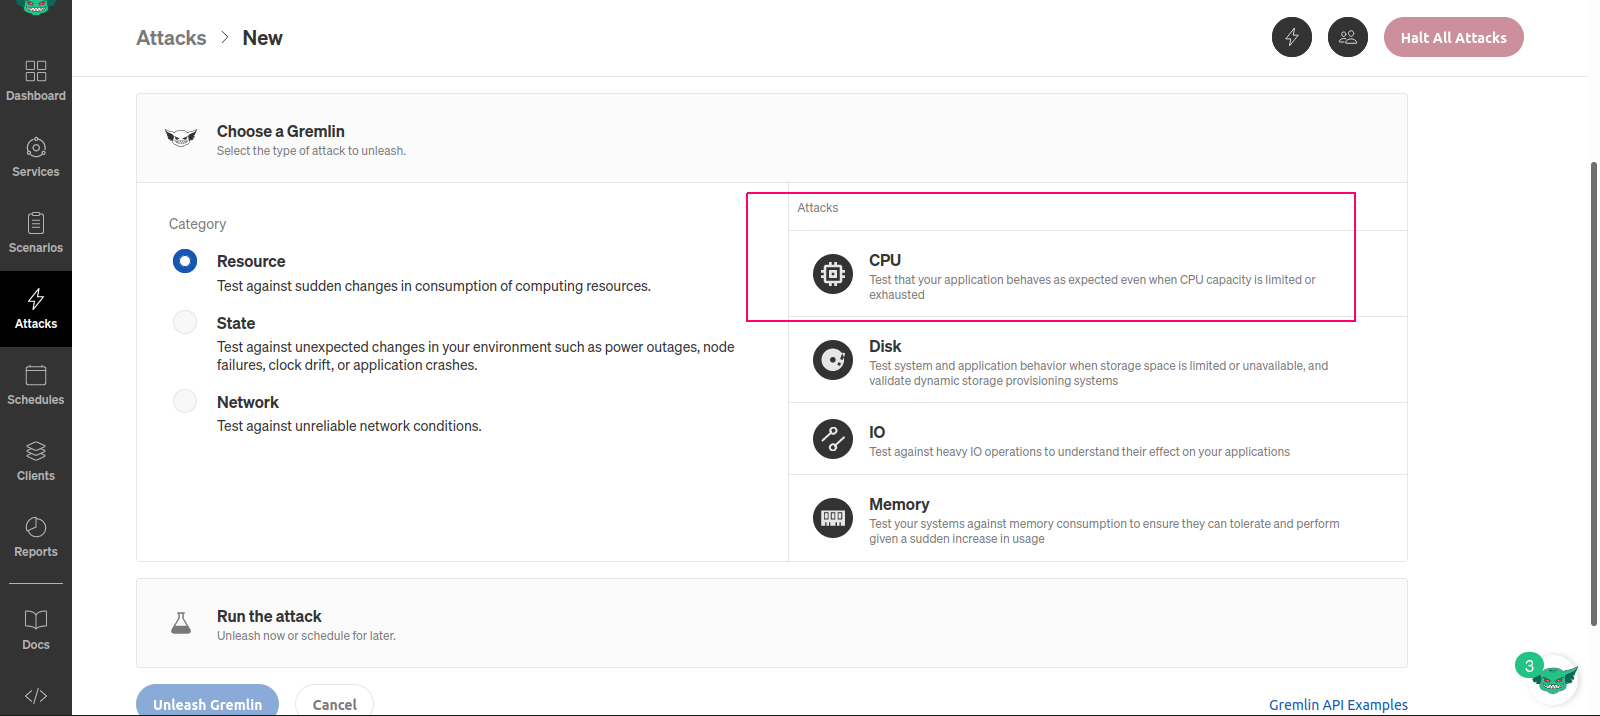
- Select CPU.
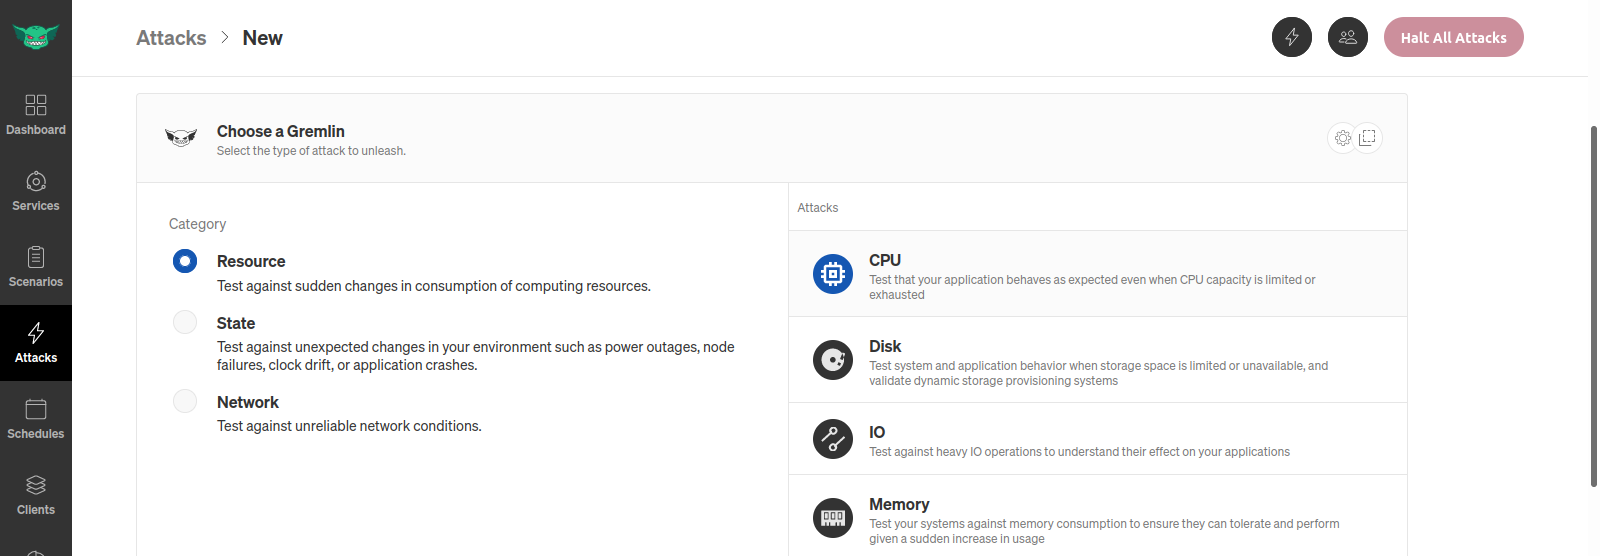
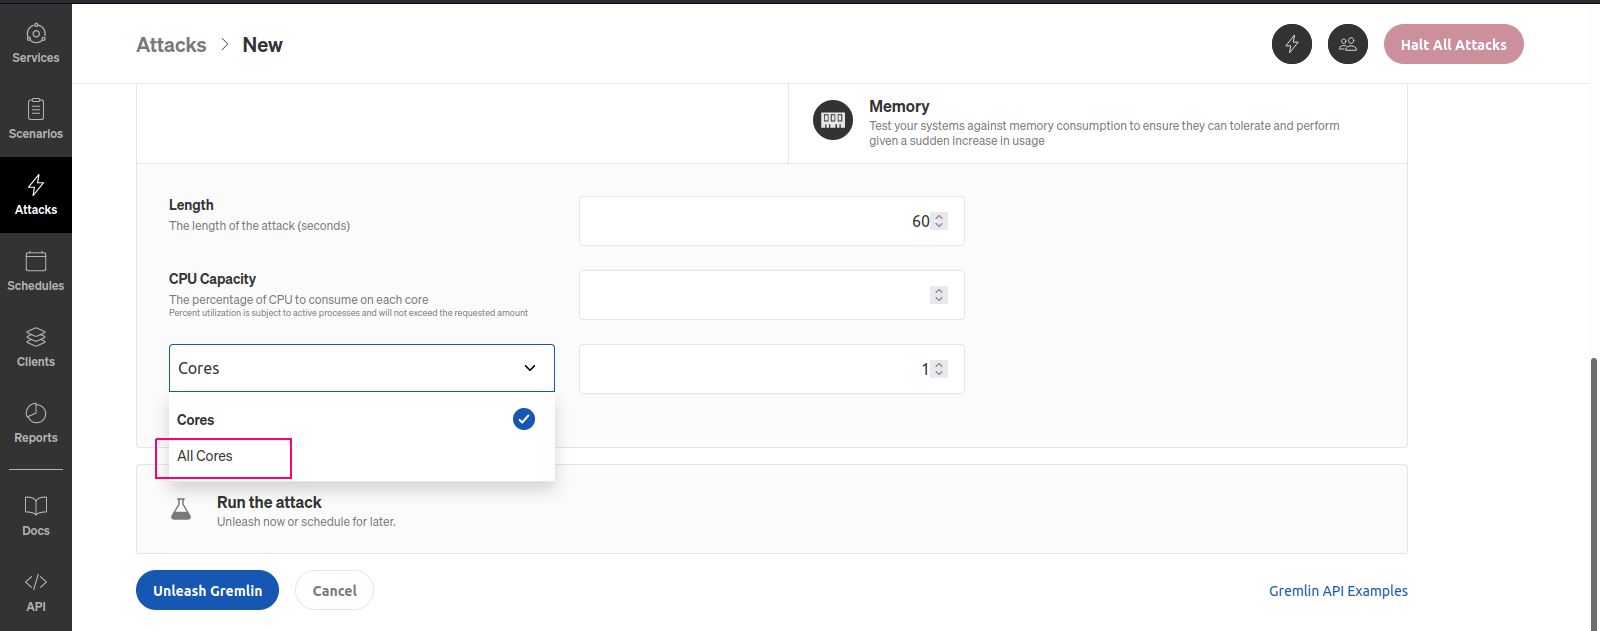
- By default CPU length is 60 seconds,select All Cores, and leave the CPU percentage.
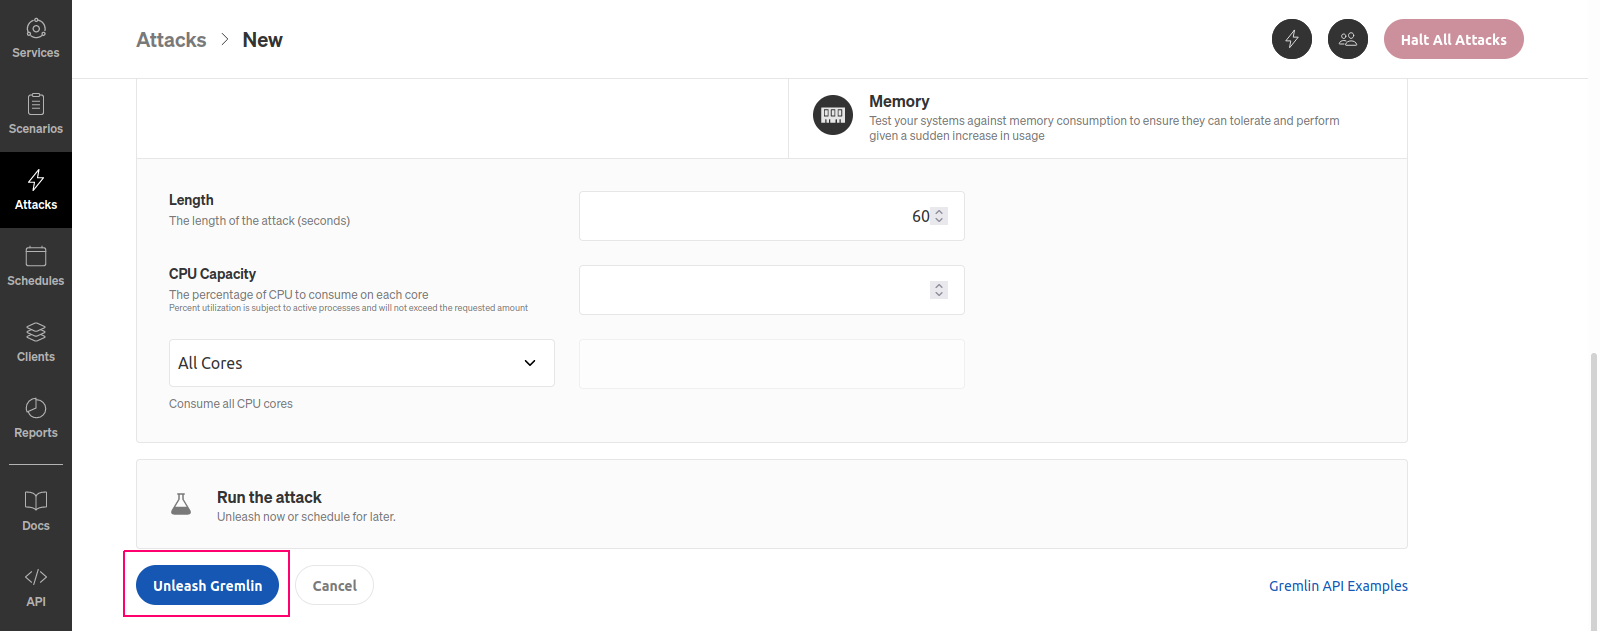
- Click on Unleash Gremlin.
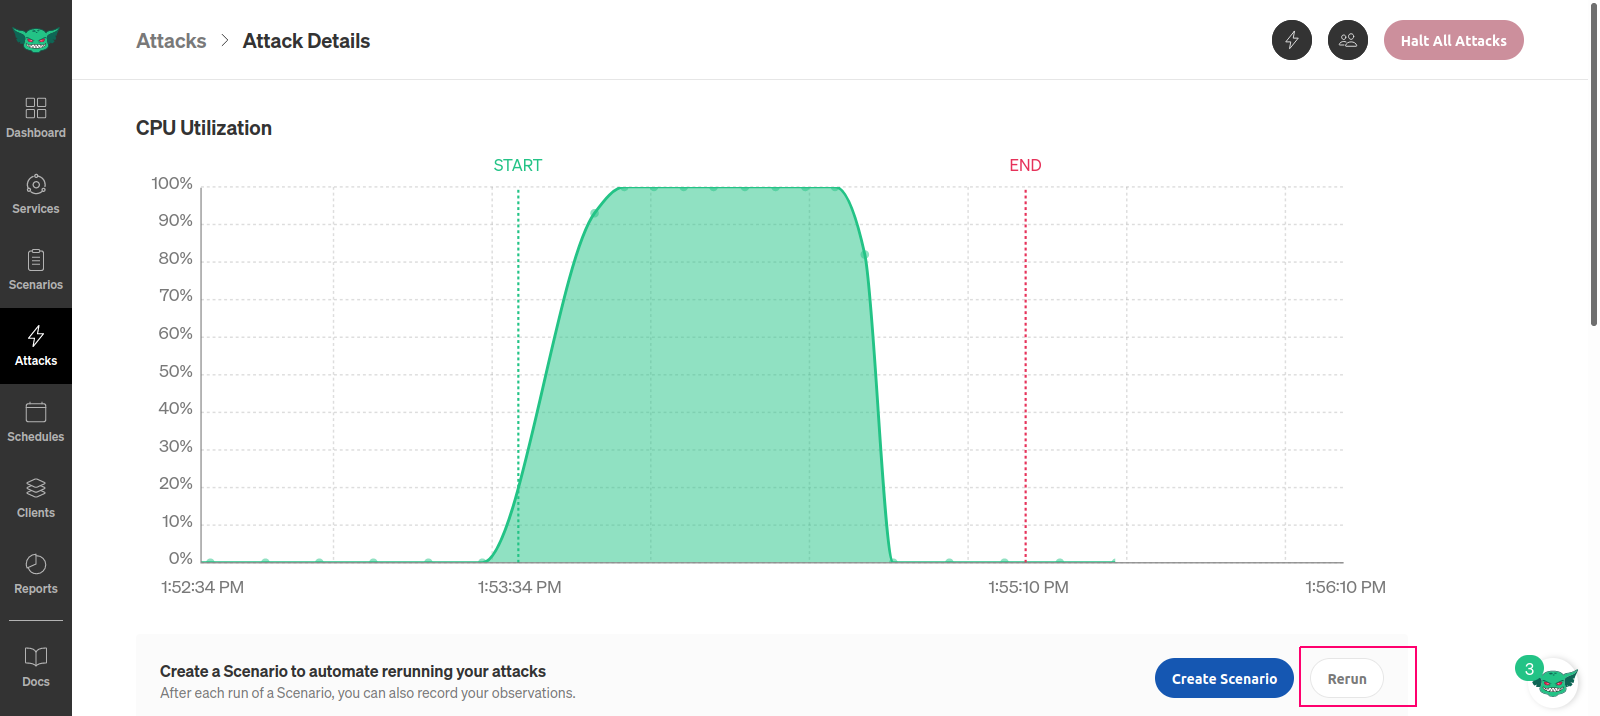
- Now CPU utilization Graph is Ready.

- Scroll Down the page.Here other information like configuration details.
- Cloudwatch details.
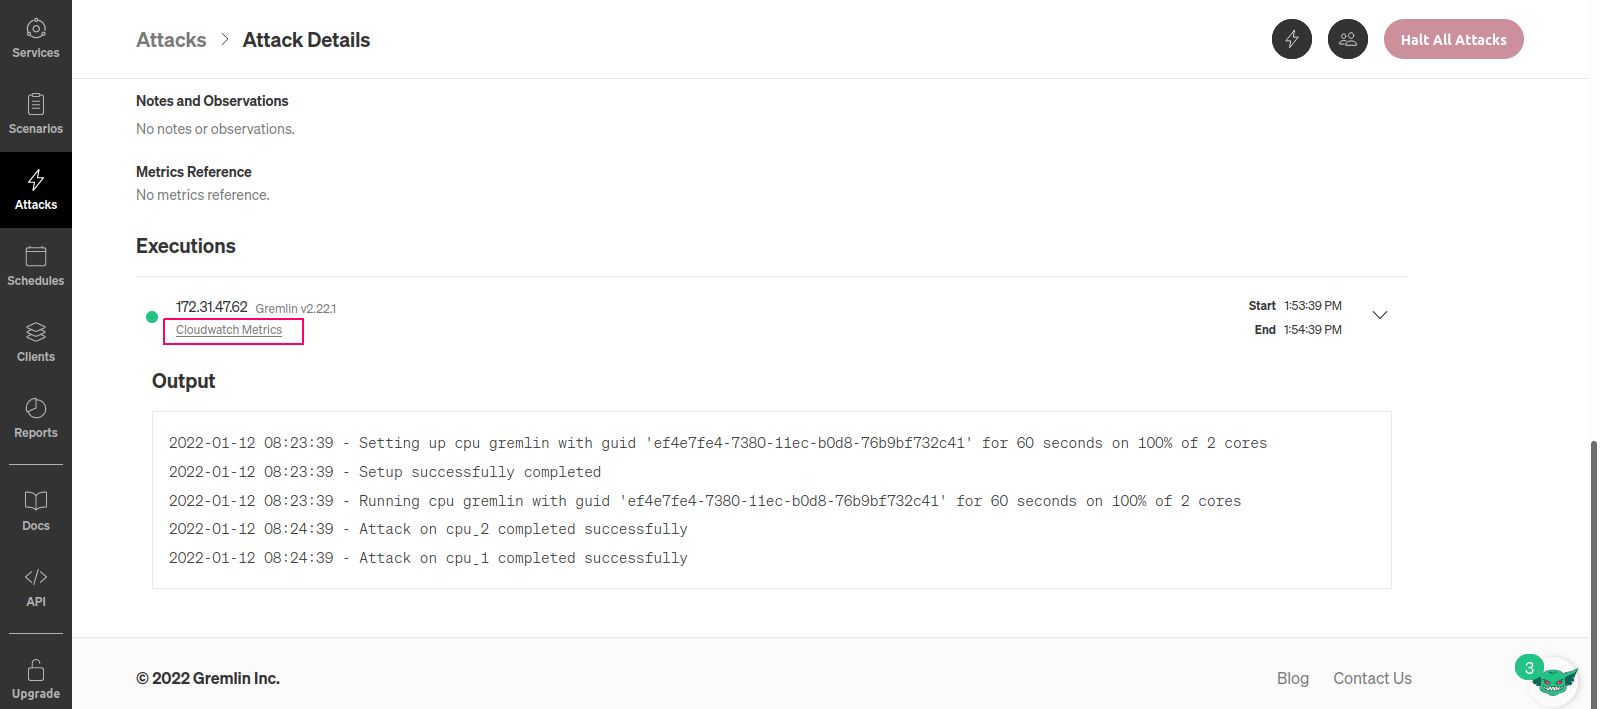
- Go back to system & check top output.Once the attack changes to a Running state, we should see much more CPU activity than previously.
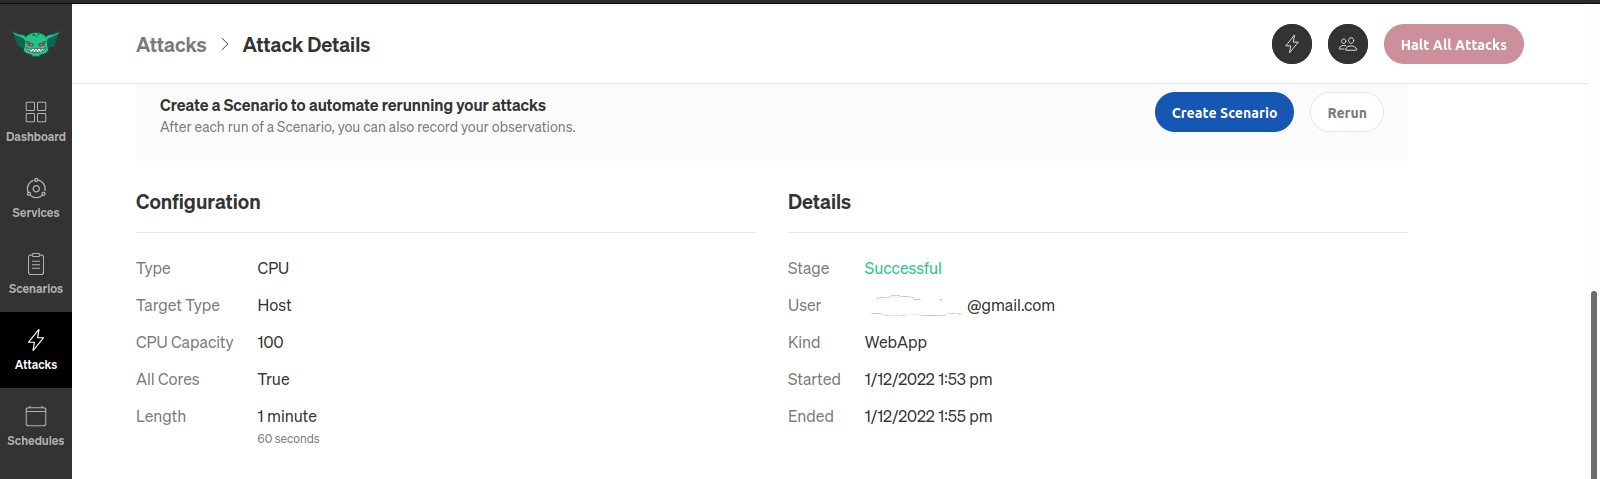
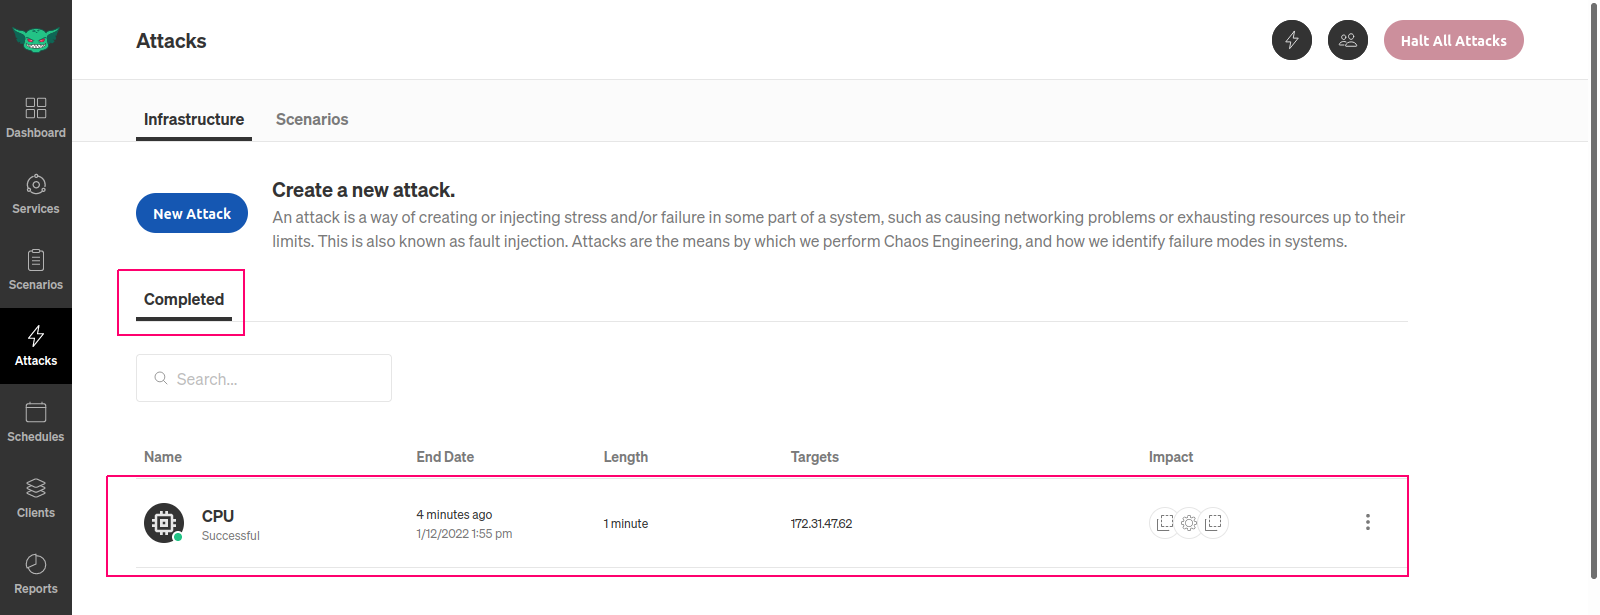
- After 60 seconds have done, attack will end & now Gremlin is Completed.
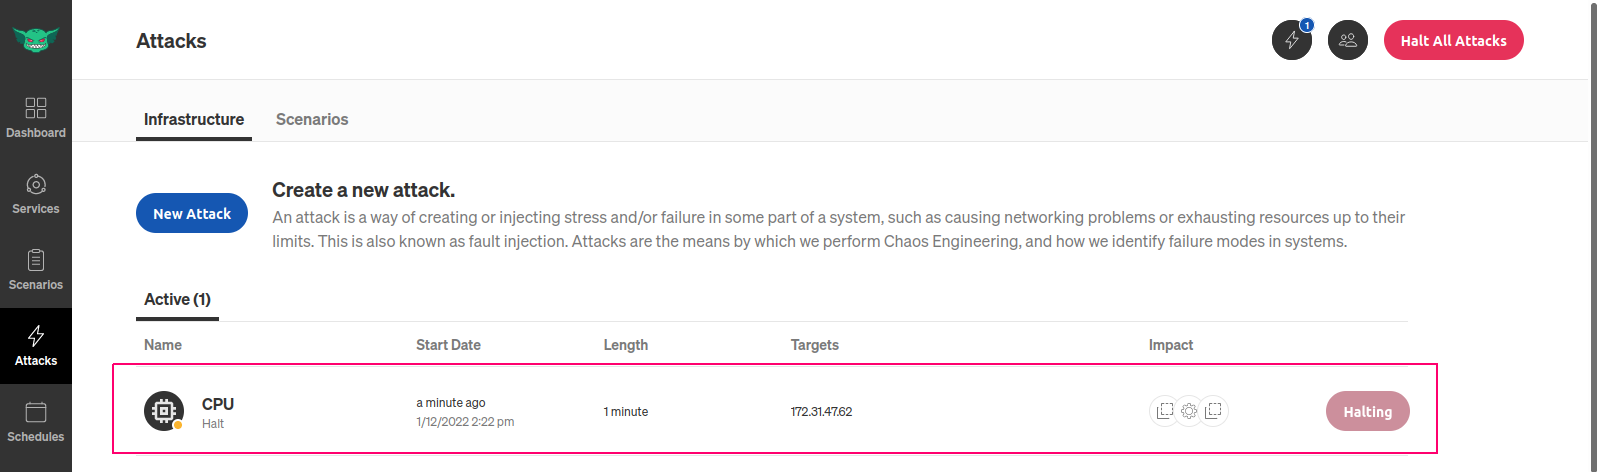
Halt/Stop an attack
- Click on Rerun option.
- Again Enable the Host,choose the Gremlin & Click on Unleash Gremlin.
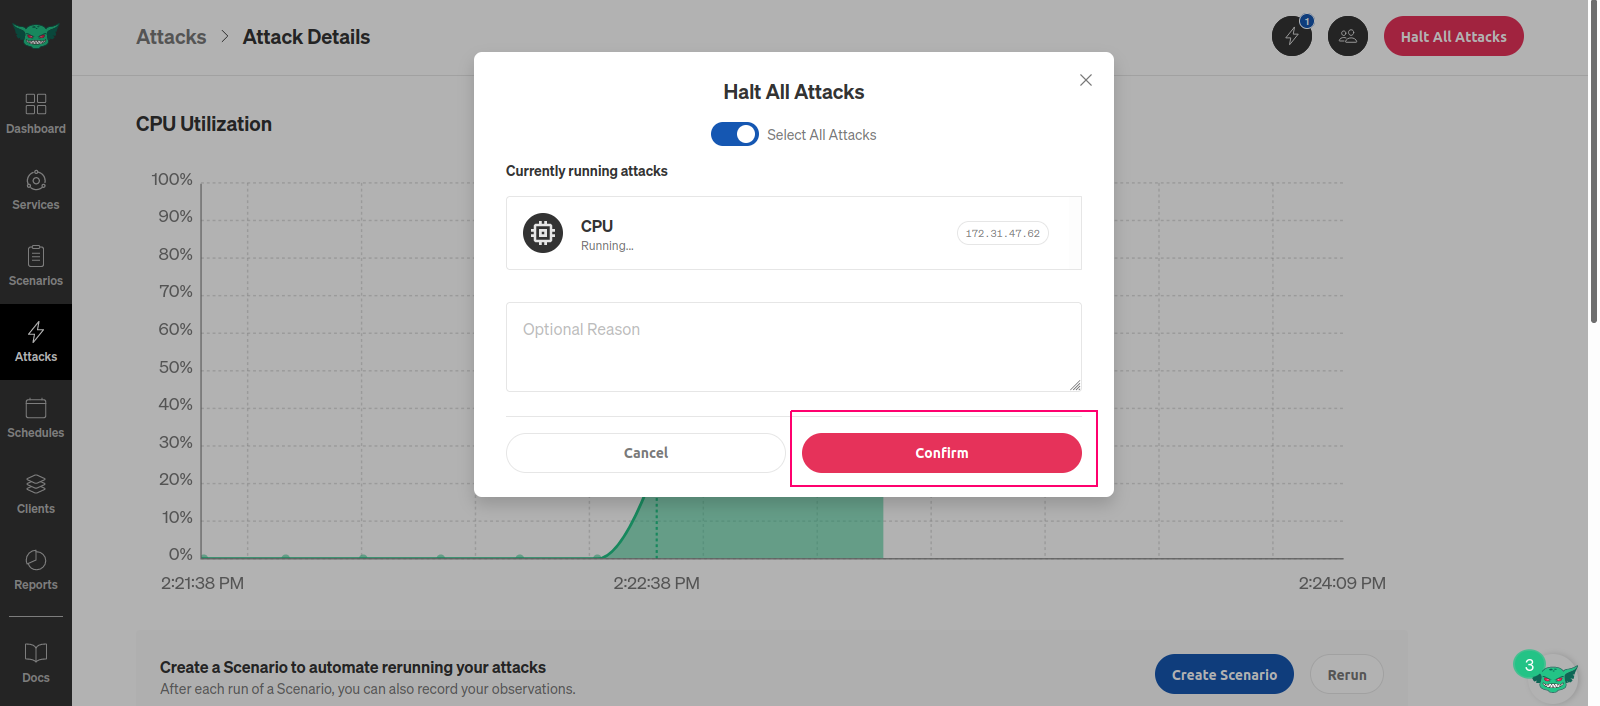
- Once Attack is in Running state,Click on Halt All Attacks.
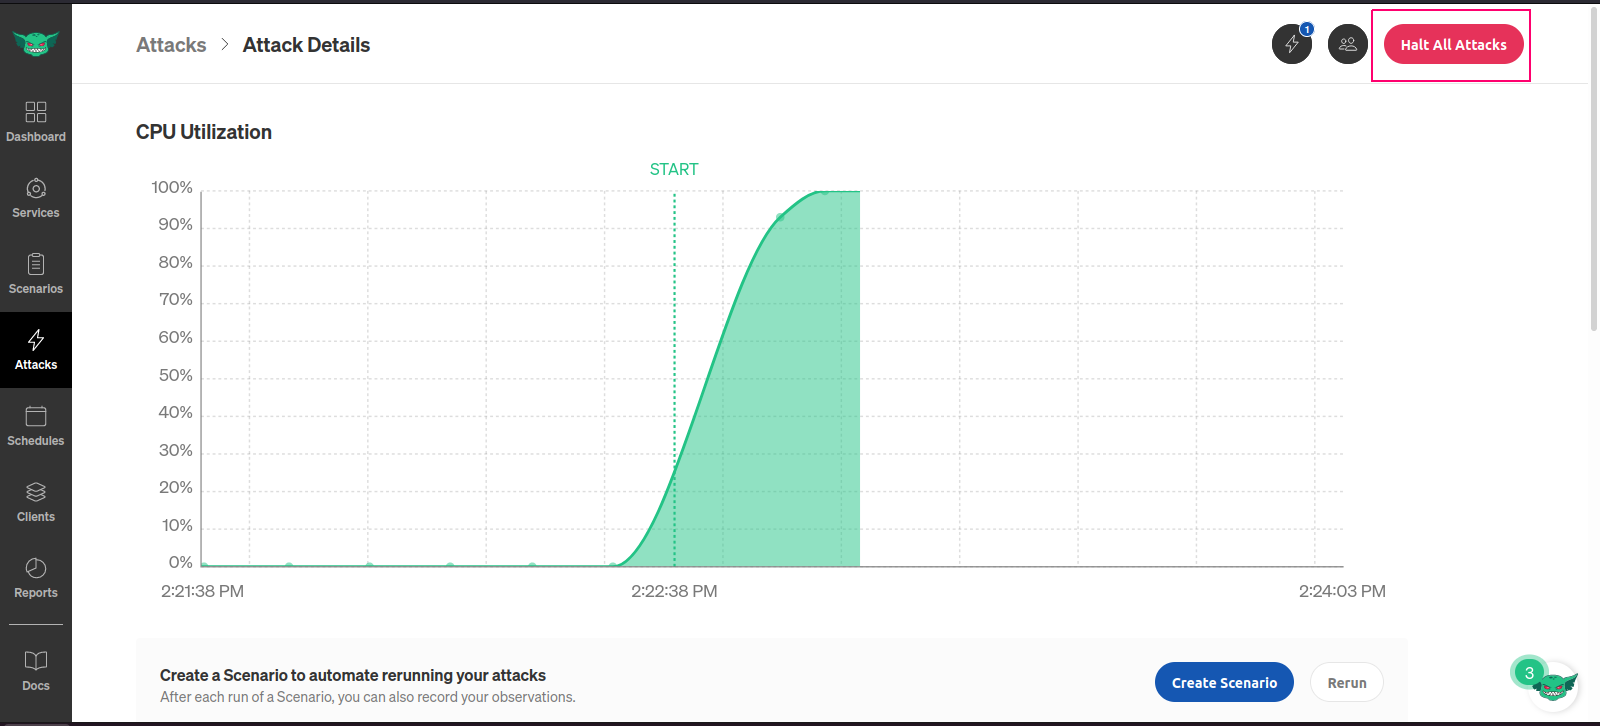
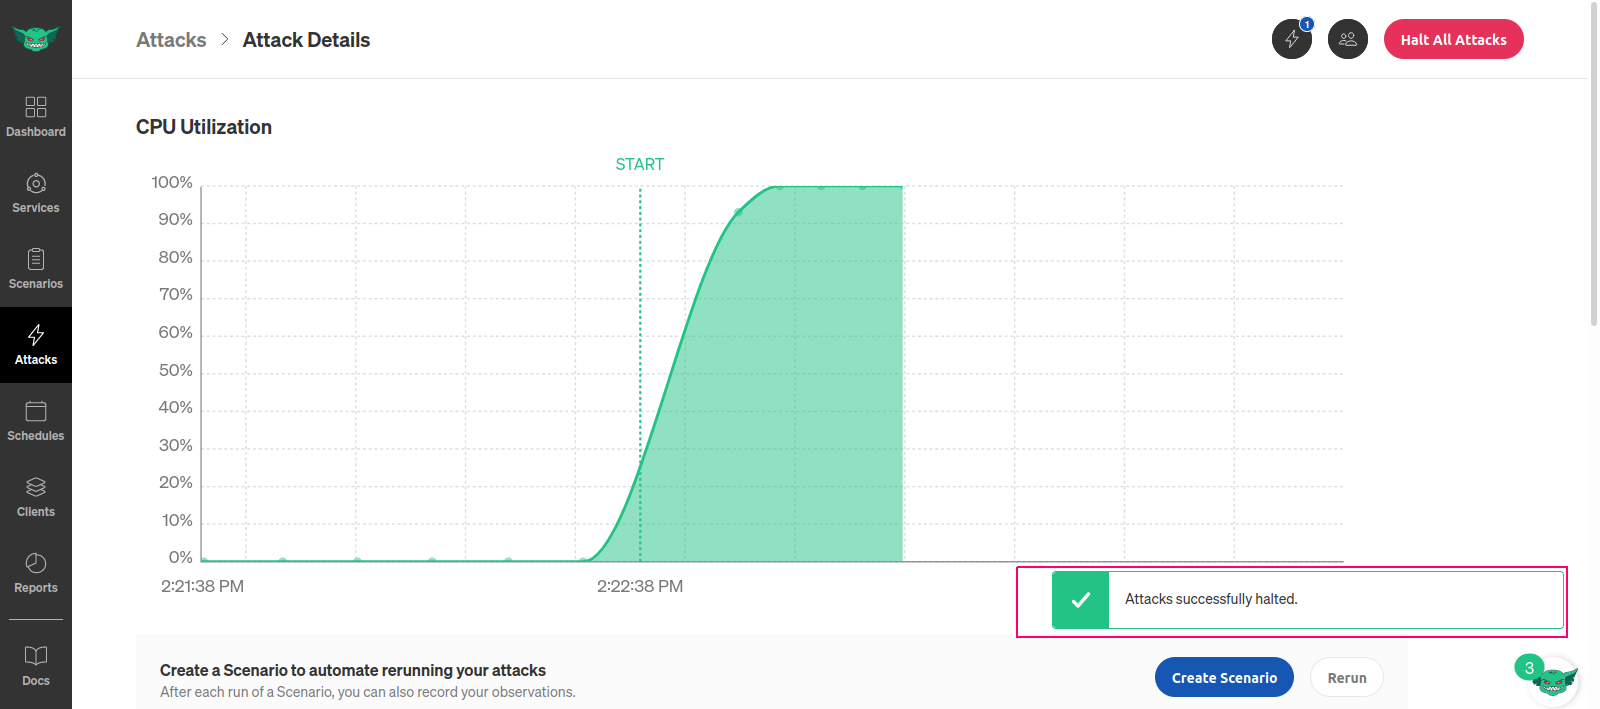
- Click on Confirm.
- Attacks successfully halted.
- Now Go to Attacks home page.
- Here we can see the Halted/Stopped Attacks information.