shivani singh
- January 21, 2022
Step By Step Guide to Setup ArangoDB on Ubuntu 20.04 LTS
In this blog we are discussing about for ArangoDB. ArangoDB is an open source NoSQL and multi-model database. It is a simple and easy-to-use web interface and CLI for managing and monitoring databases. Using ArangoDB, we can easily used in small & large organization that process large amount of data. It supports three data models key/value, documents and graphs.
There are some steps to setup ArangoDB on Ubuntu:
Prerequisite:
- Ubuntu system with Sudo privileges.
Step 1: Update the System.
apt-get update
Step 2: Install required dependencies.
apt-get install gnupg2 apt-transport-https
- Import the ArangoDB GPG key and add the repository.
wget -q https://download.arangodb.com/arangodb34/DEBIAN/Release.key -O- | apt-key add -

&&

echo 'deb https://download.arangodb.com/arangodb34/DEBIAN/ /' | tee /etc/apt/sources.list.d/arangodb.list
- Here is the command output.
root@ip-172-31-47-100:/home/ubuntu# wget -q https://download.arangodb.com/arangodb34/DEBIAN/Release.key -O- | apt-key add -

OK

root@ip-172-31-47-100:/home/ubuntu# echo 'deb https://download.arangodb.com/arangodb34/DEBIAN/ /' | tee /etc/apt/sources.list.d/arangodb.list

deb https://download.arangodb.com/arangodb34/DEBIAN/ /
- Update the Packages.
apt-get update
Step 3: Install ArangoDB on system.
apt-get install arangodb3
- Here is the command output.
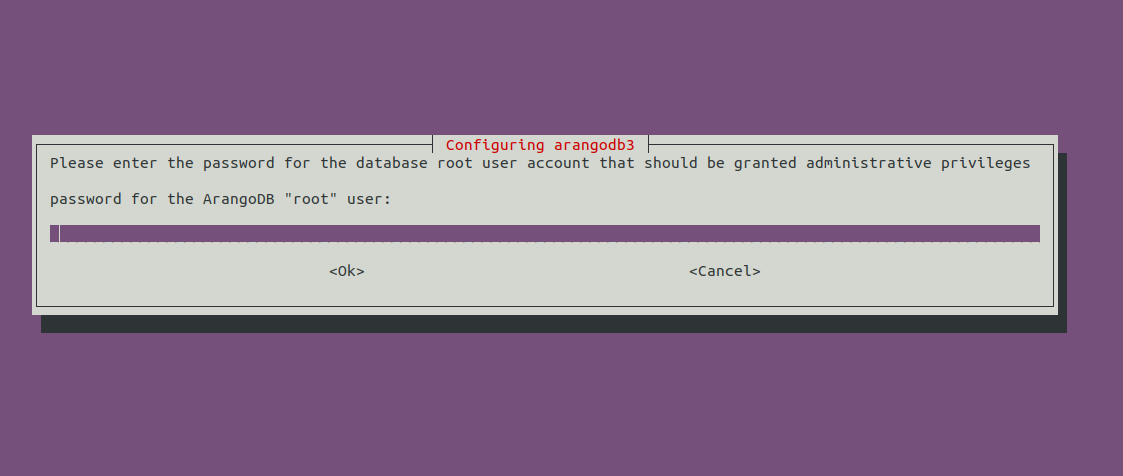
- Provide the ArangoDB root password.
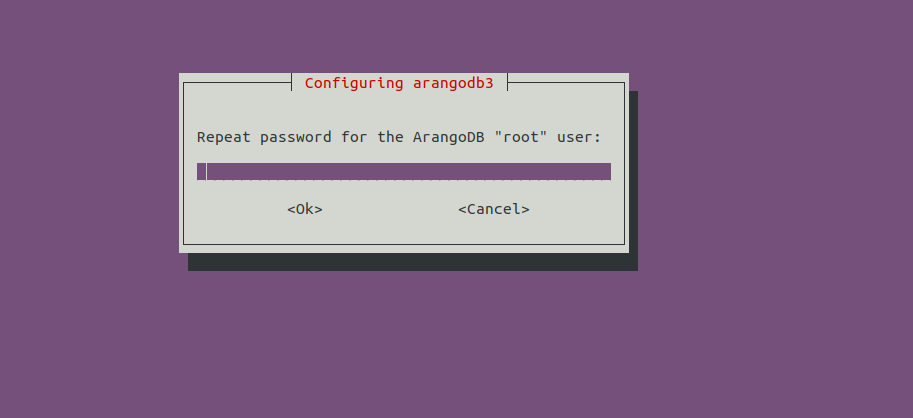
- Confirm the Password.
- Select Yes to automatically upgrade the database files.

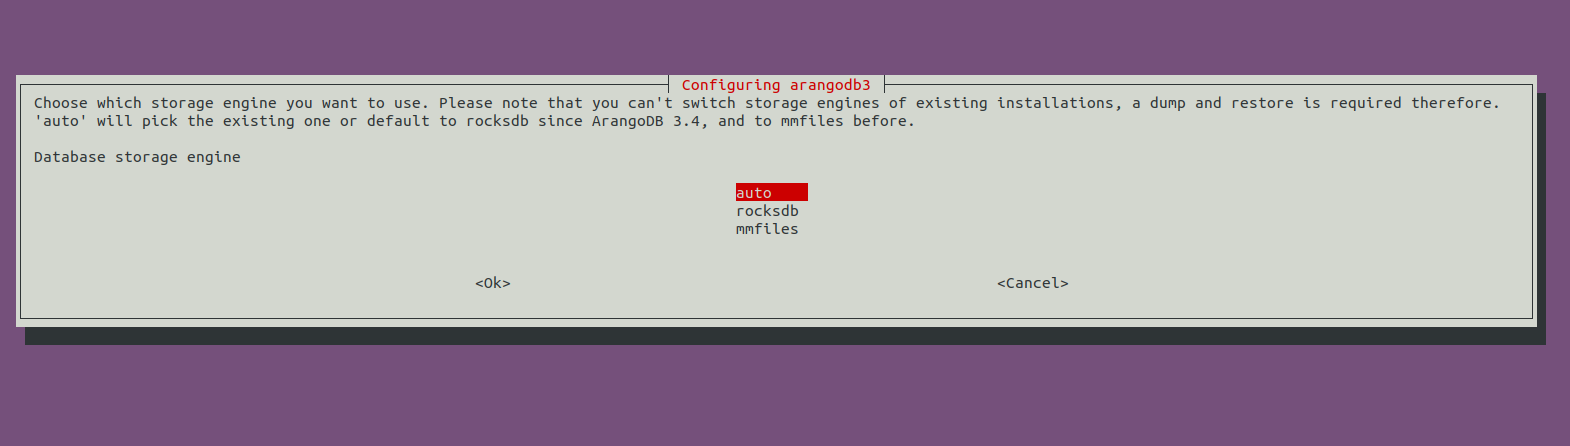
- Select auto database storage engine & Click Ok.
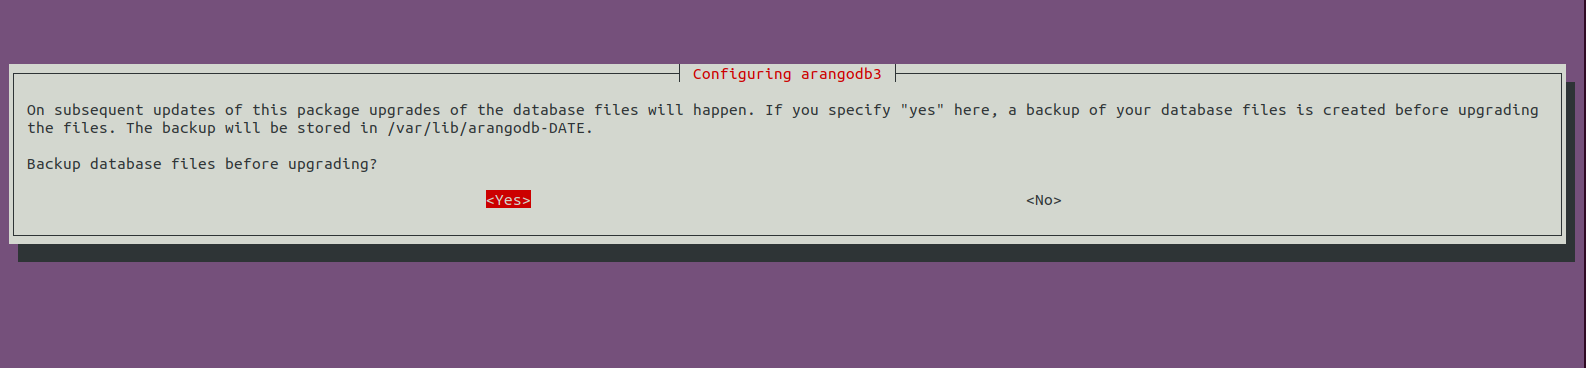
- Select Yes to backup database files before upgrading.
- Once ArangoDB is installed, then Start & Enable the ArangoDB.
systemctl start arangodb3

&&

systemctl enable arangodb3
- Here is the command output.
root@ip-172-31-47-100:/home/ubuntu# systemctl start arangodb3

root@ip-172-31-47-100:/home/ubuntu# systemctl enable arangodb3

Synchronizing state of arangodb3.service with SysV service script with /lib/systemd/systemd-sysv-install.

Executing: /lib/systemd/systemd-sysv-install enable arangodb3
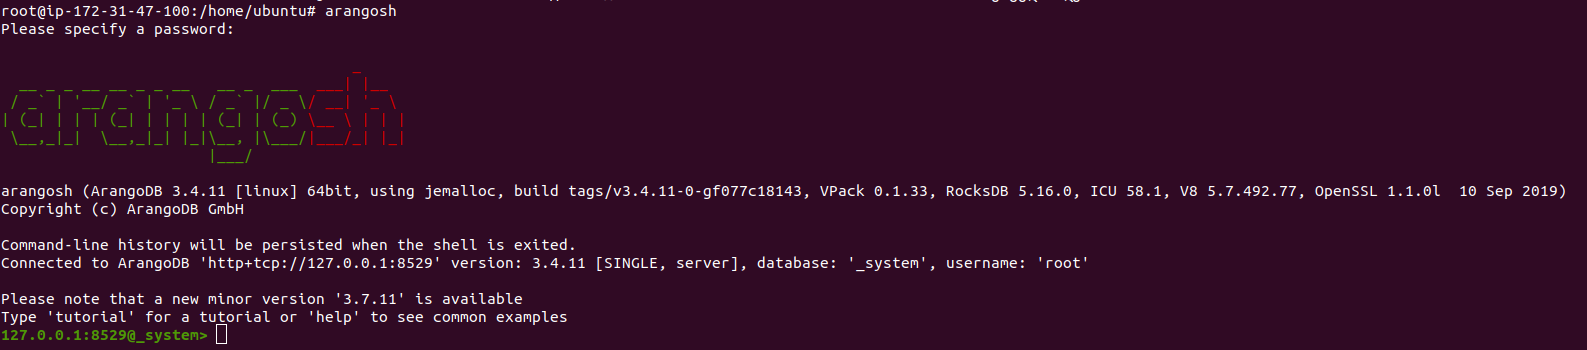
Step 4: Open the ArangoDB Shell.
arangosh
- Here is the command output.
- Provide the root password & Press Enter.
- Now,Create a Database.
Syntax:
db._createDatabase("db-name");
Example:
db._createDatabase("Mydatabase");
- Create a database user.
Syntax:
var users = require("@arangodb/users");

users.save("user-name", "type_password");
Example:
var users = require("@arangodb/users");

users.save("db_user@localhost", "Password");
- Grant all the privileges to the database.
Syntax:
users.grantDatabase("user-name", "db-name");
Example:
users.grantDatabase("db_user@localhost", "Mydatabase");
- Here is the command output.
127.0.0.1:8529@_system> db._createDatabase("Mydatabase");

true

127.0.0.1:8529@_system> var users = require("@arangodb/users");

127.0.0.1:8529@_system> users.save("db_user@localhost", "Password");

{

"user" : "db_user@localhost",

"active" : true,

"extra" : {

},

"code" : 201

}

127.0.0.1:8529@_system> users.grantDatabase("db_user@localhost", "Mydatabase");
- List the databases.
db._databases()
- Exit from the ArangoDB shell.
exit
- Here is the command output.
127.0.0.1:8529@_system> db._databases()

[

"Mydatabase",

"_system"

]

127.0.0.1:8529@_system> exit

Uf wiederluege! 再见! Na shledanou! Auf Wiedersehen! Bye Bye! Adiau! ¡Hasta luego! Εις το επανιδείν! להתראות! Arrivederci! Tot ziens! Adjö! Au revoir! さようなら До свидания! Até Breve! خداحافظ! Uz redzēšanos! შეხვედრამდე 안녕히 가세요!
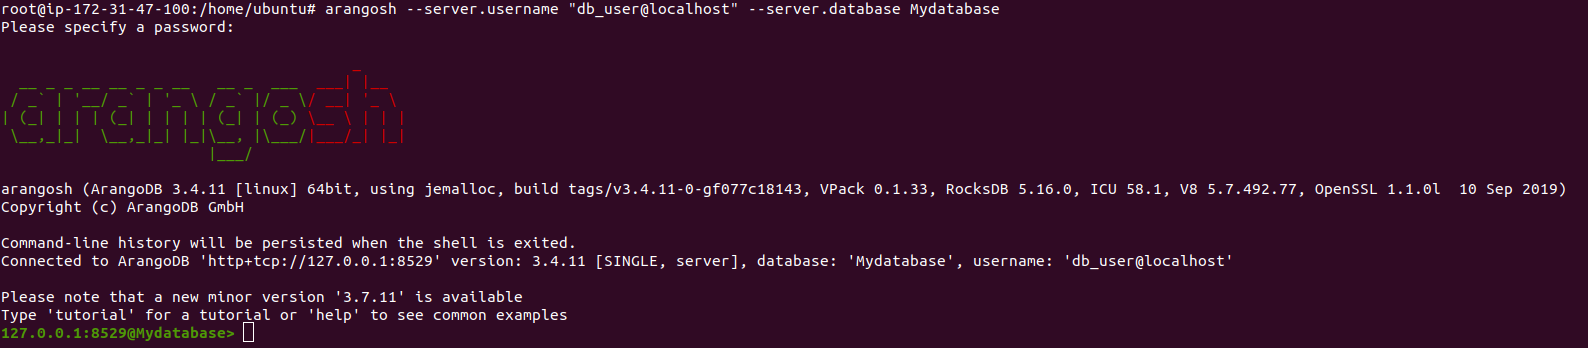
Step 5: To check the ArangoDB connection using the created database and user-name.
Syntax:
arangosh --server.username "user-name" --server.database db-name
Example:
arangosh --server.username "db_user@localhost" --server.database Mydatabase
- Here is the command output.
- Provide the Password of created user & Press Enter.
- Exit from the ArangoDB shell.
Step 5: Open the following port number in UFW.
ufw allow 8529
Step 6: Open ArangoDB Web Interface.
- Open the config file.
vim /etc/arangodb3/arangod.conf
- Find the following line.
endpoint = tcp://127.0.0.1:8529
- Edit it with the following line.
endpoint = tcp://server-ip:8529

or

endpoint = tcp://0.0.0.0:8529
- Restart the ArangoDB.
systemctl restart arangodb3
- Now Open the ArangoDB Web Interface using following URL.
http://server-ip:8529
- Here is the output.
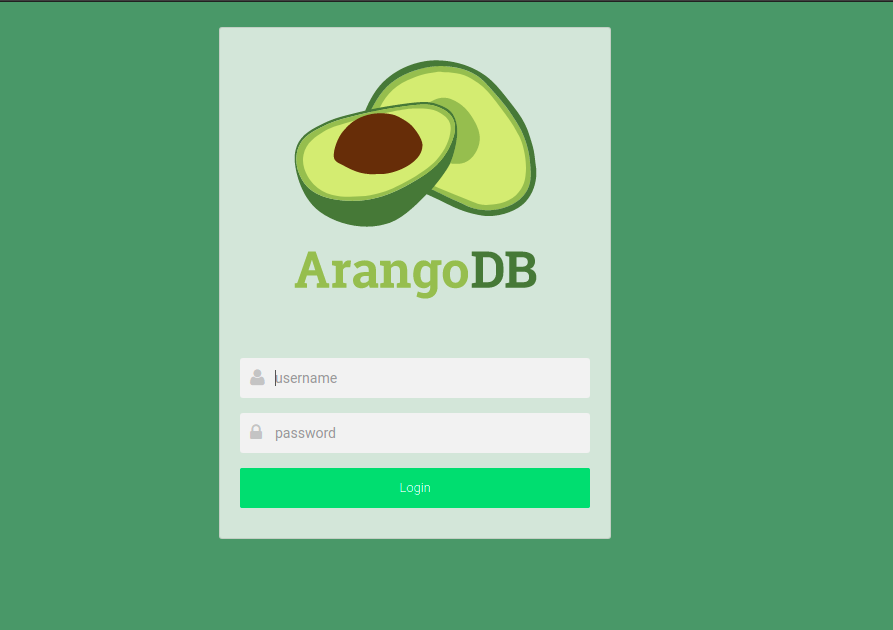
- Provide the ArangoDB username & Password.
- Click on Login.
- Select the database & click on Select DB.
- We have two database name such as _system & create db-name(Mydatabase).
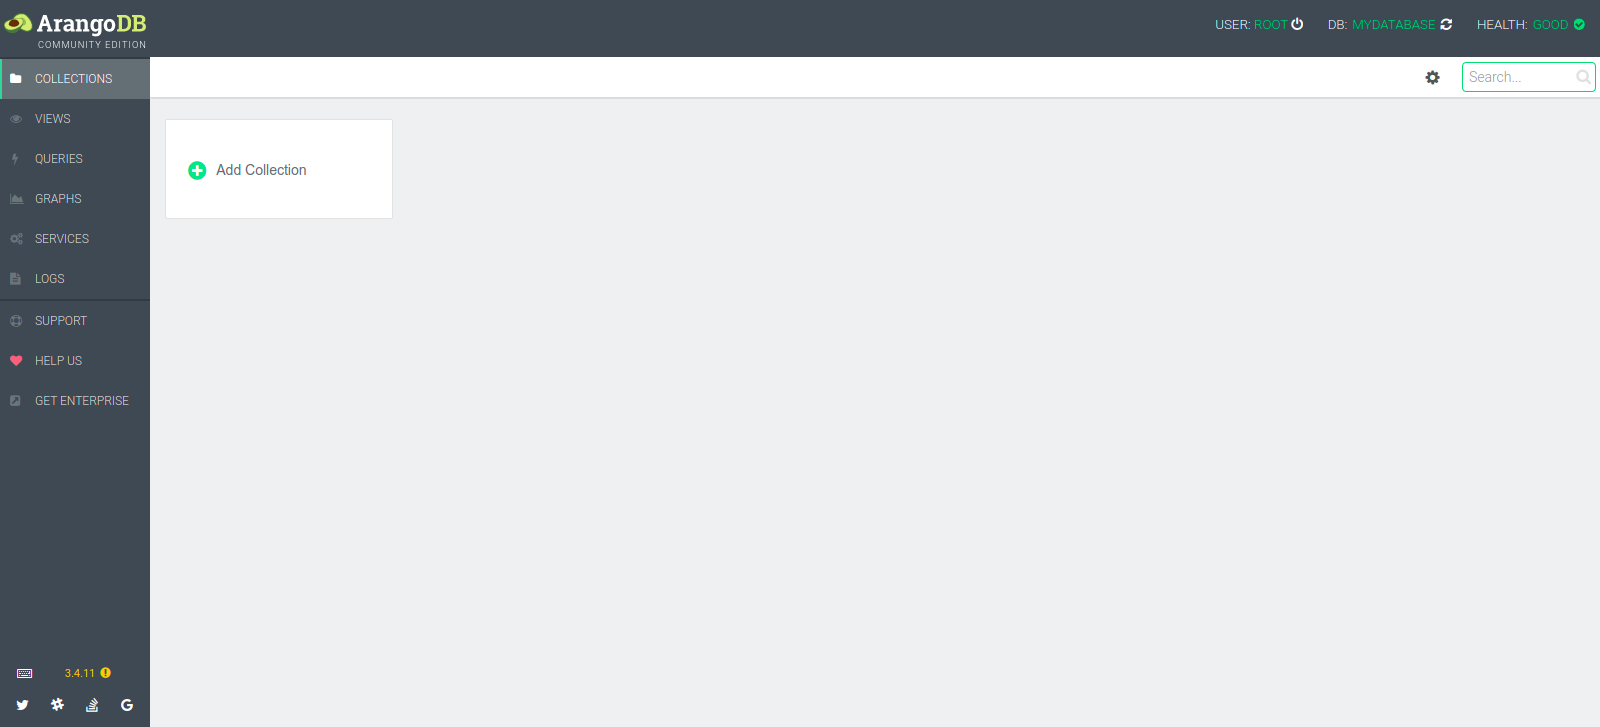
- If we select created database then click on Select DB:Mydatabase.
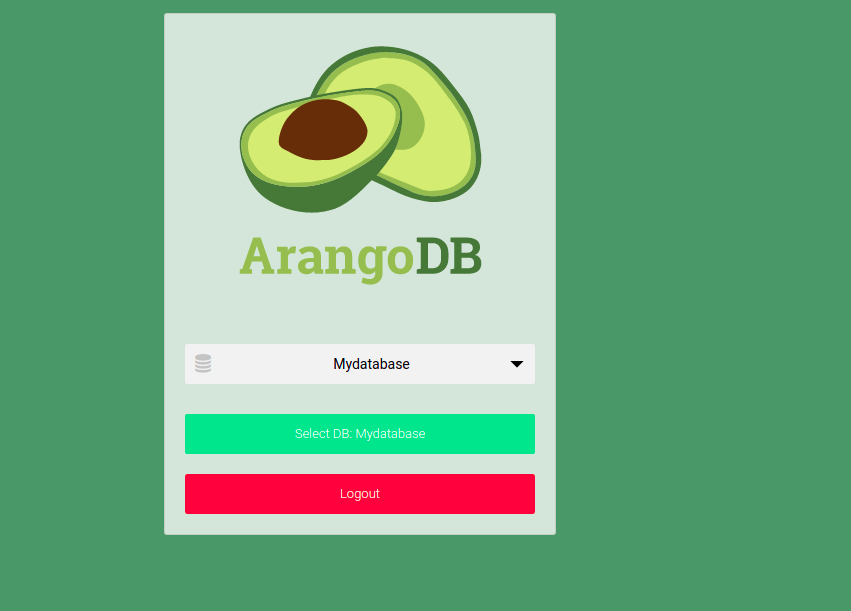
- Now ArangoDB is Ready.
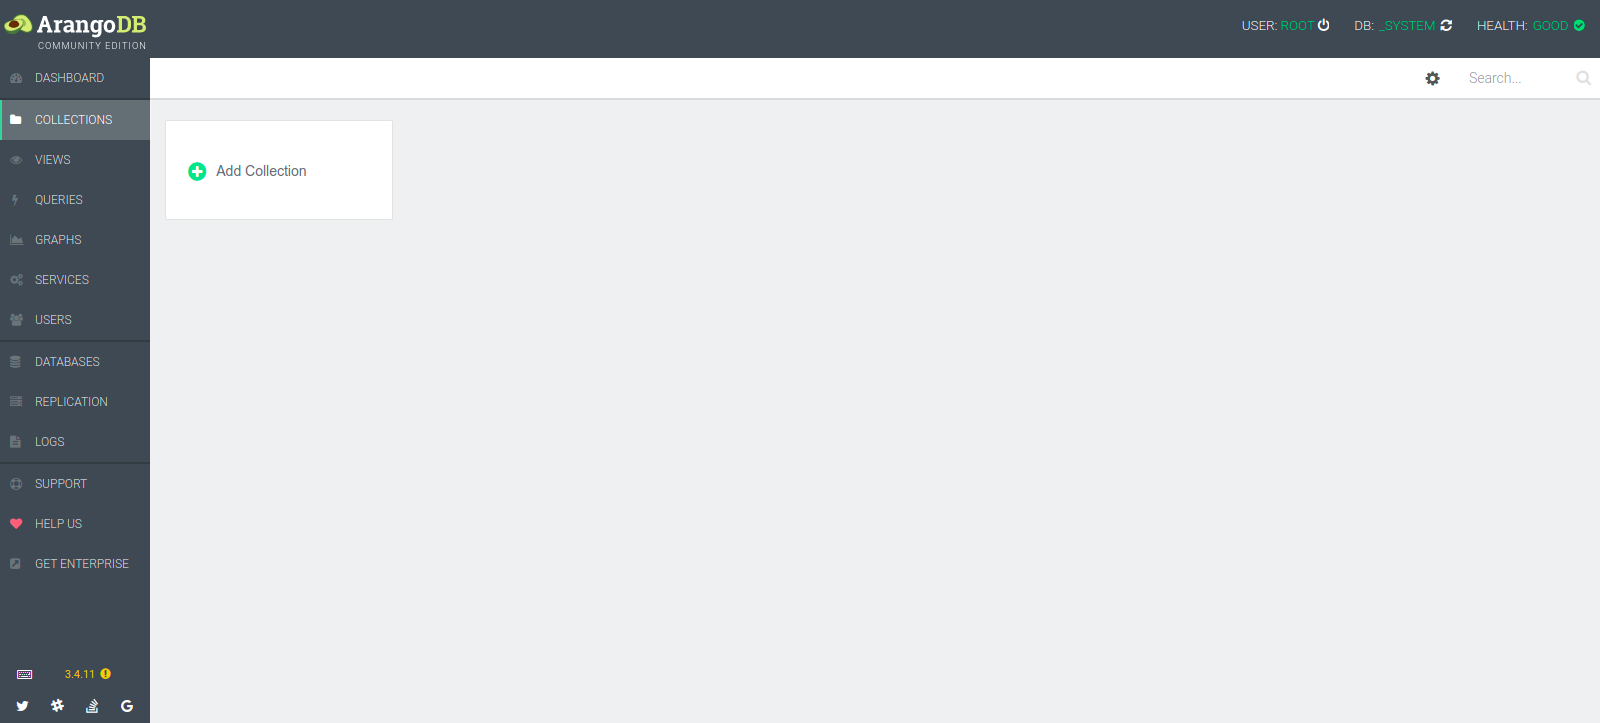
- If we select the default database name _system then click on Select DB:_system.
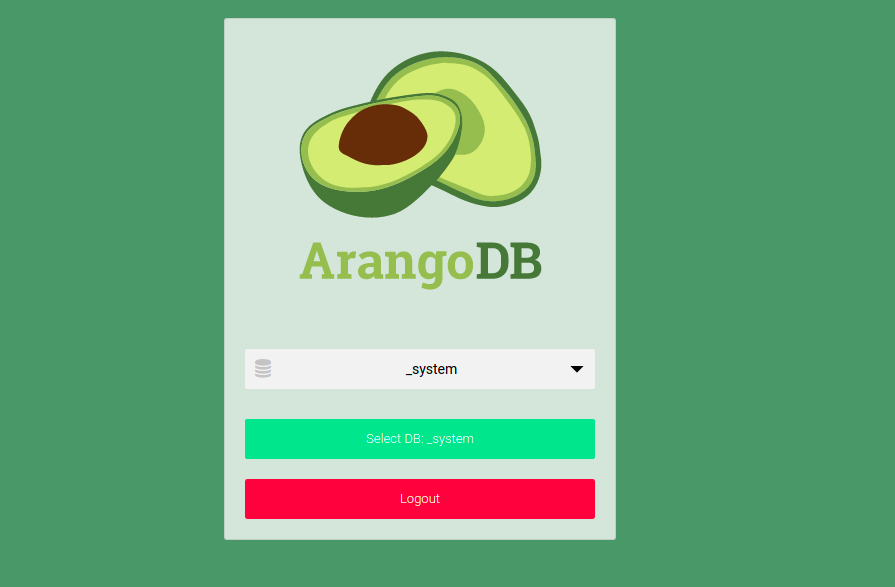
- Now ArangoDB is Ready.
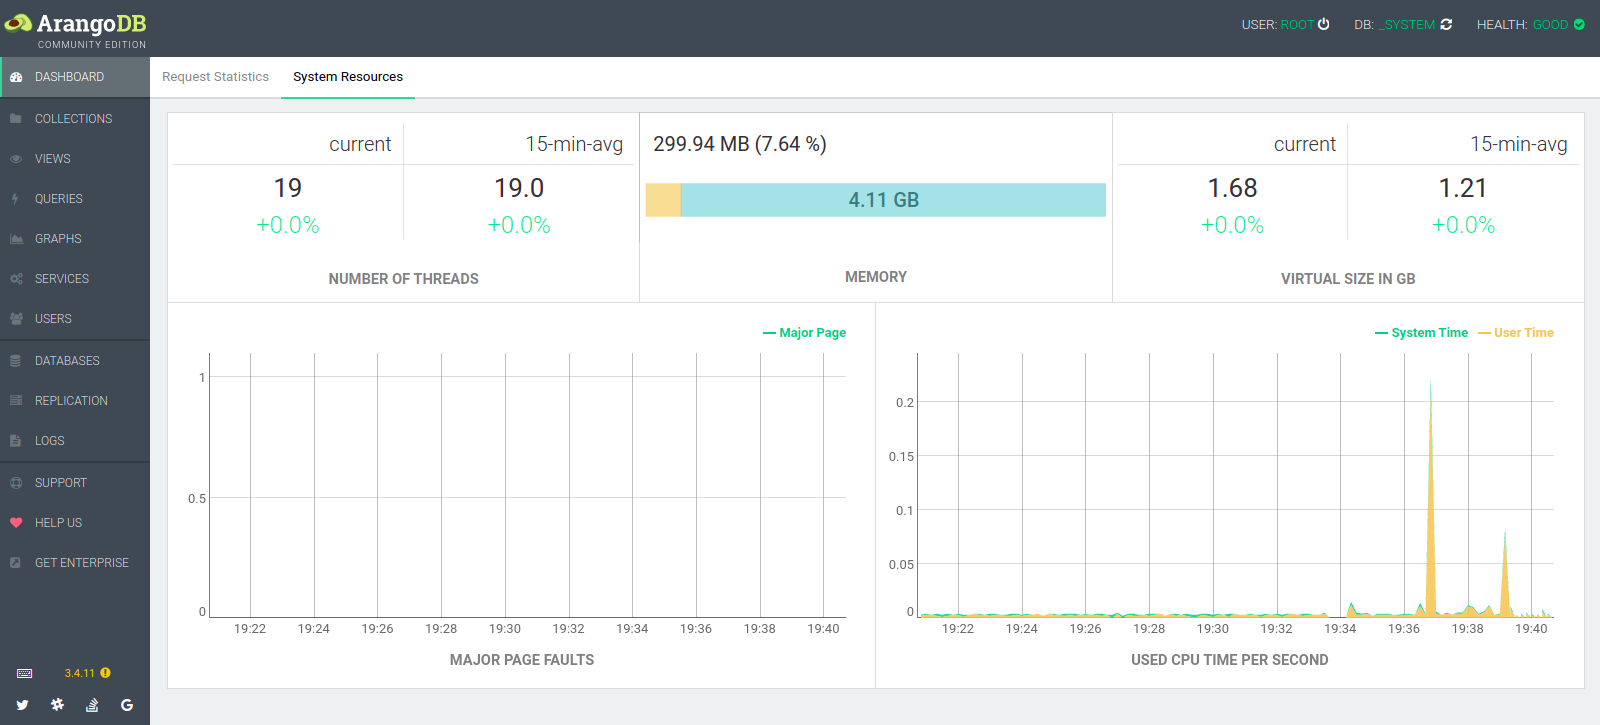
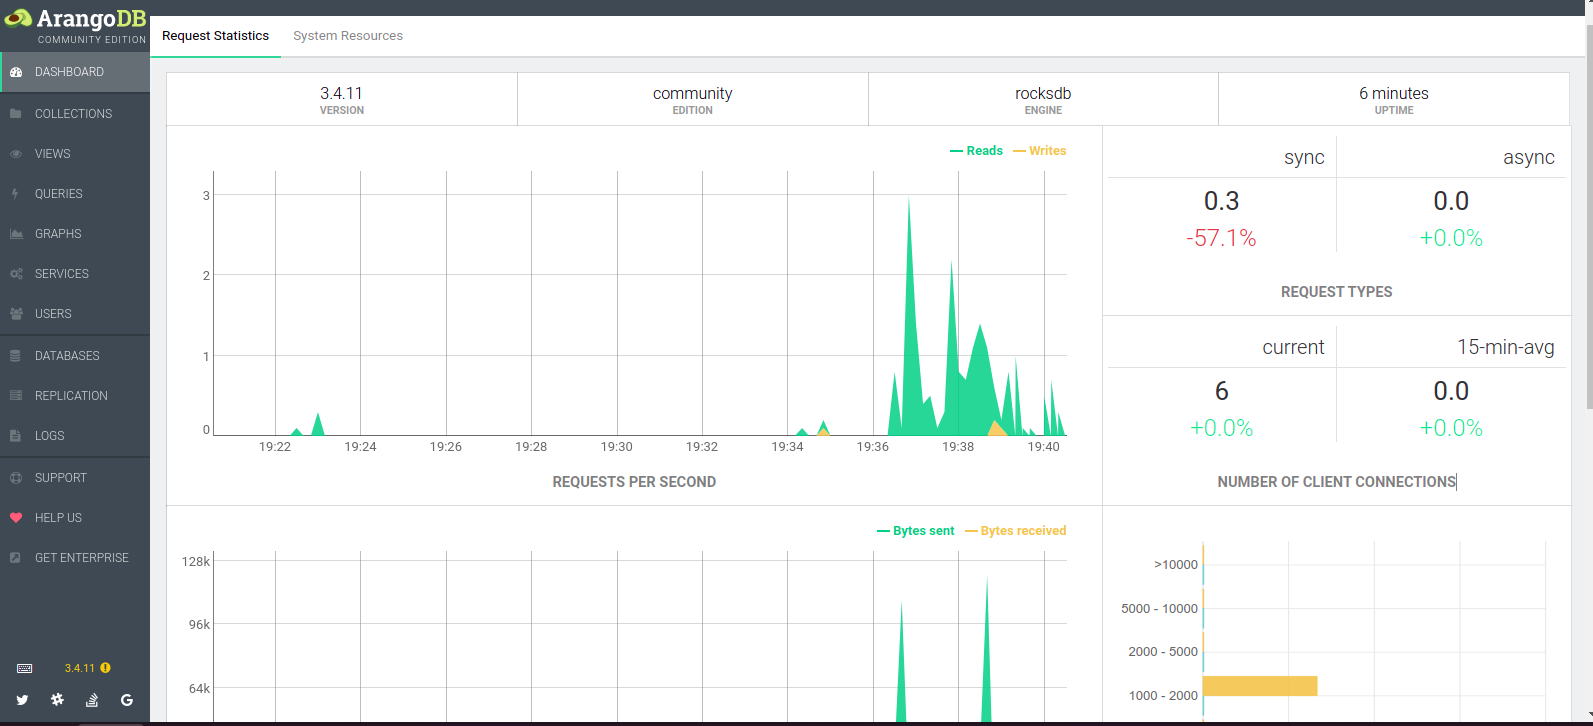
- Click on Dashboard.
- Here we can see some Statistics.
Request Statistics Graph
- Click on System Resources.
System Resources Graph