Priya
Priya- February 5, 2022
Steps to Create & Configure Apache Airflow DAGs on Ubuntu 20.04 LTS
Apache-Airflow is an open source workflow management tool, written in Python. It is a workflow management solutions tool &used for monitoring the workflow. Using Airflow, we can easily create own Directed Acyclic Graph (DAGS ). DAGS is used for designing a workflow.
There are some steps to create Apache Airflow DAGS in Ubuntu:
Step 1: Update the System.
apt-get update
Step 2: Install Apache Airflow on system so click on link https://www.hackerxone.com/2021/10/15/steps-to-install-and-setup-apache-airflow-on-ubuntu-20-04-lts/
Step 3: Create a DAGs in Apache Airflow.
- Go to airflow home directory.
cd ~/airflow
- List the files.
ll
- Here is the command output.
root@ip-172-31-36-75:/home/ubuntu# cd ~/airflow

root@ip-172-31-36-75:~/airflow# ll

total 688

drwxr-xr-x 3 root root 4096 Feb 5 14:39 ./

drwx------ 8 root root 4096 Feb 5 14:33 ../

-rw-r--r-- 1 root root 43937 Feb 5 13:46 airflow.cfg

-rw-r--r-- 1 root root 634880 Feb 5 14:35 airflow.db

drwxr-xr-x 4 root root 4096 Feb 5 14:08 logs/

-rw-r--r-- 1 root root 4695 Feb 5 13:46 webserver_config.py
- Here,create a folder.
mkdir dags
- Change the directory.
cd dags
- Create a .py file.
vim hello_world.py
- Add the following lines:
from datetime import datetime

from airflow import DAG

from airflow.operators.dummy_operator import DummyOperator

from airflow.operators.python_operator import PythonOperator

def print_hello():

return 'Hello world from first Airflow DAG!'

dag = DAG('hello_world', description='Hello World DAG',

schedule_interval='0 12 * * *',

start_date=datetime(2017, 3, 20), catchup=False)

hello_operator = PythonOperator(task_id='hello_task', python_callable=print_hello, dag=dag)

hello_operator
Step 4: Now Go to the python-virtual Environment.
cd /home/ubuntu/airflow_example/bin
- Run the following commands:
source activate

&&

export AIRFLOW_HOME=~/airflow
- Here is the command output.
root@ip-172-31-31-134:~/airflow/dags# cd /home/ubuntu/airflow_example/bin/

root@ip-172-31-31-134:/home/ubuntu/airflow_example/bin# source activate

(airflow_example) root@ip-172-31-31-134:/home/ubuntu/airflow_example/bin# export AIRFLOW_HOME=~/airflow
Step 5: Run the DAG.
- we need to run the Airflow scheduler command.
airflow scheduler
- Here is the command output.
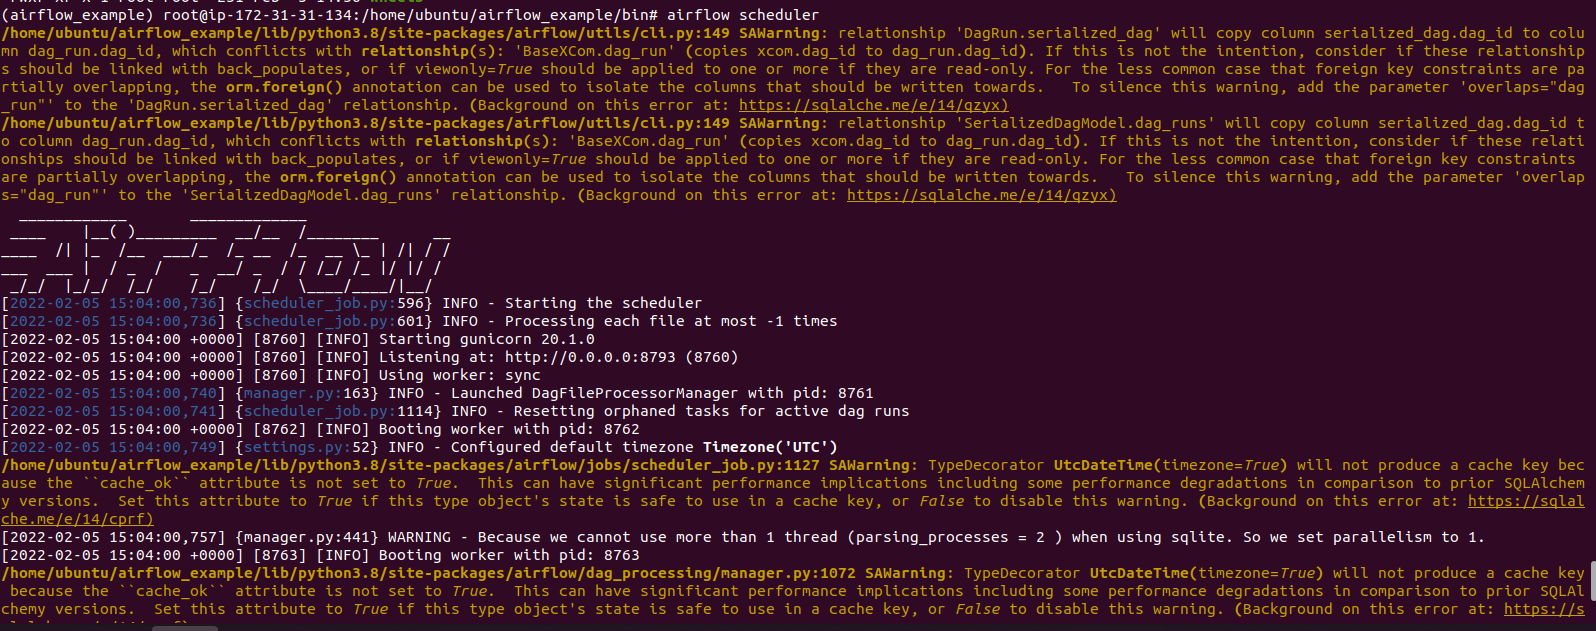
- Type ctrl+c to stop the command.
Step 6: Open the Apache Airflow web interface.
airflow webserver -p 8080
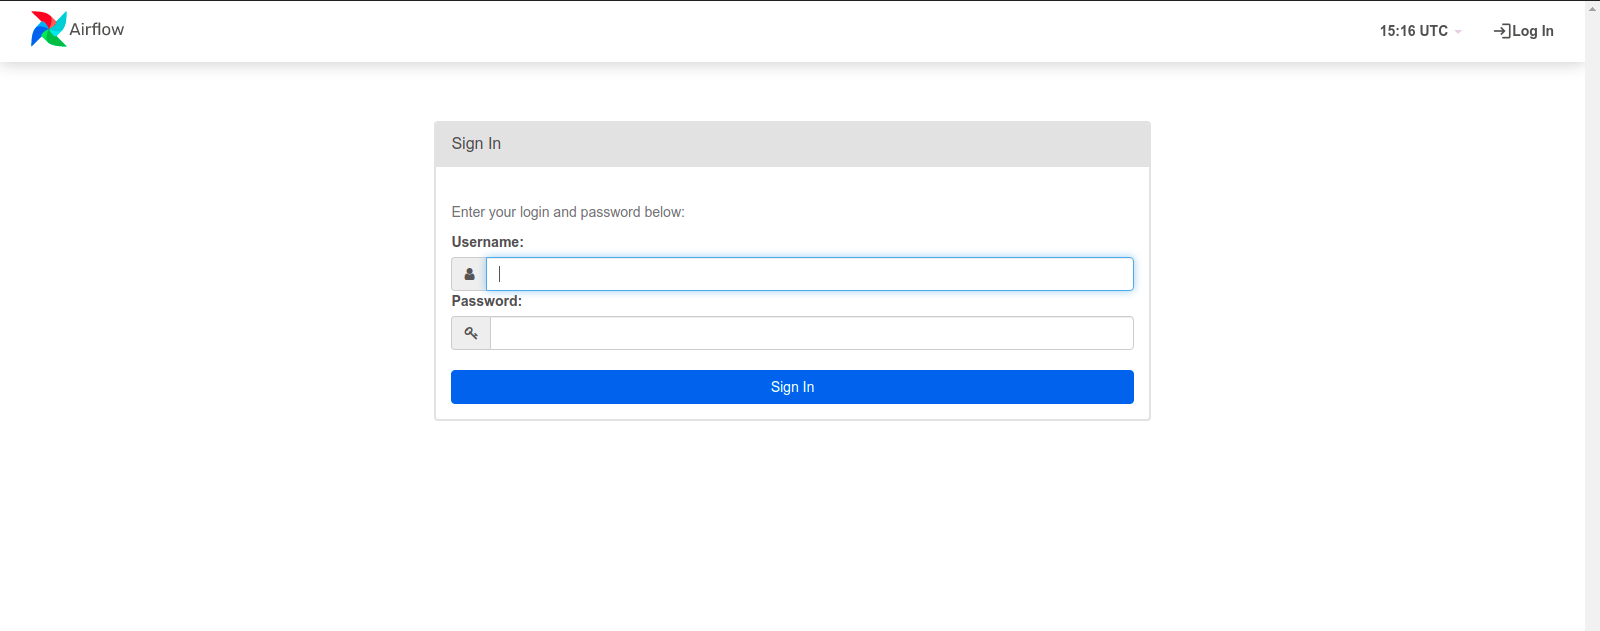
- Without stopping the command,Open the Apache-Airflow web interface using URL.
http://server-ip:8080
- Here is the command output.
- Provide the login credentials like username & password.
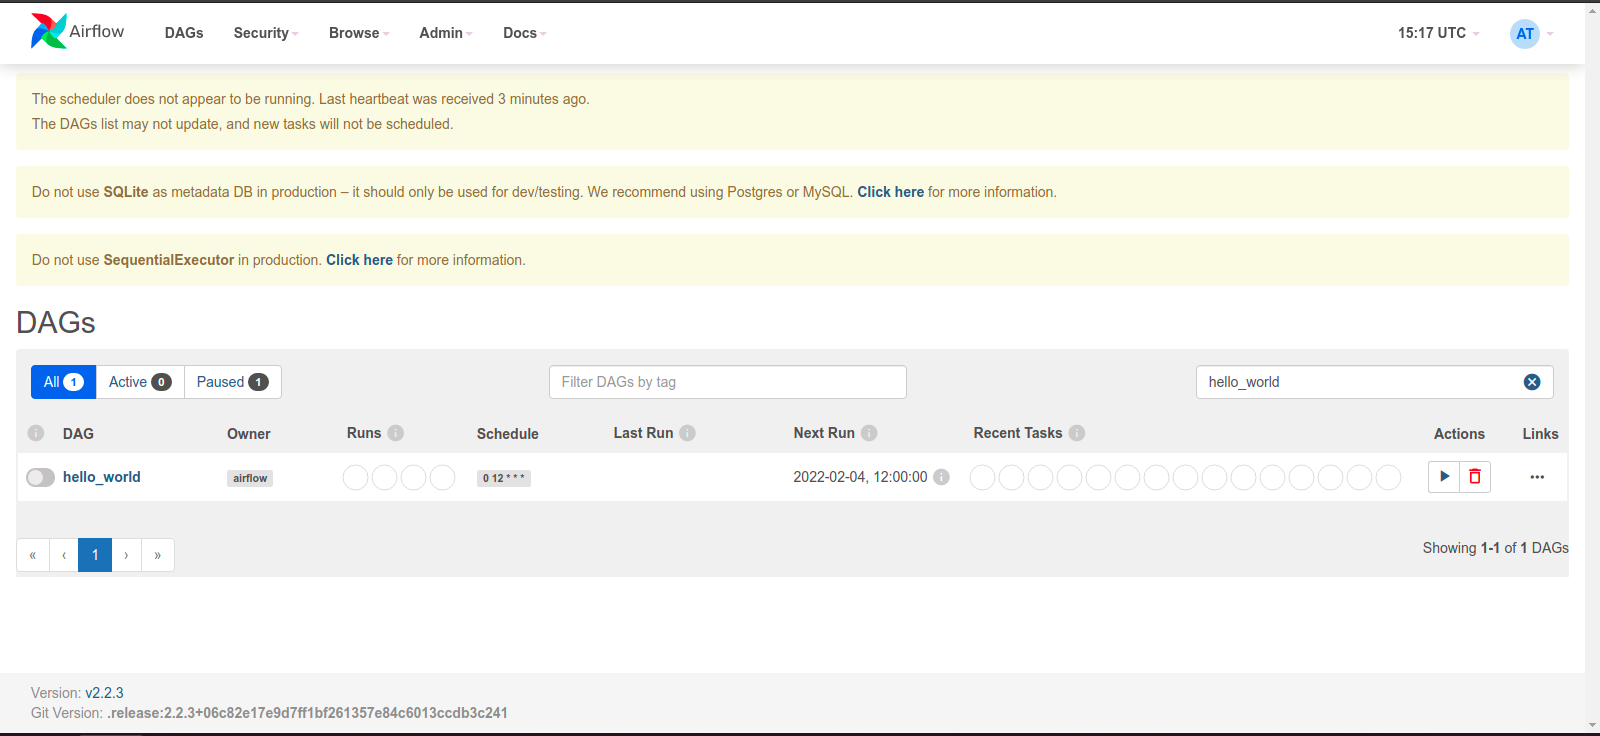
- Now Search the created DAG.