Priya
Priya- April 7, 2022
Steps to Install & Configure Sentry on Ubuntu 20.04 LTS
Sentry is an open source python application for error tracking.It is used for monitor & fix the errors in real time & send a notification via a email or SMS when error is found.
There are some steps to install & configure Sentry on Ubuntu:
Requirements:
- Ubuntu system with sudo privileges.
Step 1: Update the system.
apt-get update
Step 2: Install the required packages.
apt-get install python build-essential python-setuptools python-dev libxslt1-dev gcc libffi-dev libjpeg-dev libxml2-dev libxslt-dev libyaml-dev libpq-dev python3-pip

apt-get install pkg-config libxml2-dev libxmlsec1-dev libxmlsec1-openssl
Step 3: Download & Install Redis on system.
wget http://download.redis.io/releases/redis-6.2.6.tar.gz
- Here is the command output.

- Extract the downloaded folder.
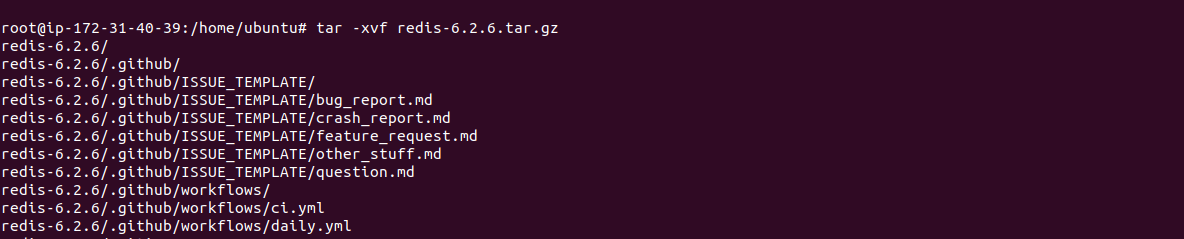
tar -xvf redis-6.2.6.tar.gz
- Here is the command output.
- Change the directory & install it.
cd redis-6.2.6

&&

make
- Run Redis in the background.
src/redis-server --daemonize yes
- Install the Python virtual environment.
pip install -U virtualenv
- Here is the command output.

Step 4: Install PostgreSQL.
- Add the repository.
wget --quiet -O - https://www.postgresql.org/media/keys/ACCC4CF8.asc | apt-key add -
- Update the packages.
apt update
- Install PostgreSQL.
apt-get install postgresql-12
Step 5: Create Database & User in PostgreSQL.
- Login to PostgreSQL console.
sudo -u postgres psql
- Create db.
create database sentrydb;
- Create user & set password.
create user sentry with encrypted password 'Password'
- Provide Grant all privileges.
grant all privileges on database sentrydb to sentry;
- Exit.
\q
- Here is the command output.

Step 6: Install Sentry.
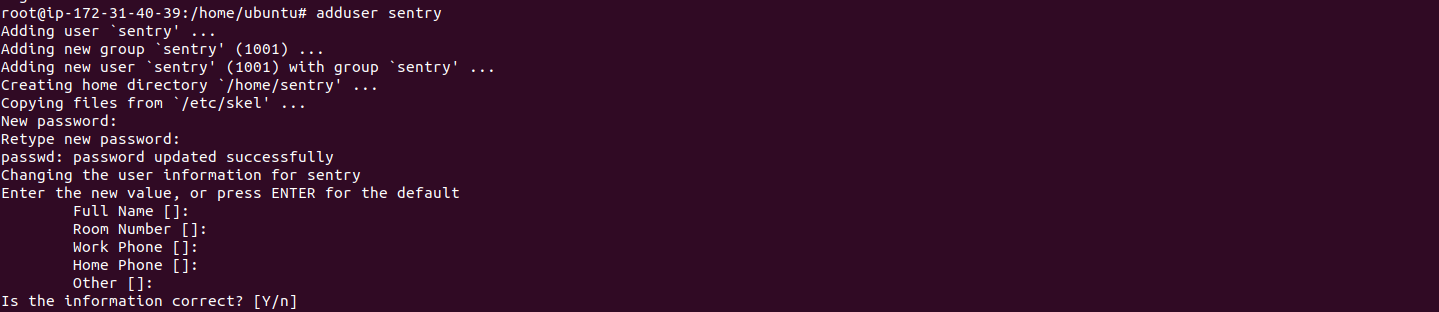
- Add a user.
adduser sentry
- Here is the command output.
- Login with Sentry user.
su - sentry
- Create a virtual environment.
virtualenv ~/sentry_app/
- Here is the command output.

- Activate the virtual environment.
source ~/sentry_app/bin/activate
- Now,install Sentry.
pip install -U sentry
- Here is the command output.


- Initialize Sentry.
sentry init
Step 7: Configure the Database.
- open the config file.
vim ~/.sentry/sentry.conf.py
- Edit/Update the following lines:
DATABASES = {

'default': {

'ENGINE': 'sentry.db.postgres',

'NAME': 'sentrydb',

'USER': 'sentry',

'PASSWORD': 'password',

'HOST': 'localhost',

'PORT': '5432',

'AUTOCOMMIT': True,

'ATOMIC_REQUESTS': False,

}

}
- Save the file & Initialize the database.
sentry upgrade
- Here is the command output.


- Type y for create a user account.
- Provide a email-address & password.
- Hit the enter.
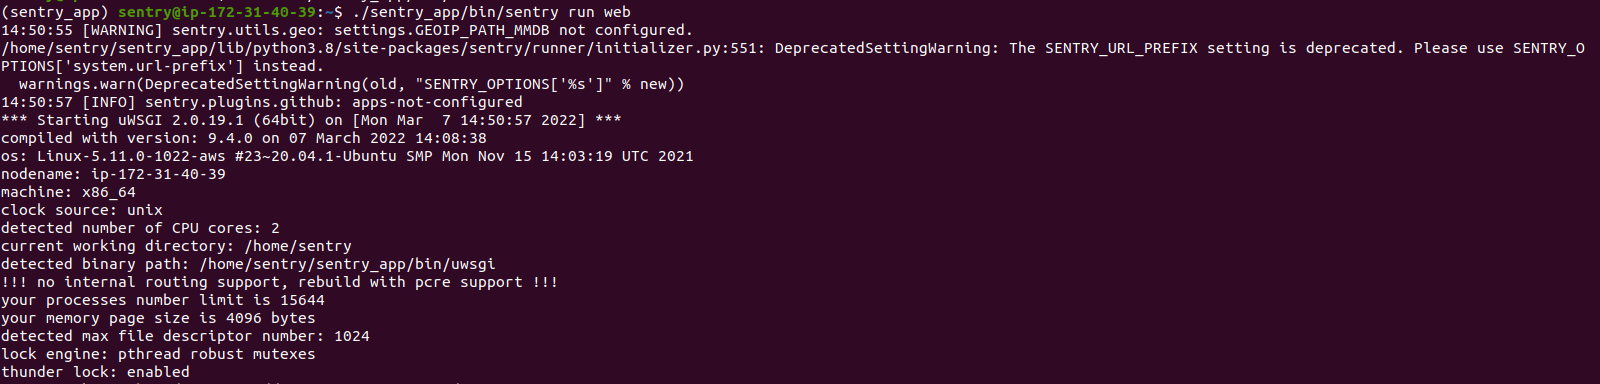
- Start the Sentry web.
./sentry_app/bin/sentry run web
- Here is the command output.
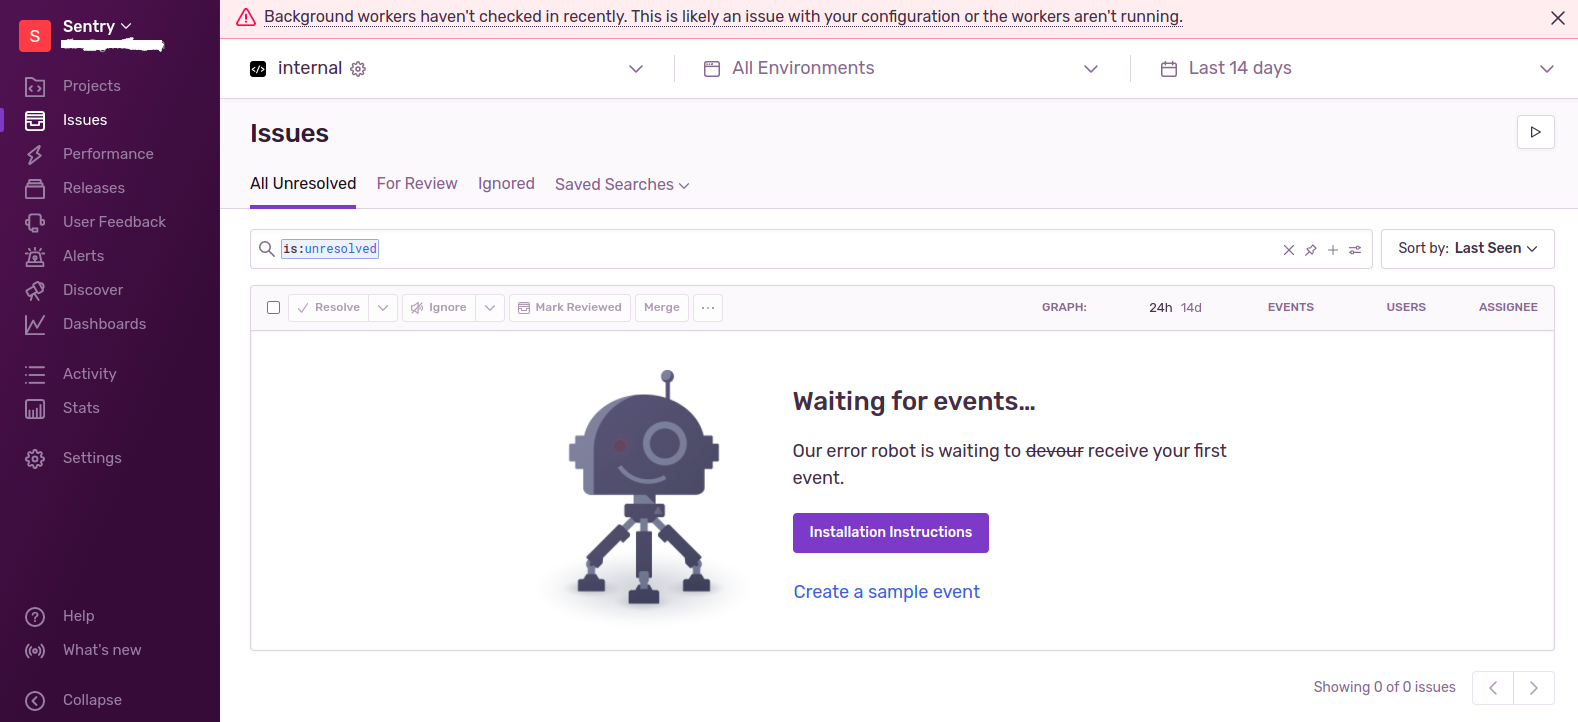
Step 8: Open Sentry Web Interface.
http://server-ip:9000
- Here is the output.
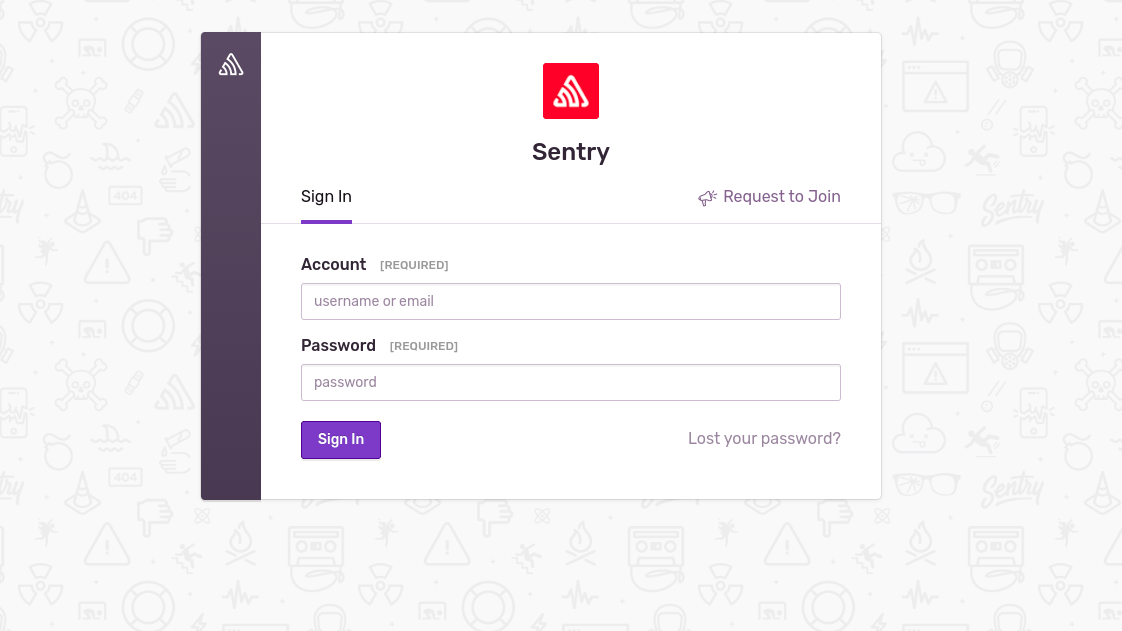
- Provide email-address & password.
- Click on Sign In.
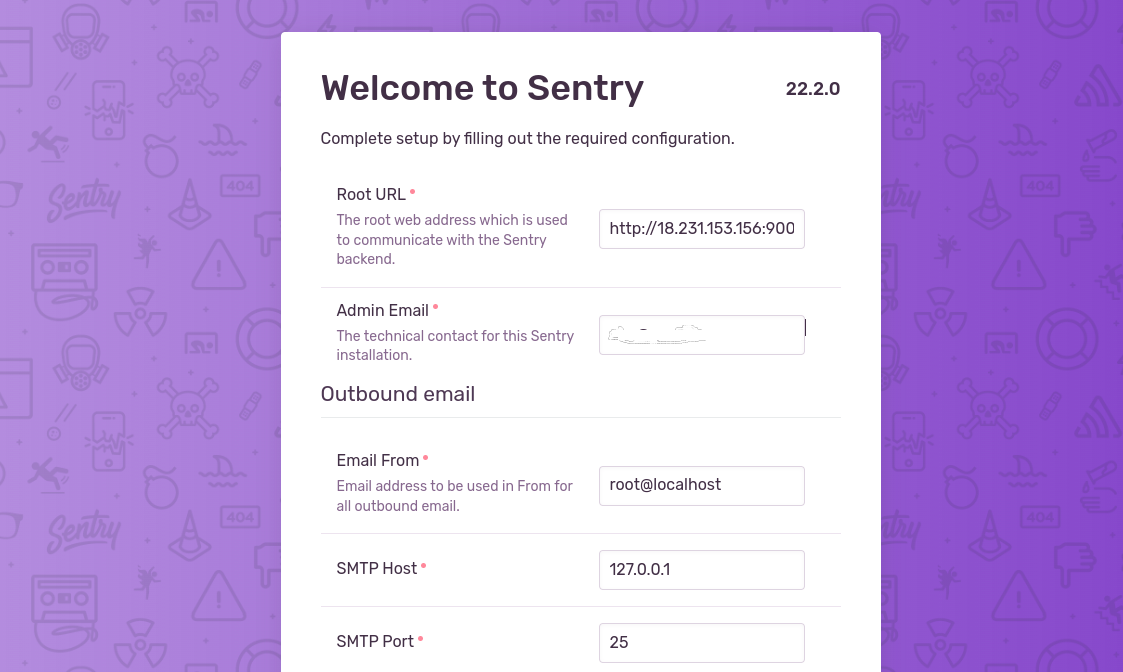
- Welcome to Sentry page is open.
- Click on Continue.
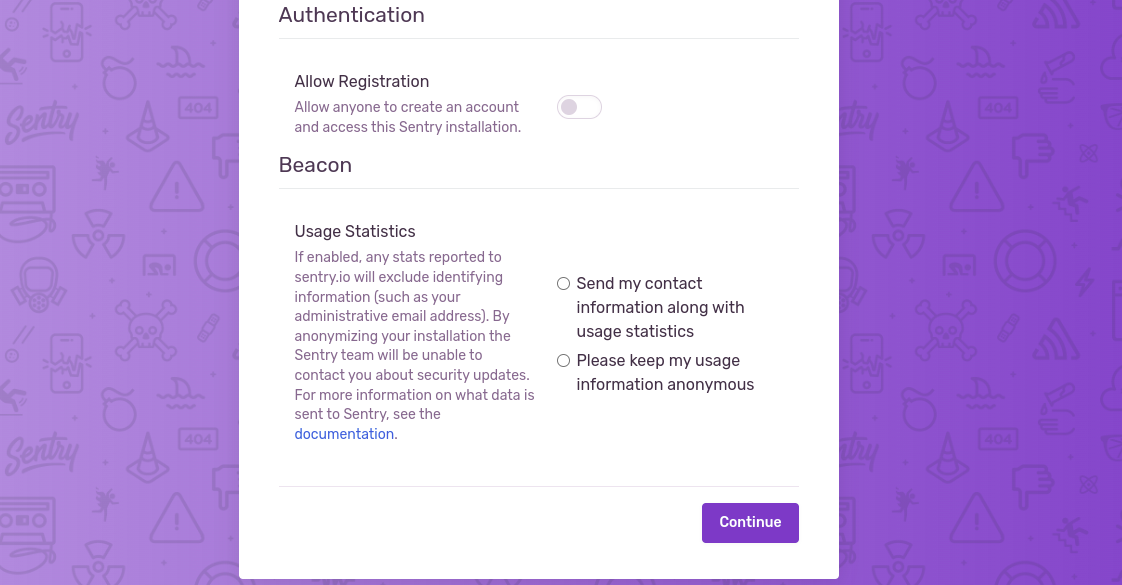
- Now,Sentry is Ready.