HX Club
- June 25, 2022
Steps to Install Hyper -V on window server 2019
In this Blog,we are discussing about for Hyper -v on window server 2019.It is a free hypervisor platform by Microsoft,is used to perform hardware virtualization.It allows to run several virtual machines on the same hardware.
It provides some benefits:
- It support of all the popular OS.
- It provide lots of way to backup virtual machine:simple scripts, open-source software, free and commercial versions of popular backup programs.
- It does not have a GUI Windows Server,we can manage it remotely using standard Hyper-V Manager.
- Do not need to hypervisor license.
- Easy to use.
There are some steps to Install Hyper -v on window server 2019 Base:
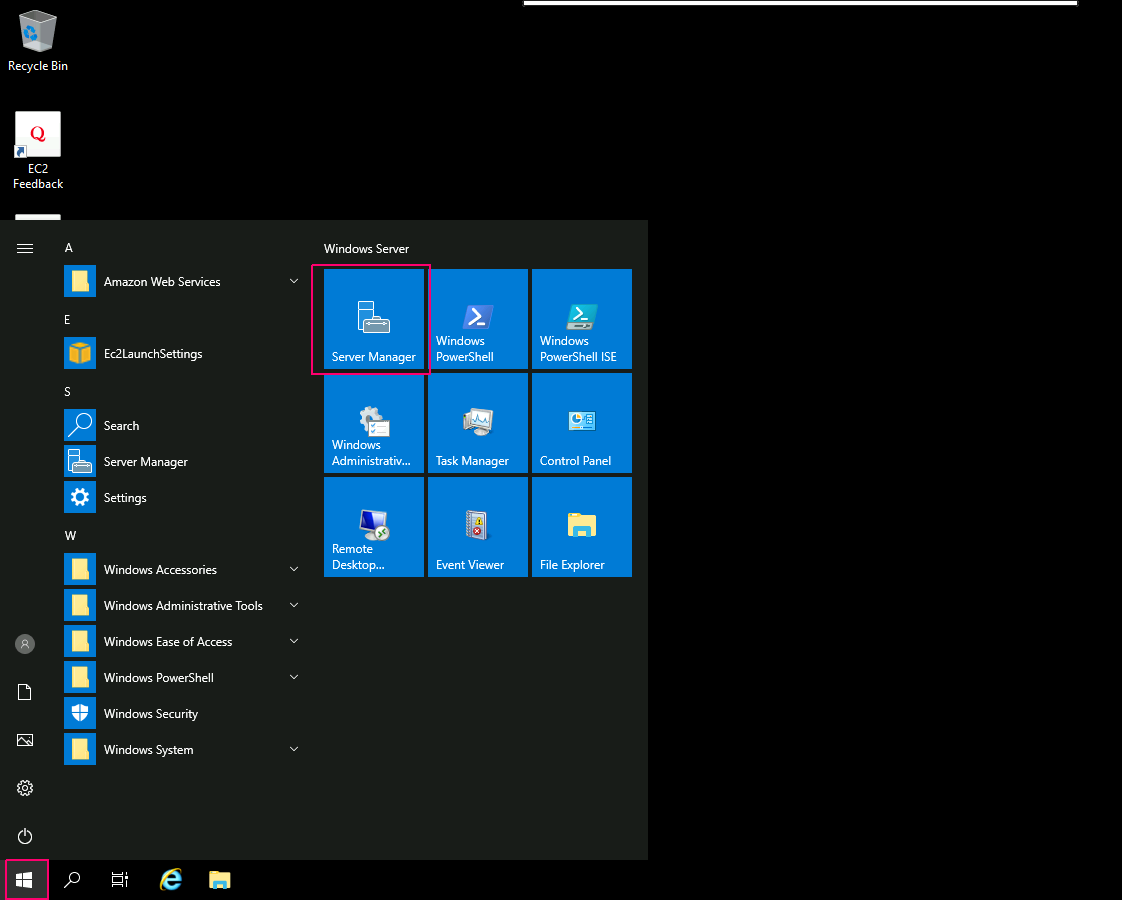
- Login to window server 2019 base.

- Click on Start Button then click on Server Manager.
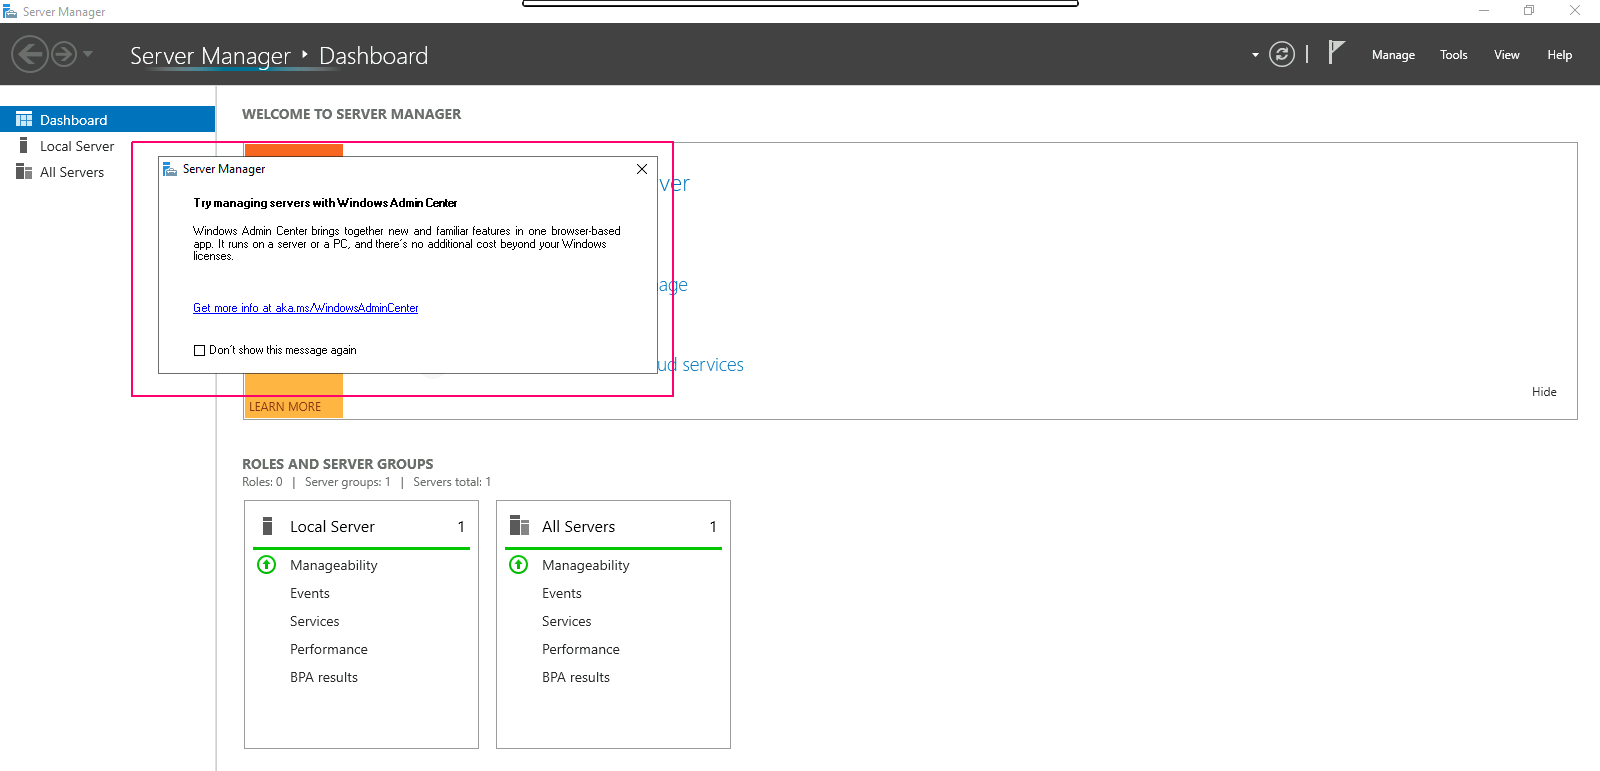
- Close the open wizard.
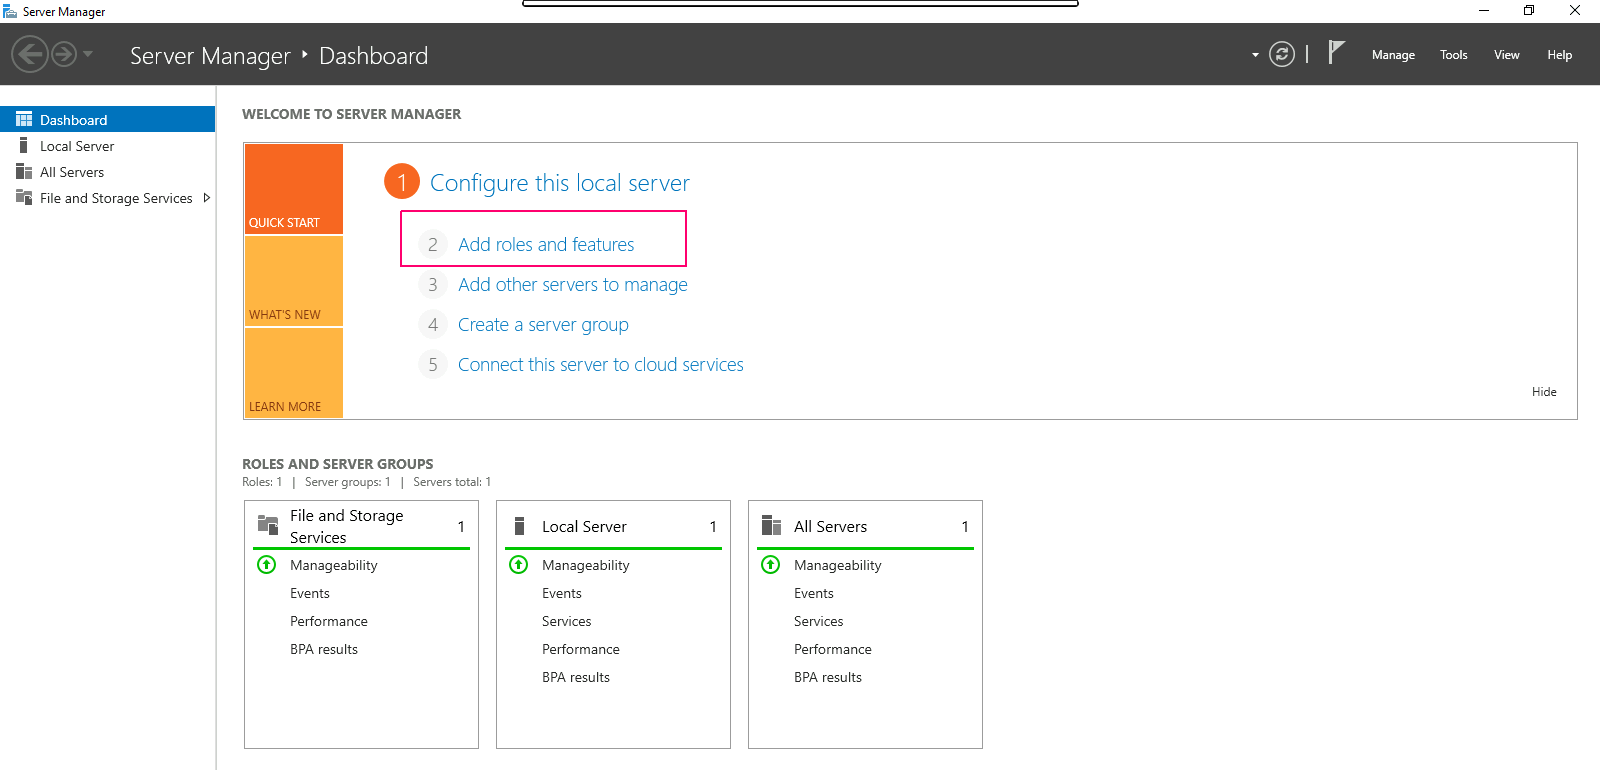
- Click on Add Roles & Features.
- In the Before you begin page,this wizard helps you install roles,features & role services.Click on Next.

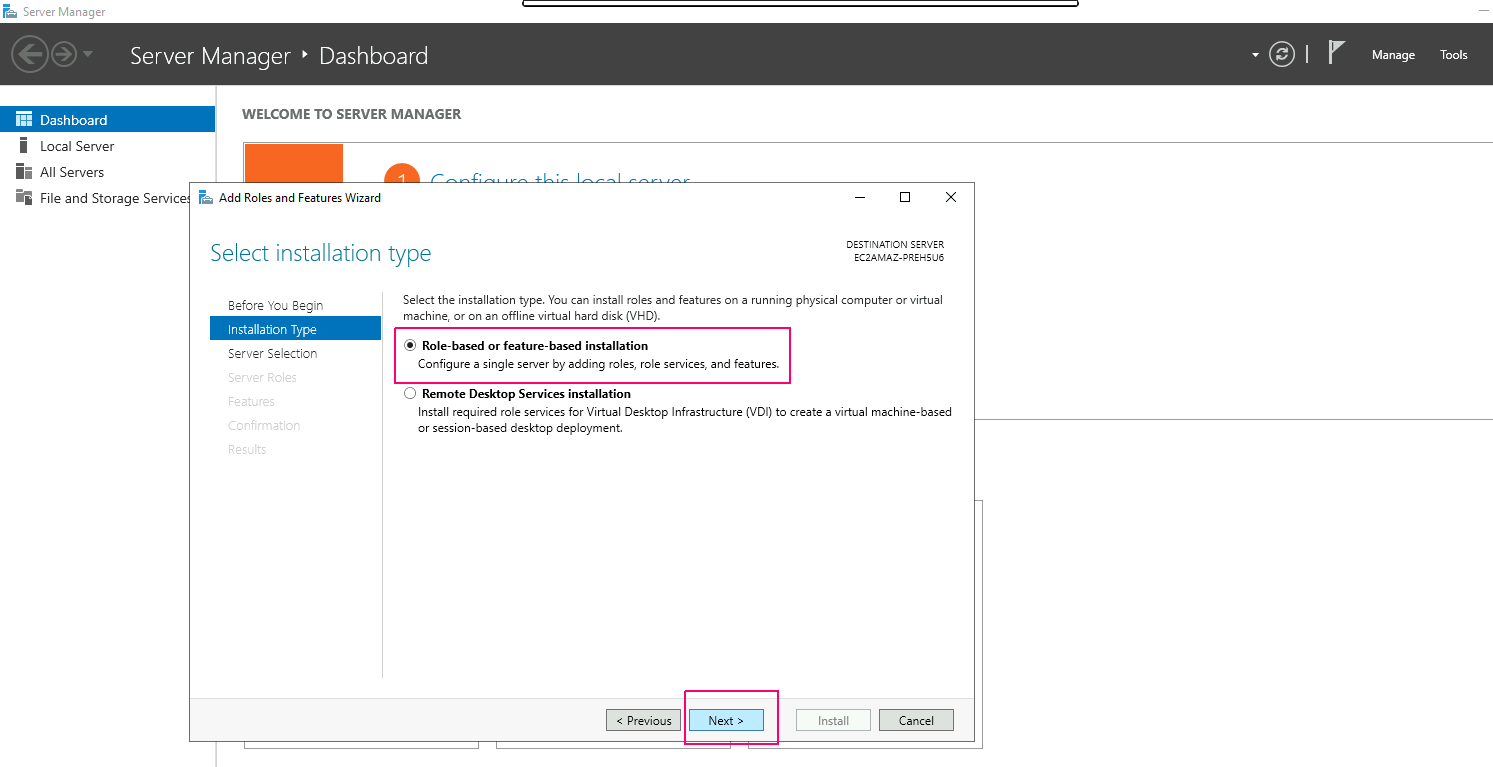
- In Installation type page,Select Role-based or Feature-based installation.Click on Next.
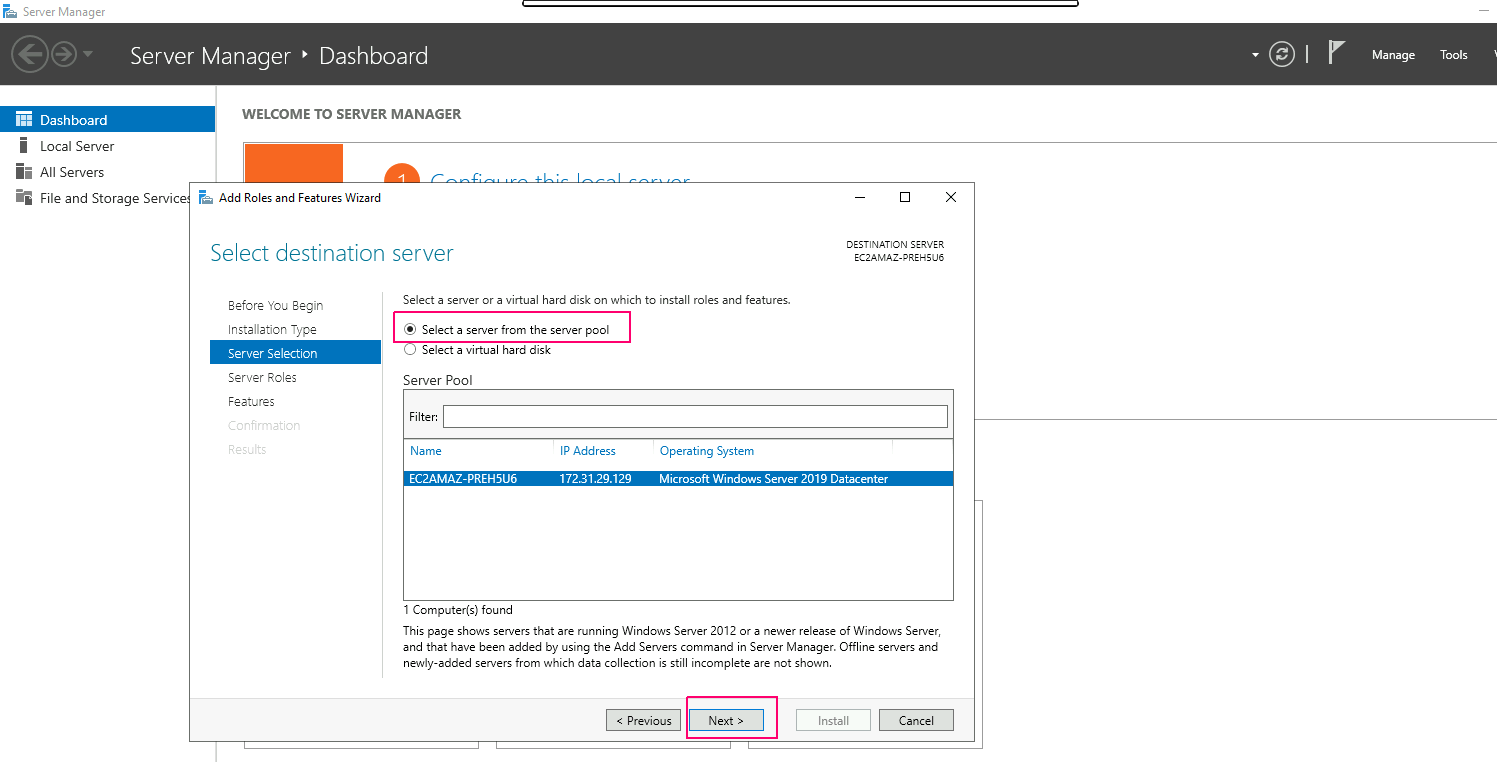
- In Server Selection page,select “select a server from the server pool”. Click on Next.
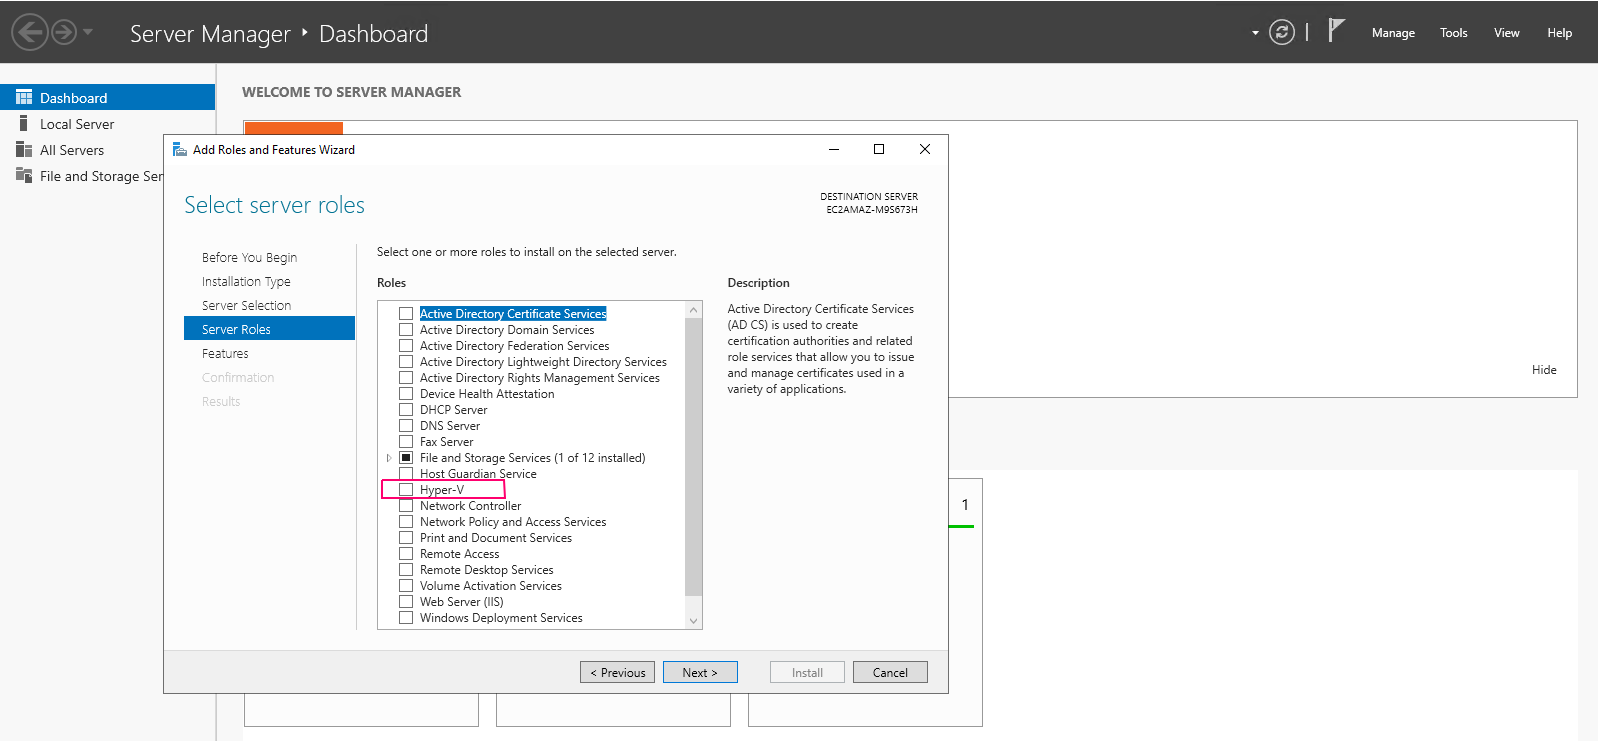
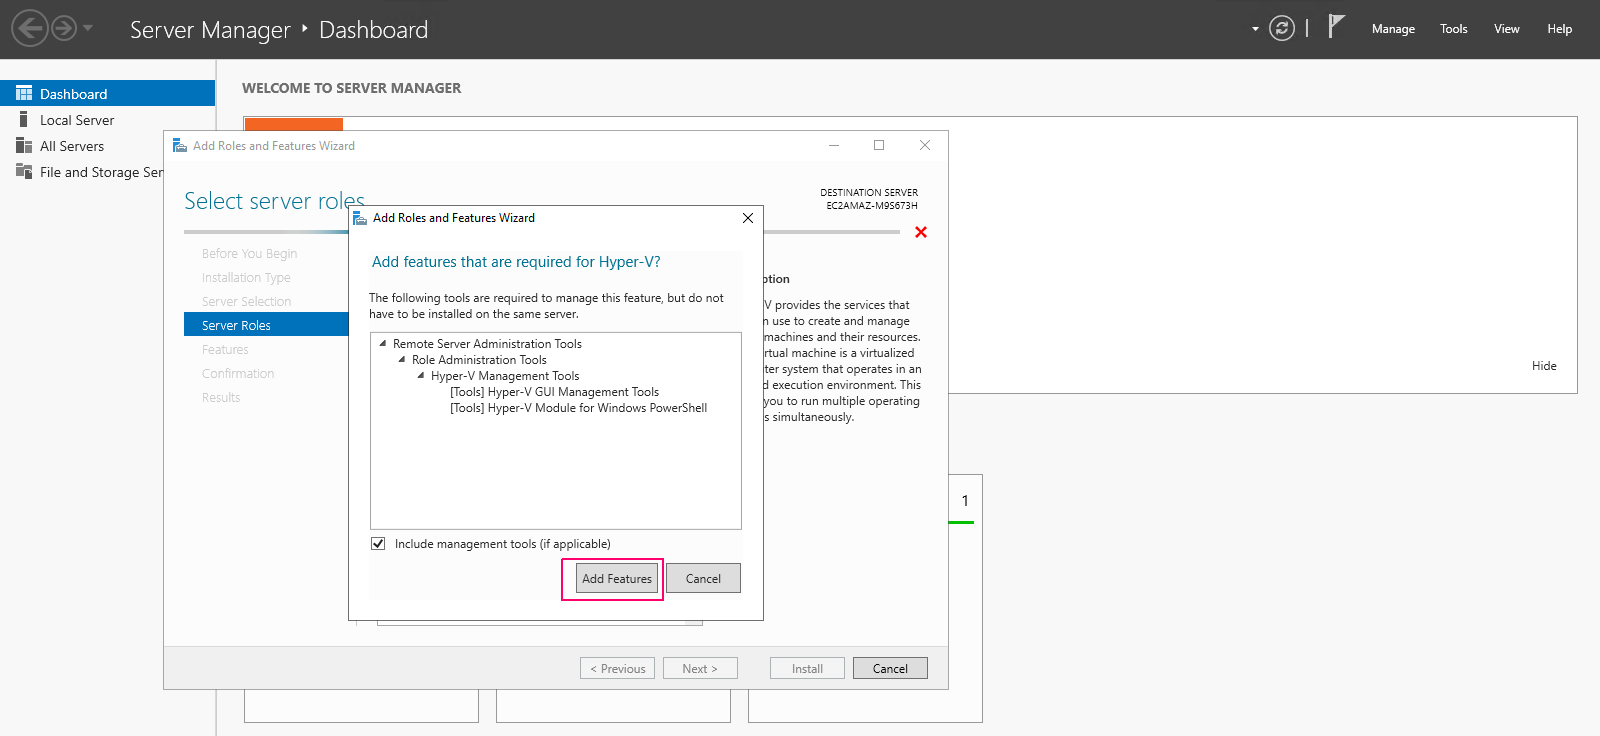
- In Server Roles page,Select “Hyper-V” role then Click on Add Features.
- Click on Next.
- In Features page,select features as per requirements.Click on Next.
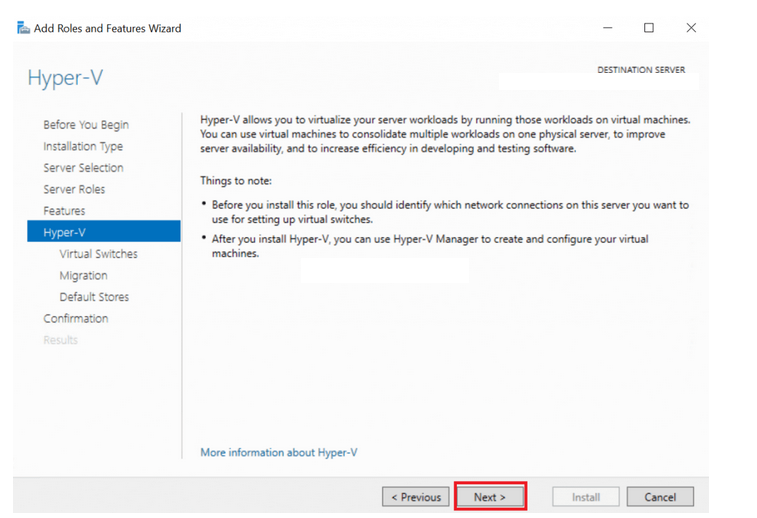
- In Hyper-V page,It allow to virtualize the server workloads by running those workloads on virtual machine.Click on Next.
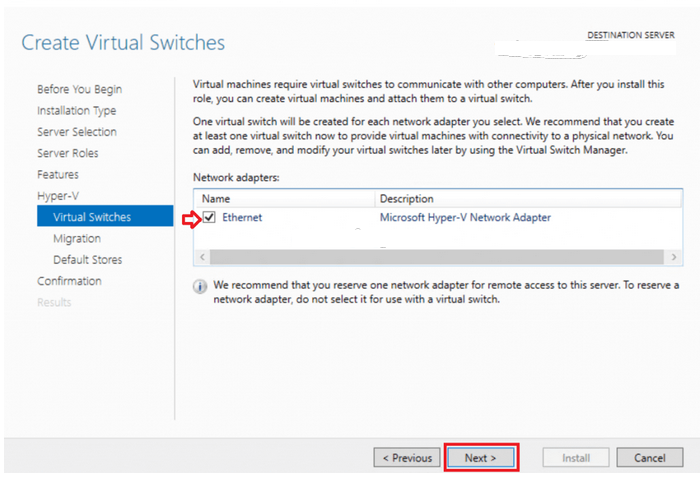
- Select Ethernet Network Adapters,then click on Next.
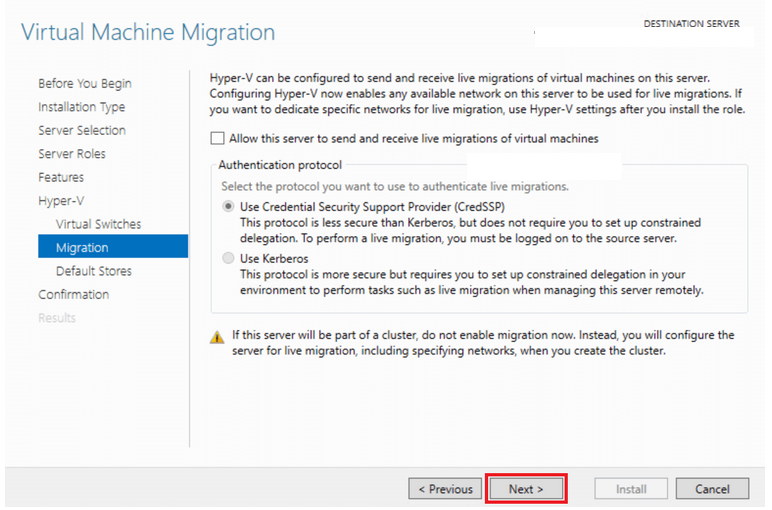
- In Migration page,it can be configured to send & receive live migrations of virtual machine on this server.
- Click on Next.
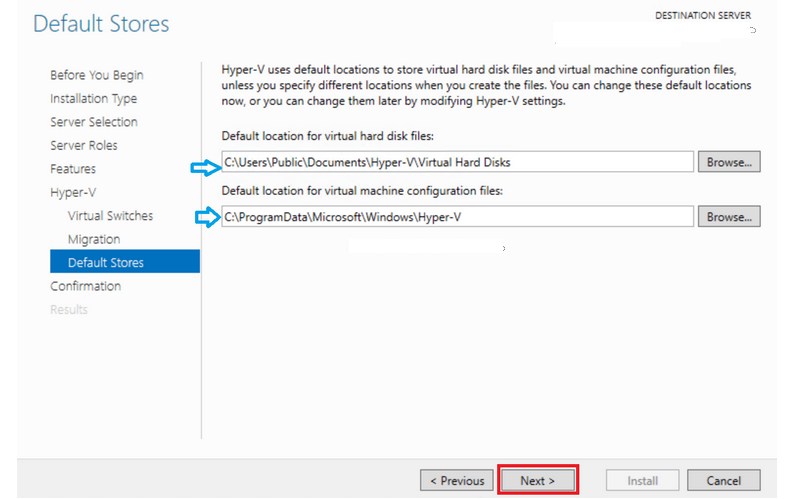
- In default stores, check all the location of virtual hard disk files & configuration files.
- Click on Next.
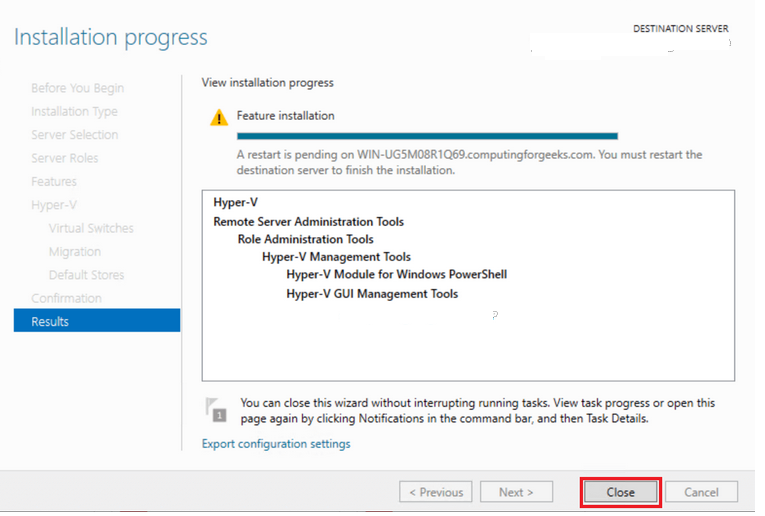
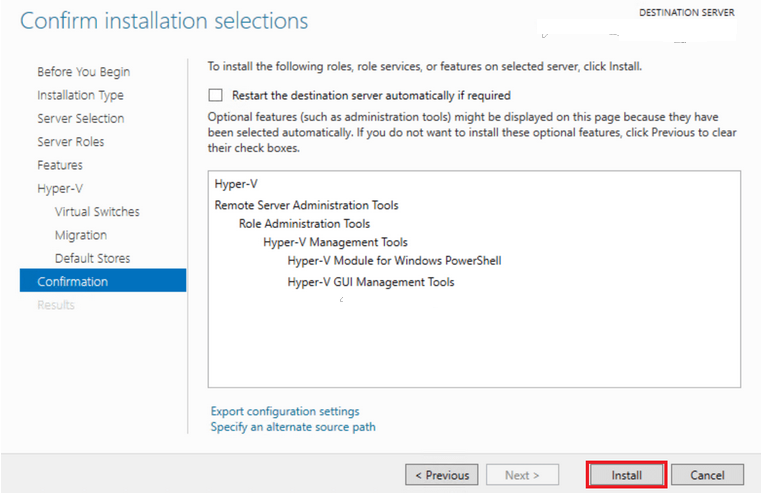
- In Confirmation page,review the added roles & features then click on Install.
- Once installation is done,click on close option to “Close the Add Roles & Feature wizard”.