Andreas Bartel
- July 22, 2022
Step By Step to Install DNS Server Role in Window Server 2019 Base
Hello,In this blog we are installing DNS Server Role in window server 2019 base.DNS stands for Domain Name System,is a server which is used for translating human readable domain name to the IP addresses.Each device connected to the Internet & has a unique IP Address.Other devices use the IP address to search/find the device.
There are some steps to Setup DNS Server role in window server 2019 base:
- Login to Window Server 2019 Base.

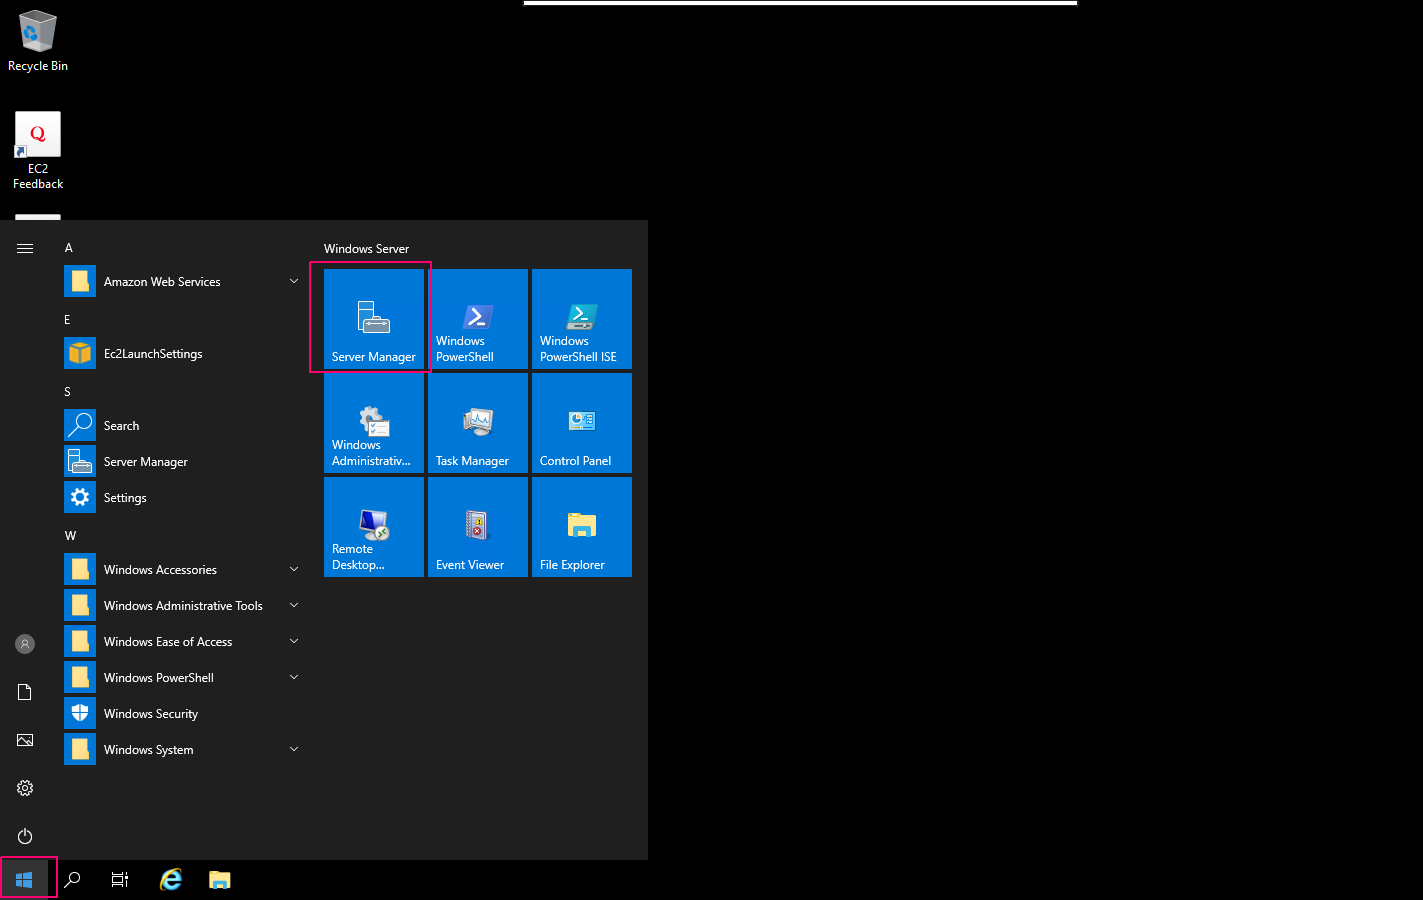
- Click on Start Button then click on Server Manager.
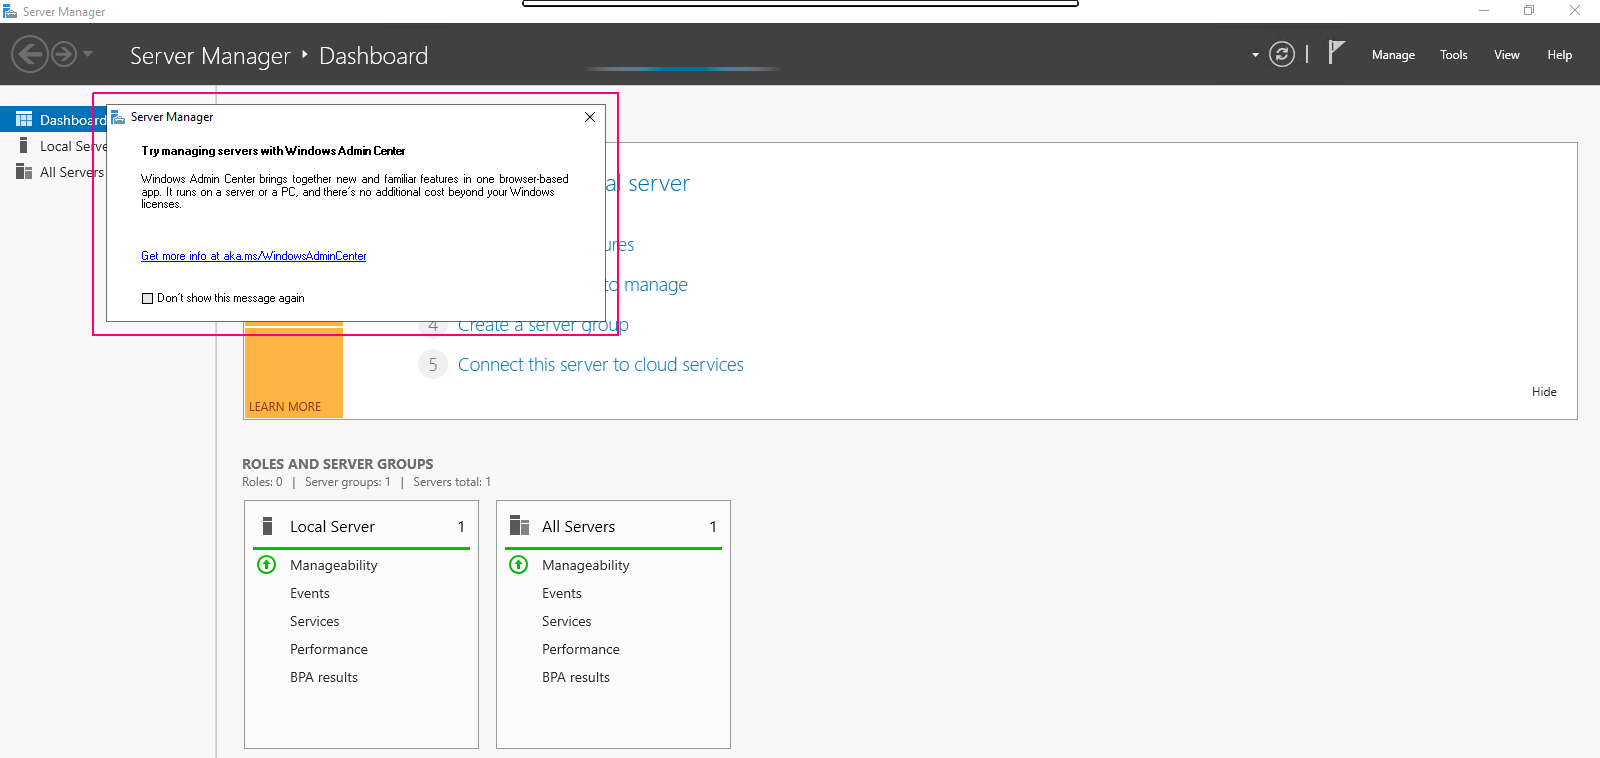
- Close the open wizard.
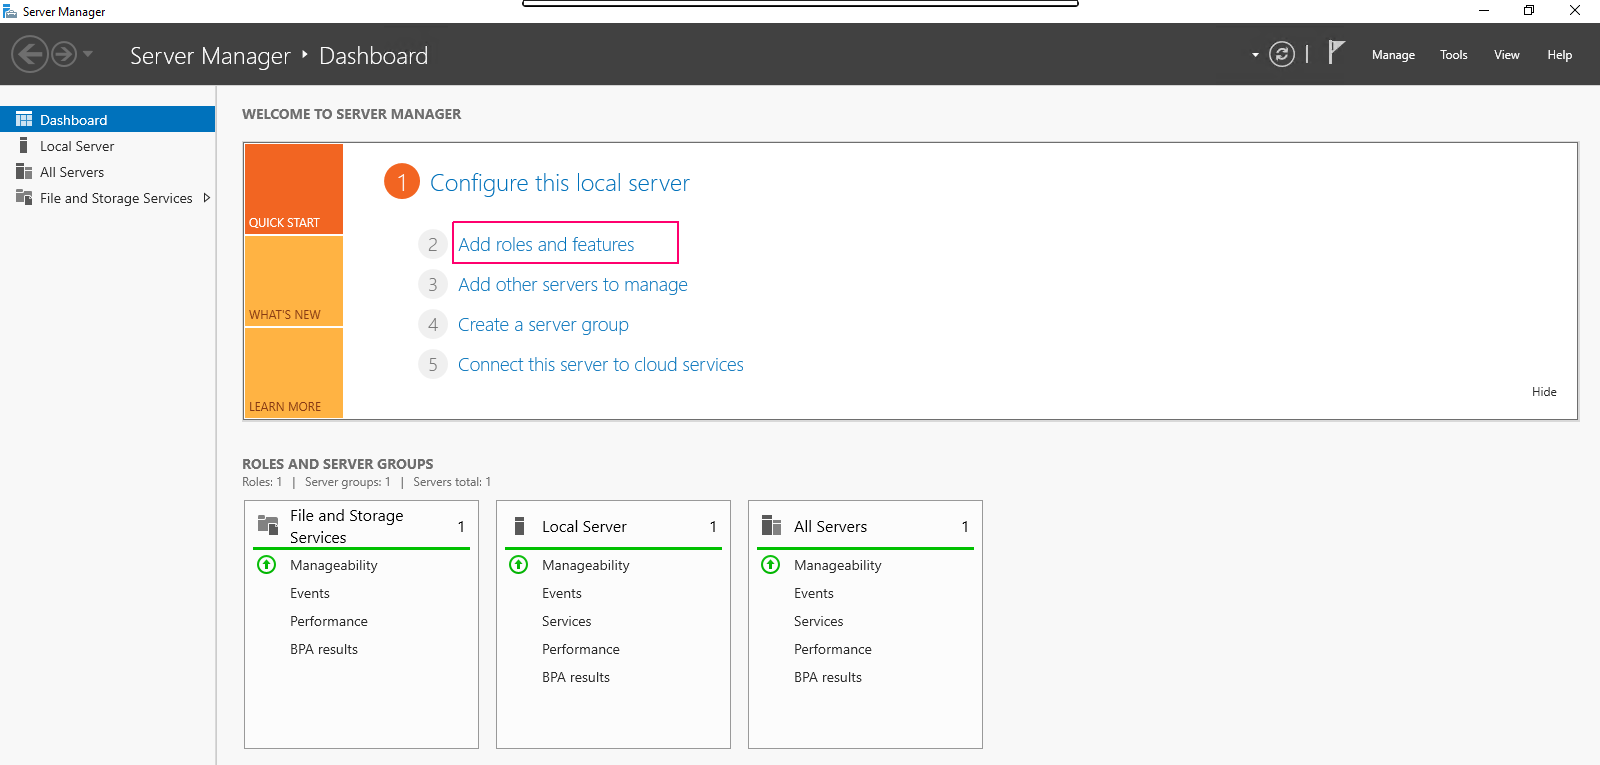
- Click on Add Roles & Features.
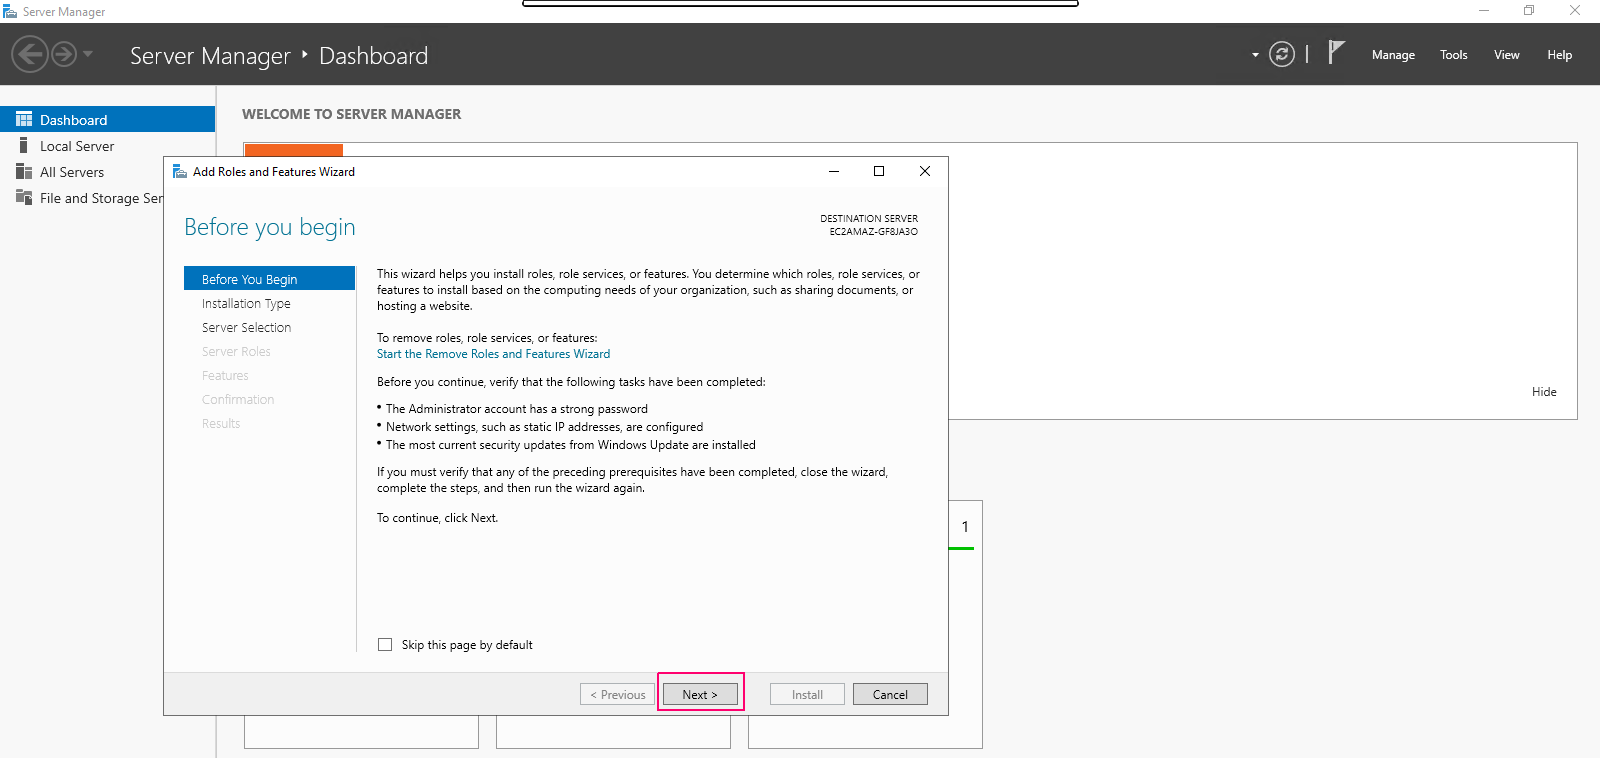
- In the Before you begin page,this wizard helps you install roles,features & role services.Click on Next.
- In Installation type page,Select Role-based or Feature-based installation.Click on Next.

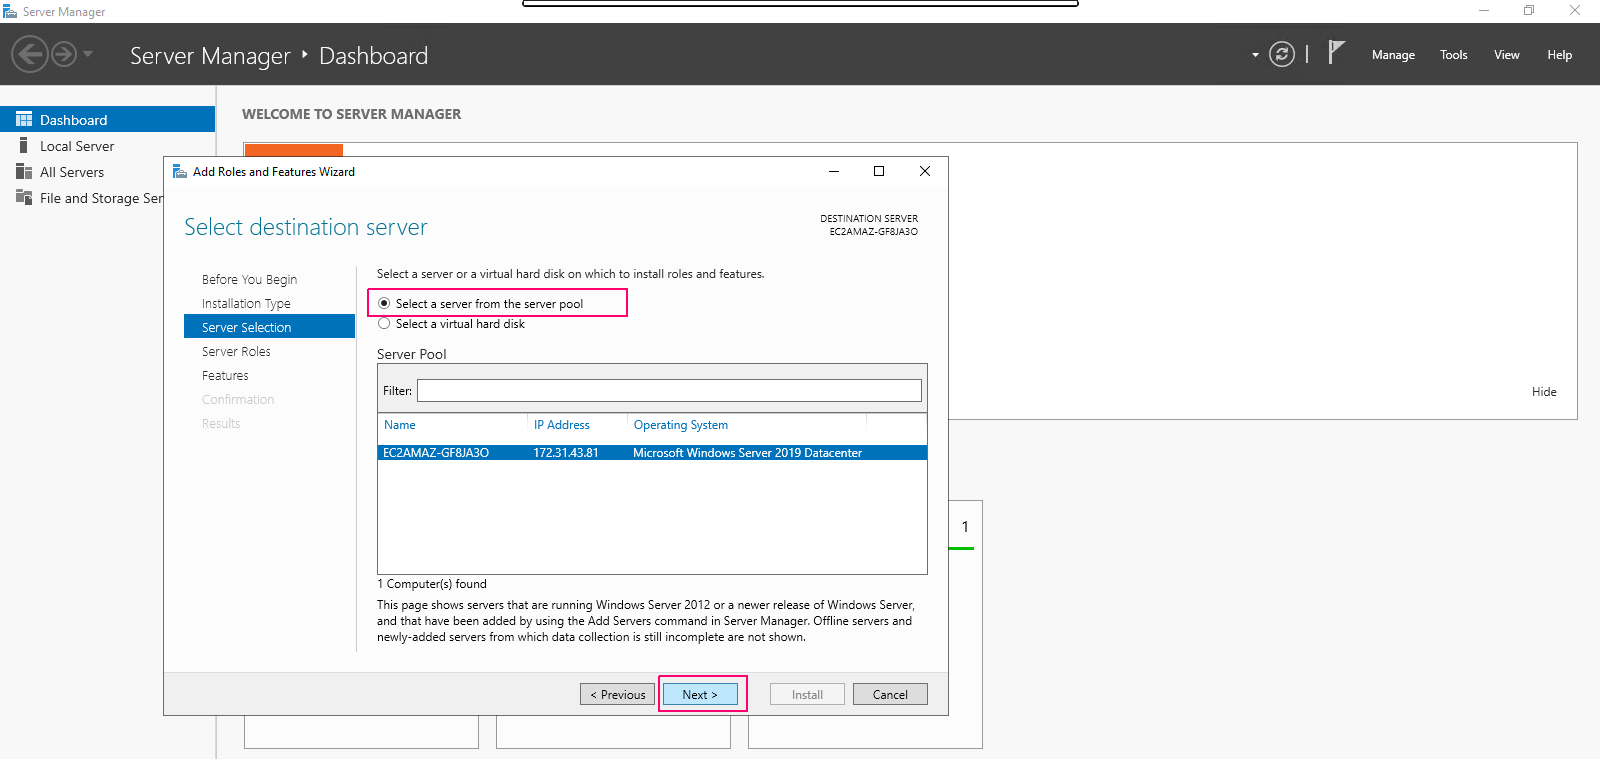
- In Server Selection page,select “select a server from the server pool”. Click on Next.
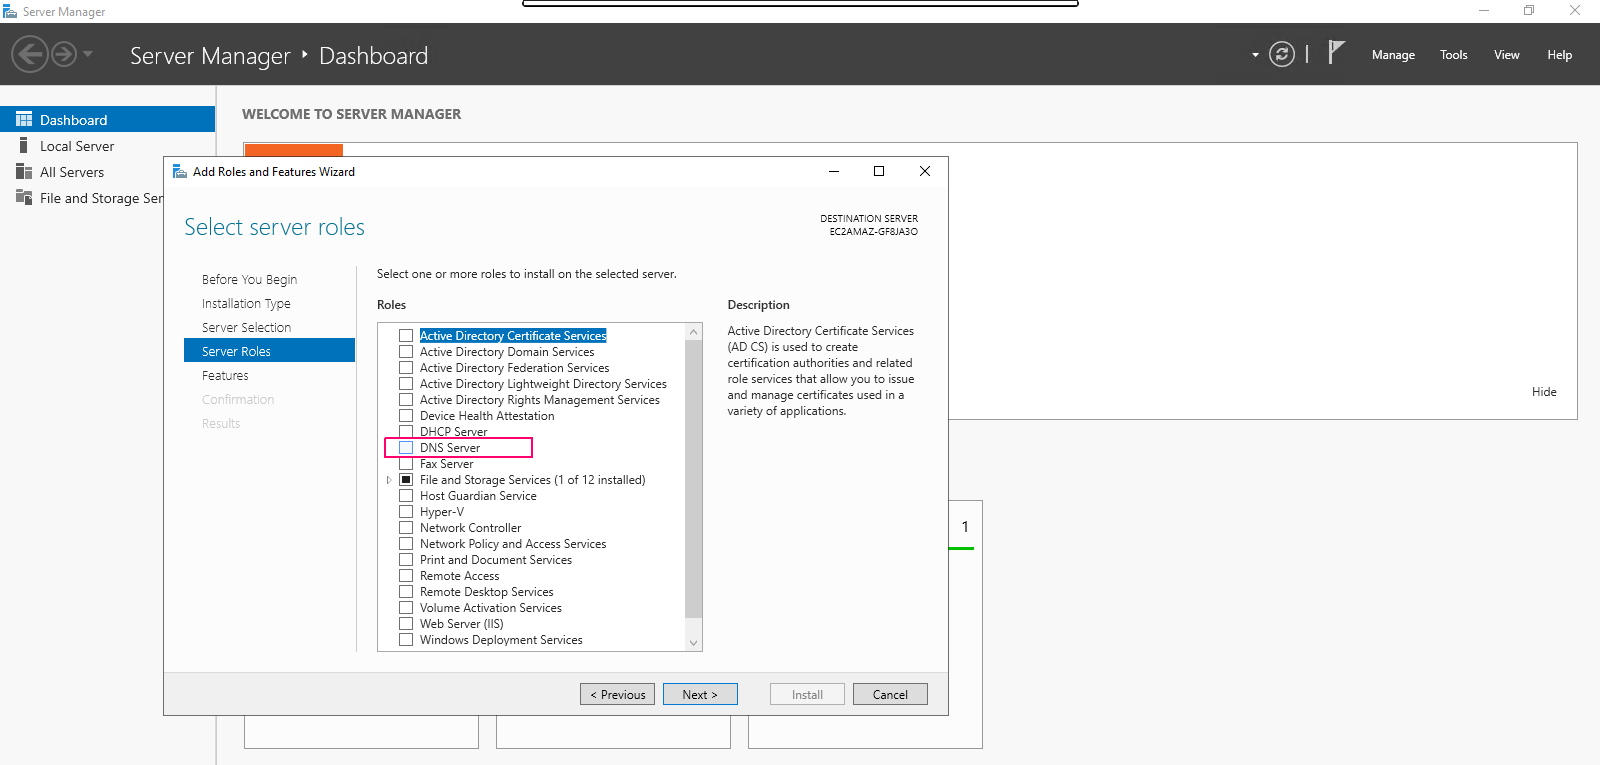
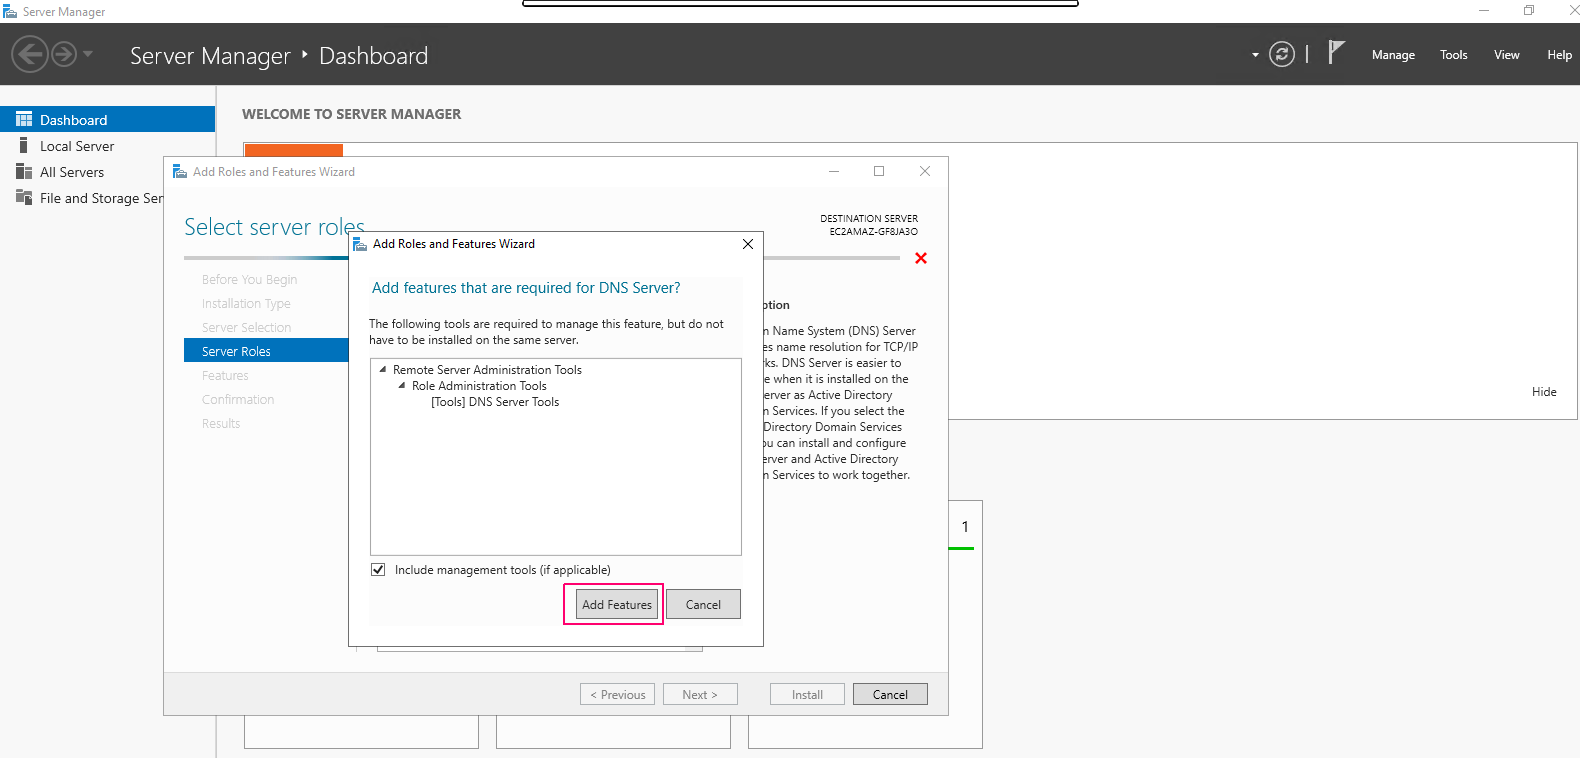
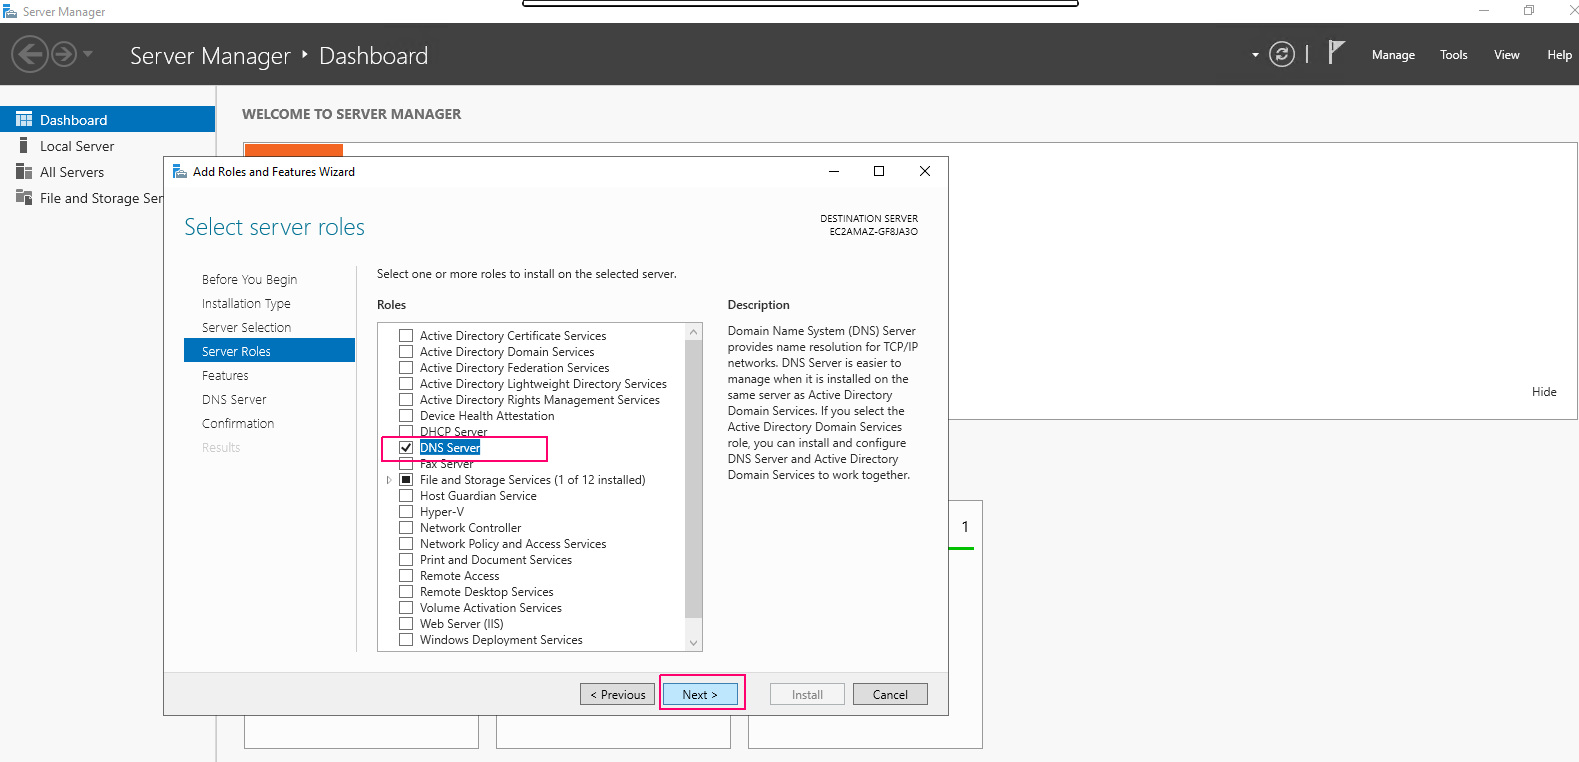
- In Server Roles page,Select “DNS Server” role then Click on Add Features.
- Click on Next.
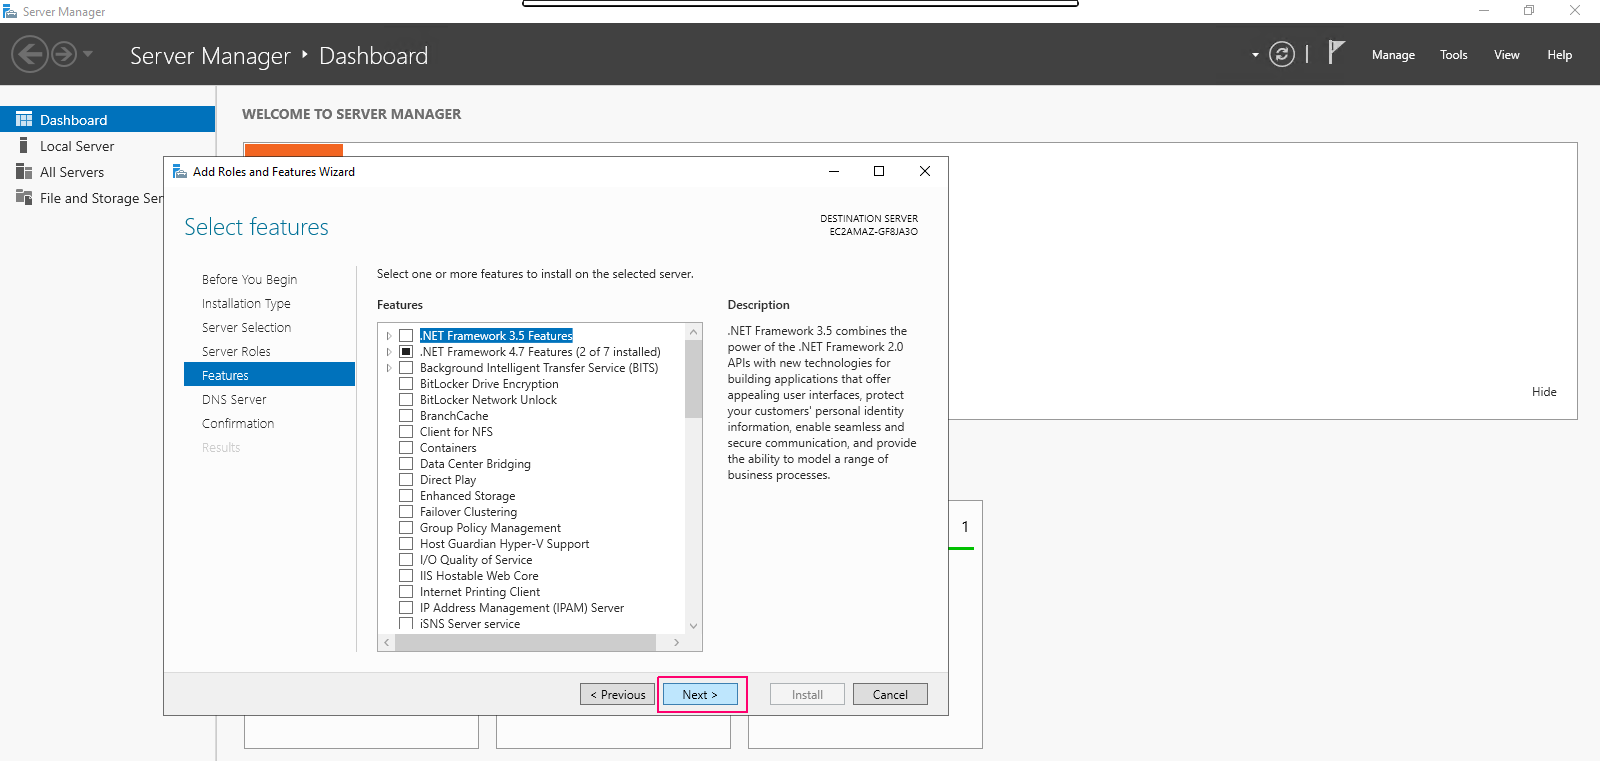
- In Features page,no needs to select features.Click on Next.
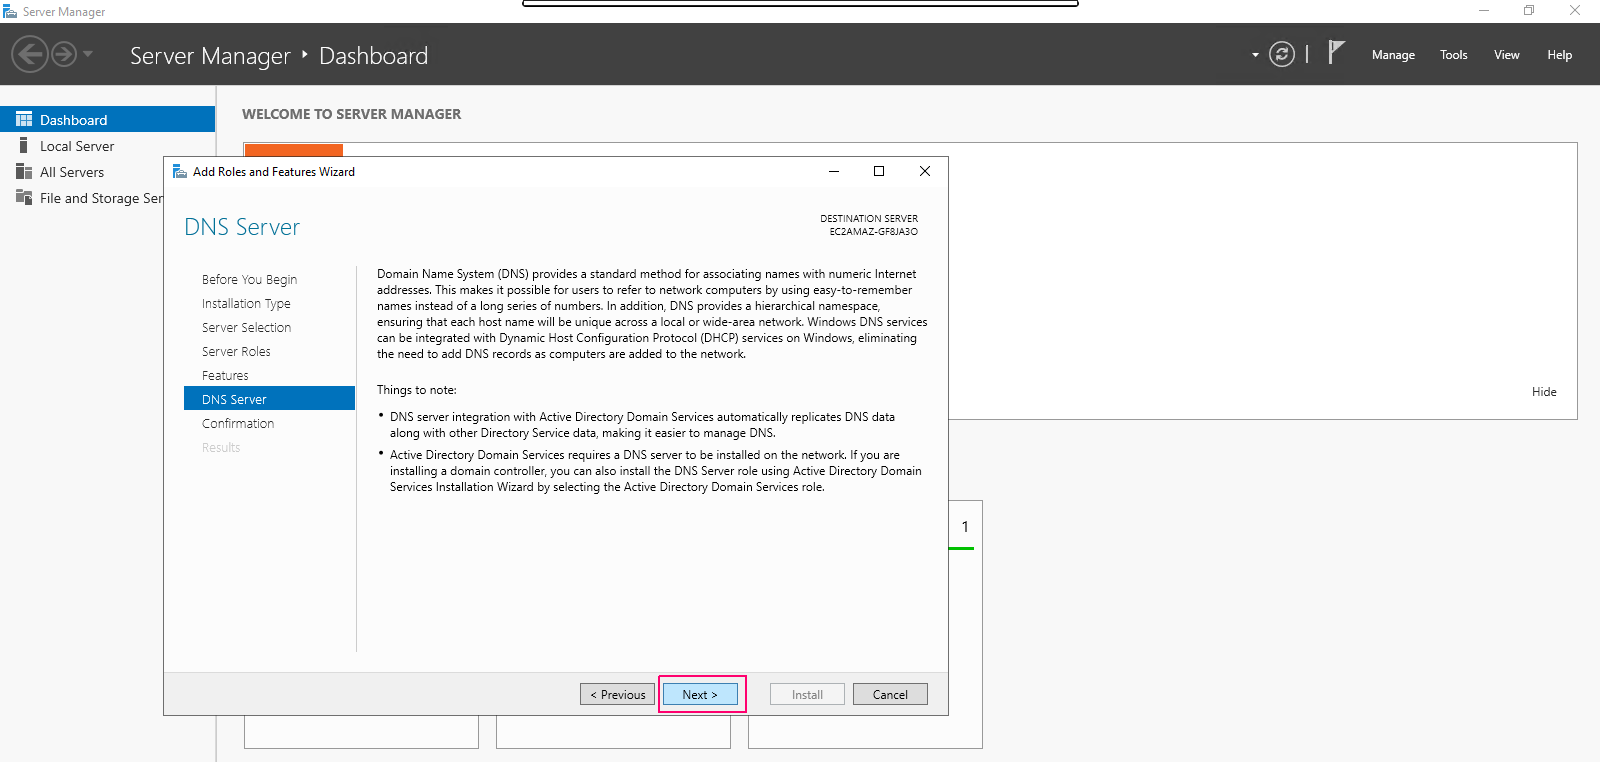
- In DNS server page,Click on Next.
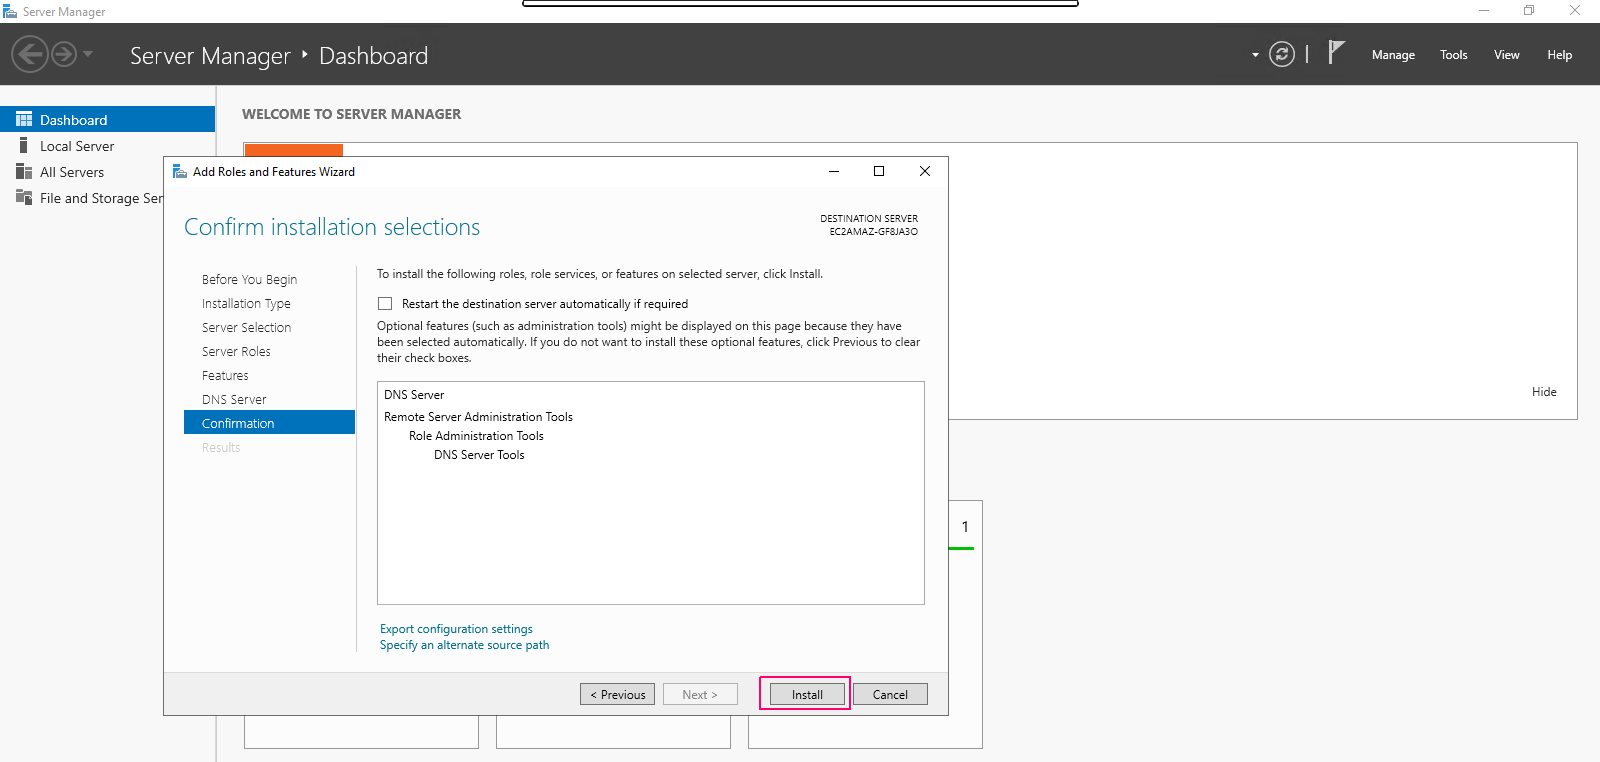
- In Confirmation page,review the added roles & features then click on Install.
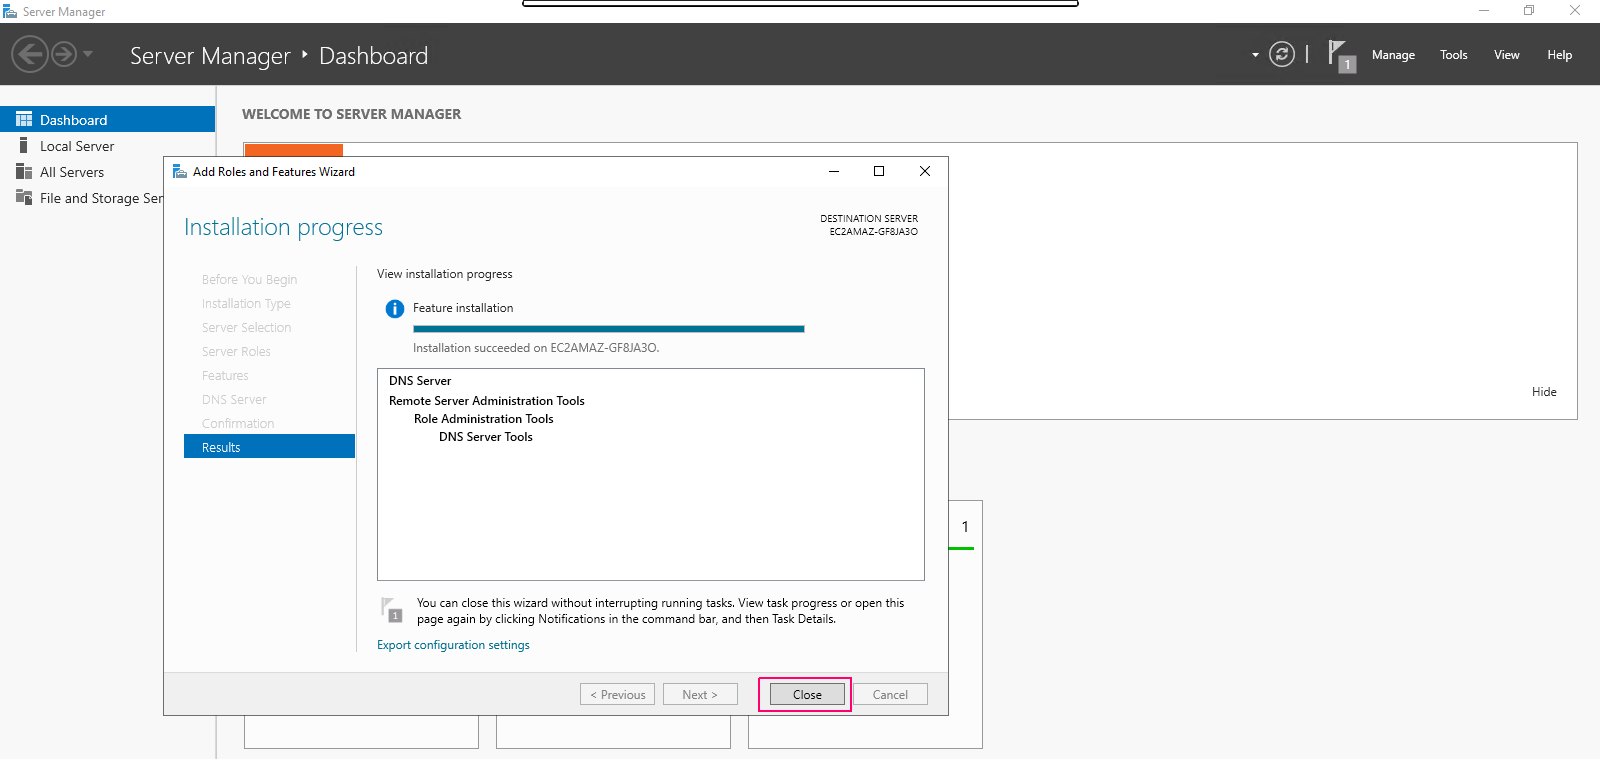
- Once installation is done,click on close option to “Close the Add Roles & Feature wizard”.
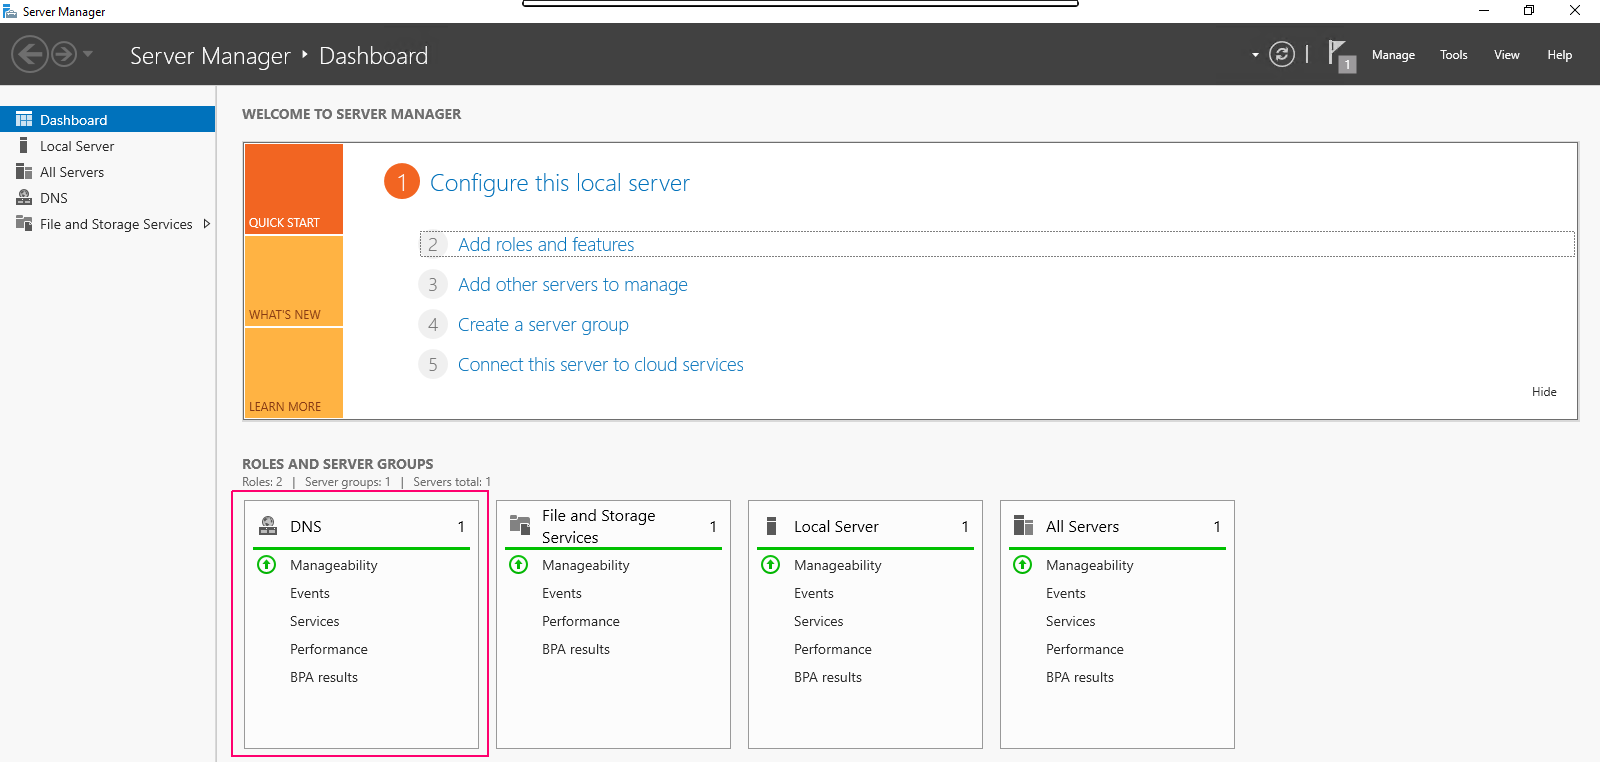
- Now, we can easily see the added roles & features on Server Manager wizard.