Alwin John
- July 25, 2022
Step by Step guide to setup php 8.0 on web server IIS in window server 2019 base
Hello,We are discussing about for installation PHP 8.0 on web server (IIS) in window server 2019 base.Web server provides a secure & easy-to-manage platform for hosting websites, services, and applications.Using web server IIS, we can easily test the php installation.
There are some steps to install & configure PHP 8.0 on web server IIS:
- Login to Window Server 2019 Base.
- First we need to install web server (IIS) on server 2019 so click on the following link: https://www.hackerxone.com/2022/07/14/steps-to-add-configure-web-server-iis-role-in-window-server-2019-base/
- Once Installed & Configured the Web Server (IIS) on server.
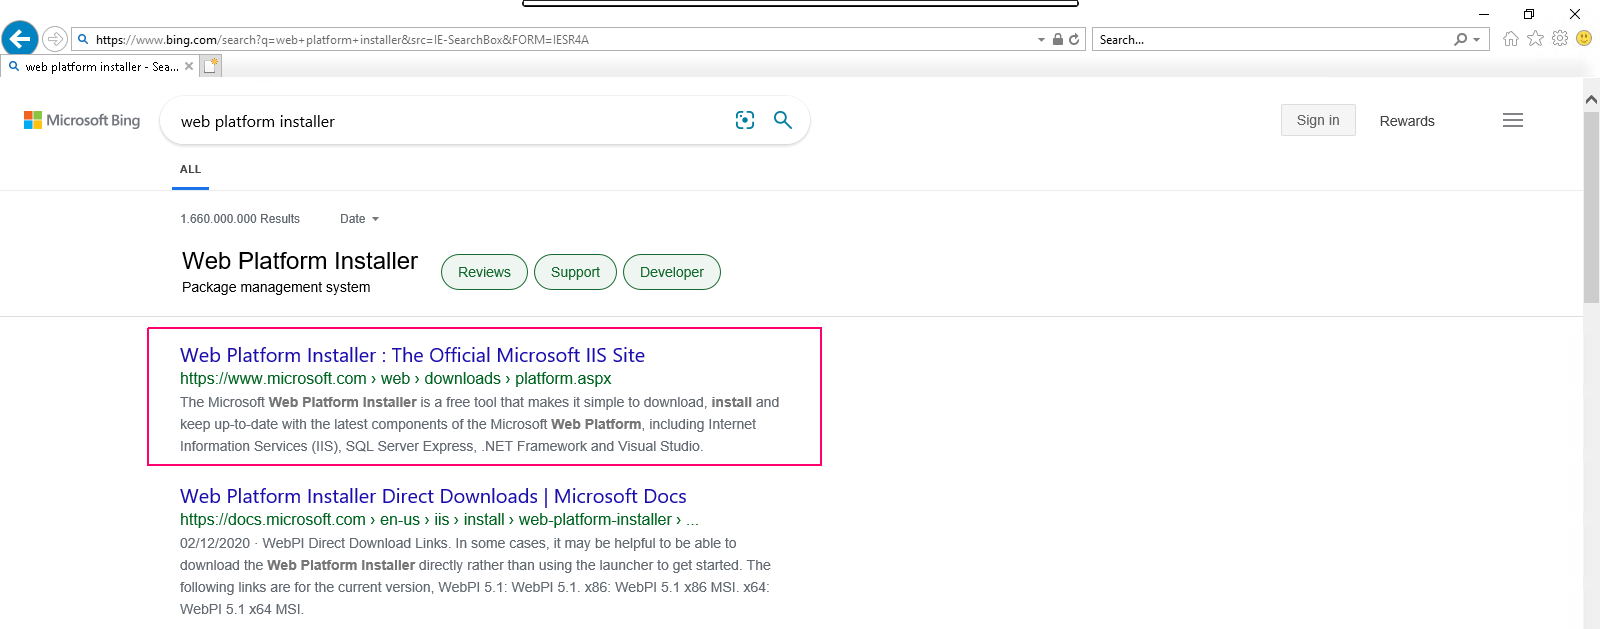
- Go to Browser & search the web platform installer.
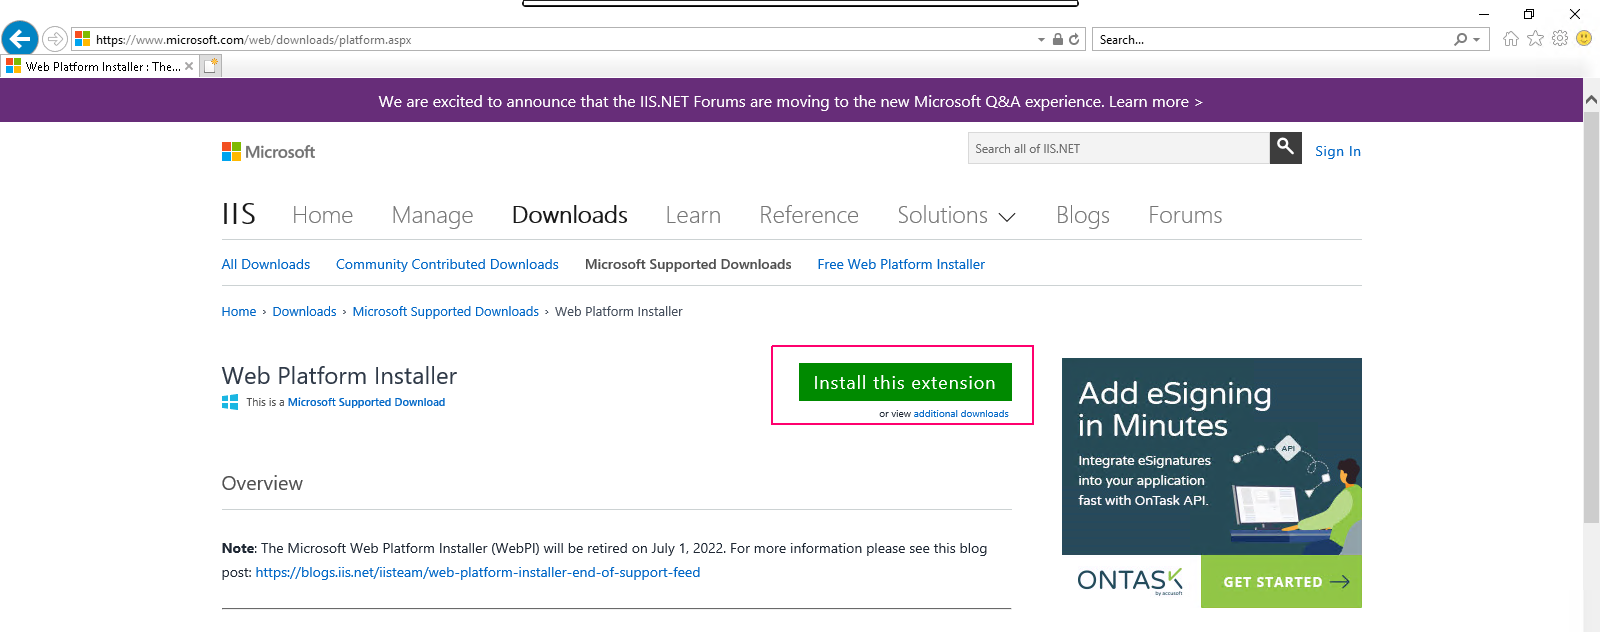
- Go to Official Microsoft IIS site.
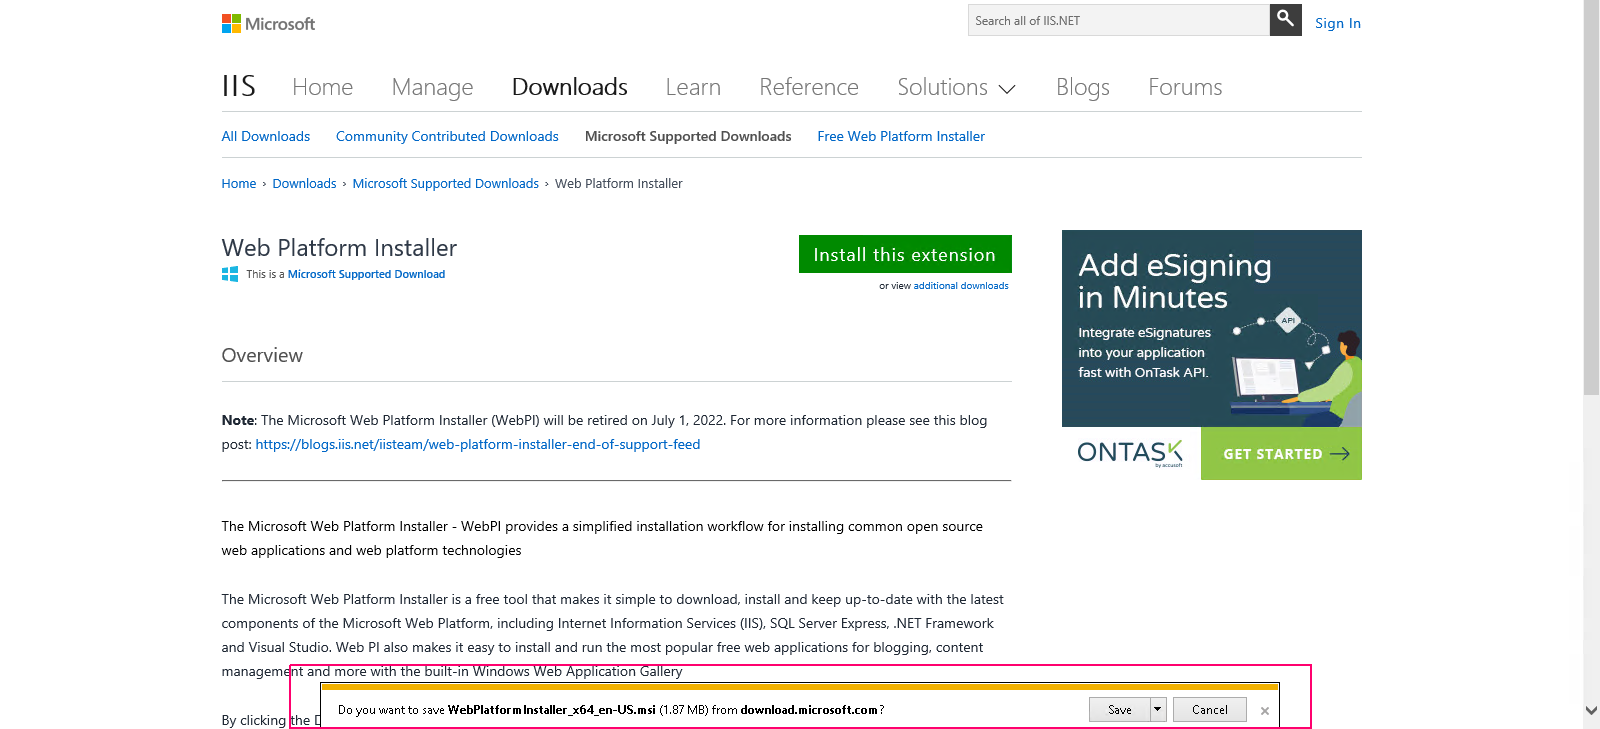
- Click on Install this extension.
- Click on Save.
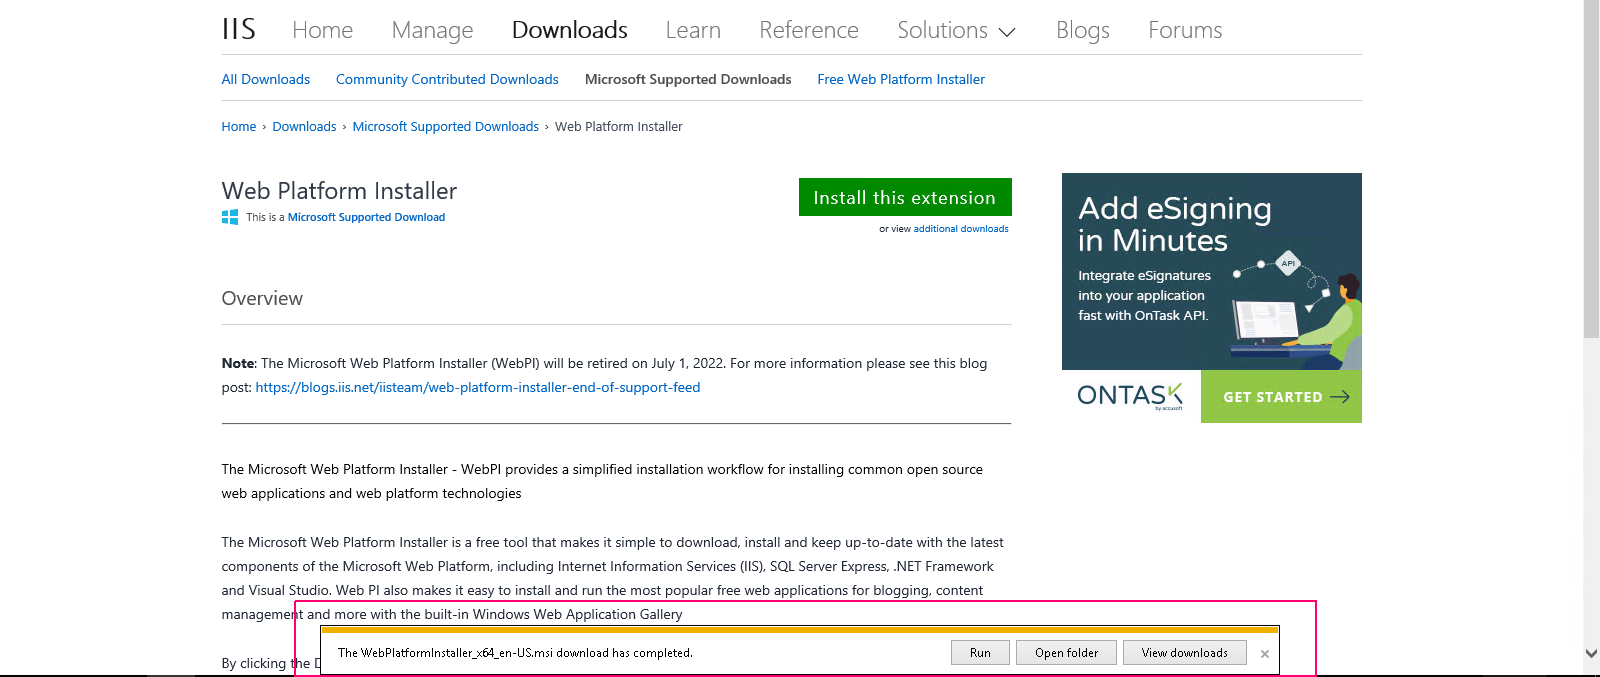
- Click on Run.
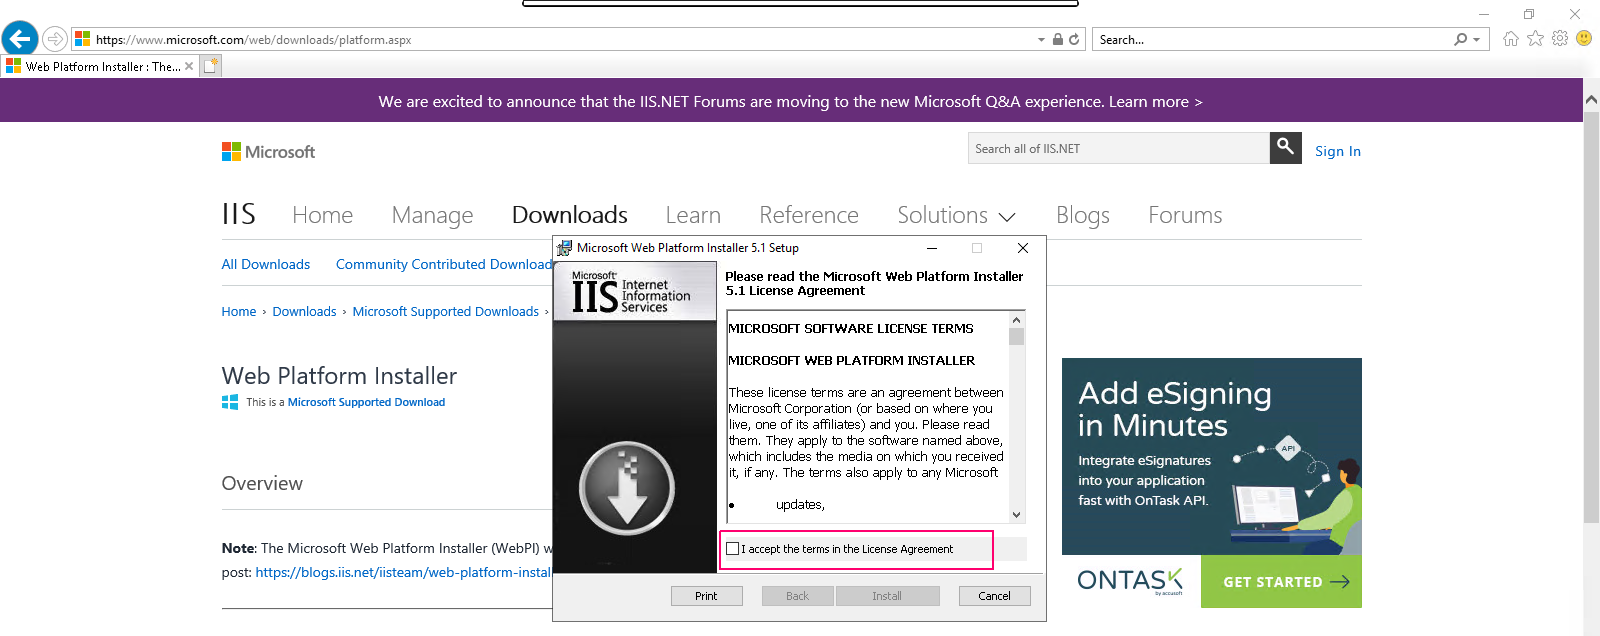
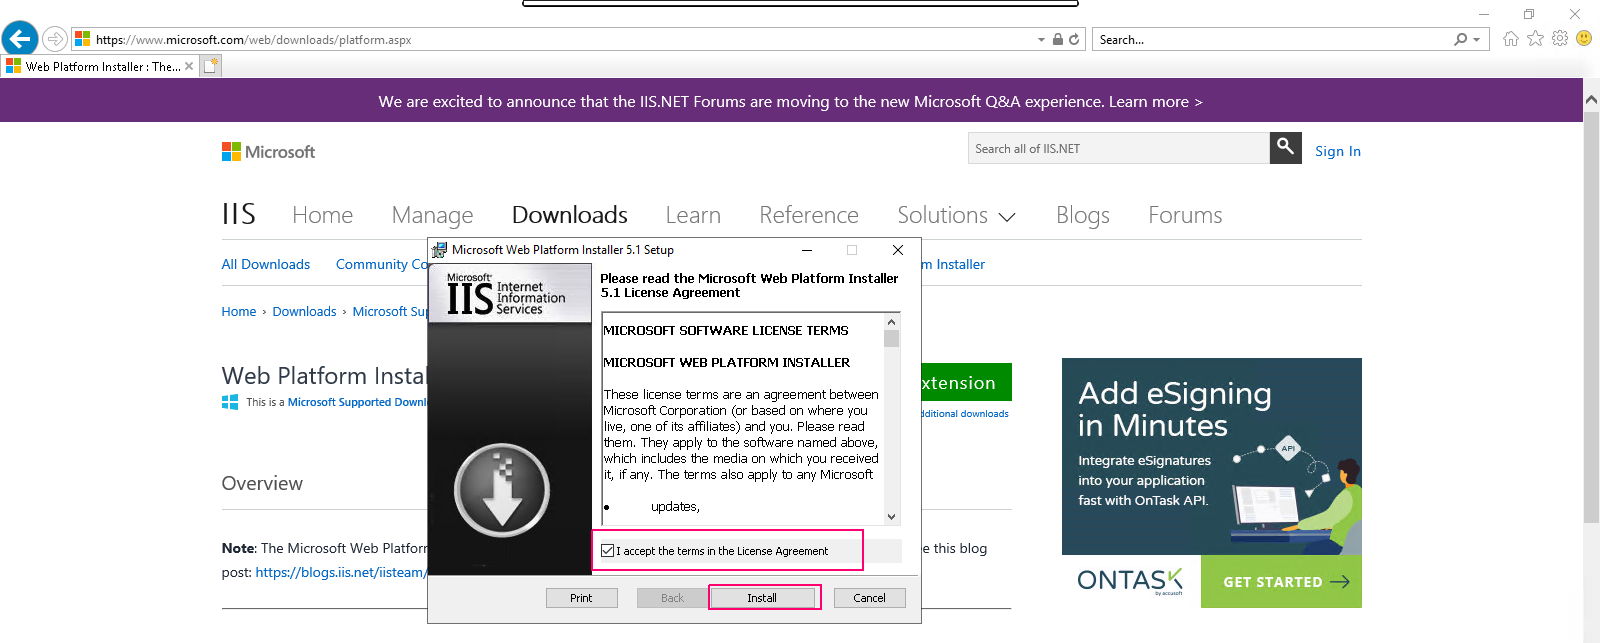
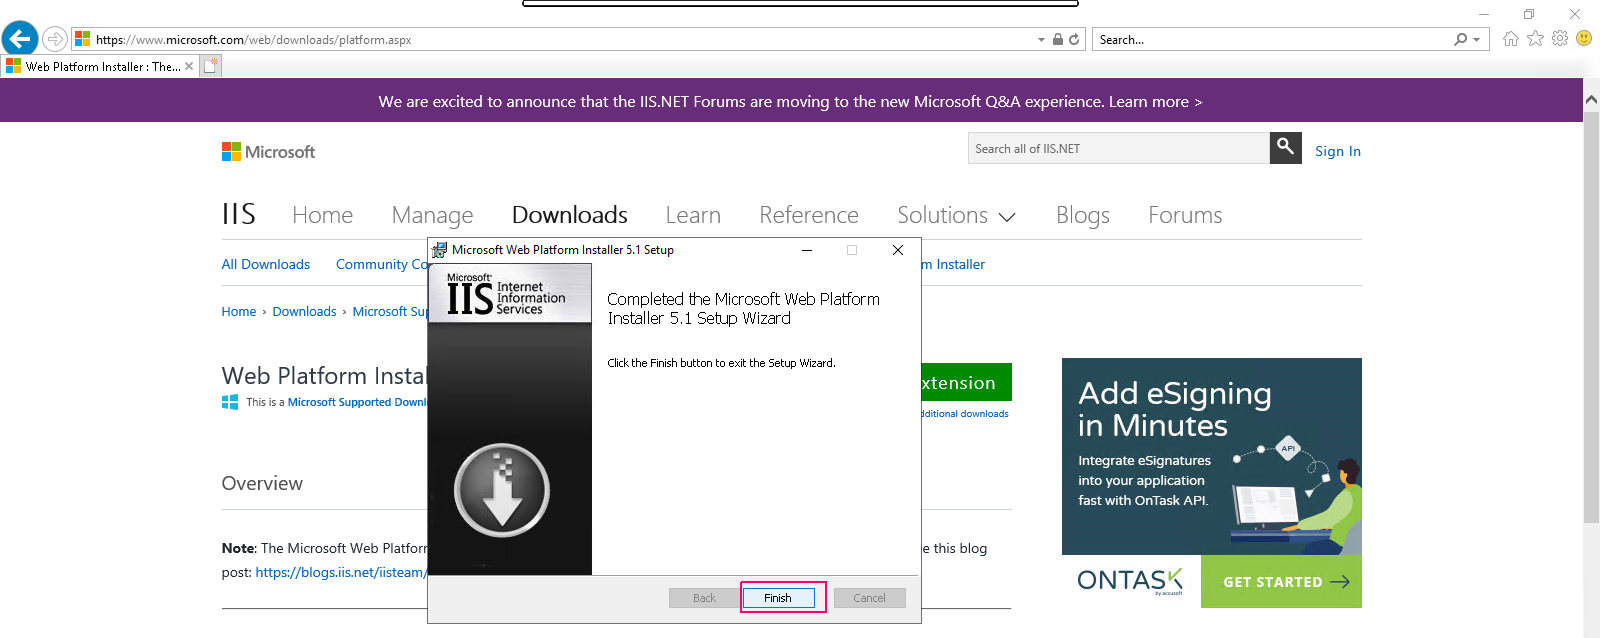
- Select “Accept the terms in the License Agreement” & click on Install.
- Once completed the installation,click on finish option to close the setup wizard.
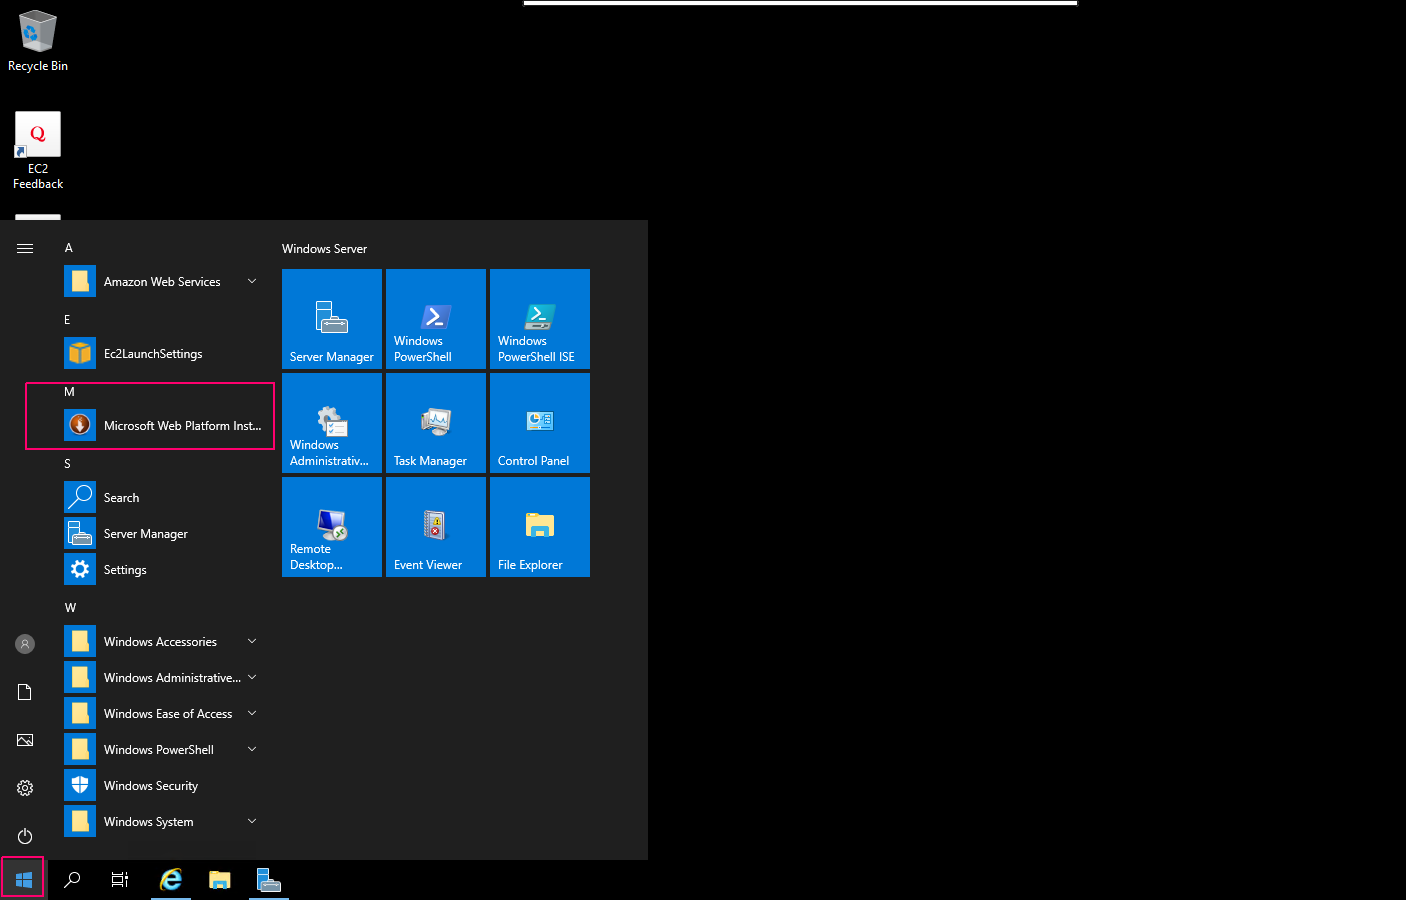
- Click on Start option & select Microsoft Web Platform Installer 5.1.
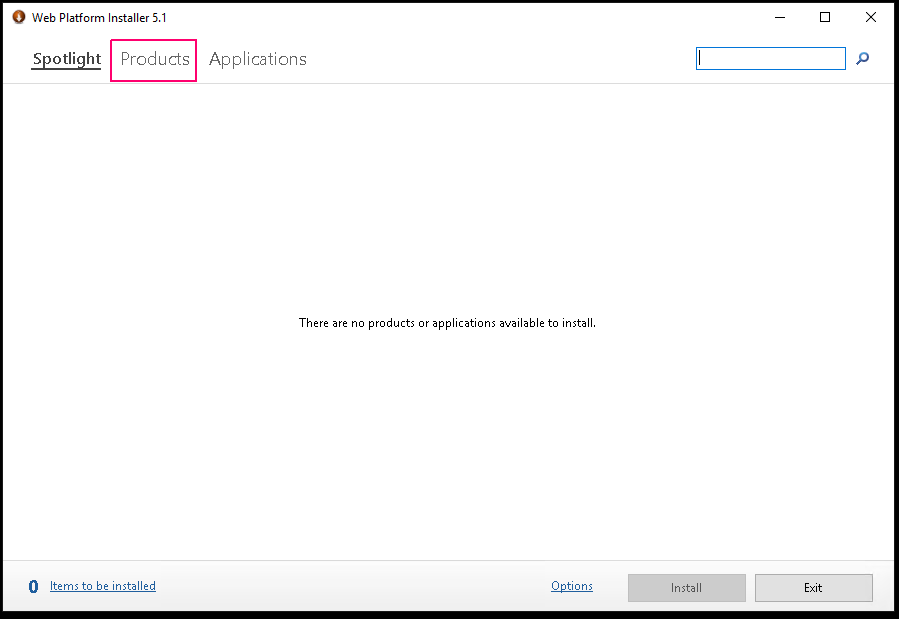
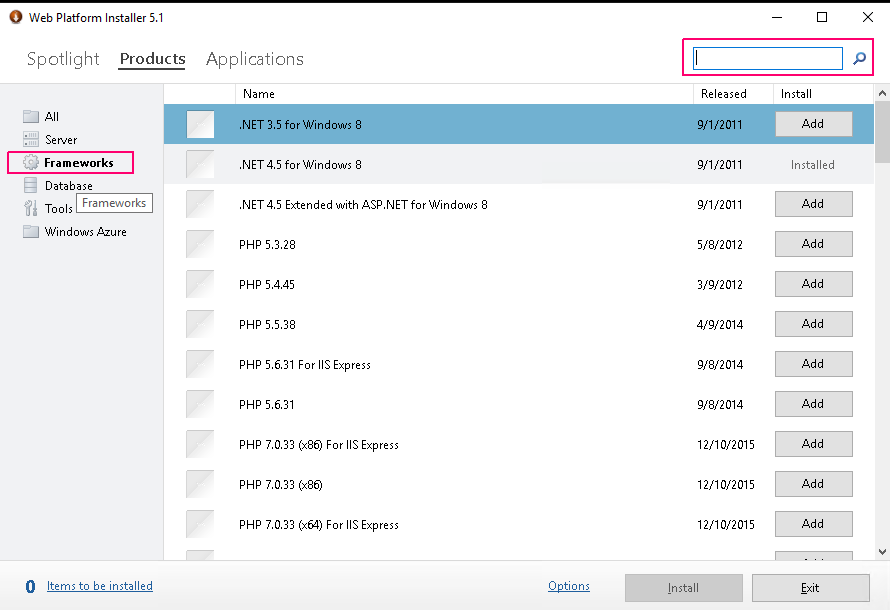
- Web platform installer 5.1 will open.Click on Products.
- Click on Frameworks.
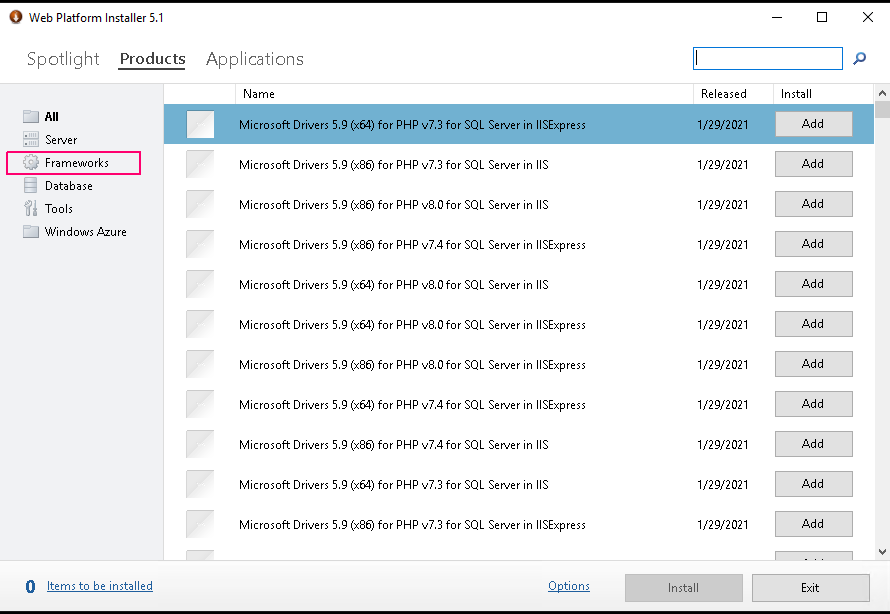
- Type php 8.0 in search box.
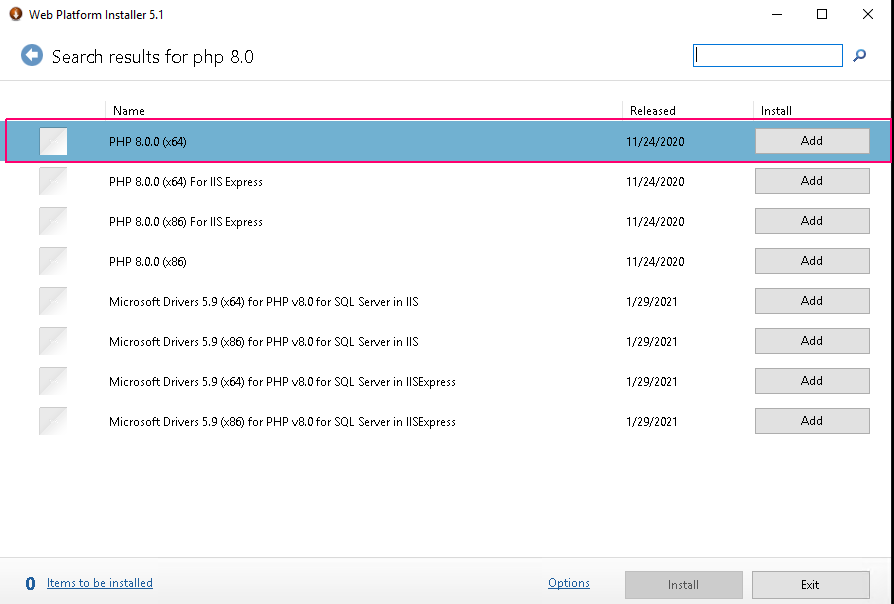
- Click on Add option to select PHP 8.0.0 (x64).
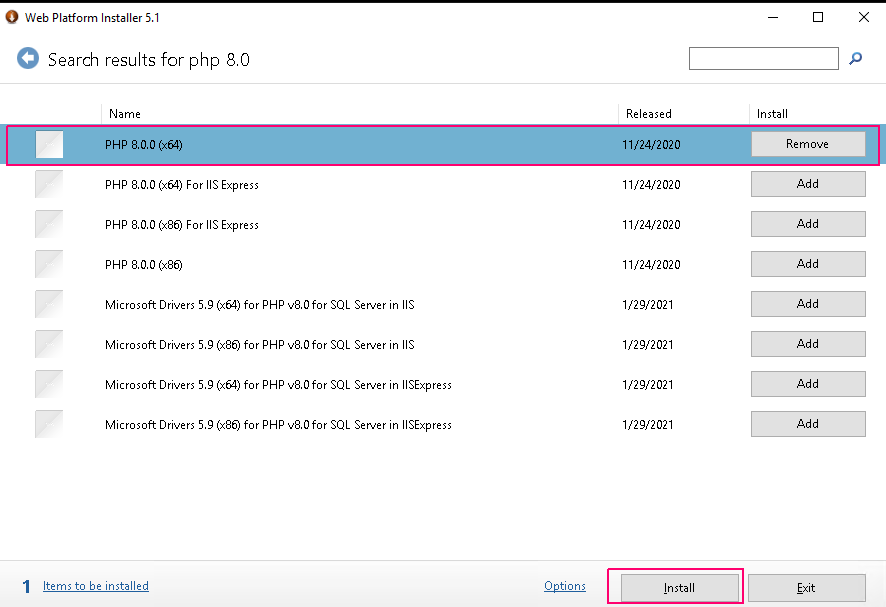
- Click on Install.
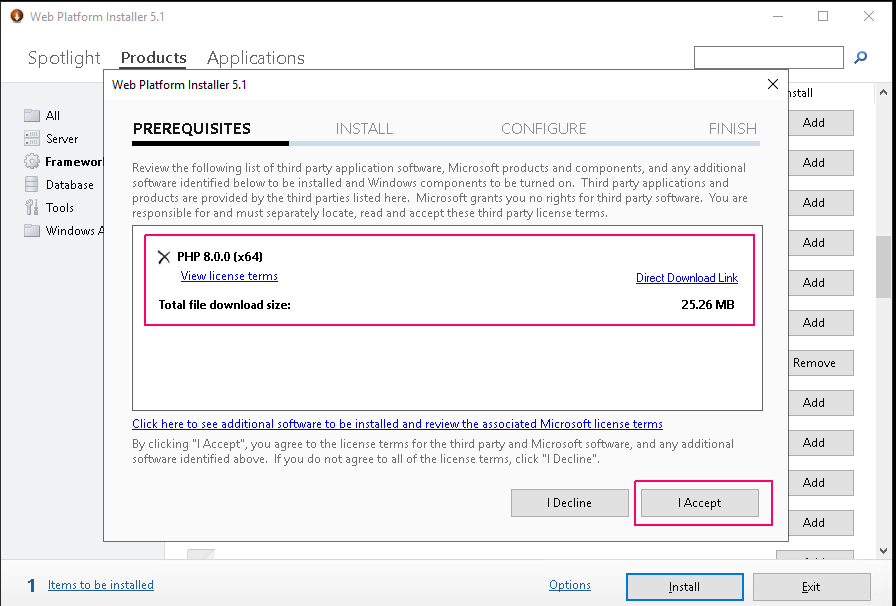
- Click on “I Accept”,agree to the License terms for the third party & Microsoft software.
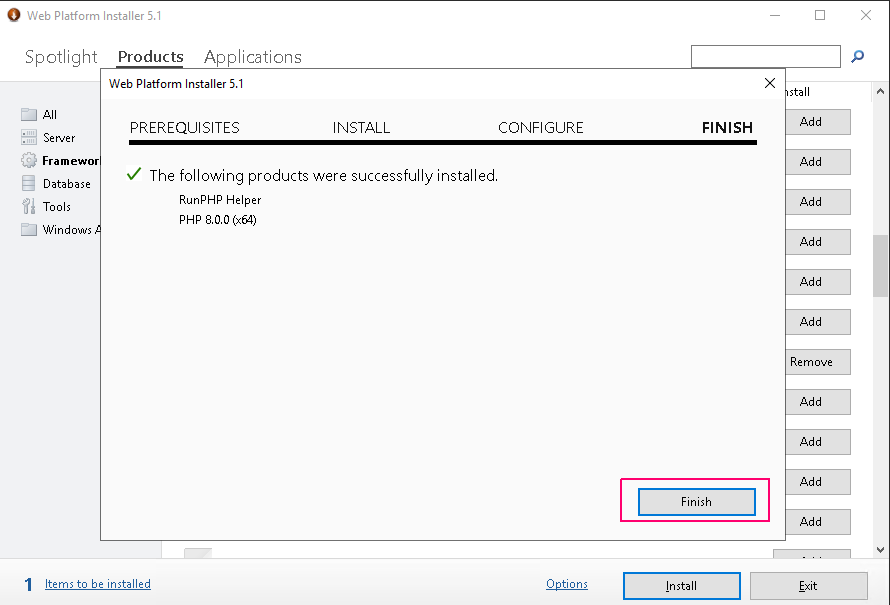
- Once Installation is done click on finish.
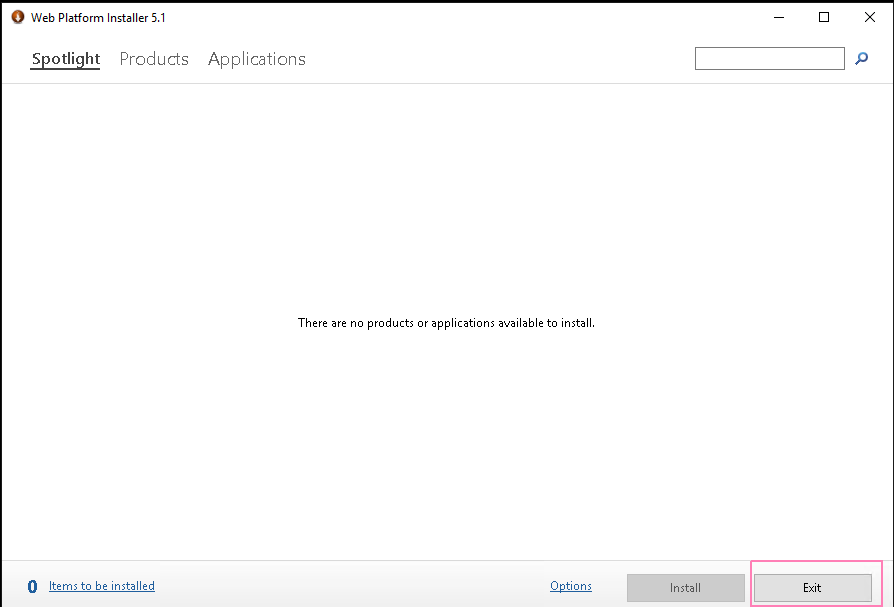
- Click on Exit to close the web platform installer 5.1 wizard.
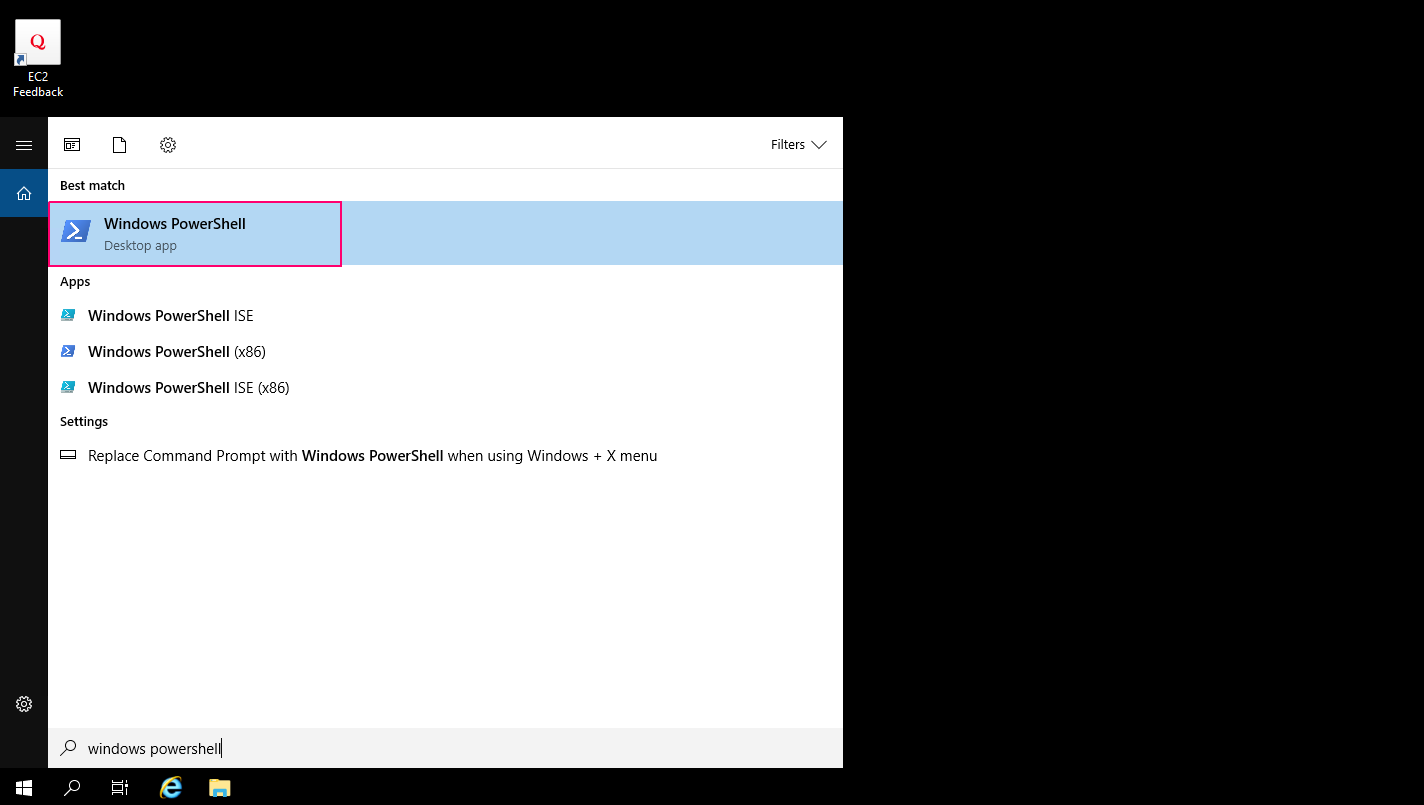
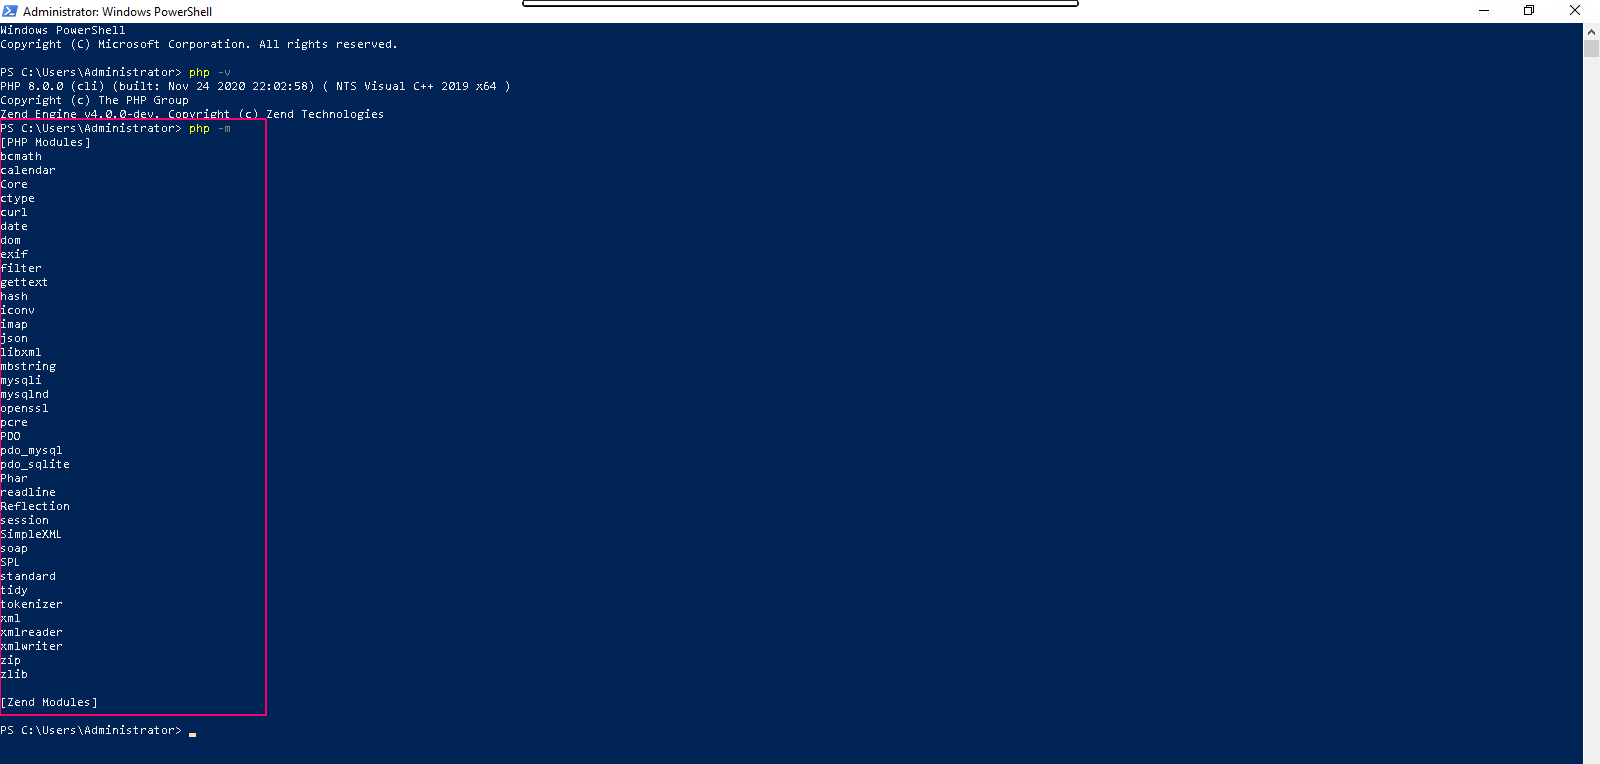
- Go to Windows PowerShell.
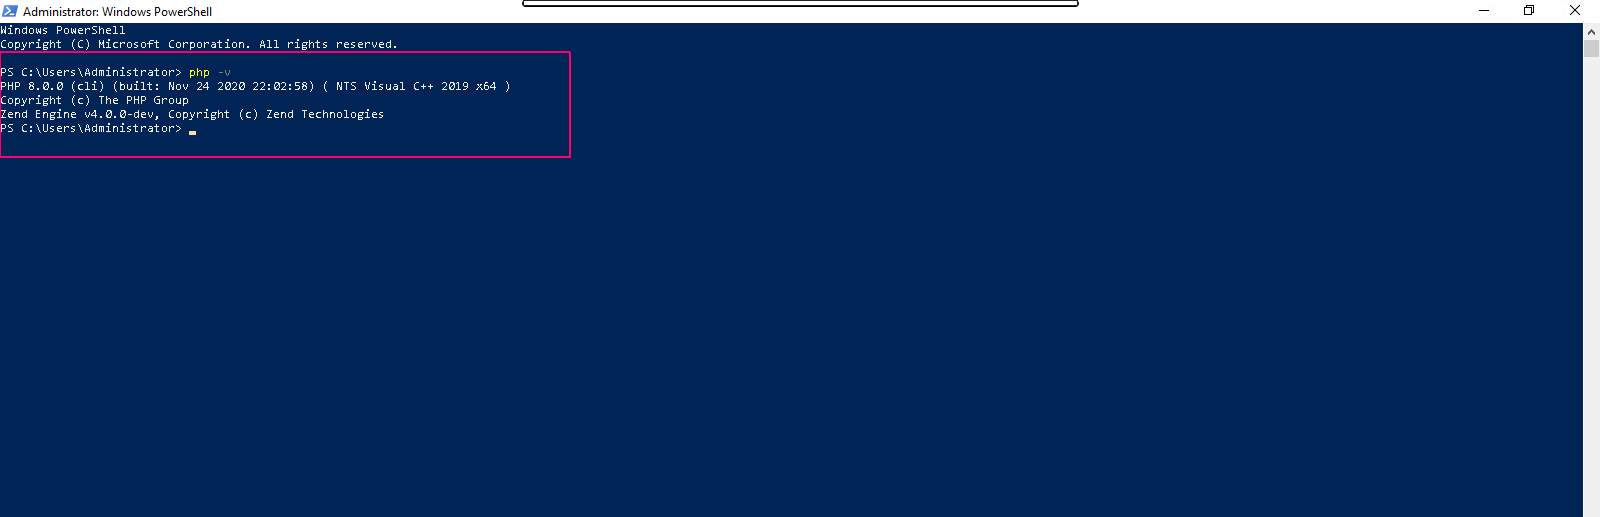
- Check PHP version using command:
php -v
- Here is the output.
- Check PHP modules:
php -m
- Here is the output.
To Test the PHP installation
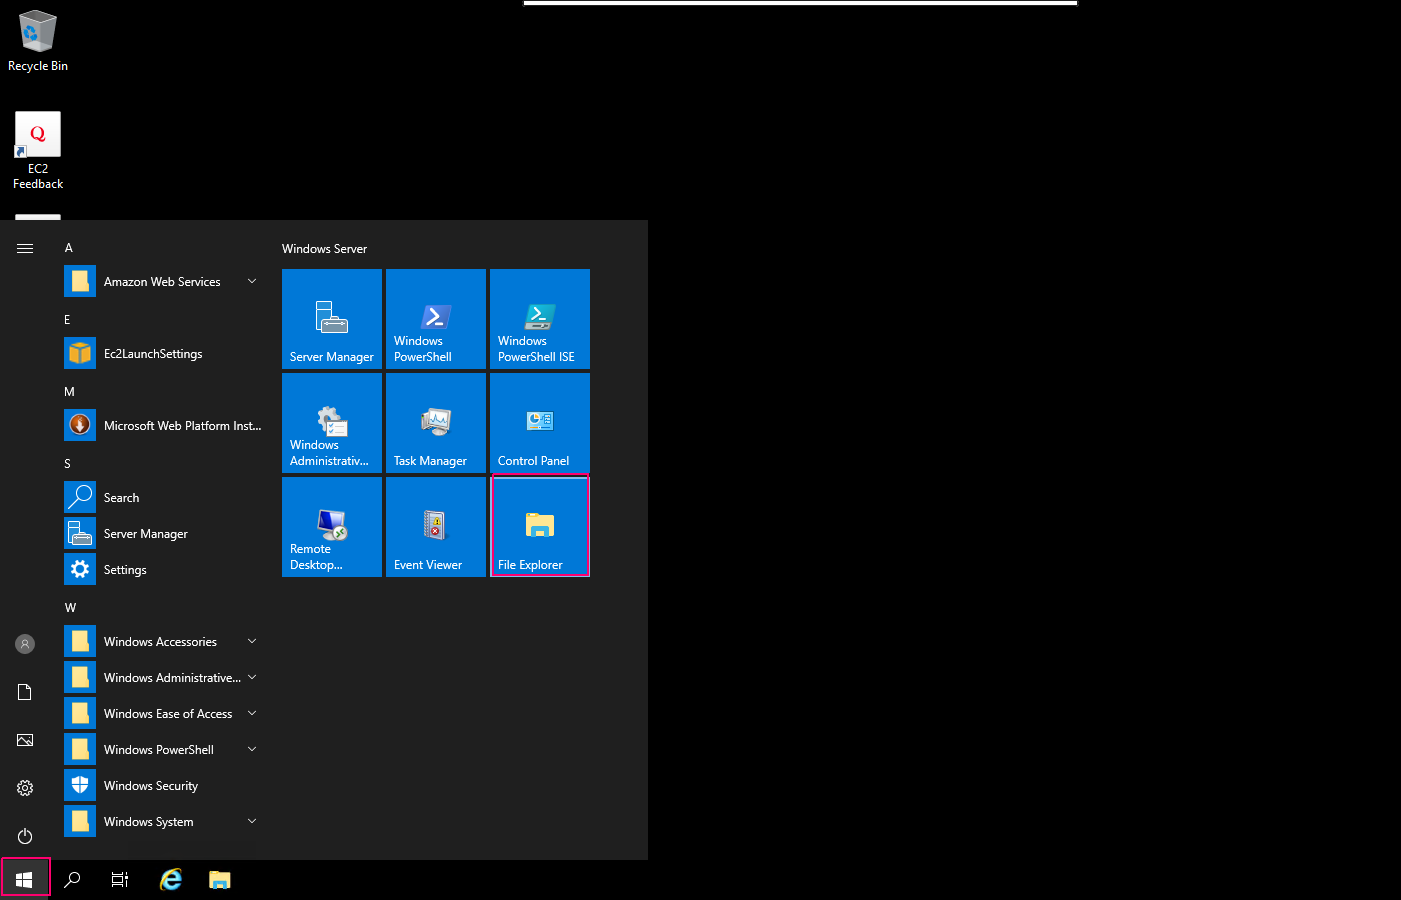
- Click on Start option & select File Explorer.
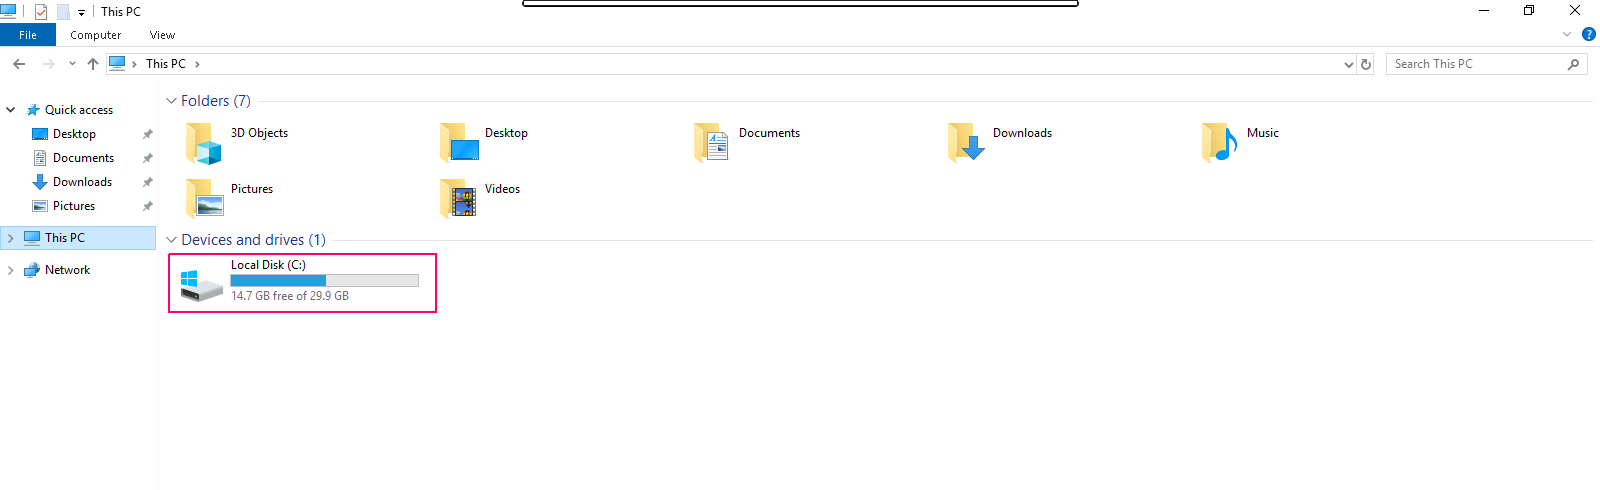
- Click on Local Disk (C:).
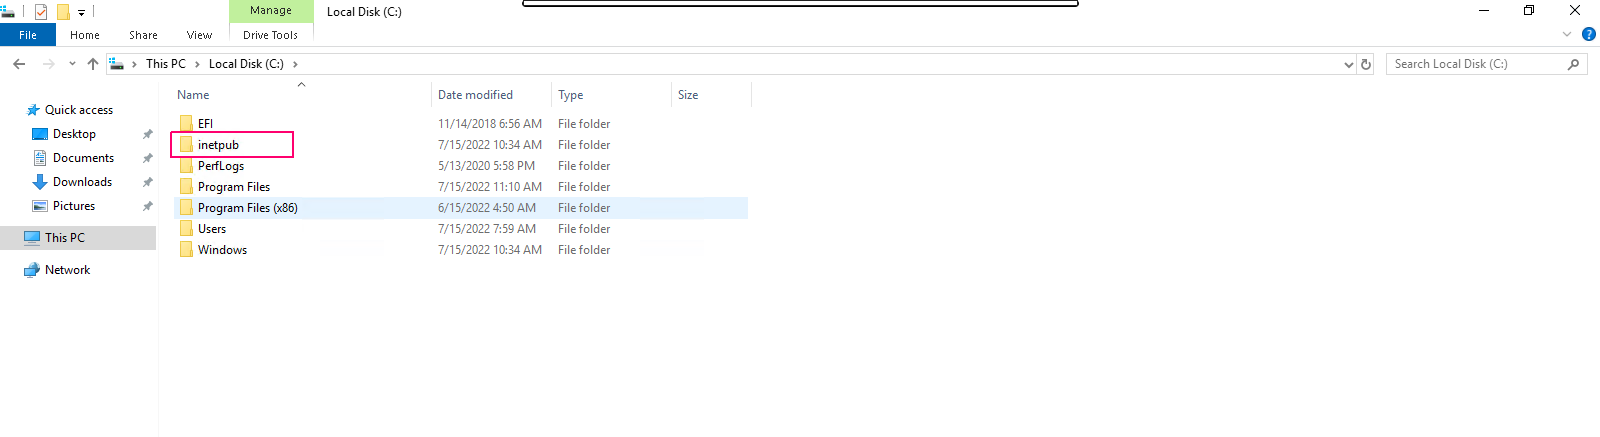
- Click on inetpub.
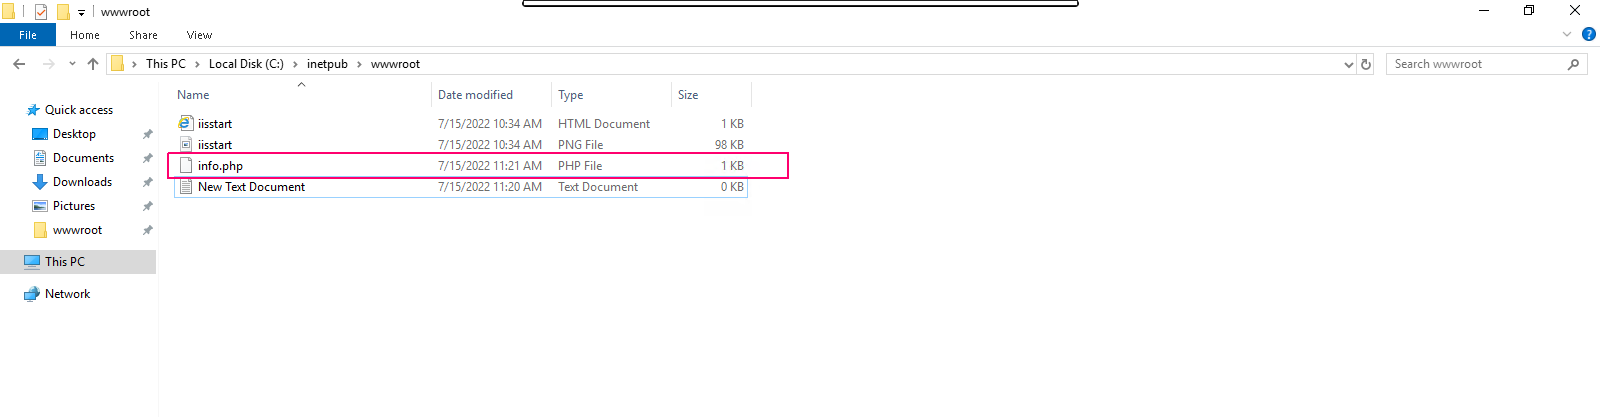
- Click on wwwroot.
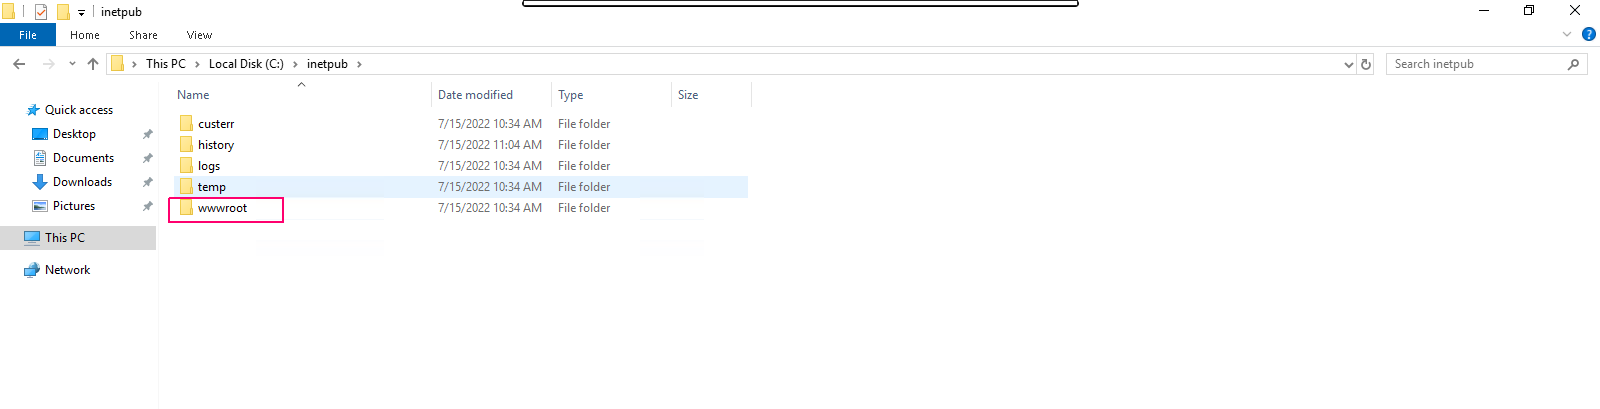
- Here is IIS default HTML document file.

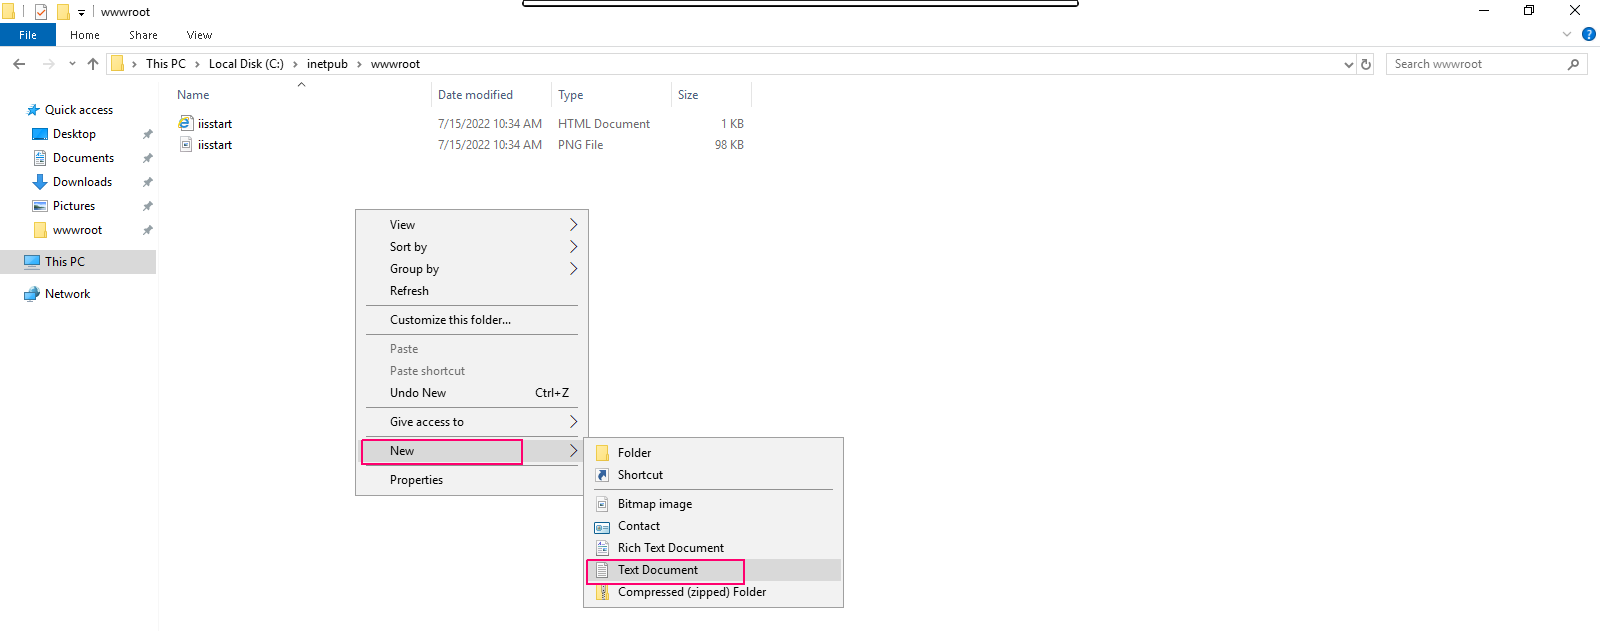
- Create a New document with .php extension.
- Right click–>New–>select Text document.
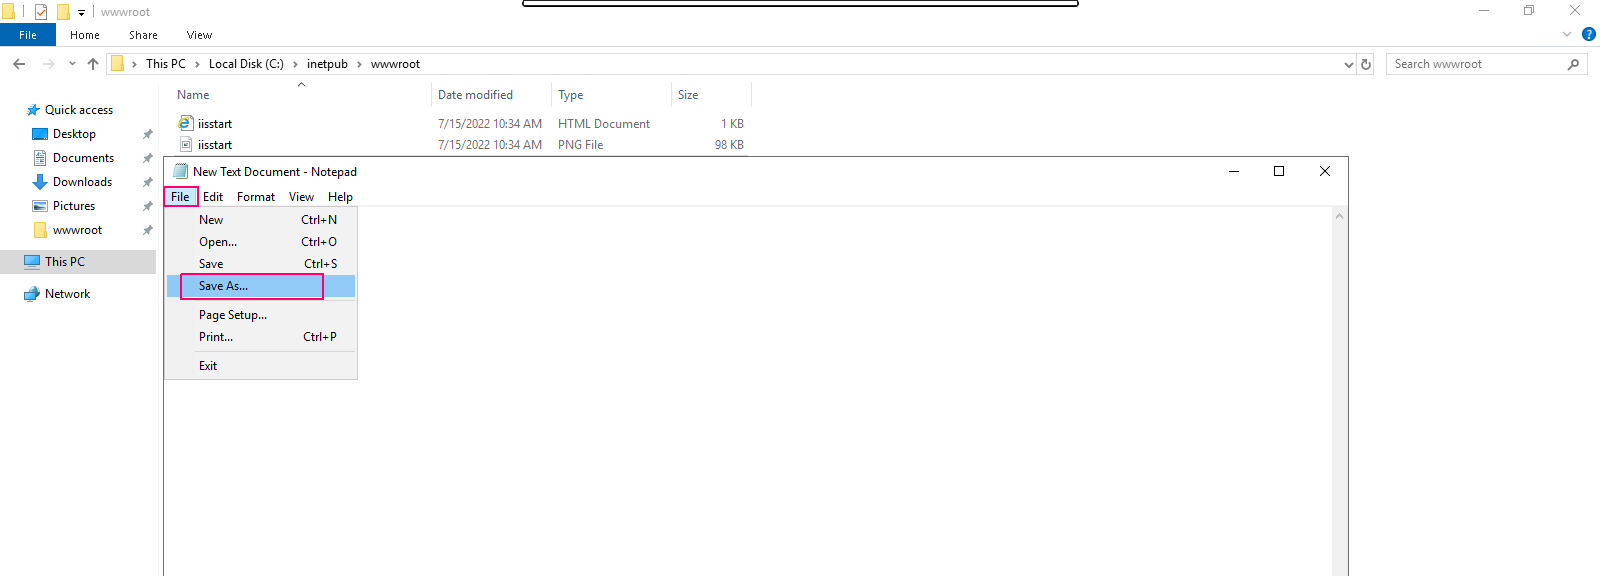
- Type the following line:
<?php phpinfo(); ?>
- Here is the output.

- Click on file–>save as.
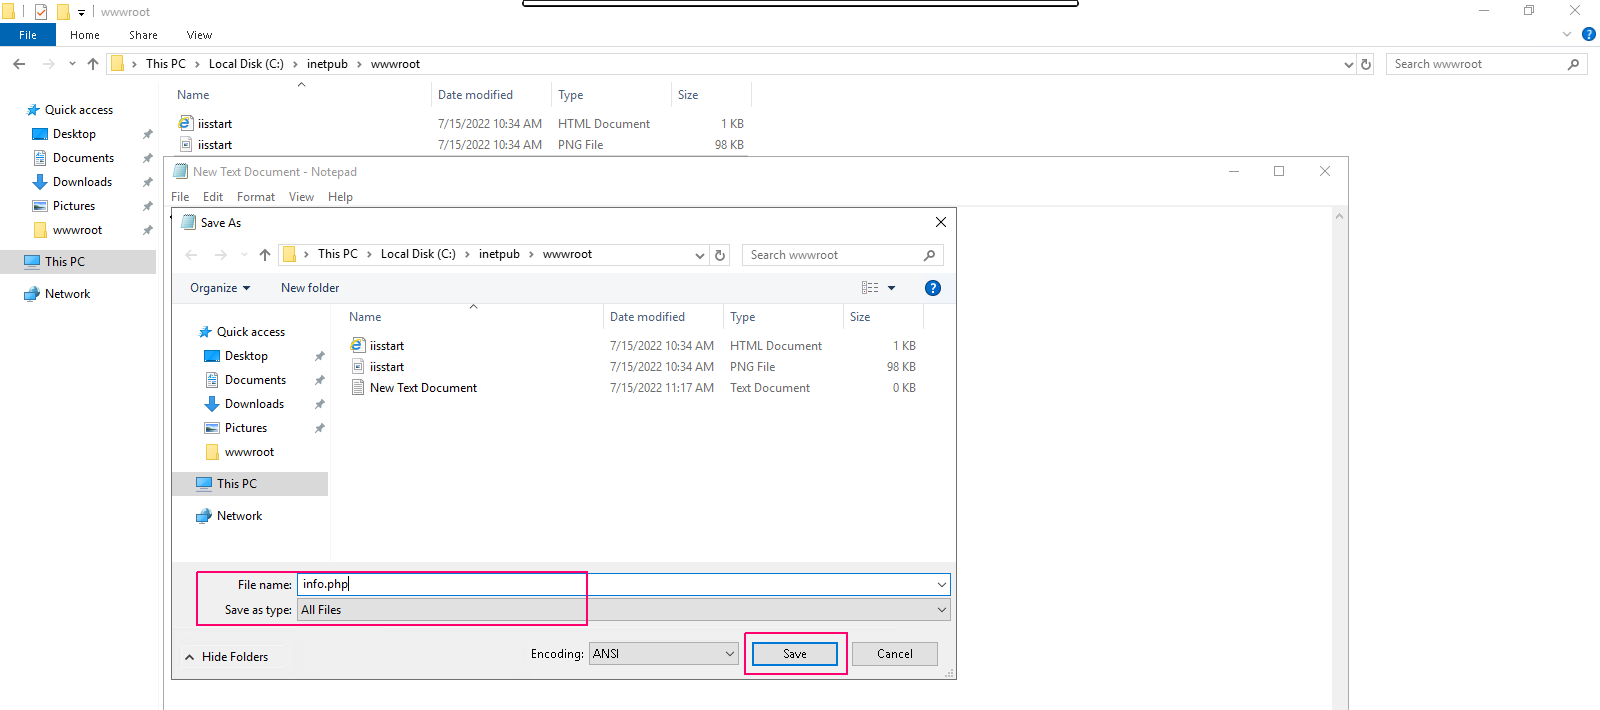
- Provide a file name with .php extension.
- Select Save as type–>All files.
- Click on Save.
- Now PHP files has been created.
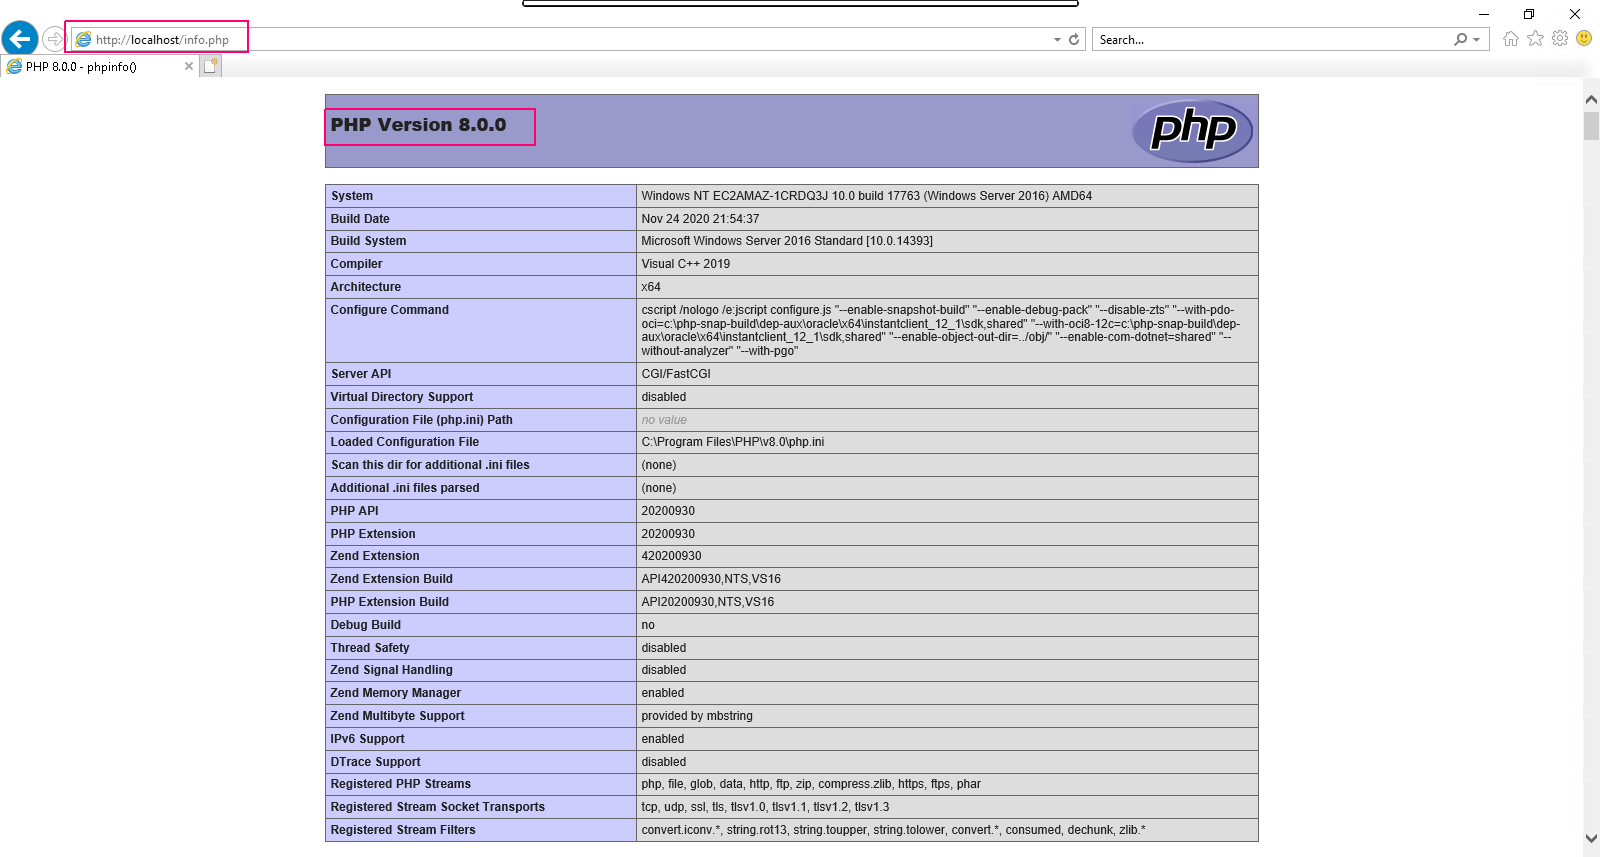
- Go to Browser then search the following url:
localhost/info.php
or
Server-ip/info.php
- PHP info page will open,its means PHP is successfully installed in window server 2019 Base.